Ok newbee here with a few questions.
I have a crossfire with Hyperthermia Powermax 30 XP. Just got up and running today.
I have made several test cuts at different speeds and have a few questions about what the results were.
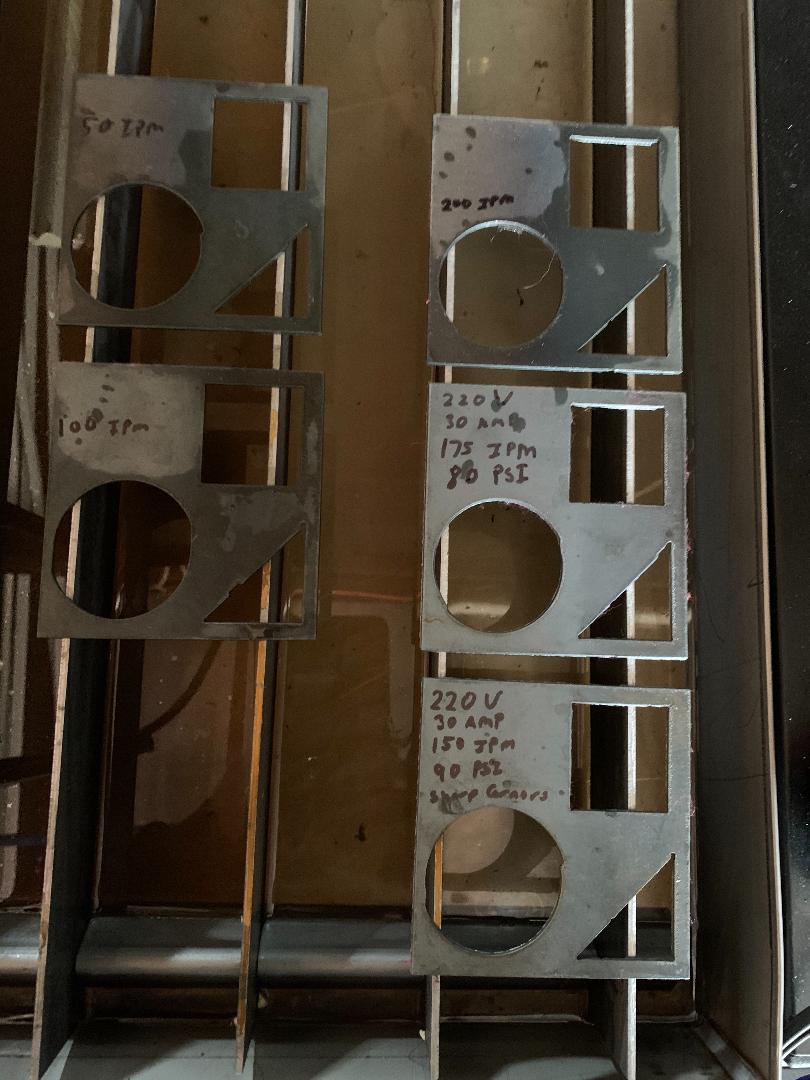
When cutting 16 gauge steel parts I am getting dross on the backs. I have adjusted the ipm and will attach photos if possible.
I assume there will always be some dross how much is to be expected?
Running regular tips (not fine cut) on hypertherm. Can I use fine cut tips with 220 volt or do I have to drop to 110?
If you look at pictures all circles are oblong and have noticeable changes? Any ideas as to what is causing that?
Any help would be greatly appreciated. If you are running the same system I would like to talk to someone just to get some general questions answered.
There’s always going to be dross on the back of the parts. How much depends on the metal, The plasma cutter, the tips, how new the tips are, etc. Really try to fine tune it so that you can live with what’s there.
you can run fine cut on 220V you just can’t run over 40 Amps on the fine cut. (I have a 60AMP machine that’s always on 220V fine tips work fine, they just don’t last long at high amps)
oblong circles can be torch not square, or a loose stepper motor coupler on one of the axis. (good practice is to check all the set screws each time you use the machine for the first few weeks or month depending on use. They like to back off on new machines).
unless there is something wrong with the pictures…it looks like you have either drawn circles that are not round…or one or more motor couplers are loose…
your shapes are not even…not round and a little out of square…or is it the picture?
I designed it with Fusion 360 and cut it with Fire-control. It is supposed to be a normal circle and is ob longed. the Square and triangle look to be the proper size but I have not measured them to verify. I do know the circles are the same regardless of the IPM settings. I thought maybe the crossfire was not changing directions fast enough but dont think that is the case as it does not change with IPM changes.
I used the same file for all cuts and just changed the IPM settings. I will draw a new test file and see if that makes any difference as well.
THe only other question i have is the corners of the triangle and the square seem to be rounded or burned through. I have the square corners turned on but think it is due to the tip of the torch. I am going to put on fine cut tip and see what that does as well. I am just supper happy to see the system working .
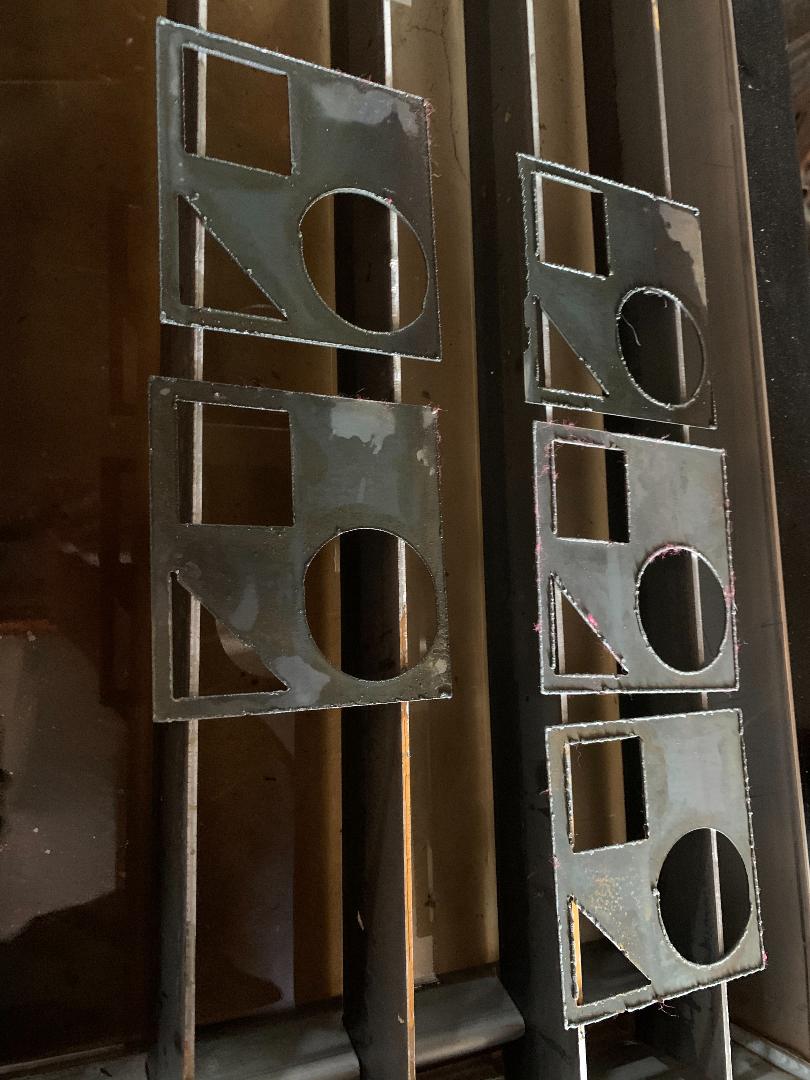
Tightened couplers and changed to fine cut tip and all is working well. I appreciate all the help. I am going to put locktite on the set screws as they seem to keep backing off.
Cut a couple of quick files yesterday and they are looking better
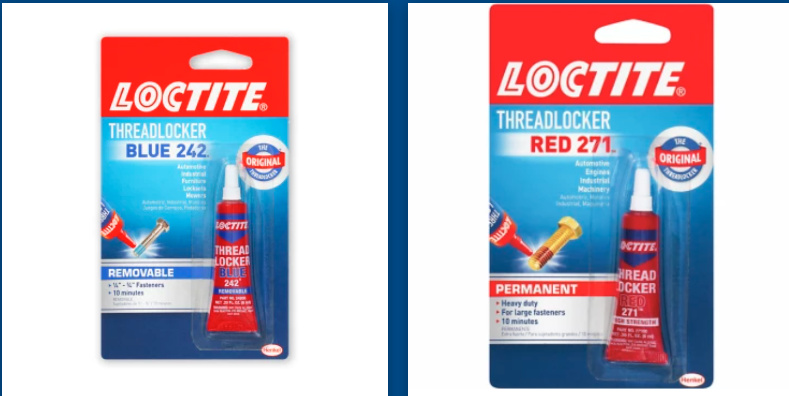
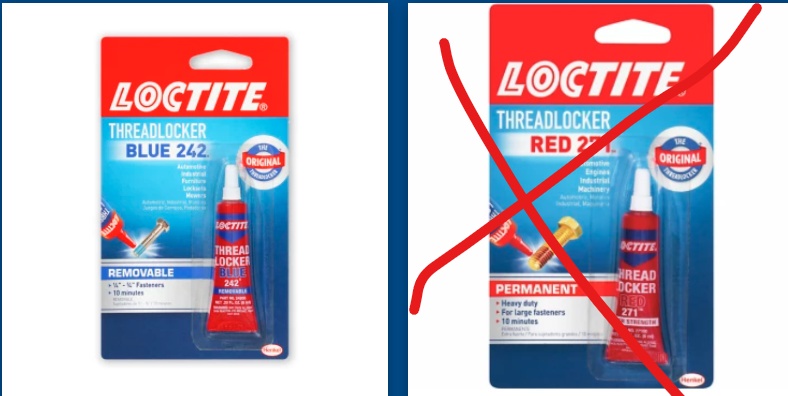
I wouldn’t use the red - gotta really heat it up to get it loose. Blue should be good. There’s a new “red” that’s semi-permanent where it will need to be heated but not crazy hot to loosen.
There’s also a green wicking one that I like for setscrews. Once the screw is tightened down, put a drop or two of the green Loctite around the edge of the screw. It will wick into the threads. The screw or nut has to be fastened - it only works when wicked into the thread gap, it won’t fill like blue or red as it’s being tightened.
Watch what the small print says on any generic (not Loctite brand) threadlocker. There are knock-off brands that don’t use the same color coding - more specifically I’ve seen one that was “blue threadlocker” that in the fine print said it was high strength & required heat to remove.
Be careful with Loctite Green. Because there’s also a Green that’s used to hold bearings in place. You’ll snap that little set screw off before it will let go! (have to heat it up to above 350F /180C to free it).
I don’t keep the wicking green in the shop because of this. I have some help that already likes red to much. And there’s a few repairs on equipment that We’re going to need the torch on because we ran out of Blue so green (bearing lock) is close enough. (I think the green is locked in a cabinet somewhere now…but I forget where ).
With all the thread locker products it’s a really good idea to read the product packaging card to make sure it’s got the characteristics you’re looking for. It was easier when Loctite held the patent and they kept the colors controlled.
 (I think the green is locked in a cabinet somewhere now…but I forget where
  ).
).
