They updated my fusion late a few days ago. Was making up my next project and go to manufacture tab, it’s different. Any one figure out the steps to get thru it? They changed how to do a set up and I’m lost in the sauce.
Cheers
They updated my fusion late a few days ago. Was making up my next project and go to manufacture tab, it’s different. Any one figure out the steps to get thru it? They changed how to do a set up and I’m lost in the sauce.
Cheers
@Kamierau Post the files you are working with ( F3D file preferred) and I can do I live stream walkthrough of your situation .
At work for another 9 hours, rip
Cat Butterfly v4.f3d (121.2 KB)
I did it once before when I was sauced but I’m lost on how to cam the lines. Trying to make a spinny thing.
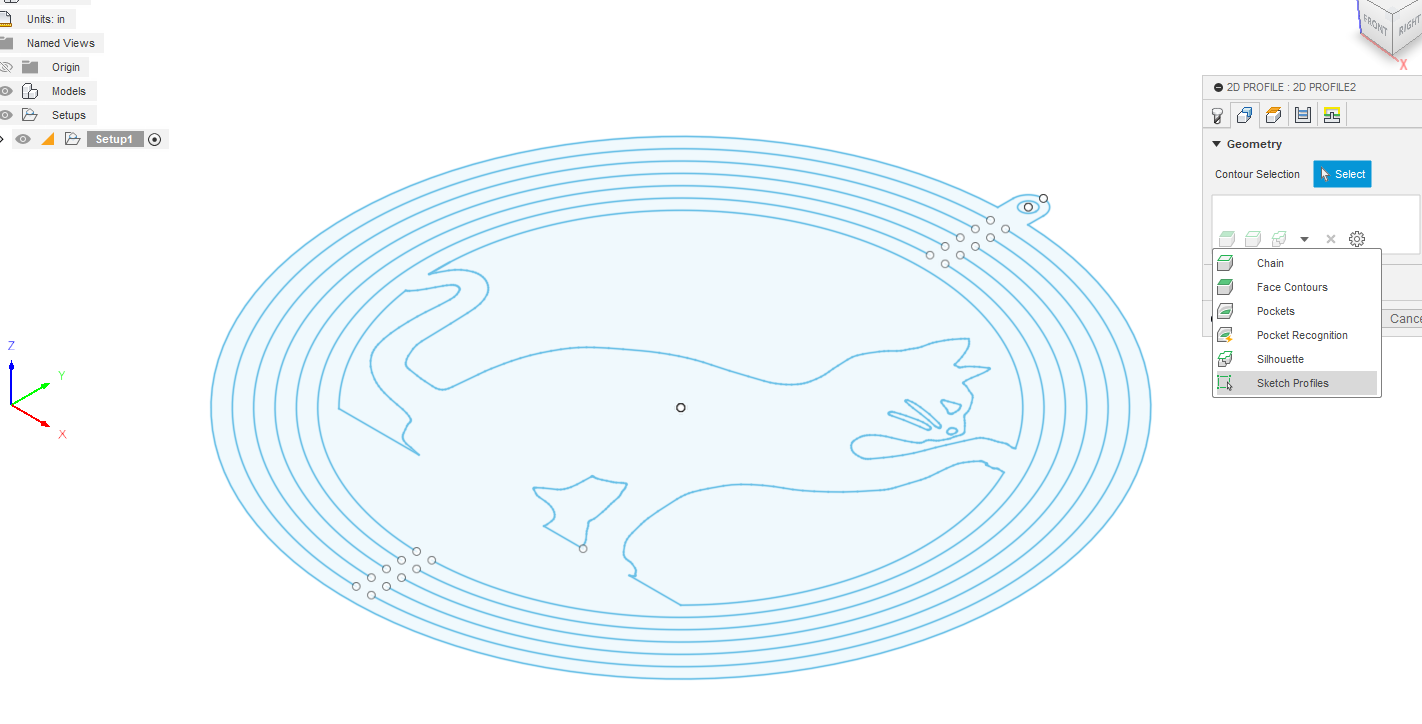
When I extrude the sketch I can’t get the cut lines of the outer circles to come forward to select in manufacturing. It’s just the main body. So when I’m in the ‘cutting 2d profile,’ the lines aren’t selectable or some shit.
hope that makes sense
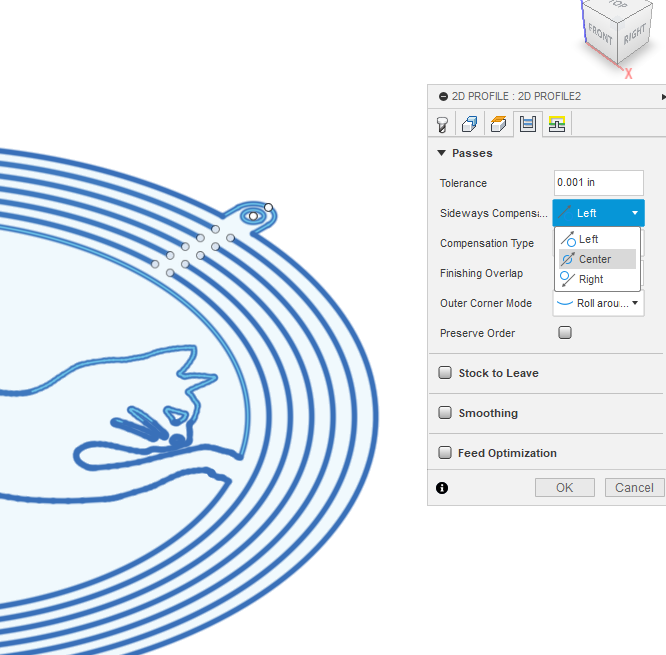
Clear any selections in contours and then use drop down menu to select “sketch profile”
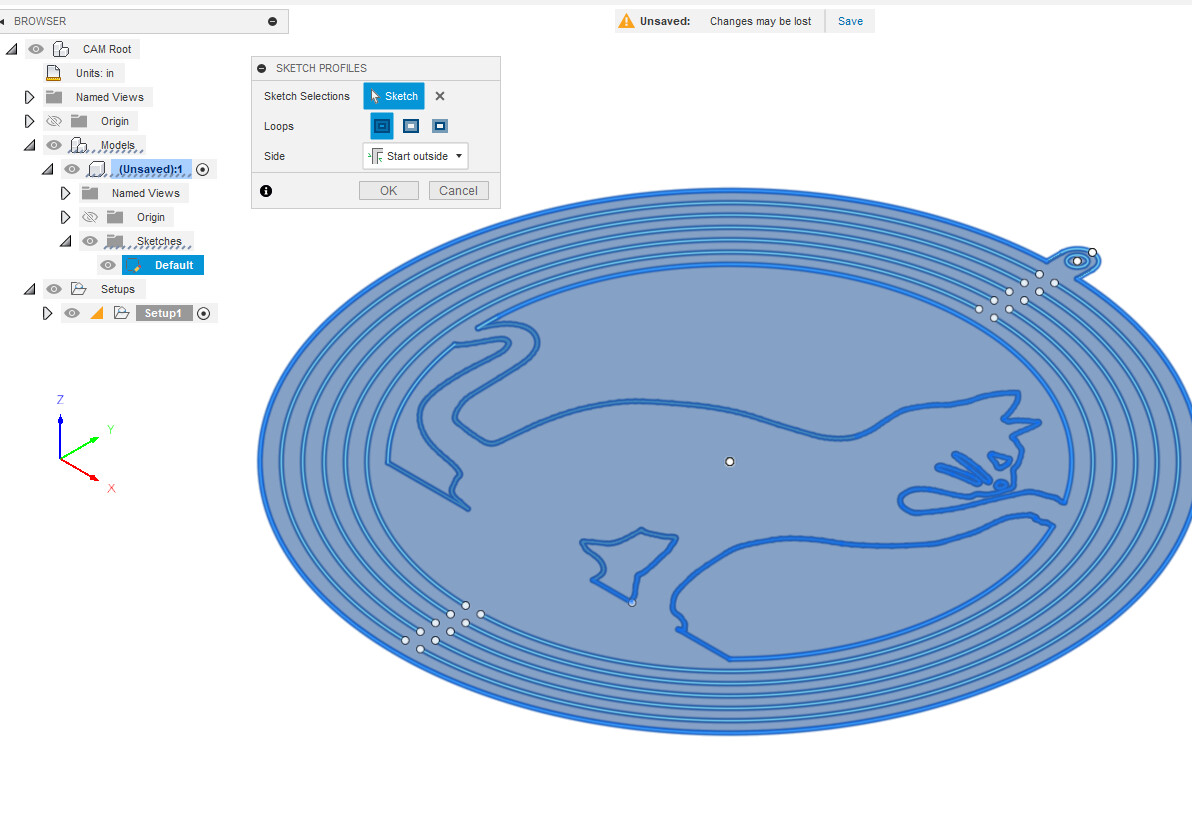
Go to the browser side and open up the model to find the sketch. Click on the sketch.
Now go to the fourth tab and pick “center” compensation
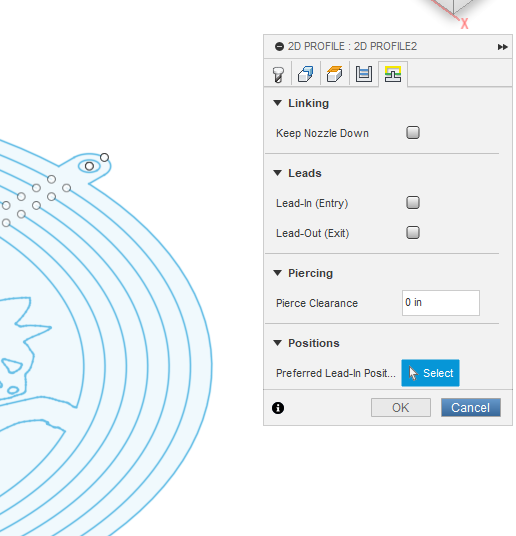
Turn off any lead-ins/lead-outs
Done
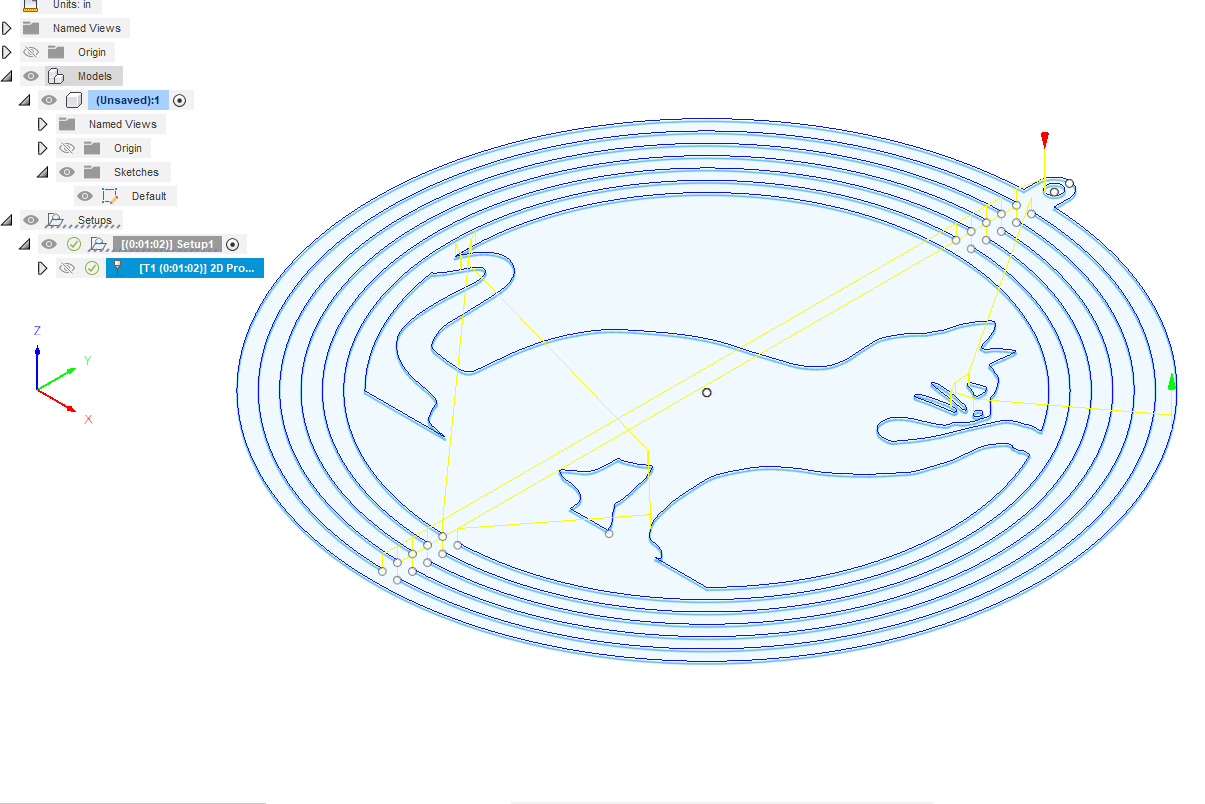
Took a hot minute, I didnt have my sketch eyeball turned on after I extruded. Now I can see the lines
And also remember, if your are planning to use the sketch, you don’t need to extrude.
after seeing your pictures, I don’t think ill be extruding very often now lol. thanks bro
I still use extrude when there are some sketch lines that might confuse the manufacturer process. And, if you want to use text that isn’t exploded, extrude is necessary. Lots of reasons that having the bodies are necessary.
CAT SPINNER v2.f3d (222.0 KB)
here’s a refined version
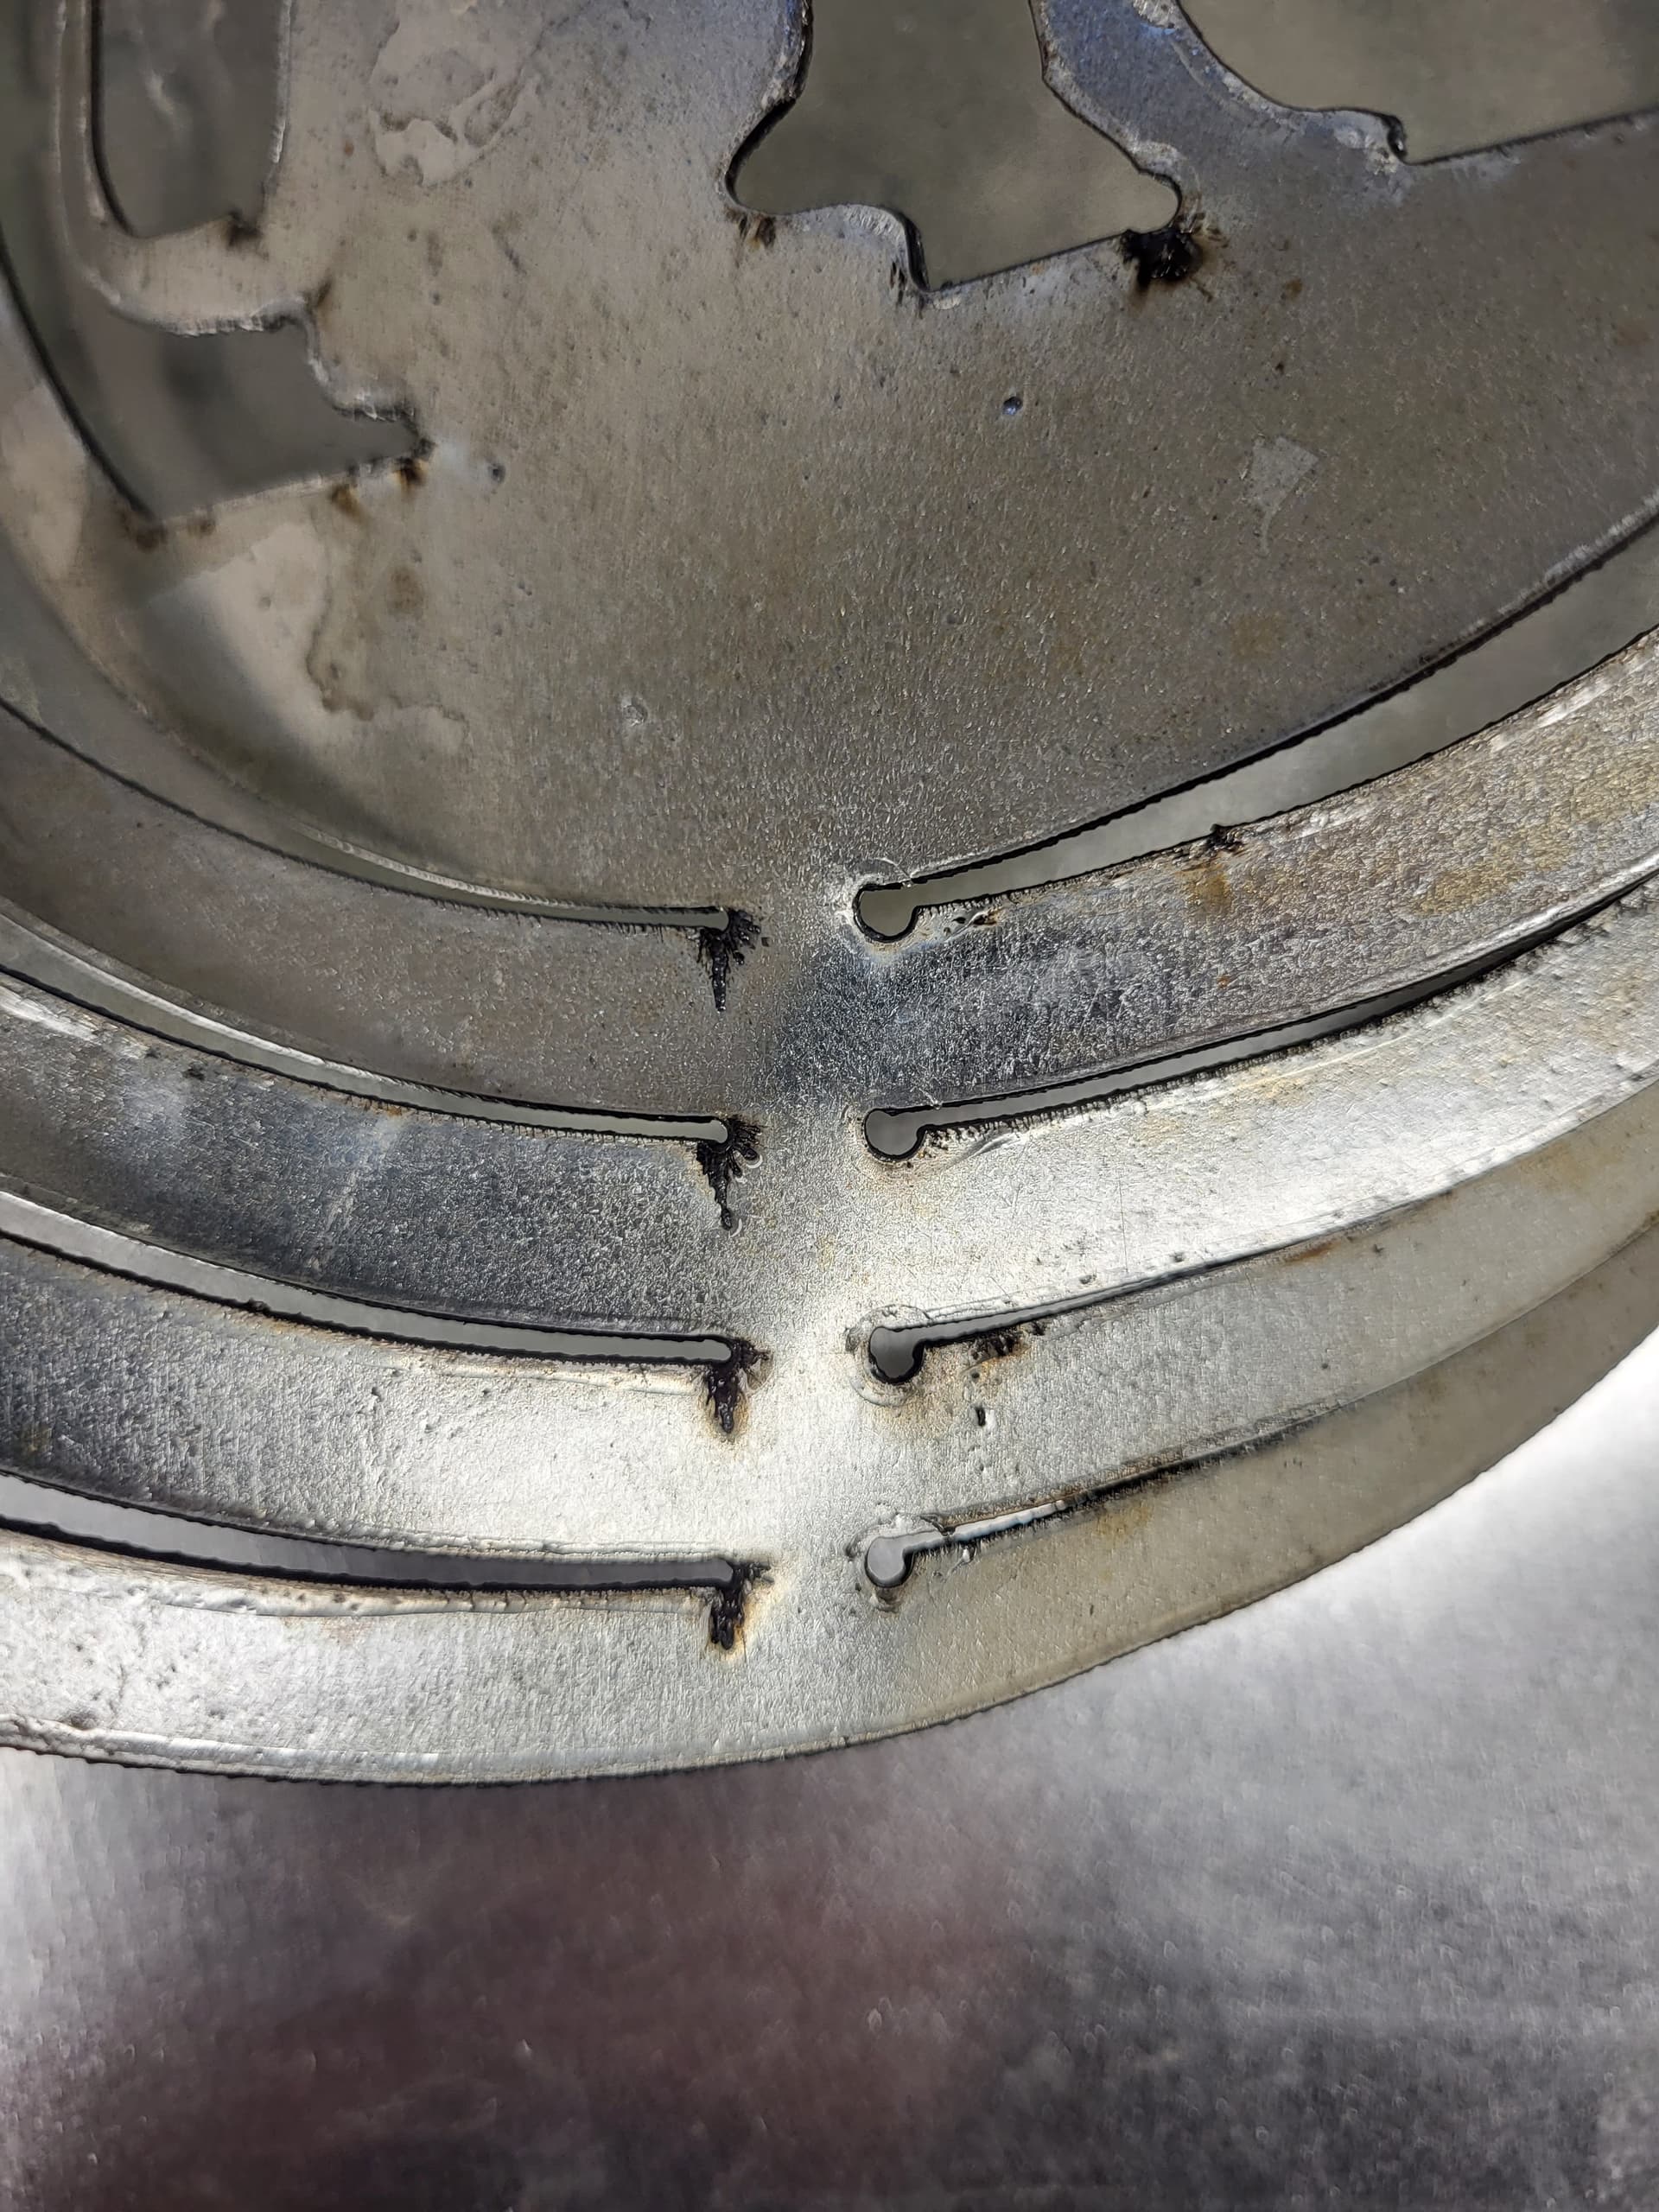
related but off topic, you guys know how to make it not make a shitty hole when the torch head comes up? cutting looks good enough but when it gets to the end of the cut, and lifts on the Z axis it puts a hole in the material. curious if anyone has a solution. gonna maybe look into finer cutting torch consumables, these are the razor weld original tips
Try to reduce your Pierce delay has much as possible.
Try using .5 when you make the file and then reduce 74% in fire control, this is the shortest delay I can make my machine fire at.
If you’re using sheet cam make sure your plunge rate is 60 to 100 in per minute.
And make sure that you’re not cutting it too high of a power for your material thickness.
What thickness is that galvanized?
26 gauge
100 ipm
75 psi
20 amps
.25 pierce delay
Seems to be the best ive found so far
razorweld 45 amp
I run 26 ga @ 25amps 300 ipm with my hypertherm finecuts. you maybe able to double your ipm.
Is there any benefit to increasing ipm, less slag?
normally for me there is no slag on 26 ga galvanized.
getting done faster, heating up the material less, thinner kerf,
did 200 ipm, micro slag in comparison, between a 1/32 & a 1/64th of an inch eyeballing it. Got lucky and turns out the razorturd takes old style hypertherm consumables so I chucked those on and she’s a bit better cut. unfortunately it doesnt take powermax 45XP, so no fine cut consumables. Still better than chinesium equivalent.
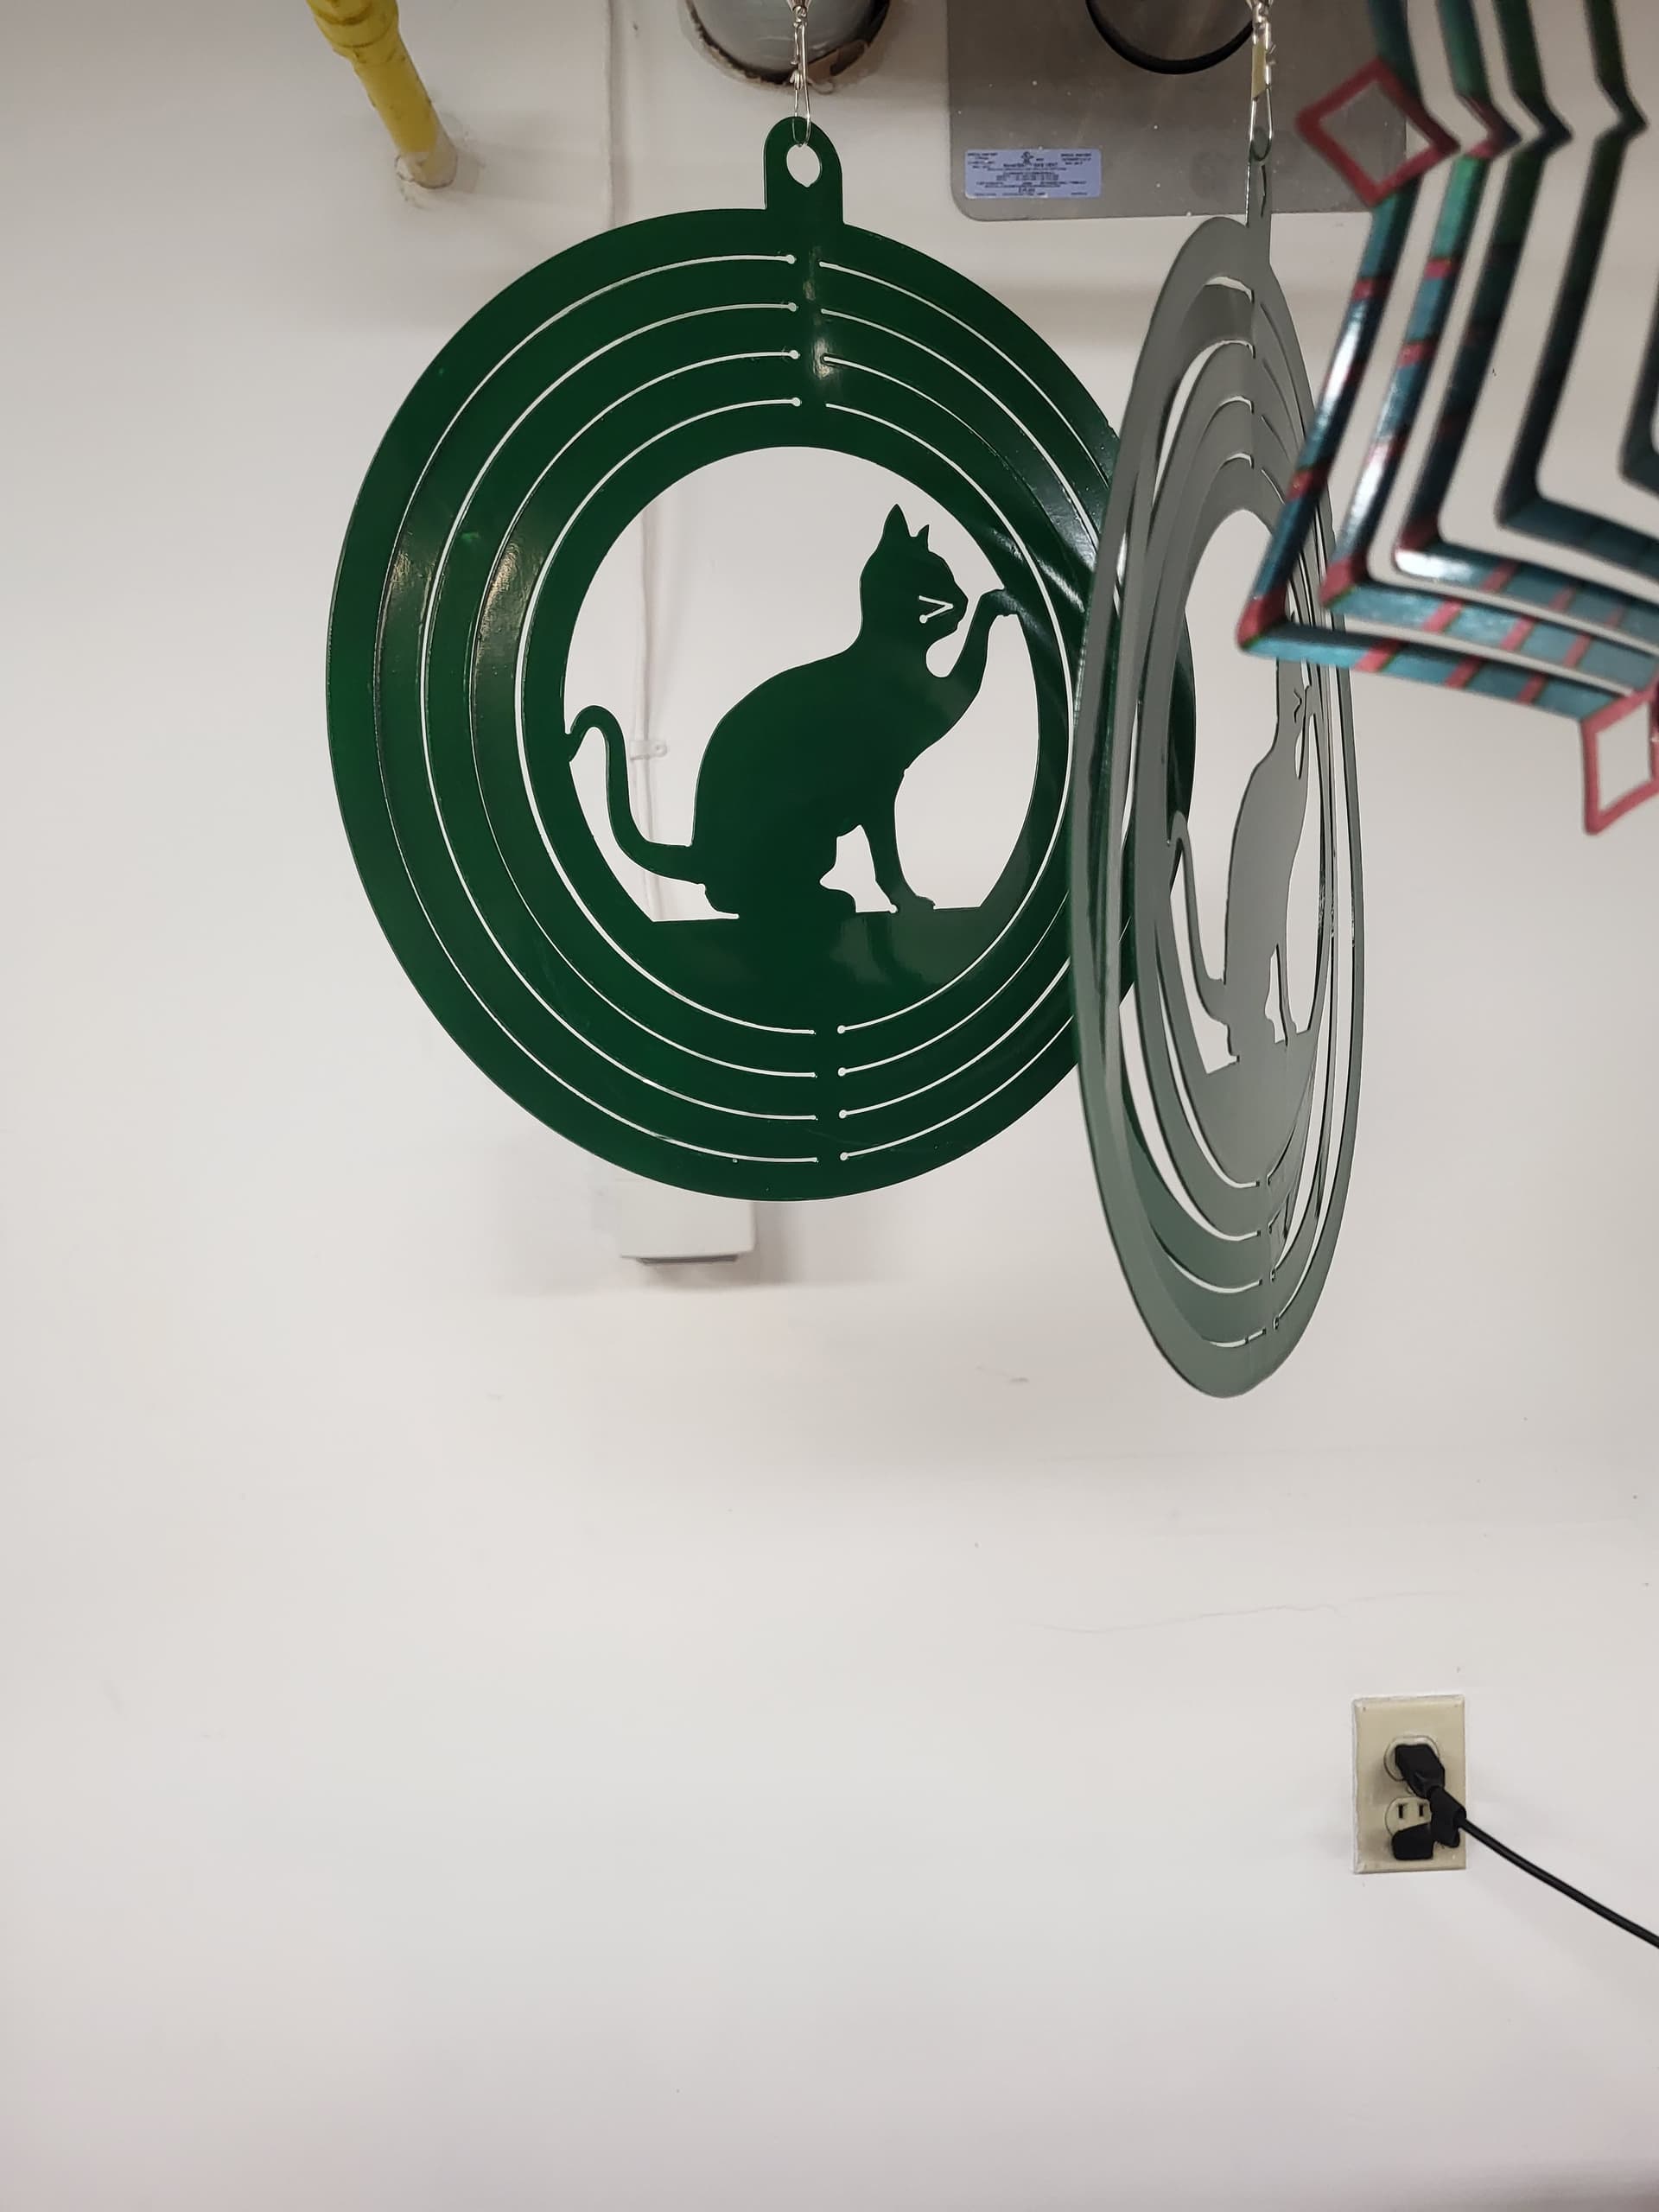
Thanks for the help guys, attached is the file if you want to ruin your life with stupid spinning things.
CAT SPINNER v2.f3d (220.1 KB)
Can’t wait to have a shit tonne of these spinning when the gummies kick in hahaha. Shout out to John S Downs I stole your cat butterfly on fireshare and Don P. for the Spinning Hummingbird, mashed em together.