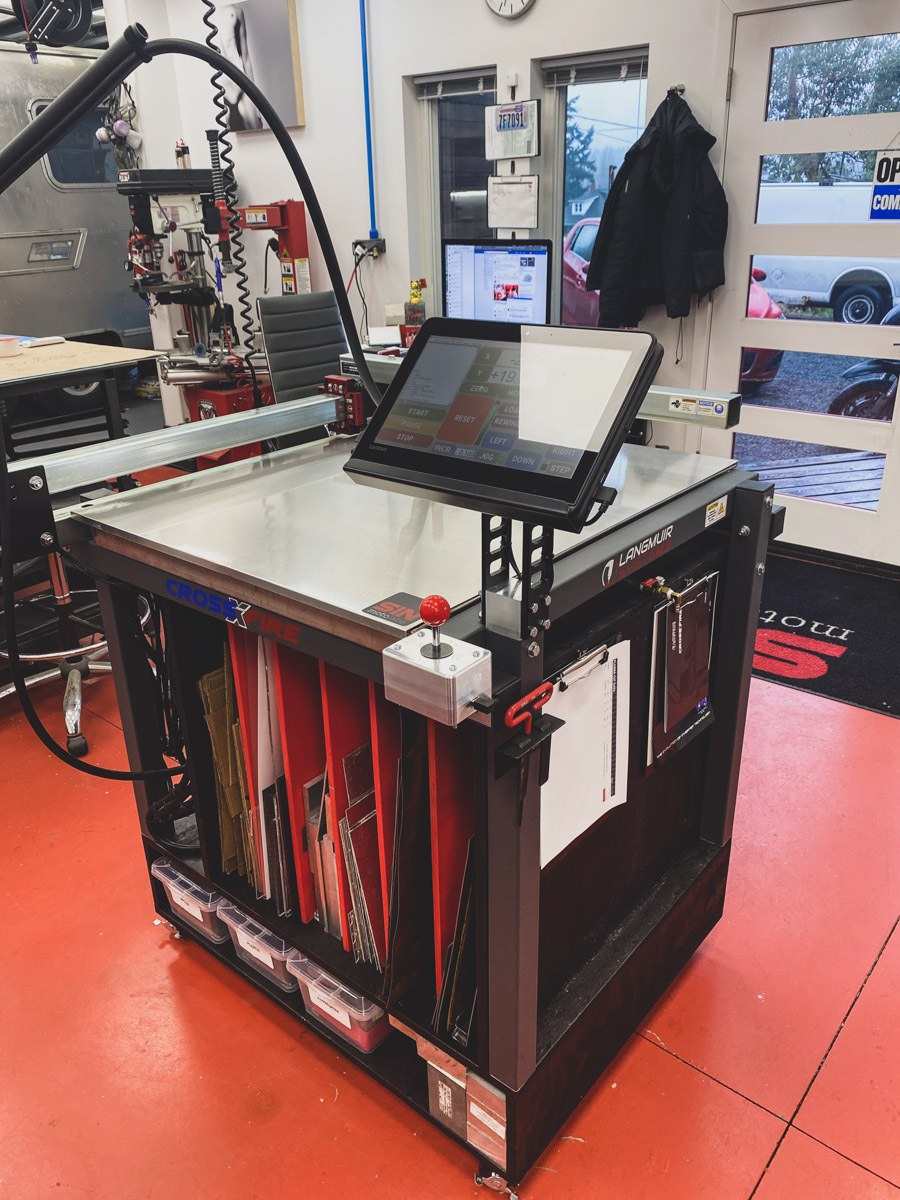
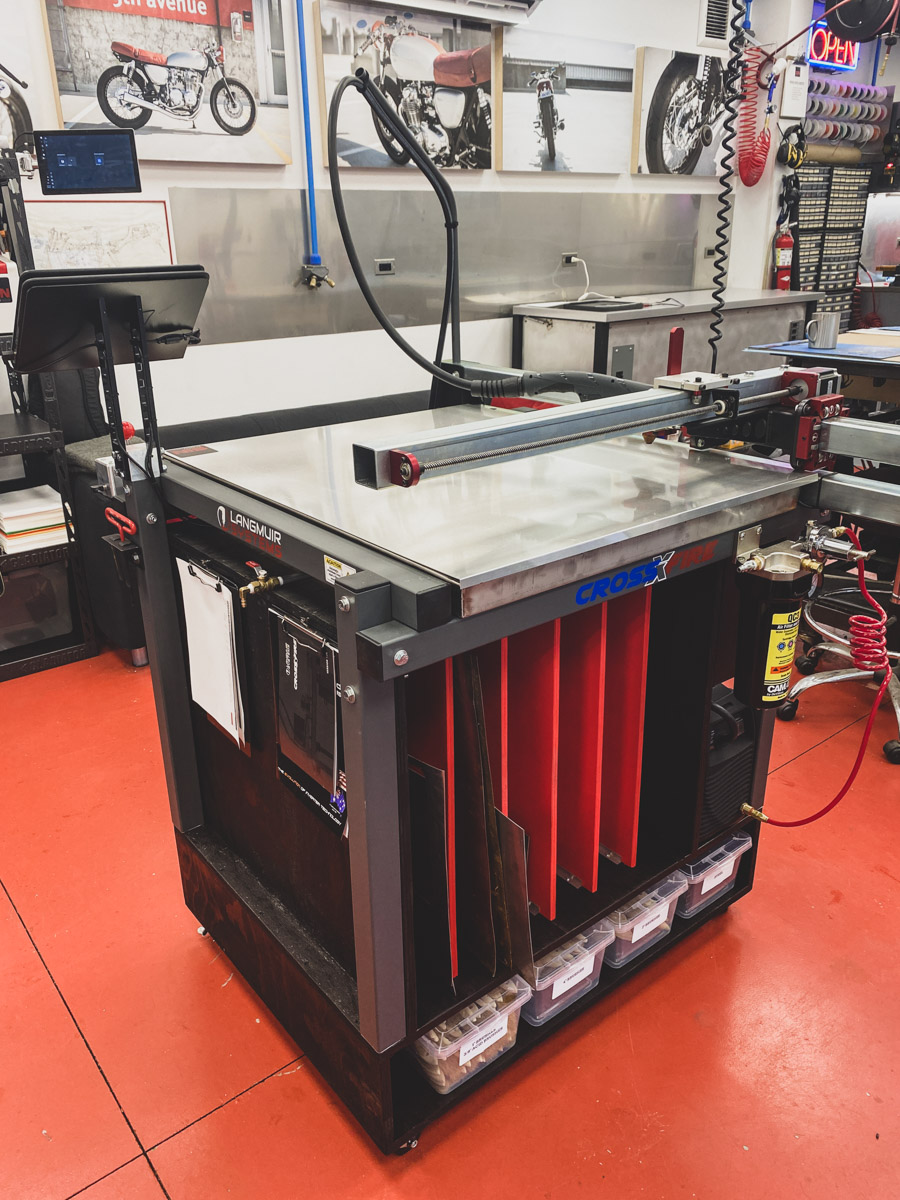
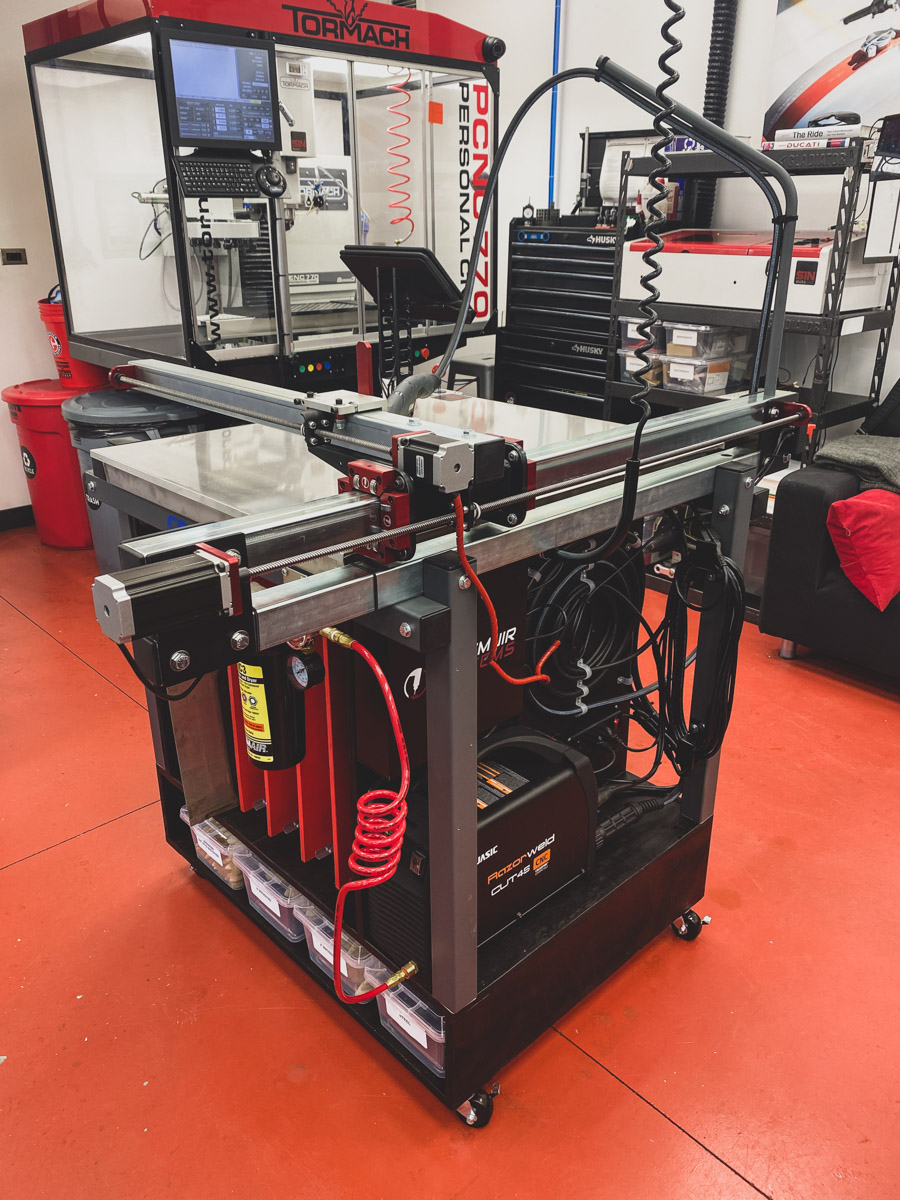
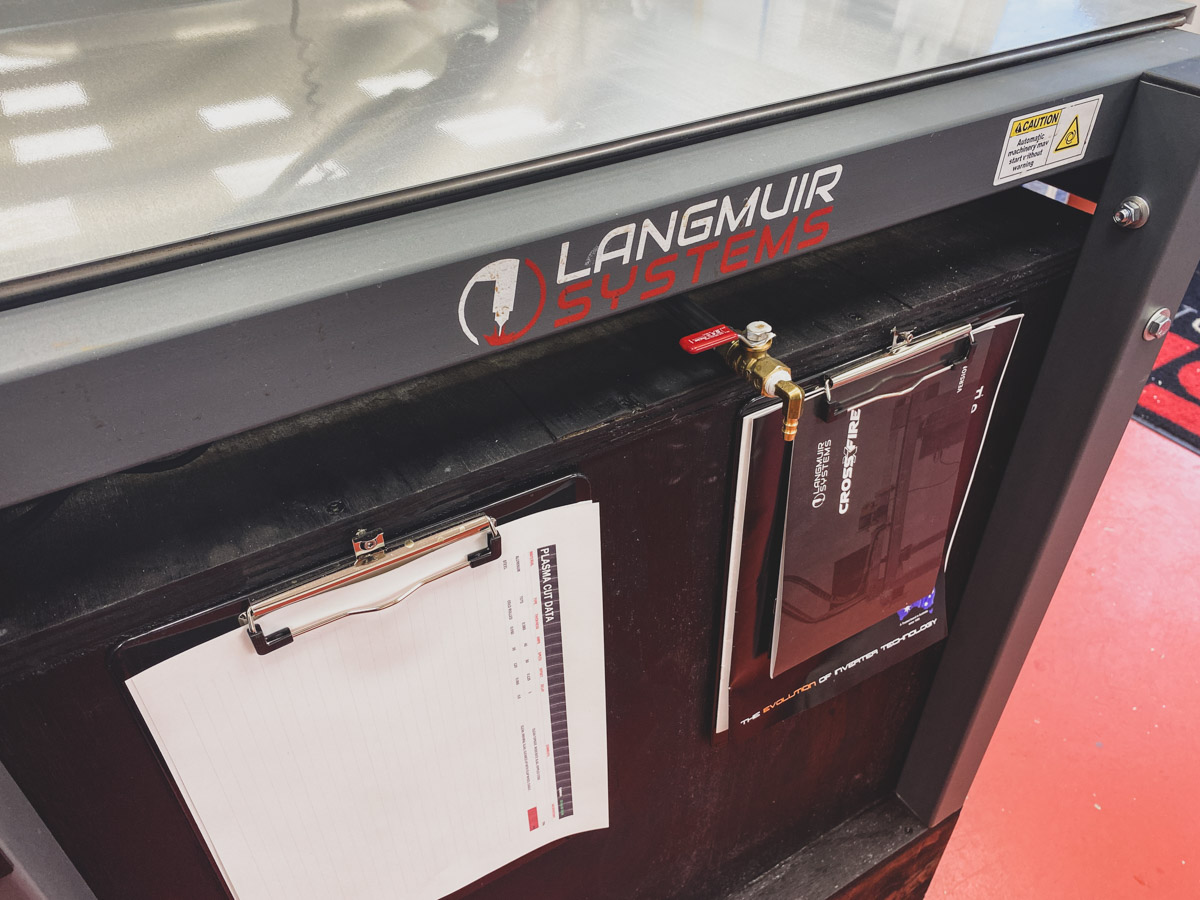
Just wanted to introduce myself to the forum and show everyone my new Crossfire. I put it together a couple of weeks ago and realized how much space is lost underneath the water table. I also didn’t want the Razorweld to languish on the floor, and the table height was far too low for me - all my workbenches are higher than standard because I hate being hunched over all day. So I built a box on wheels that lifts the table up, and creates ample storage for materials. Plus I did some upgrades to the setup.
I already have a Tormach CNC mill so I’m used to using Pathpilot. Mach3 was quite a shock when I opened it up for the first time. As a one time graphic/web designer, just looking at it hurt my brain. So I downloaded MachScreen and set to building my own GUI for running the Crossfire.
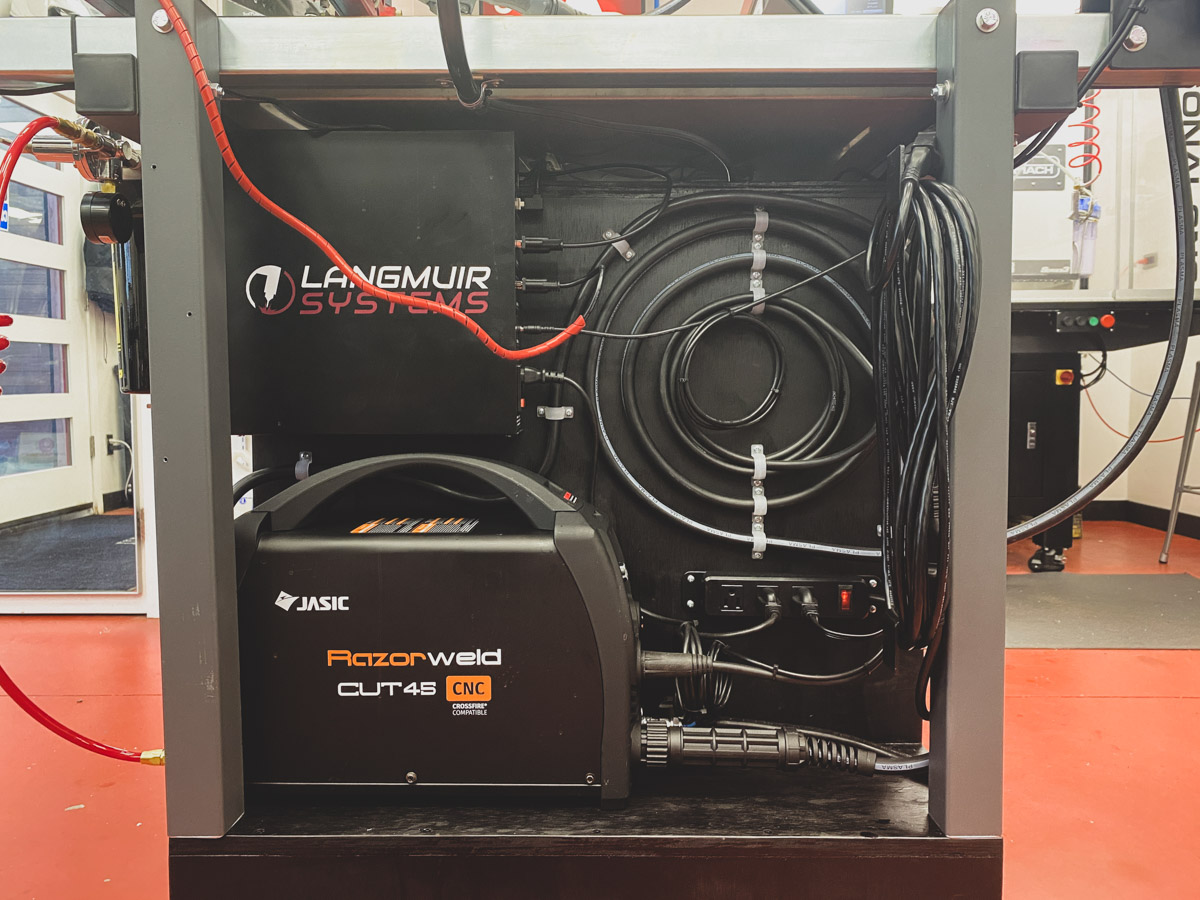
I also realized that unplugging/plugging the plasma torch every time I wanted to do a test run was going to get old pretty quickly so I added a kill switch to toggle the plasma torch on/off.
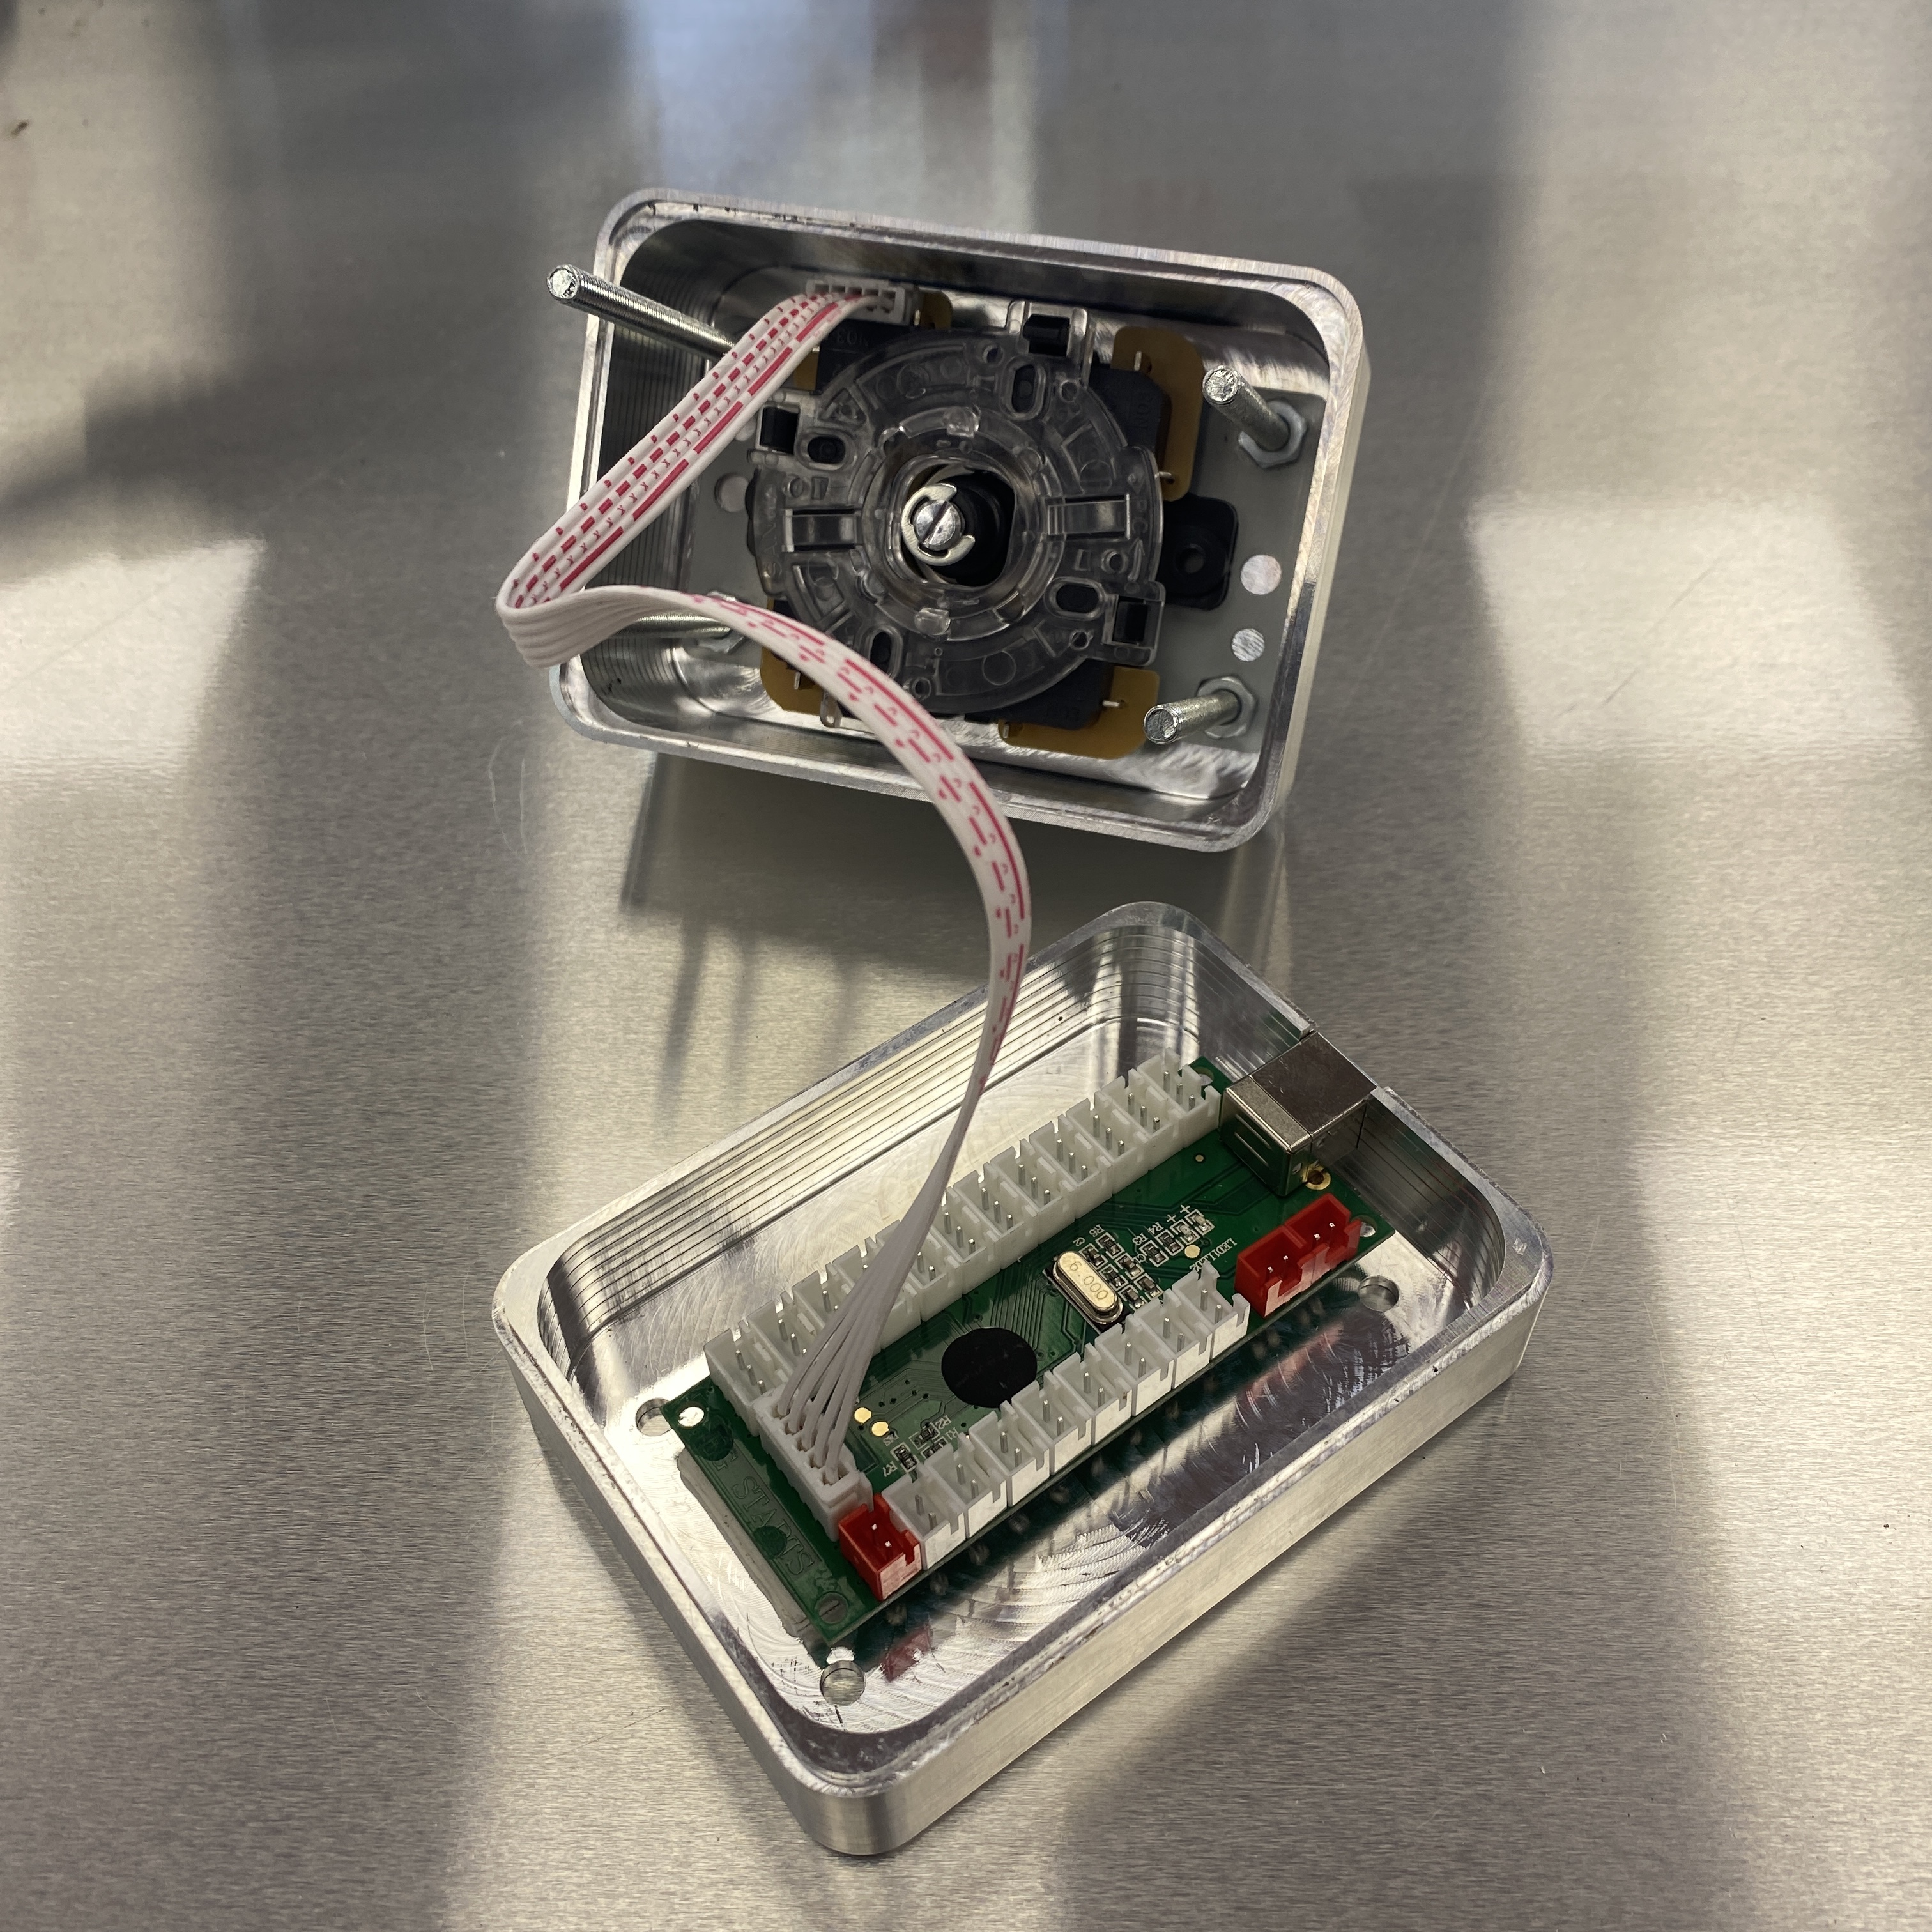
The Razorweld gets it’s own filter/desiccant and I added some tubing to route the water table drain off to the side. I used a touchscreen to drive everything but I wanted some manual controls so I built a separate controller out of an arcade joystick. (I don’t ever see me cutting anything bigger than the table size so mounted the tablet and joystick on the non conventional side. This layout works best for my shop configuration.) And finally I made a cover for the water tray to keep everything tidy.
So that’s it. I’m really happy with the cuts I’ve made so far and the build quality of the Crossfire. I’m already lusting after a Pro, but I’m happy with this current setup.
It’s runs off the tablet, basically emulating the cursor keys. You can get a whole kit from Amazon (link here). I thought about configuring the Start/FeedHold/Stop buttons also (I’ve done that for my Tormach) but that seems overkill for the Crossfire. I machined the case to fit the joystick and emulator board. (photo below). It’s not quite plug and play. Have to download some additional software to setup the keys, but quite simple really.
First off, Welcome to the forum John. Second… damn thats some fancy upgrading to your table. Looks awsome. But now someone is going to try to 1 up you on it. I wish them luck because there going to need it!.
The forum limits the file types you can upload. You can upload virtually any file if you add a .dxf extension to the end. On this end, anyone downloading the file will know to remove the extension and use it as is.