So I have been working for a little while on getting this laser up and running. Having built several CNC routers and plasma tables in the past, I was excited to add this to my shop. I did decide to do some modifications to it. I will detail those for anyone interested.
5 Likes
I’m listening, do tell
3 Likes
Here is my new Apollo laser machine. After I received it, I did make some modifications to improve some things, and make some things more convenient.
Here is the machine now:

Originally, the machine had the 2 monitors mounted to a sheet metal bracket on the side. The keyboard tray, keyboard, trackball was not included. I decided to modify the monitor mount using a wall type mount with 2 monitor brackets and a sturdy keyboard / mouse tray. This makes things much easier compared with a touch screen only.
Here is a better look at the monitor / keyboard mount:
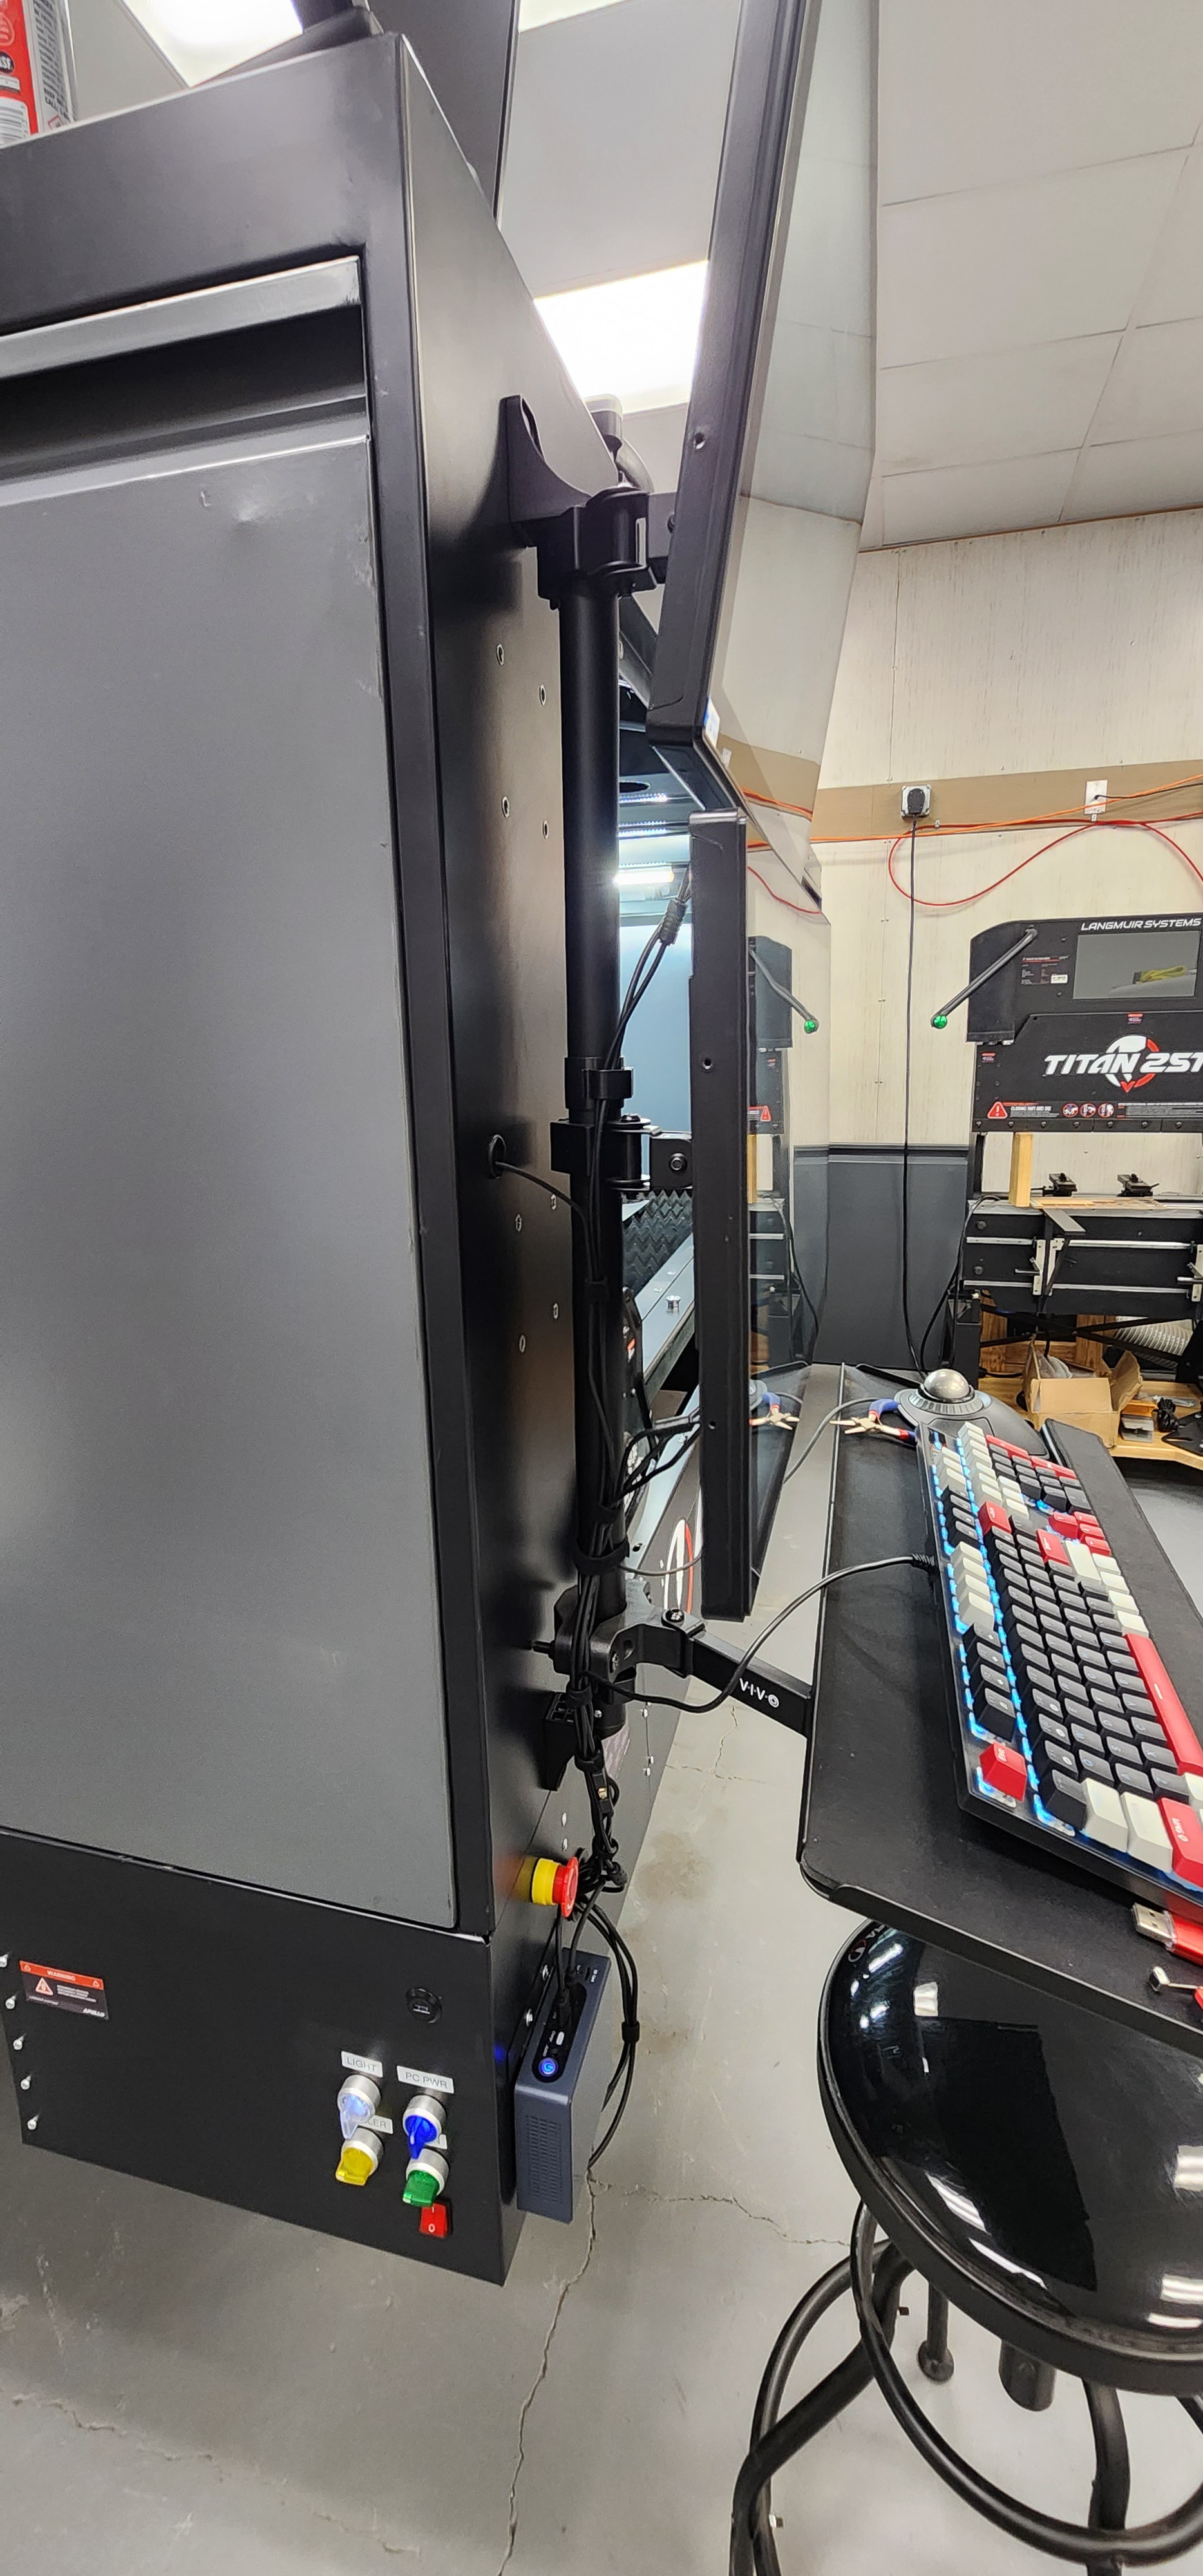
The little PC controller at the bottom right of the cabinet was included with the machine. It was originally mounted on the back of the lower monitor toward the side. I was afraid that the cables would get snagged on things and damage the connections, so I remounted the PC down low where the power button and connectors are still accessible, but no danger of getting snagged. I did use a hole saw to cut a hole in the sheet metal beside the PC for wires to go through. I added a rubber grommet here also. Inside the cabinet I added a power strip with a surge suppressor to protect the PC and monitors. All of this wiring is now inside the cabinet and controlled with one PC power switch.
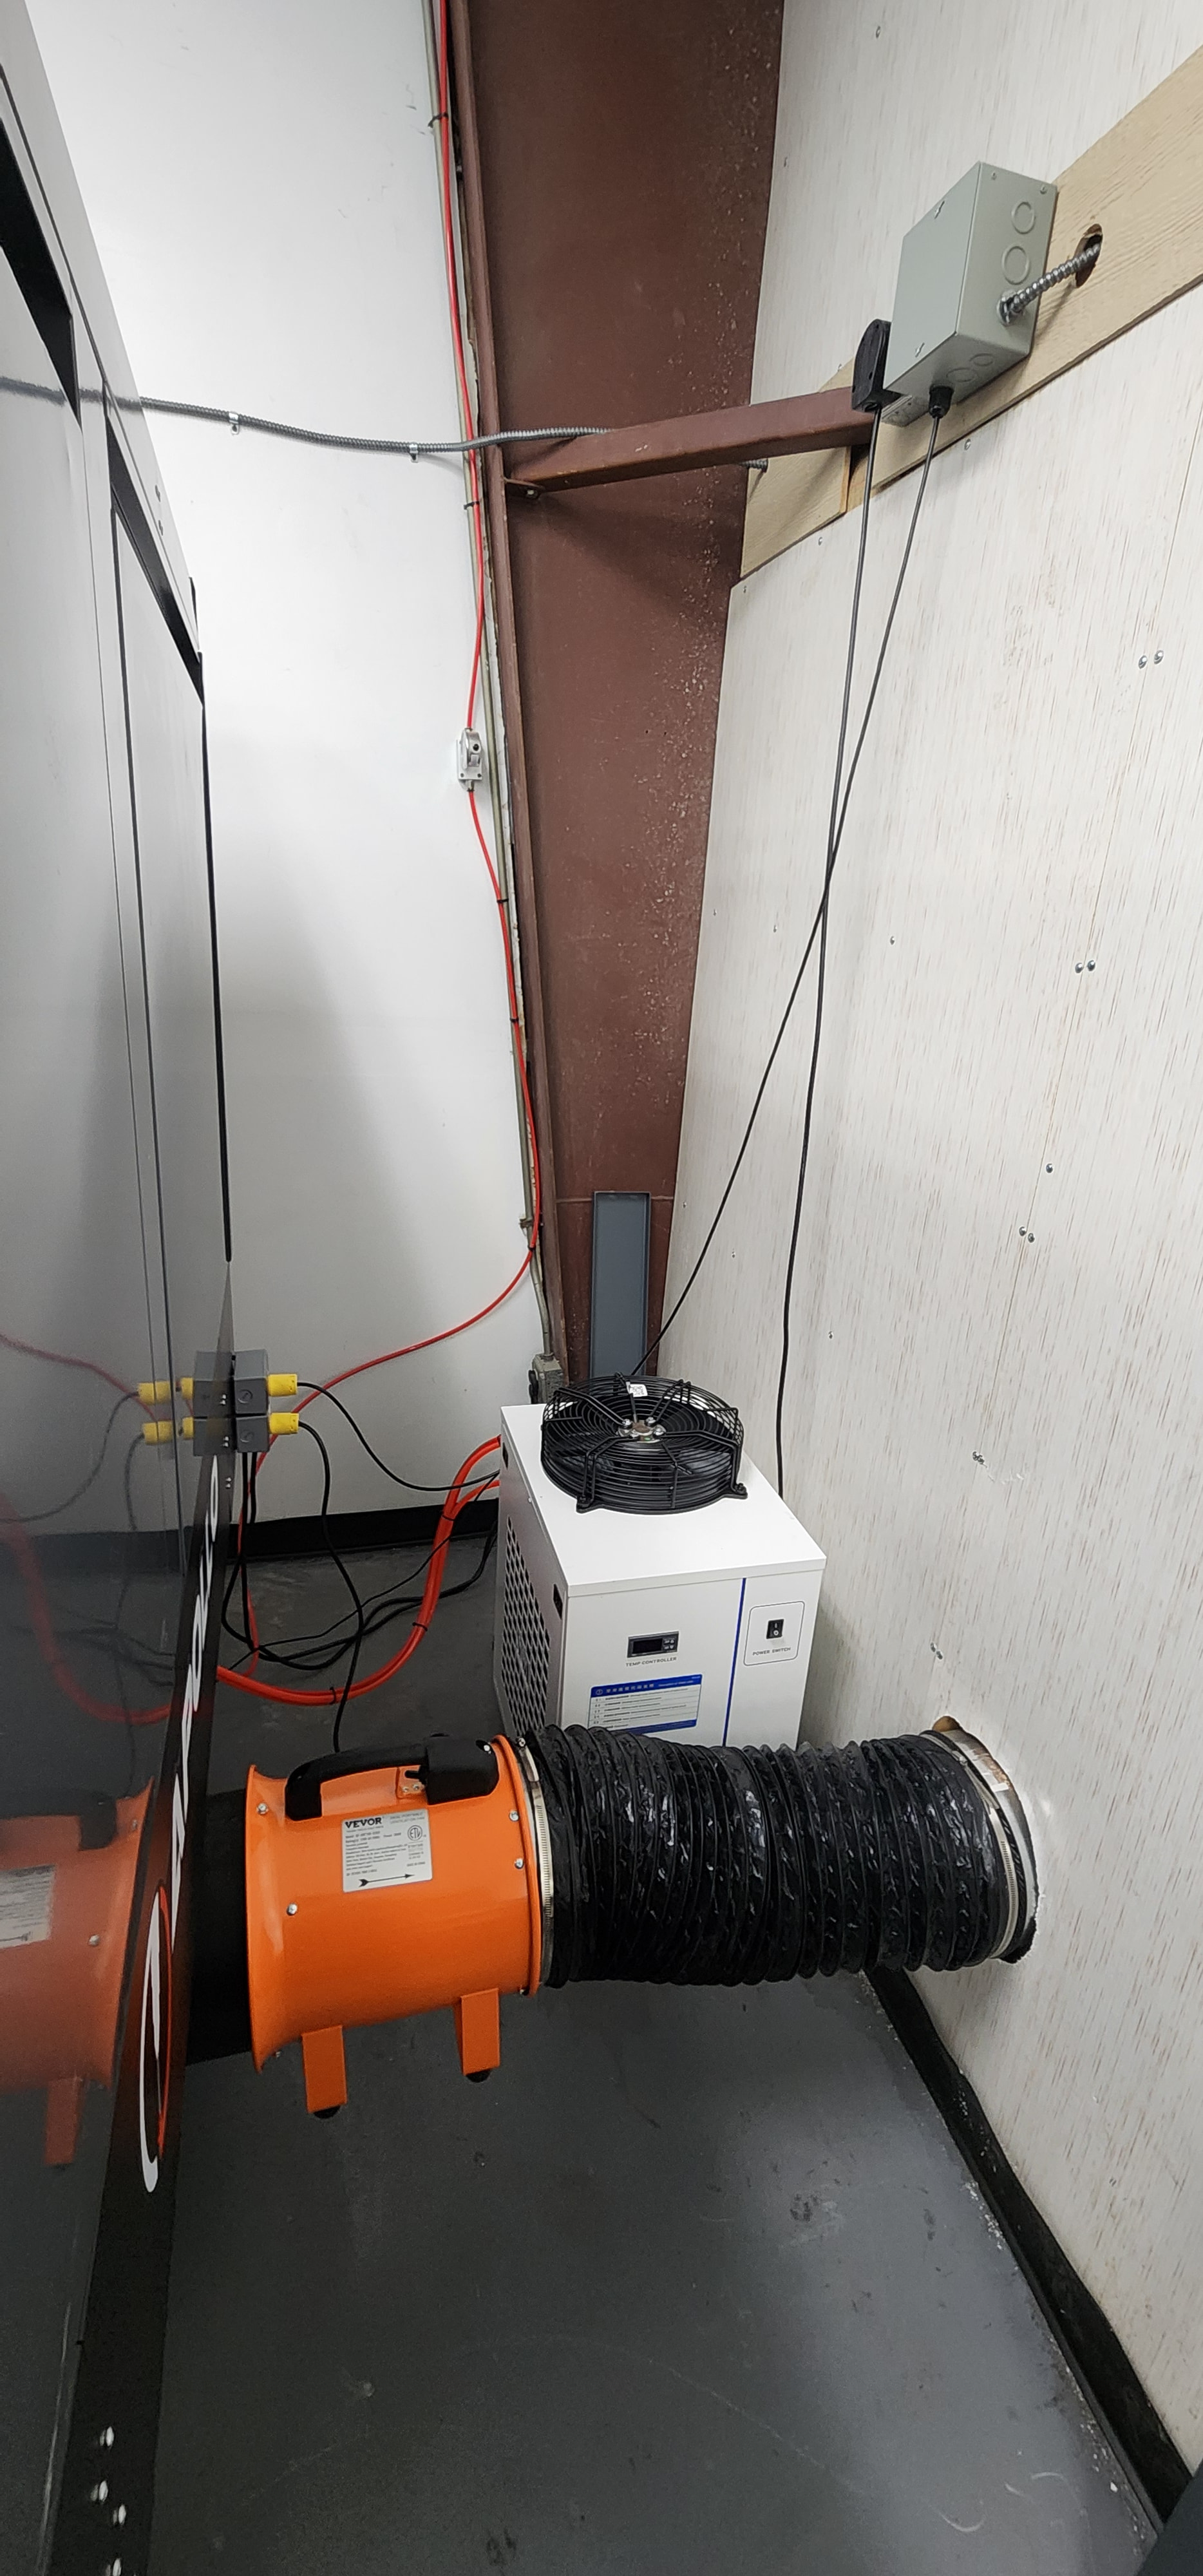
I had ordered this machine with the exhaust option which gives you the metal tube from under the cutting table to the back of the machine. This is a 10” tube. In order to blow the exhaust out of the building, I added a 10” duct fitting through the wall. I purchased a construction type blower fan and attached it directly to the ventilation tube on the laser. I used some rubber edging around the metal tube to prevent metal to metal contact, and just used long self drilling screws to attach the fan to the tube. A short 10” flexible duct connects the fan output to the wall duct. This fan really blows a lot of air. Not too expensive either.

You can also see the chiller in the back here. This is the default chiller that is included. It is plumbed in with 8mm and 10mm urethane tubing. I used about half distilled water and half RV type anti-freeze, just in case. I use the same coolant with my CO2 laser chiller.
The interior light that you see below were also added. The light that was included was pretty small and I didn’t use it. These are 4ft. LED shop lights mounted to the cabinet reinforcements on the ceiling. Very easy to do, and really helps to see what you’re doing.

The way that all of the hardware was set up originally had separate power wires for everything. Each piece of equipment also had it’s own power switch: chiller, blower fan etc. I decided to make this more convenient by making a switch panel on the machine to control everything in one place.
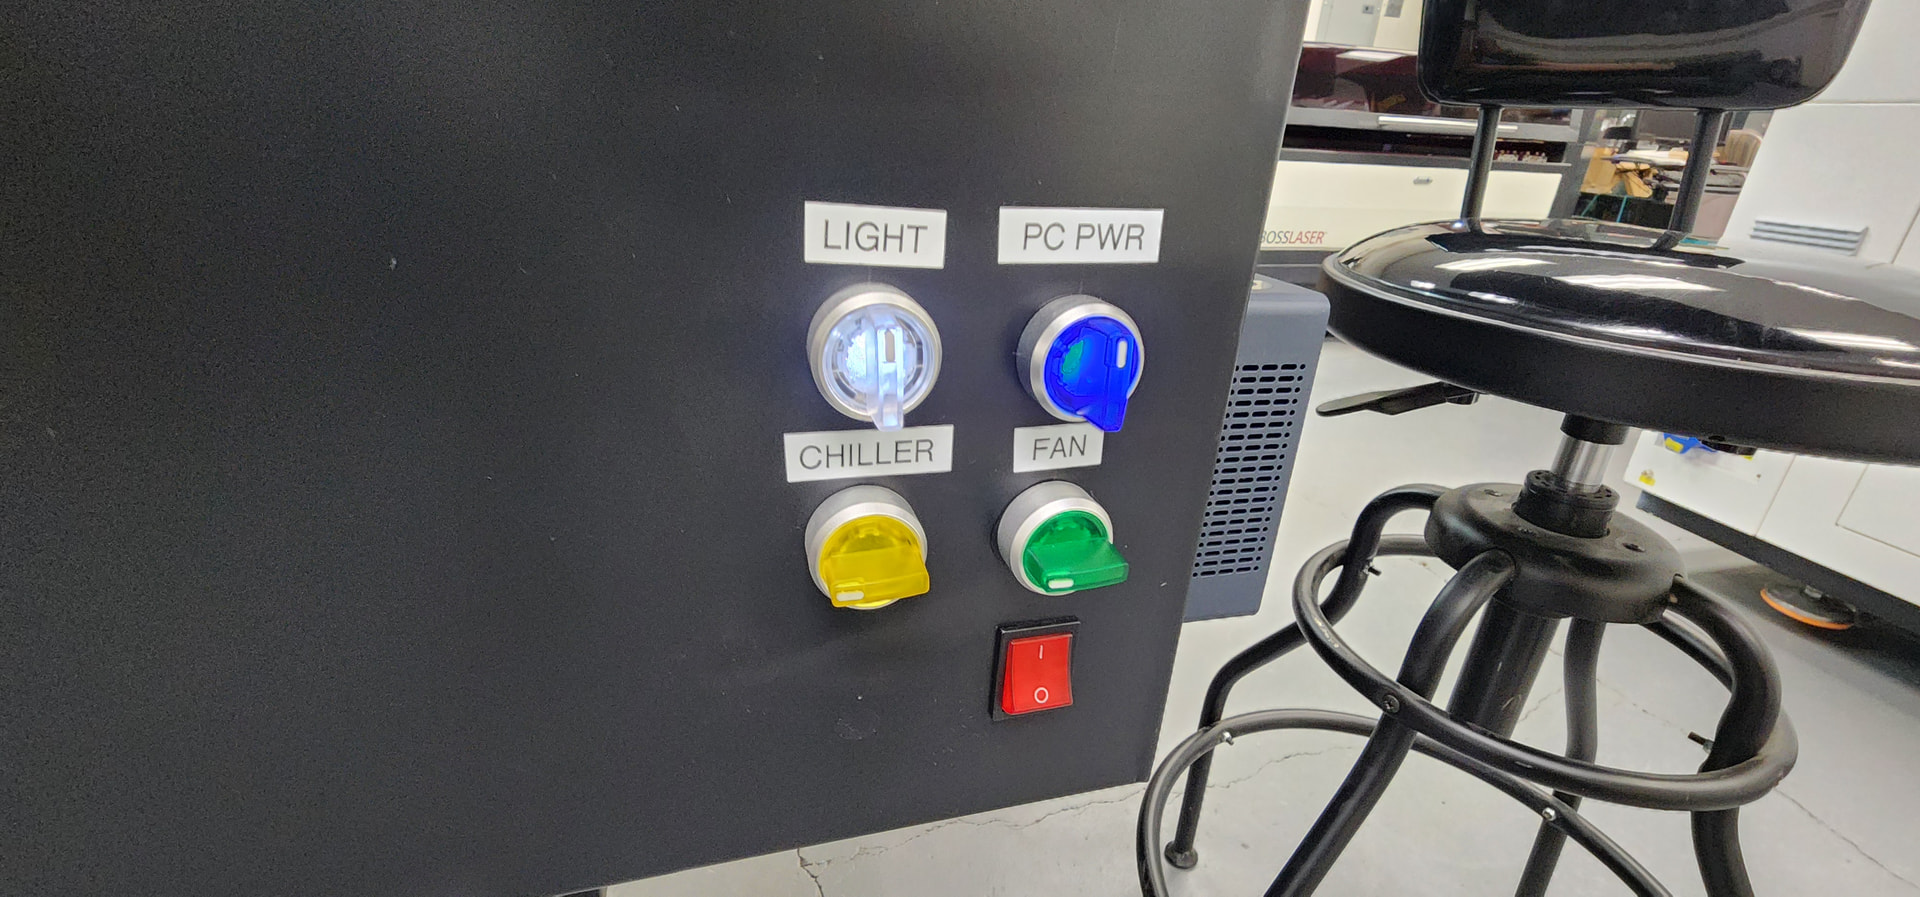
I installed a 110VAC power cord jack into the machine for 110VAC power. The default cord is for 220VAC. I used the 110VAC jack to power the lights, PC and monitors without any external wiring. You can also see here the mounts that were added for the chiller tubing.
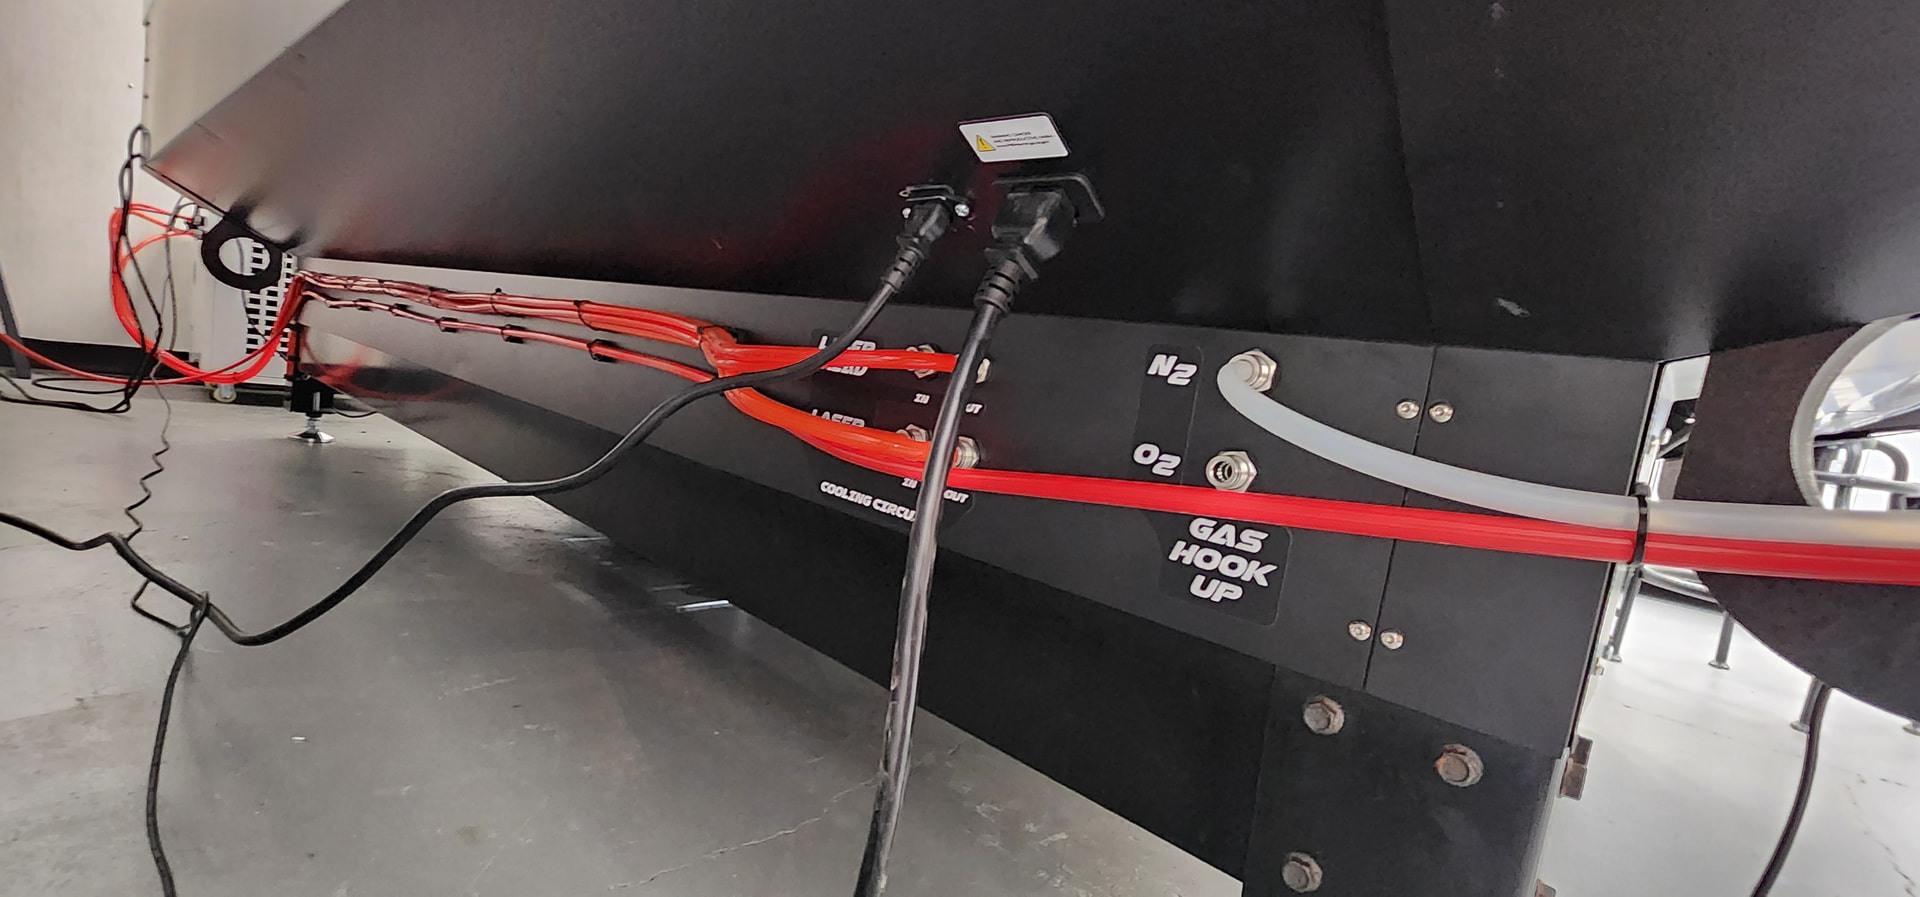
The switches for the blower fan and chiller are connected to some extra 110vac outlets that I mounted to the back of the machine. You can see these beside the chiller in the photo below. Since the chiller runs on 220VAC, I used the 110vac outlet to activate another relay, which in turn switches on the 220VAC to the chiller. This relay is mounted to the wall beside the chiller 220vac plug.
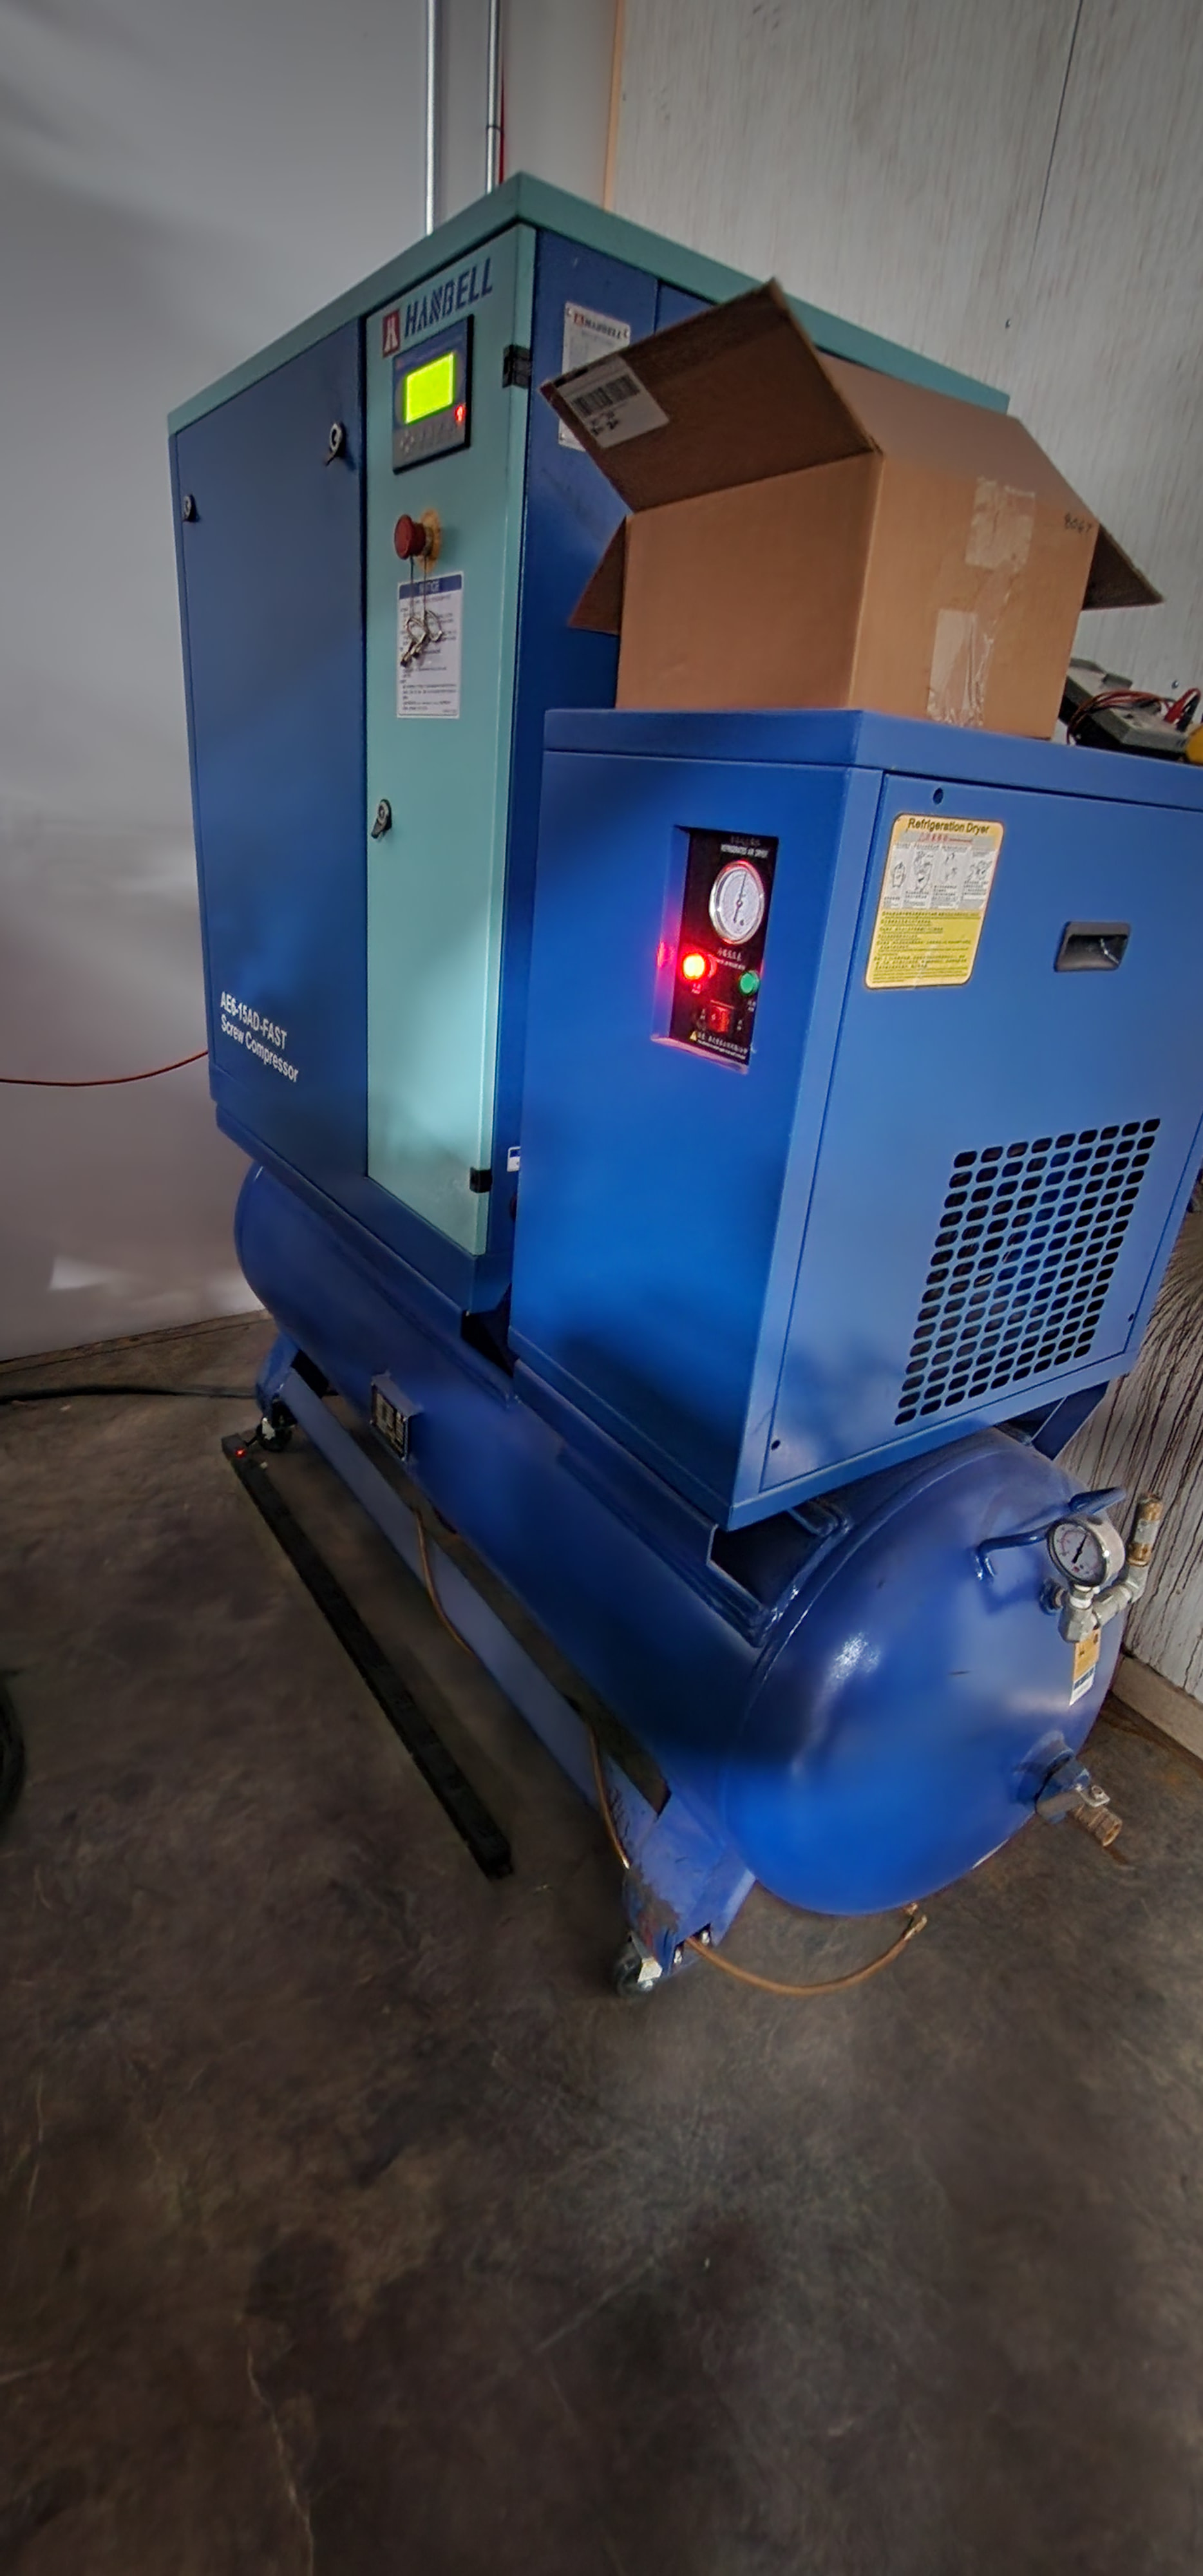
Instead of using pure nitrogen as a cutting gas, I purchased a scroll compressor for the laser. This compressor had to be wired in with 380VAC which required a special transformer, but it does save the hassle of hauling around nitrogen tanks.
Here is the compressor:
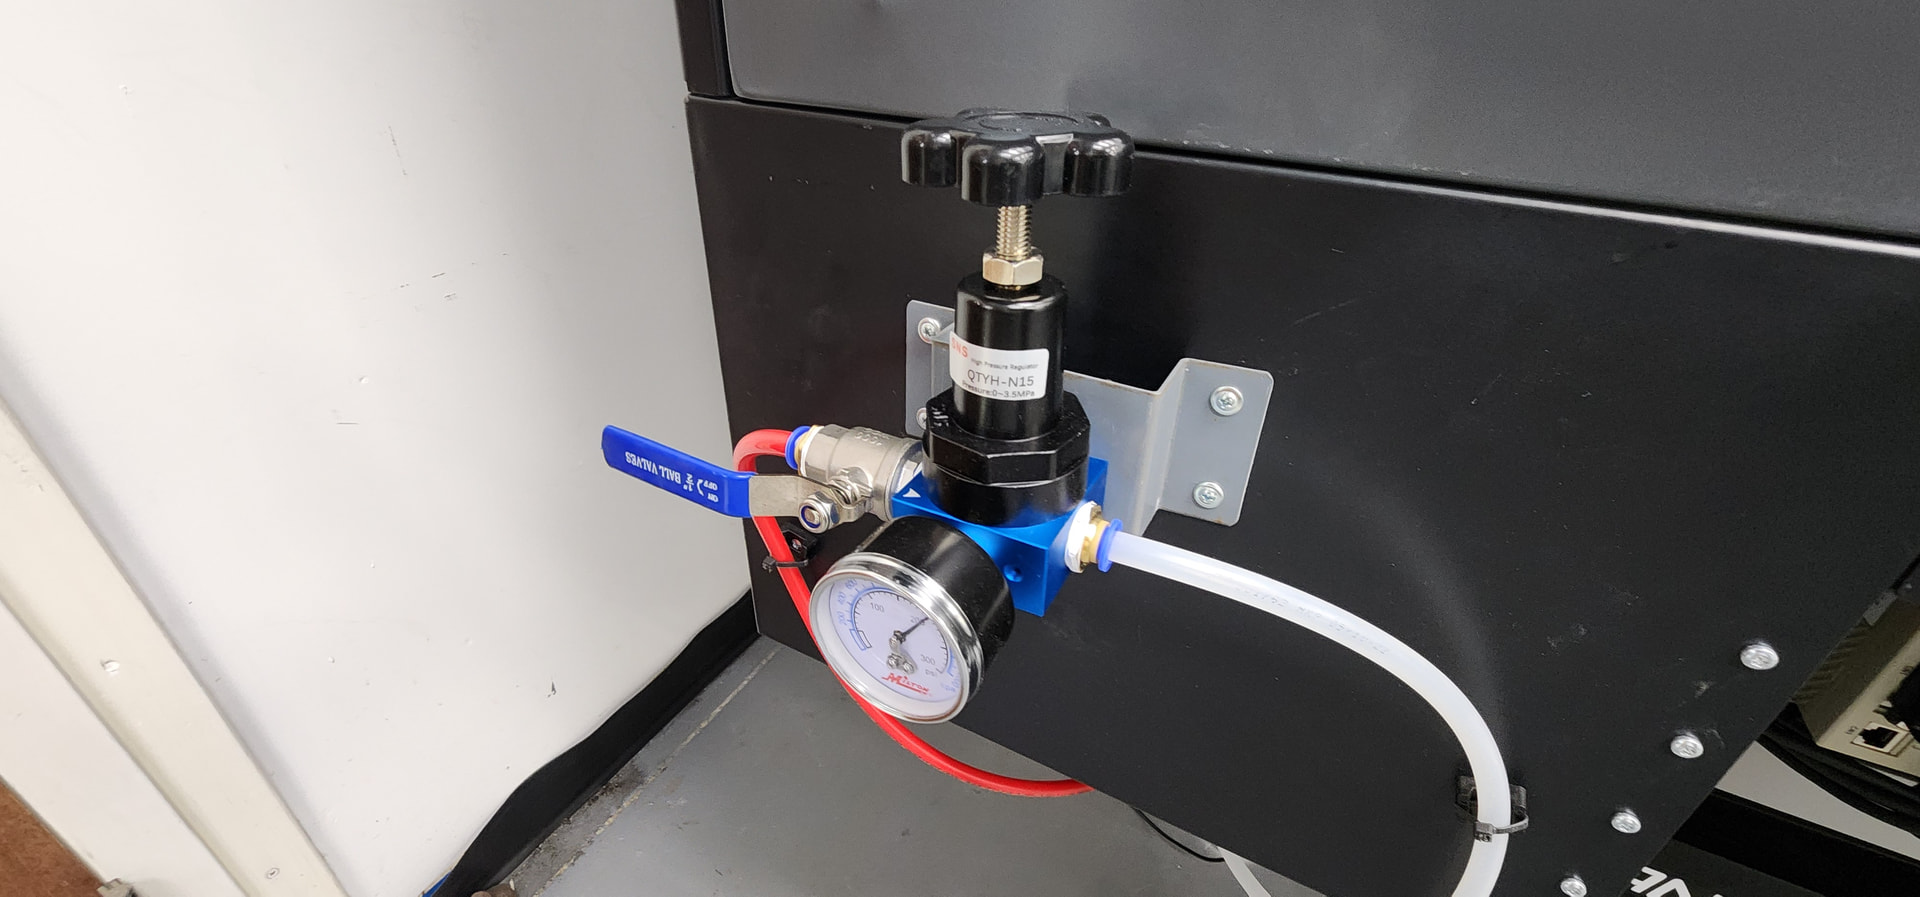
Sometimes when cutting materials, the air pressure needs to be changed. To make this easier, I added a high pressure air regulator on the machine, close to the air inlet ports. There is also a ball valve to shut things off in case of a leak. I leave the compressor regulator set to a higher pressure, and then lower it here.
When I received the machine, the controls wiring was all bundled with zip ties, which made it difficult to identify circuits and do testing. Granted most people probably won’t need to do that, but I decided to add some Panduit type wire management to the controls area. This really makes it easier to pull out connections, check them, and reinstall them without much trouble. It also reduces the strain of wires pulling on the connectors, which could cause problems later on.

So after all of this, I did get some bugs worked out and got the laser to cut material. I started out cutting the little washer file included with the machine, but then loaded up a more challenging part and it cut that very nicely.
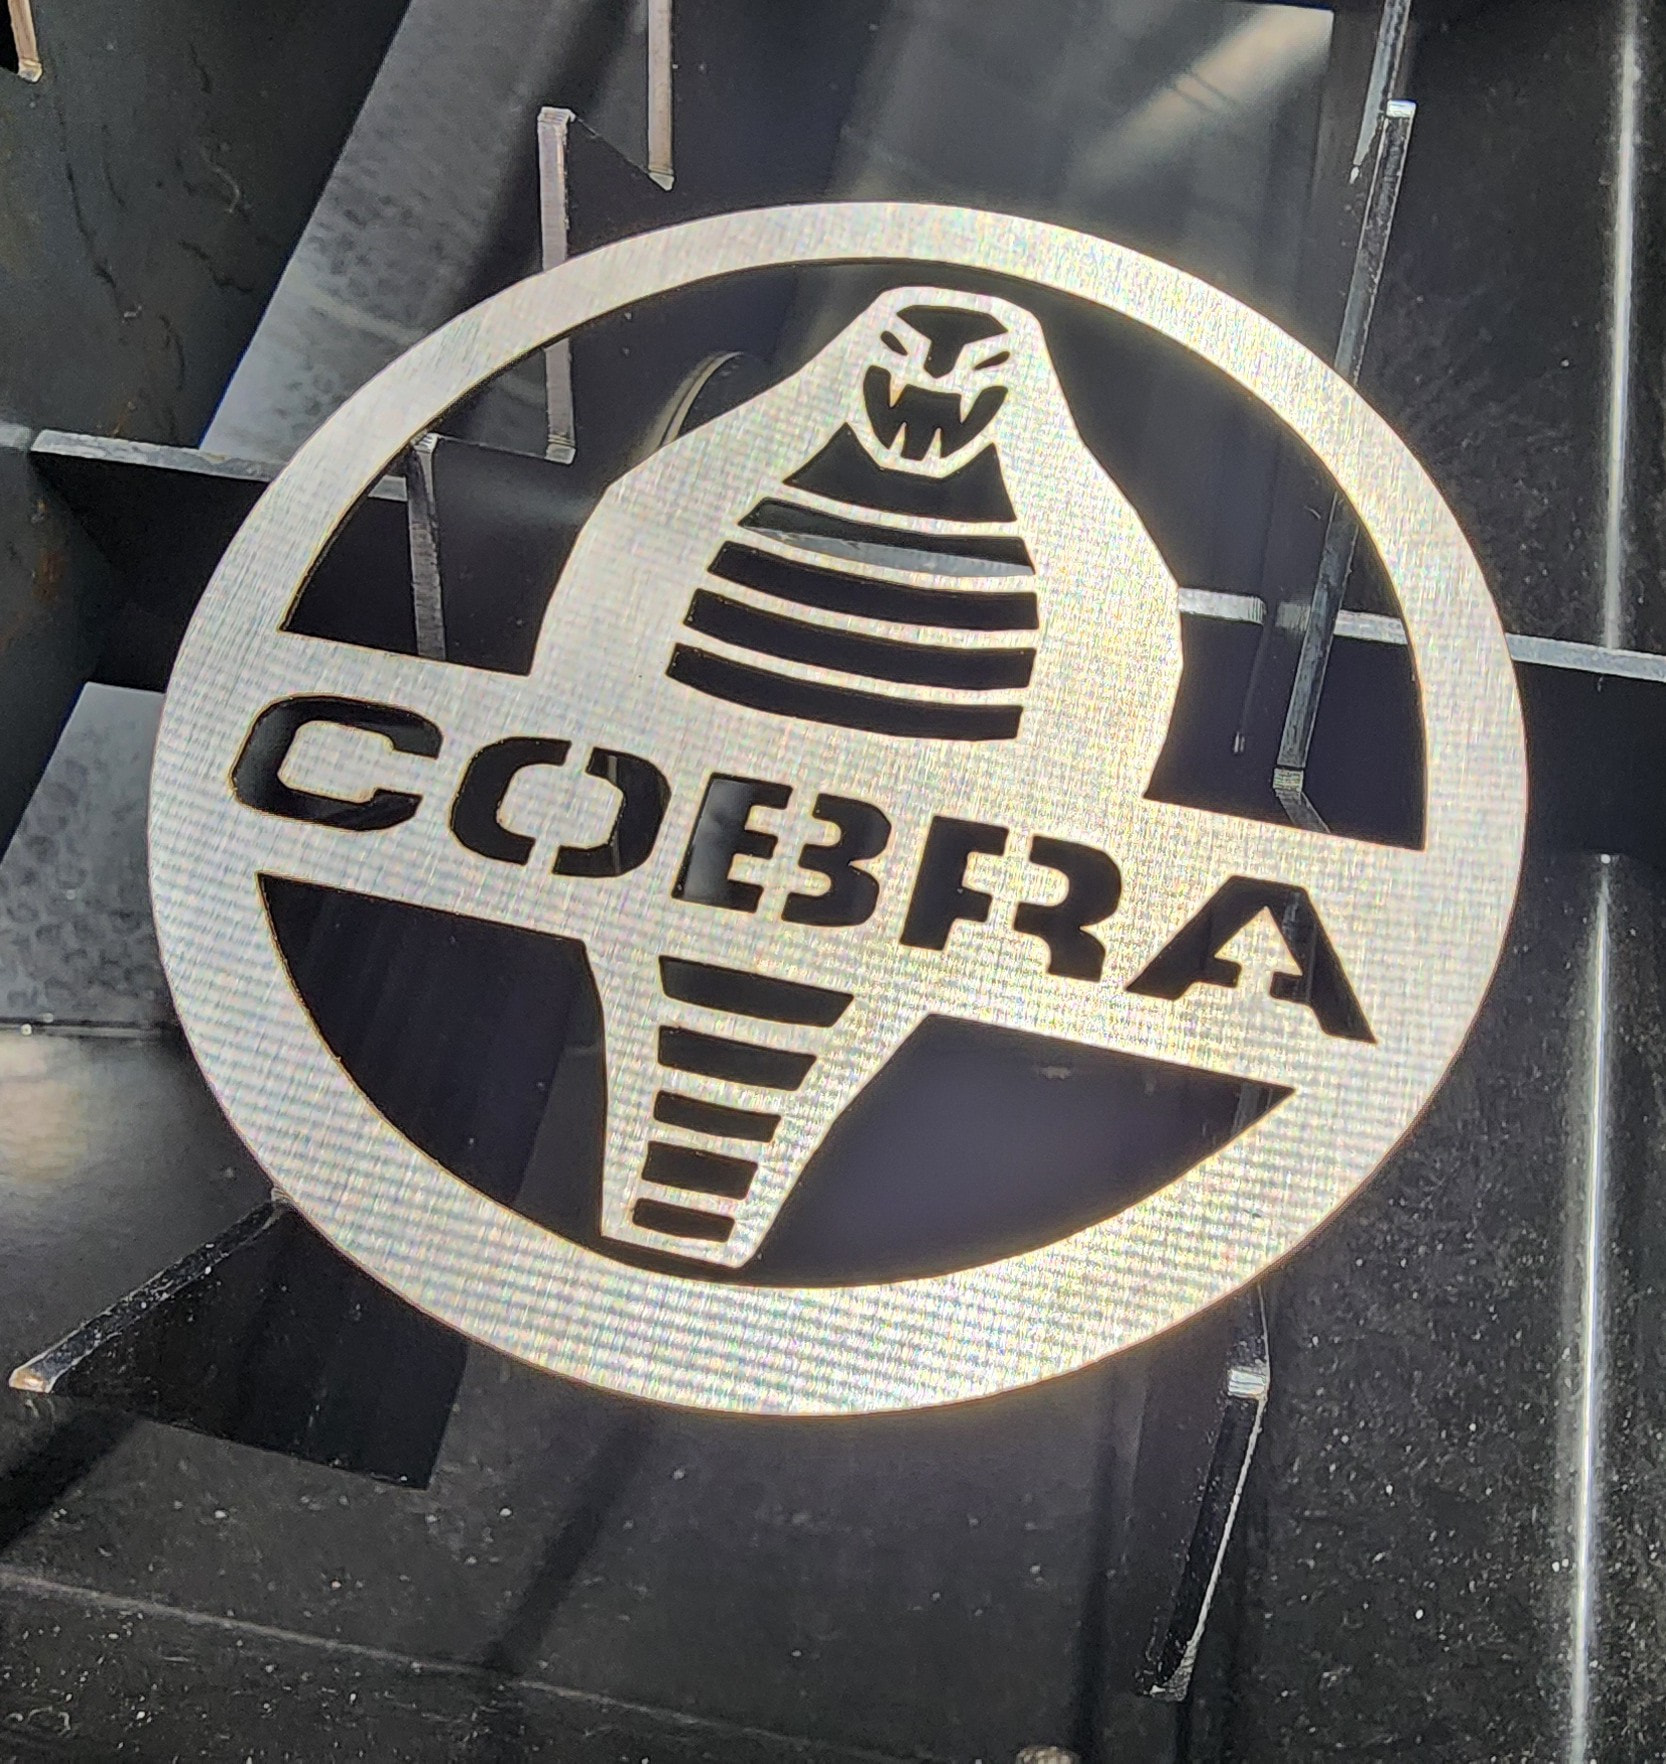
This is 4” in diameter and cut from 20 gauge 304 stainless steel. There is a slight lip on the bottom after cutting but I will play with the settings some more and try to improve the edge. Not bad for the first try though.
5 Likes
Very nice set up. Thanks for sharing.
Is this for production or just fun?
1 Like
Mainly for production, but I do use the tools for the occasional hobby parts. You can see the Titan brake there in the pics; I also have a PEM setting machine and a 300W galvo laser. With these I should be able to laser cut material, bend it up, press in stud or standoff hardware and then laser engrave text and graphics directly on the metal. We could also powder coat too, depending on the application. I will be testing this out soon and will post the results.
2 Likes
Nice job on all the upgrades, looks really nice.
How the heck do you load full size sheets?
1 Like
The grey panels pop off. It is a bit of a hassle taking the first couple of panels on and off all the time, so I may do some kind of track door or curtain for that.
1 Like
Hey Rick! Awesome set up! Thanks for sharing!
2 Likes