I tried both sizes and I found the 21" was too much in my face.
The 15" is the “Goldilocks” size for me. Not too big and not too small.
I use these 15" monitors on all of my CNC tools.
The last 15" I bought in September 2020 was only $175 including shipping.
The 21" I bought at the same time was $190.
A Google search for the same specs (multi-touch, 15 inch, HDMI connector, 1080P resolution, and Vesa mount) came up with a few others, but they were all just as expensive.
IMHO the increase is a result of global Covid supply shortages.
In any case this is a great monitor even if now more expensive.
Jim, thanks for the quick reply. I expected to pay a premium for the larger monitor but when I saw it was less expensive, I thought there might be a function disadvantage or a typo.
I had looked at Dell touch screens a few weeks ago. They were very expensive, so $209 is attractive.
I’m looking forward to putting the whole project together.
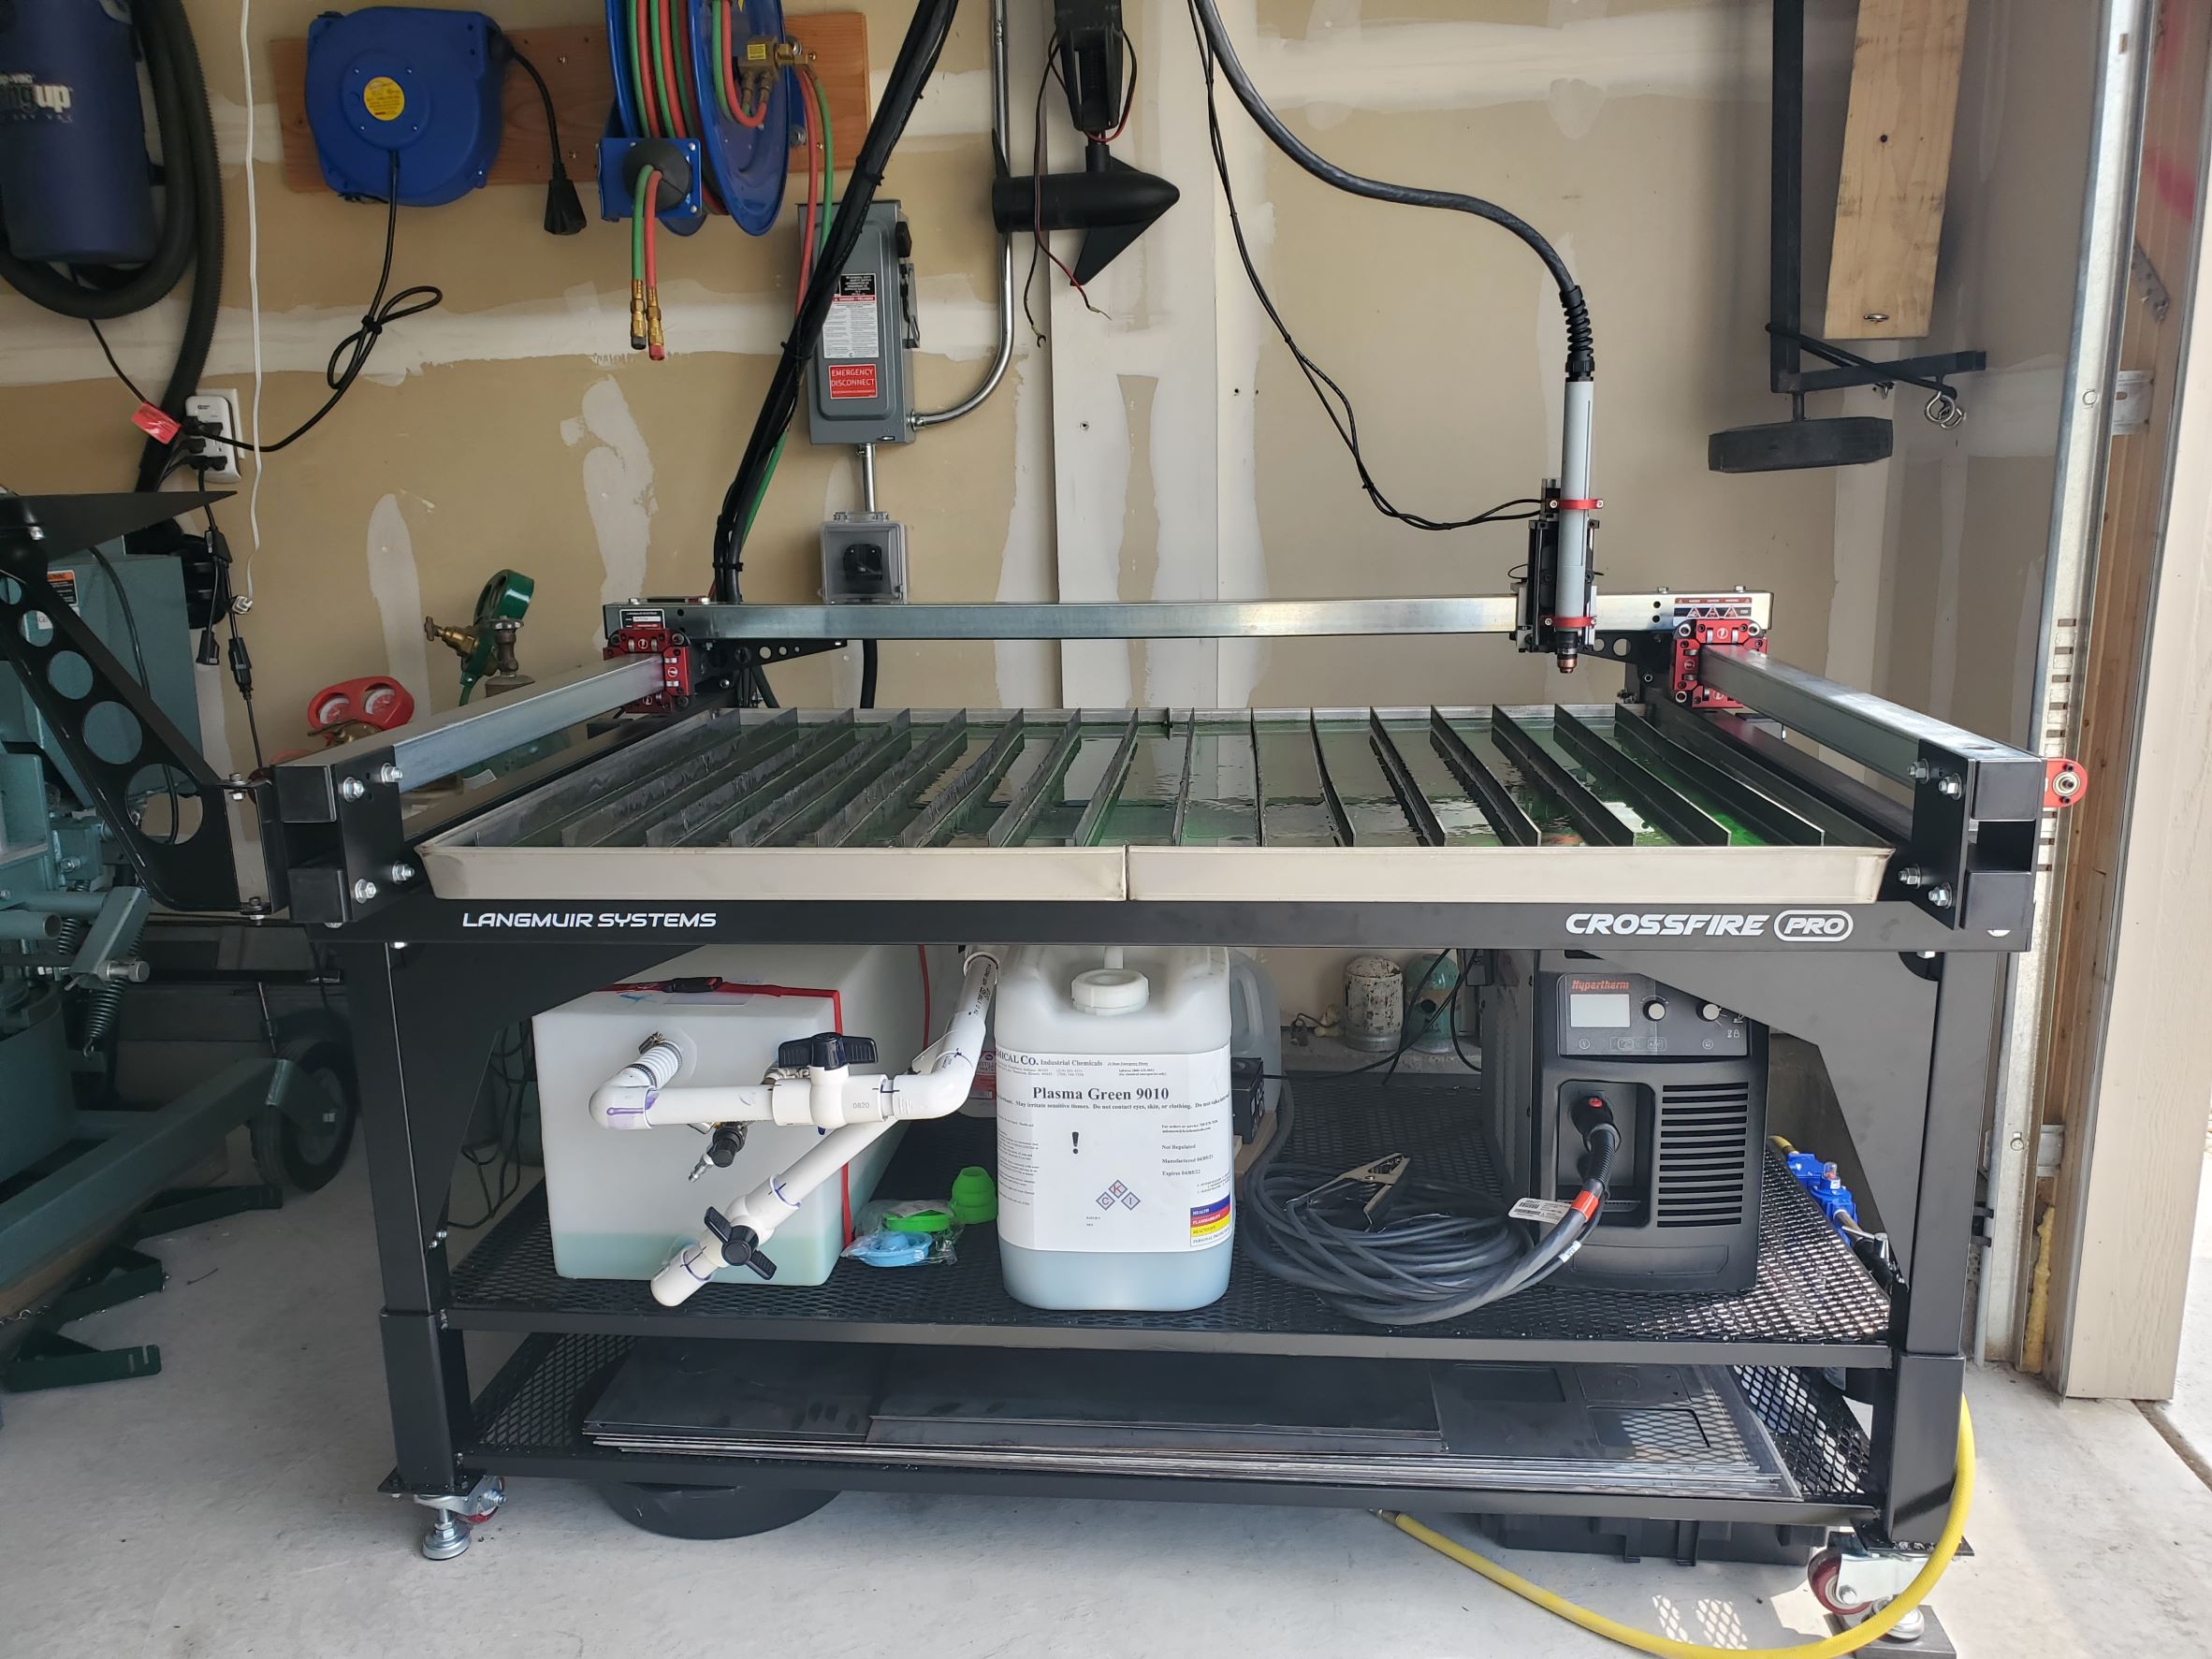
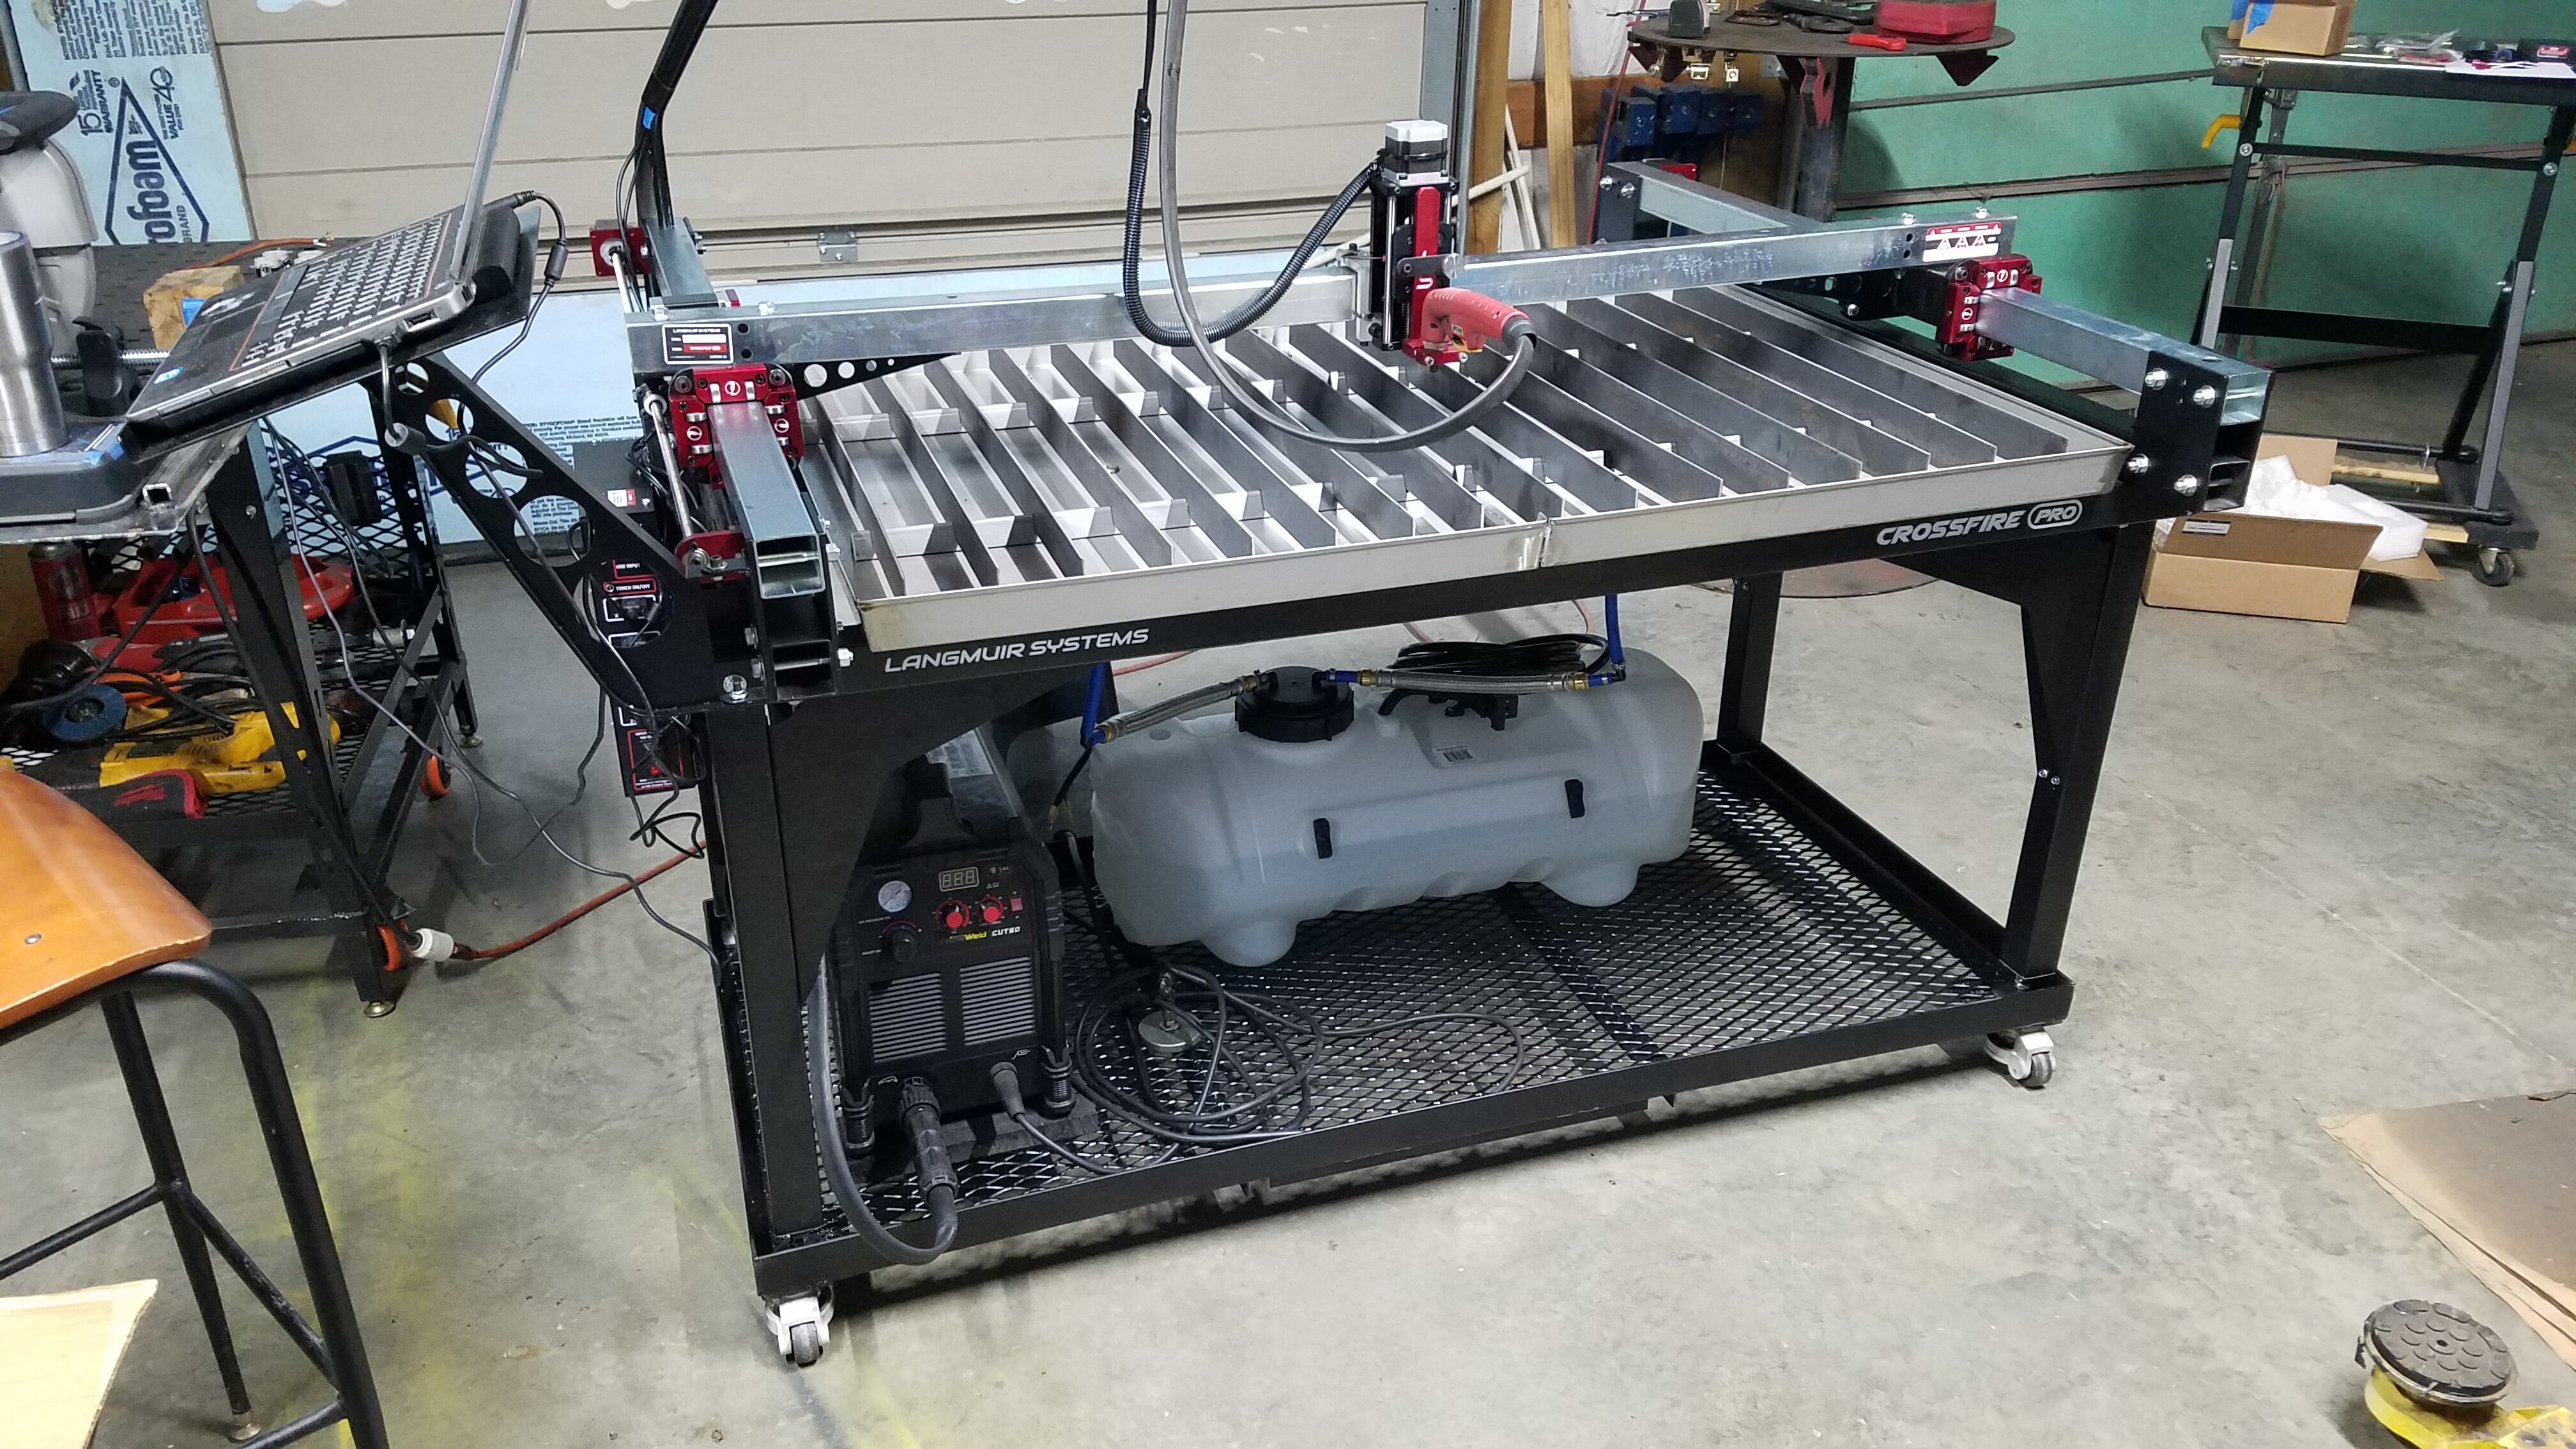
The CrossFire Pro table is amazing and you can’t beat it for the price point! I’ve dreamed of my own CNC plasma table for years and Langmuir allows for that possibility. We have $20K plus industrial tables at work and you can’t hardly tell a difference in the end result. That said, use a bit of common sense and ingenuity when you are troubleshooting any problems. I thought I’d share a handful of recommendations to make the CrossFire Pro table even better, much of which were taken from this forum thanks to great ideas from others.
The packaging is excellent along with the instructions. Bags are clearly labeled. Read through the entire set of instructions first and don’t skip steps because you think you know better!
Build a set of shelves and casters as you assemble the unit! By using 2-1/2" sq tubing, the existing CrossFire Pro legs will slip into place and then no welding to the frame is needed. Allowing you to disassemble if ever needed, fix other parts, etc. Install casters with leveling feet.
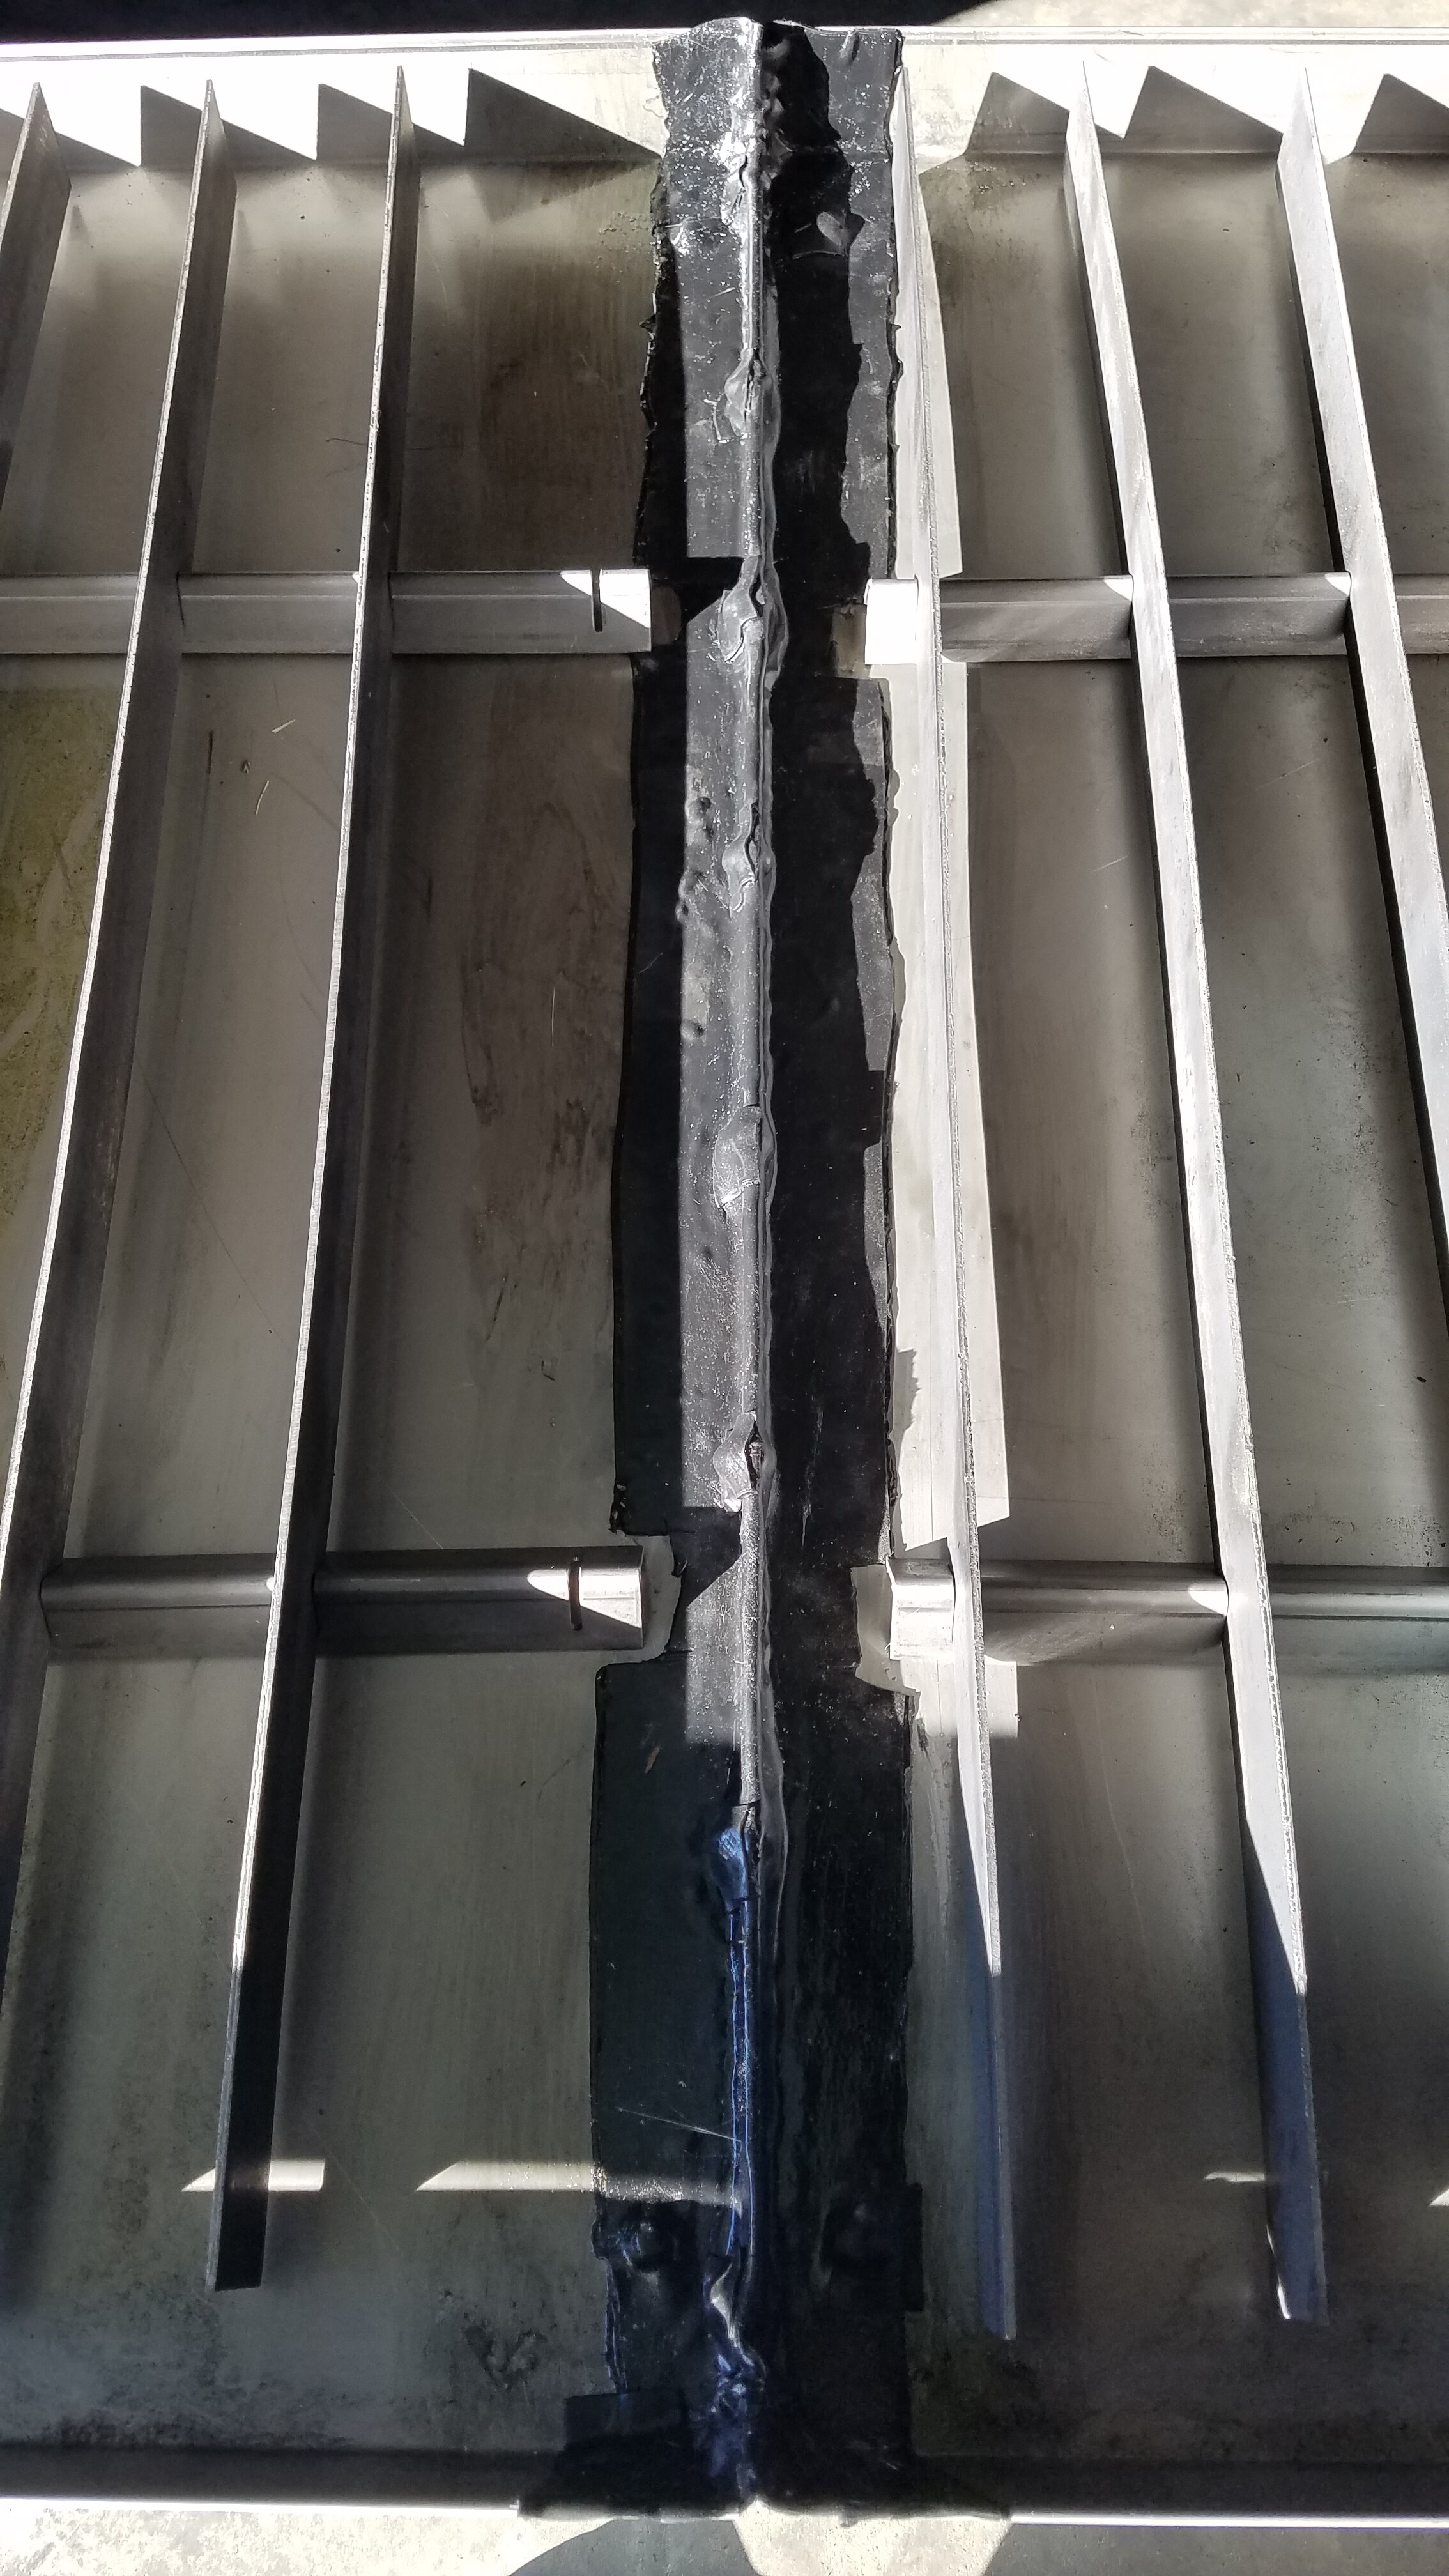
Use a urethane sealant instead of the silicone provided to join the two tables halves, otherwise you are asking for leaks. A great choice is Pro Flex RV Flexible Sealant. You can use the provided silicone to hit the corners of the table as mentioned.
Use HammerFab Large Flat Recess Dimple Dies to enlarge and recess the existing drain pan holes. The large die fits perfect and allows for a 1" NPS Brass Bar Sink Drain that sits perfectly flush with the pan. No welding or other accessories needed.
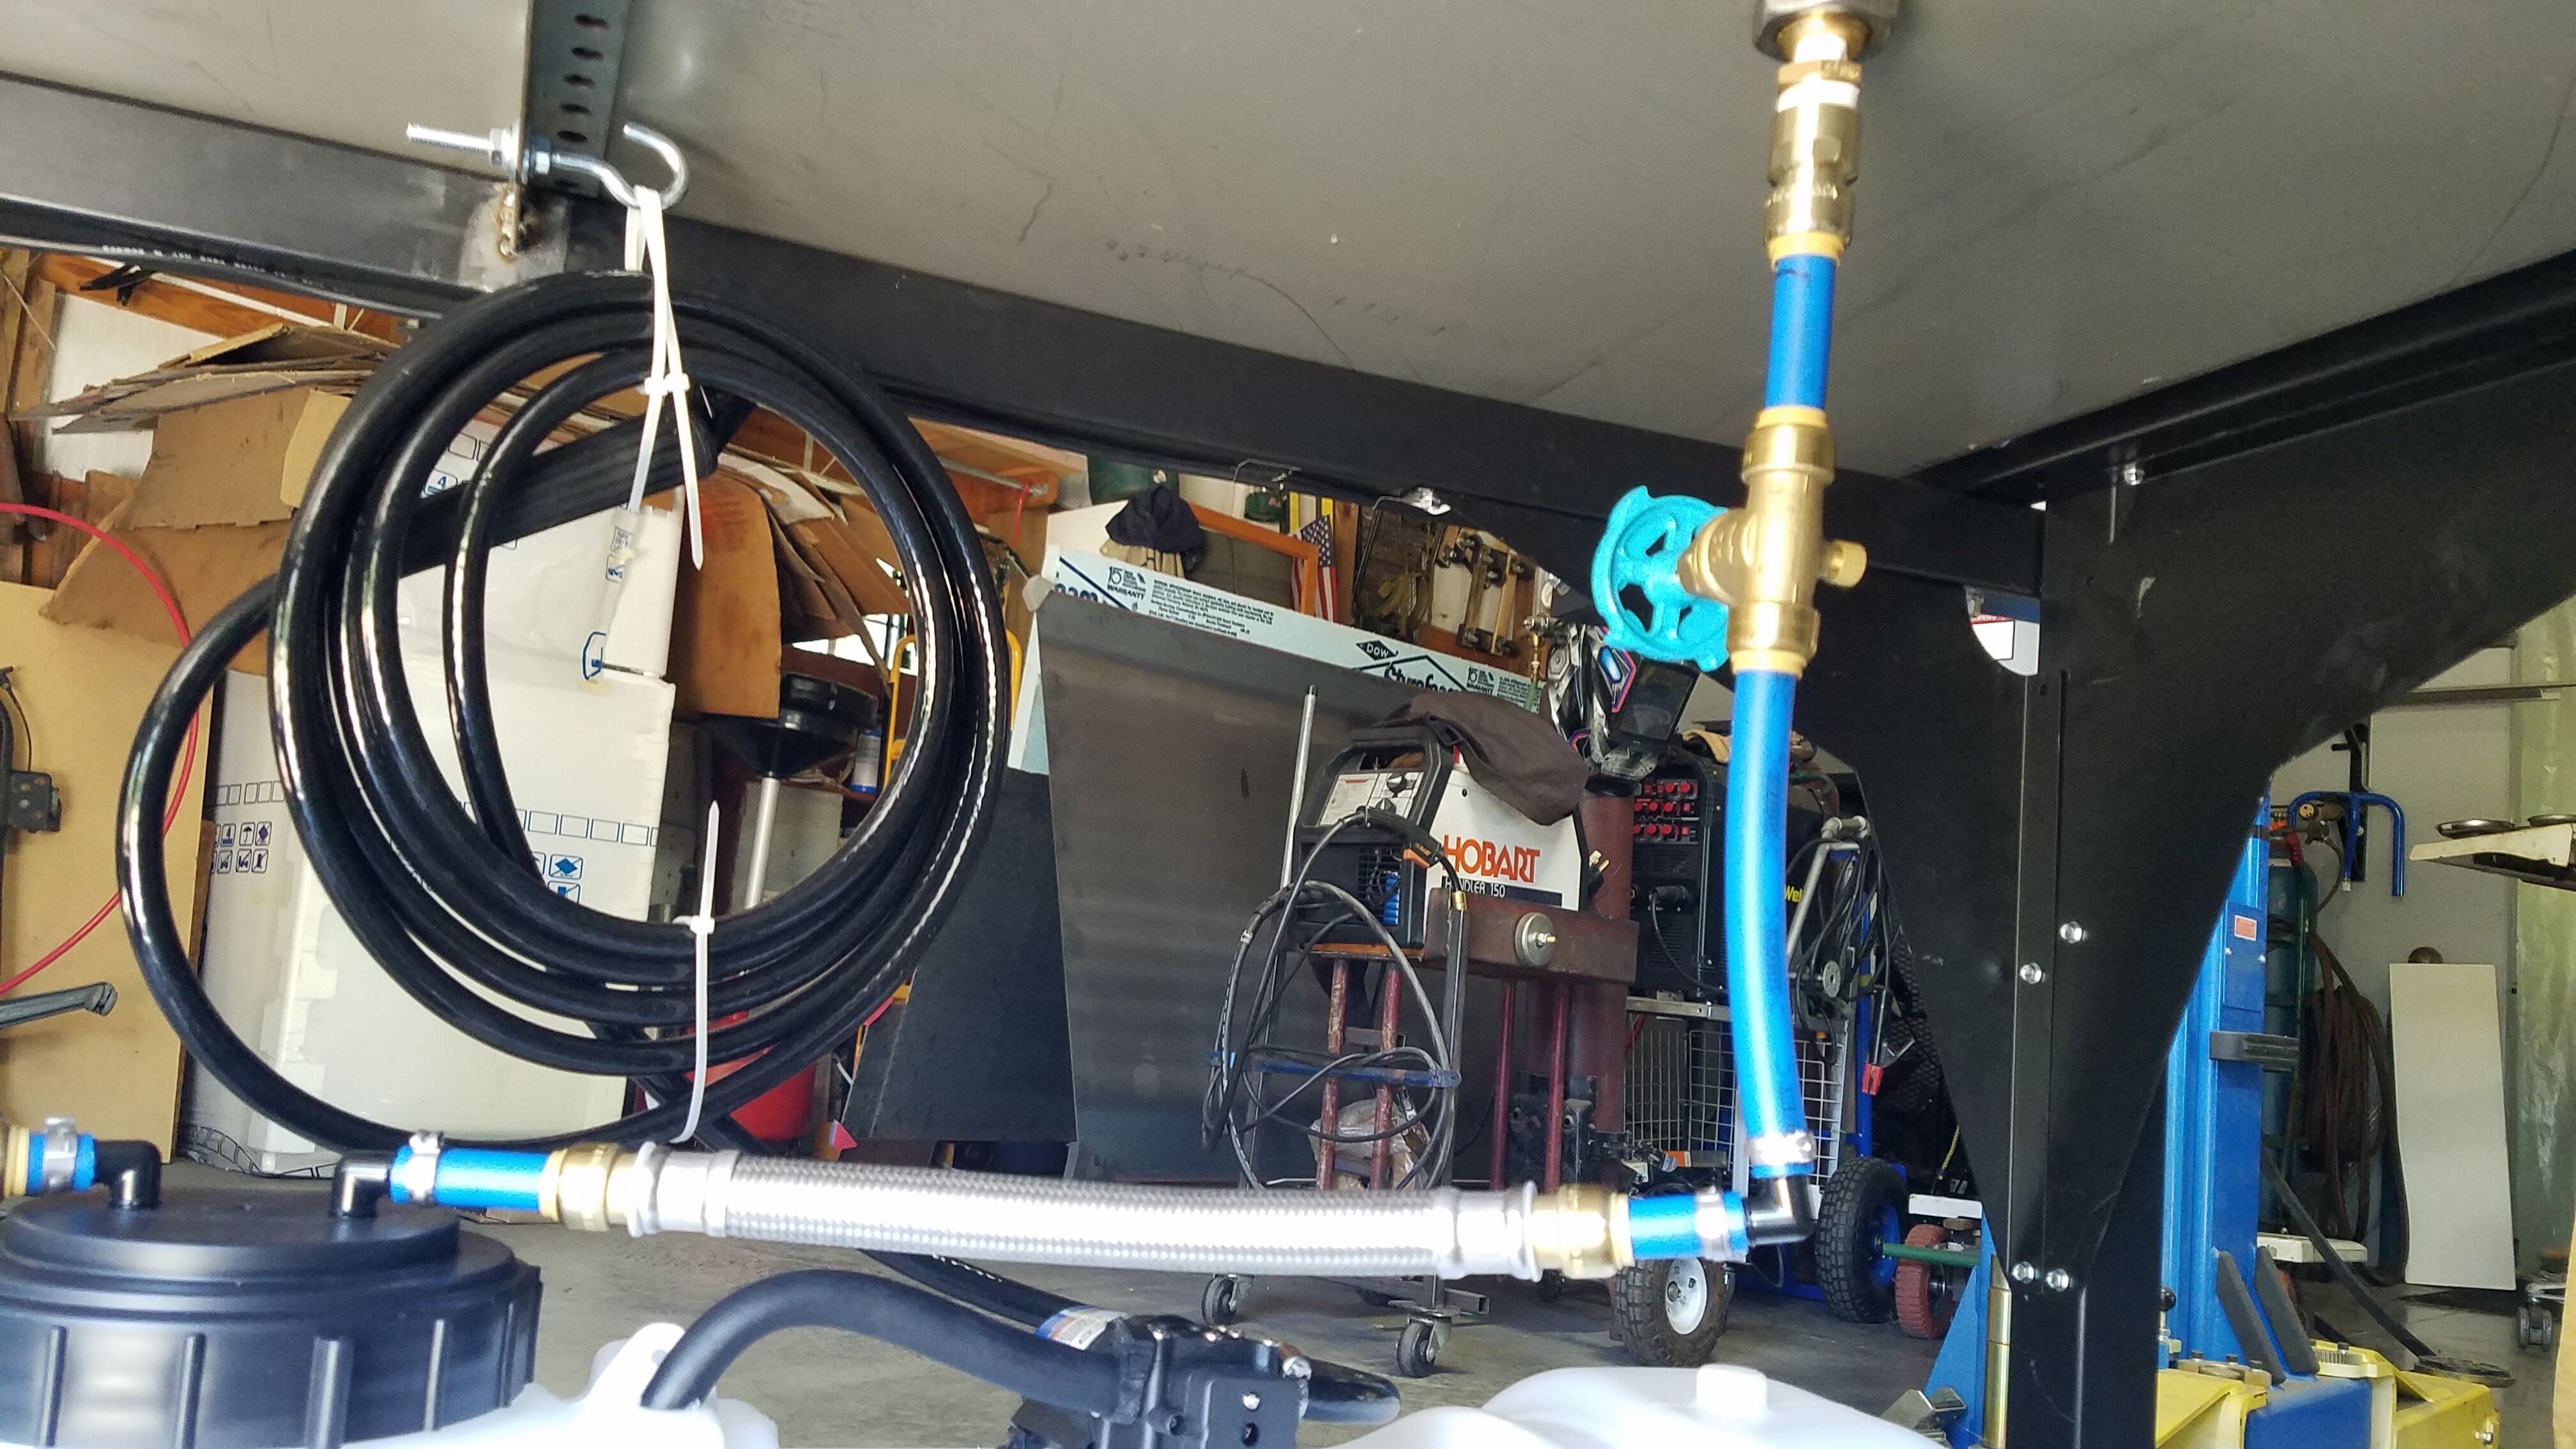
Plumb the drain system to a 20 gal tank and connect with 1" PVC pipe. A union will allow for direct connection to the bar sink drain along with a disconnect if needed. You can attach an air line (low psi) and slowly back-feed to fill the table after draining. Use Scotch Brite pads as filters over the drain.
Plasma Green 9010 additive works great at the 5% recommended ratio.
Add (2) 36" x 24" silicone mats to the water table to further protect the stainless. This will help prevent discoloration and damage to your water pan.
Install a light above the table if needed, excellent lighting is critical.
Go for the THC option, Hypertherm (or other reputable brand) plasma machine, and a machine torch - you won’t regret it other than the initial price scare. Others may claim initial success with cheap brands but your cut quality and consumable life truly will outweigh any other decision, hands down. If you pair this CrossFire Pro with a top notch plasma cutter then you are playing in the big leagues.
Create a toolset in SheetCam that has the appropriate settings for each thickness of material along with choice of metal (mild steel, aluminum, stainless, etc). SheetCam far outperforms Fusion360 in generating G-code and cut path options. Don’t get me wrong, Fusion360 can be great to draw in (I use more for 3D while still using AutoCAD for 2D).
I hope the above tips and recommendations aid in your setup! Below are photos of the above mods:
My build is pretty well finished. I got my brother-in-law to seal my water tray joint with some Firestone roofing waterproof lap joint materials today. He said it is designed to be permanently underwater.
I tried the silicone seal method and it leaked. So, I TIG welded it AND had him come over and apply a seal. I will fill it tomorrow, even though he said no need to wait,
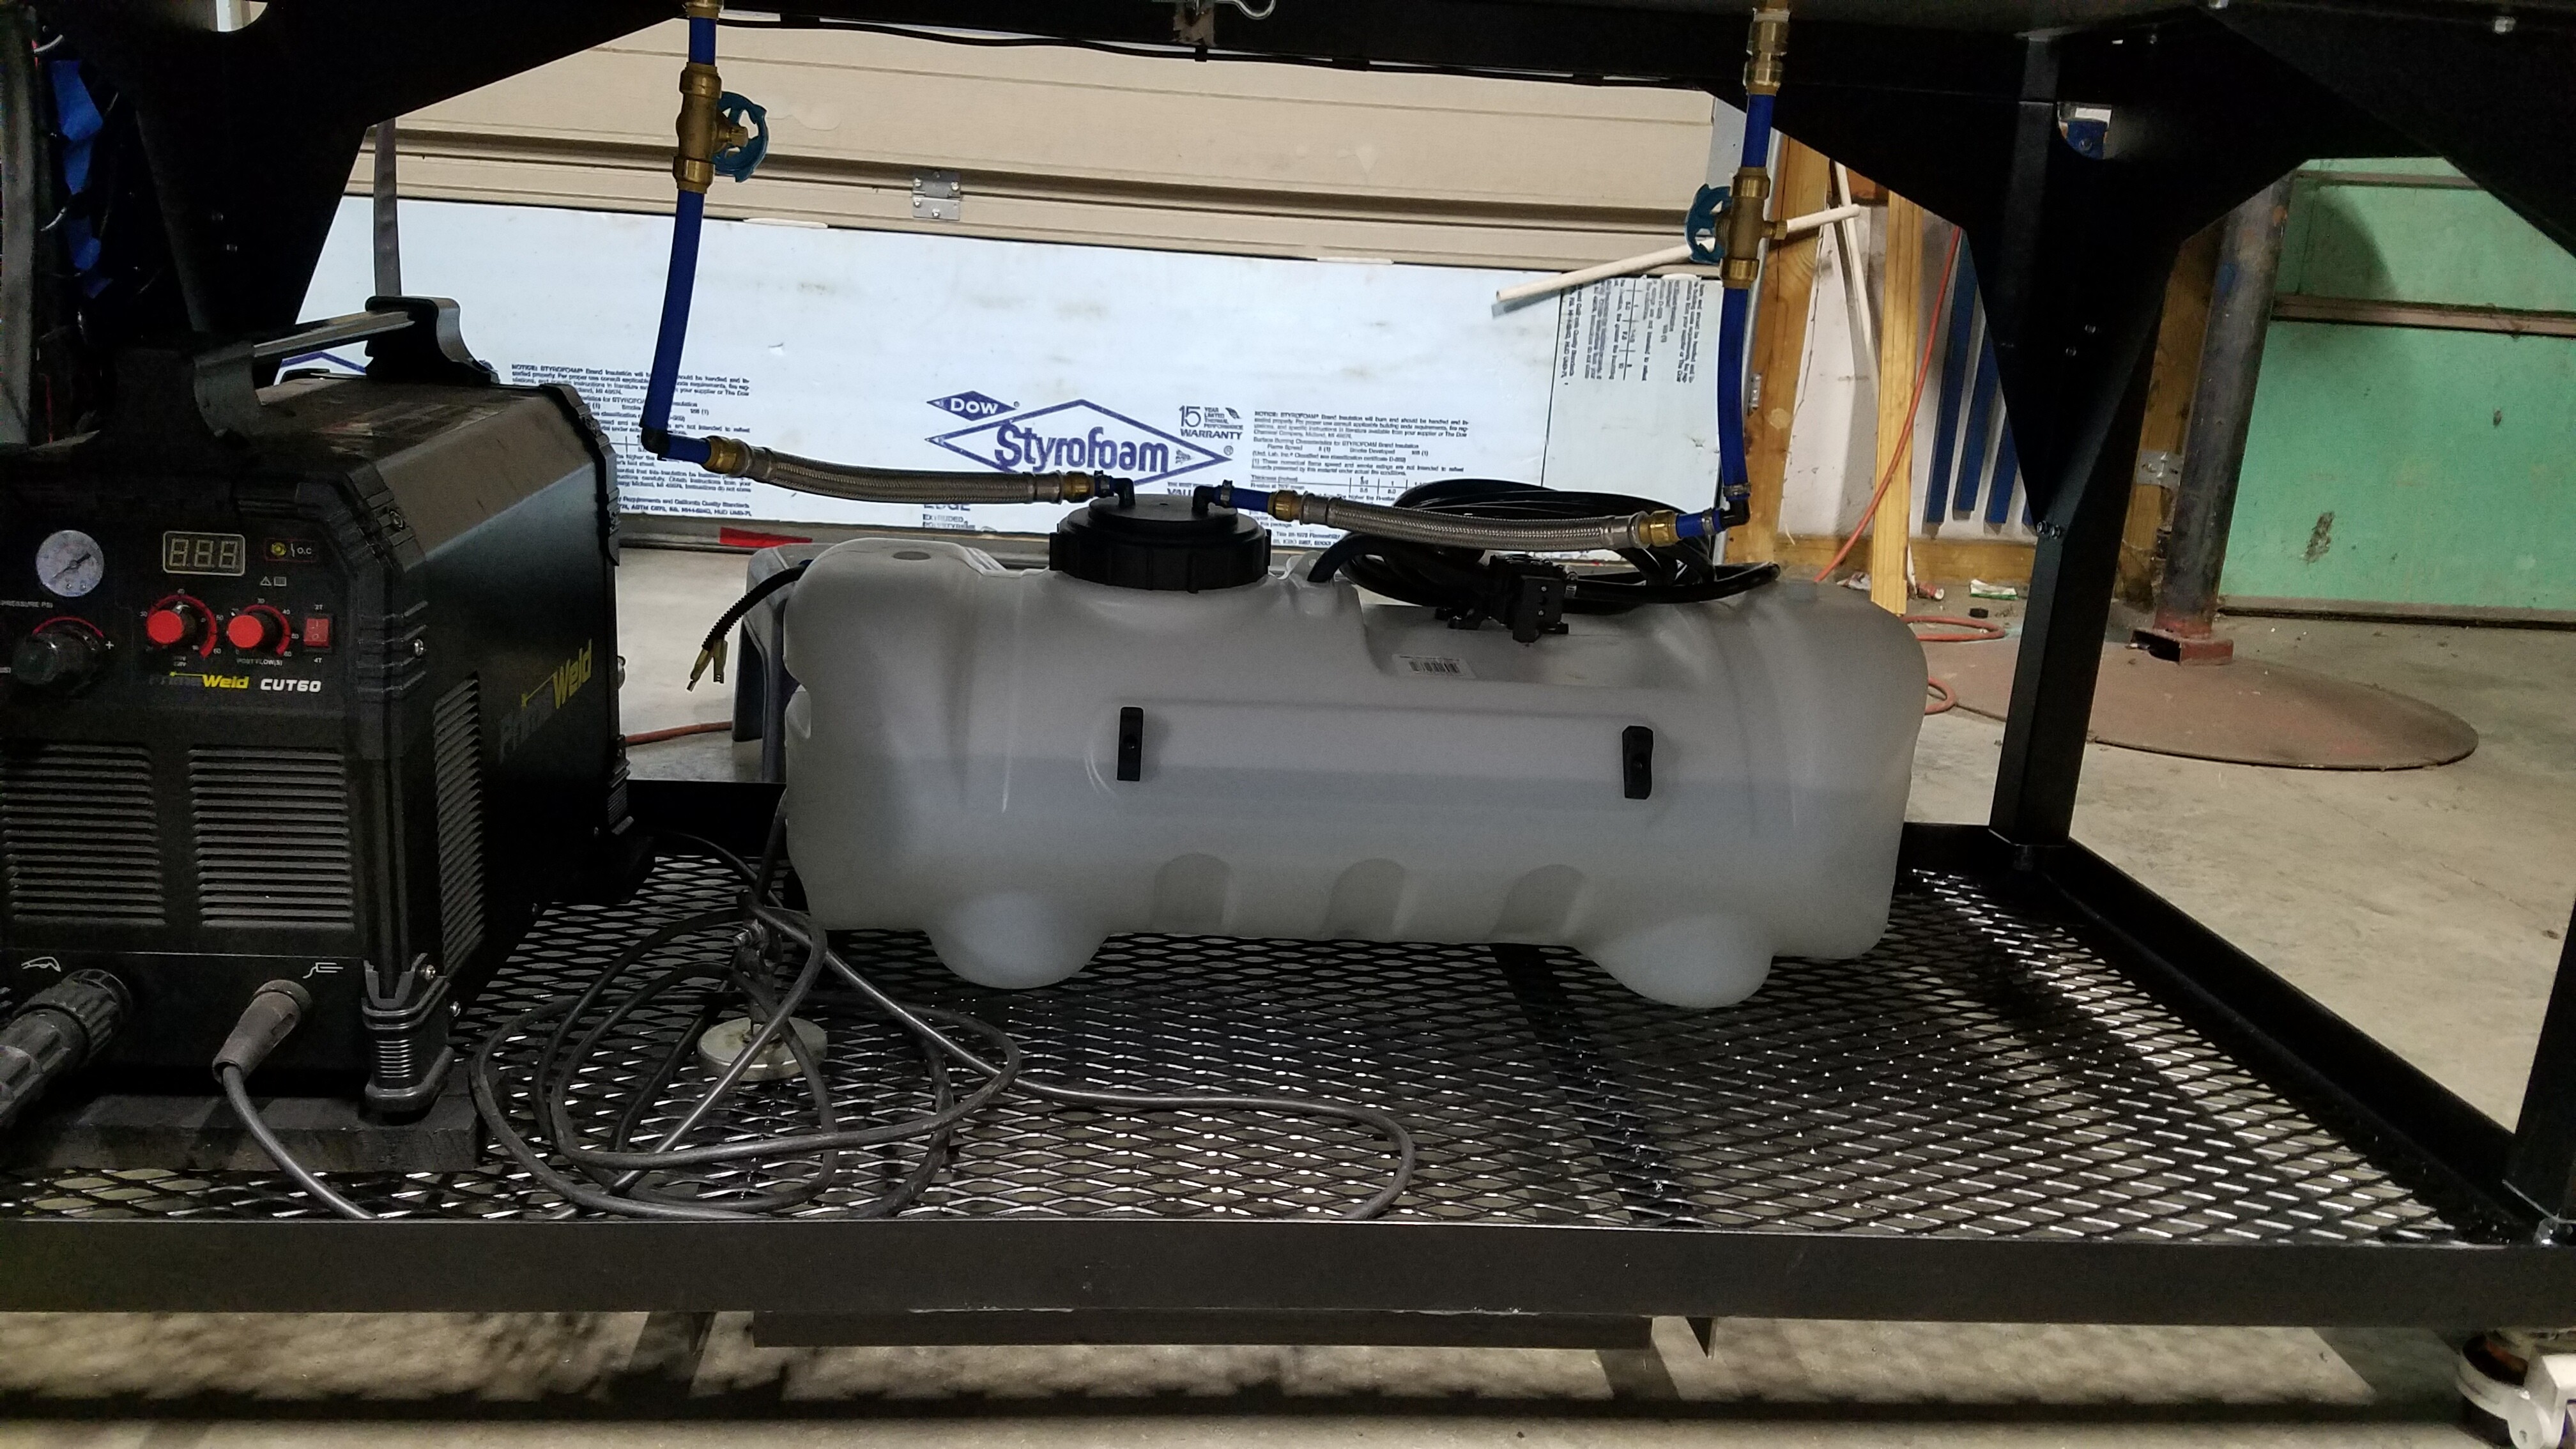
It’s a 15 gallon from Rural King Farm Supply store. It is just the right size actually. I filled the table from it once already. That’s when I realized I had a leak on the joint between the two halves.
I used some PEX just because I had it laying around. I could have gone cheaper with some flexible tubing from Lowes or HD. I also used two PEX fitted flex hoses so it would be easy to disconnect form the tank to add fluids. That could have been done cheaper also.
Good idea. I have read a lot about potential interference. I am also wondering about the routing for the height control up the same overhead pole as the torch.
I haven’t had time to get to the table to try running it, but if I have problems the electrical interference is definitely something I will suspect after reading post on here.
just keep them straight and separate when routing them up the pole. don’t twist them together and you should be good.
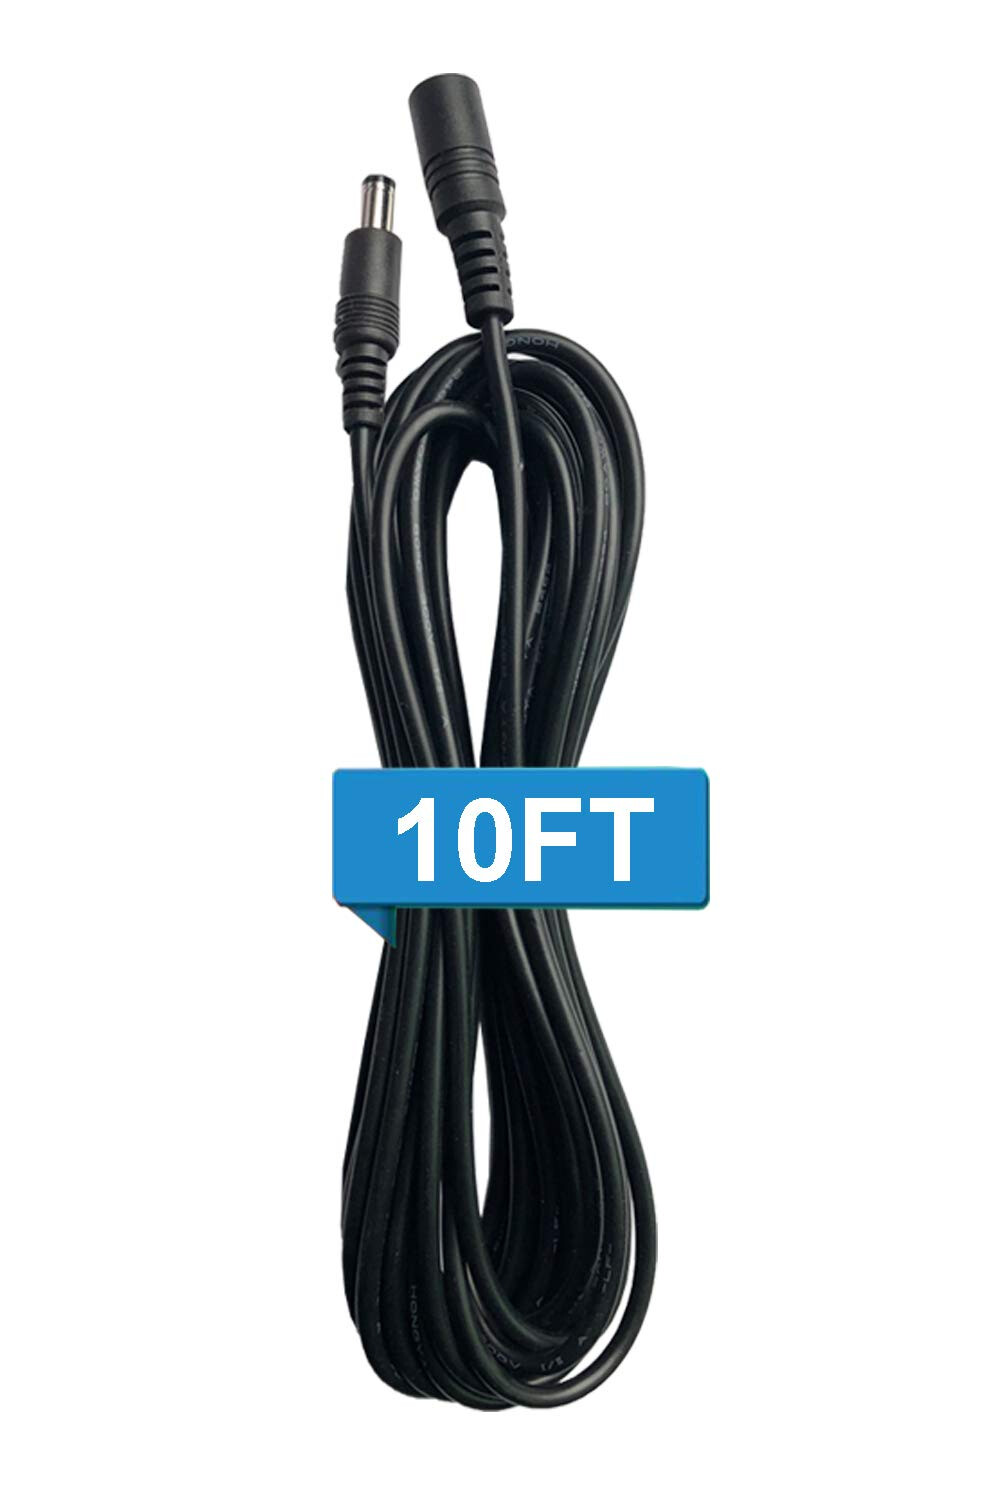
i use extension cables to extend the torch on/off and thc cables and have my cutter on outside of the table opposite the control box. I think langmuir should have supplied longer cables from the get go.
Thanks for the tip on those extensions cables.
I felt the same about the supplied cables being too short to allow adequate separation of the controller and the cutter.
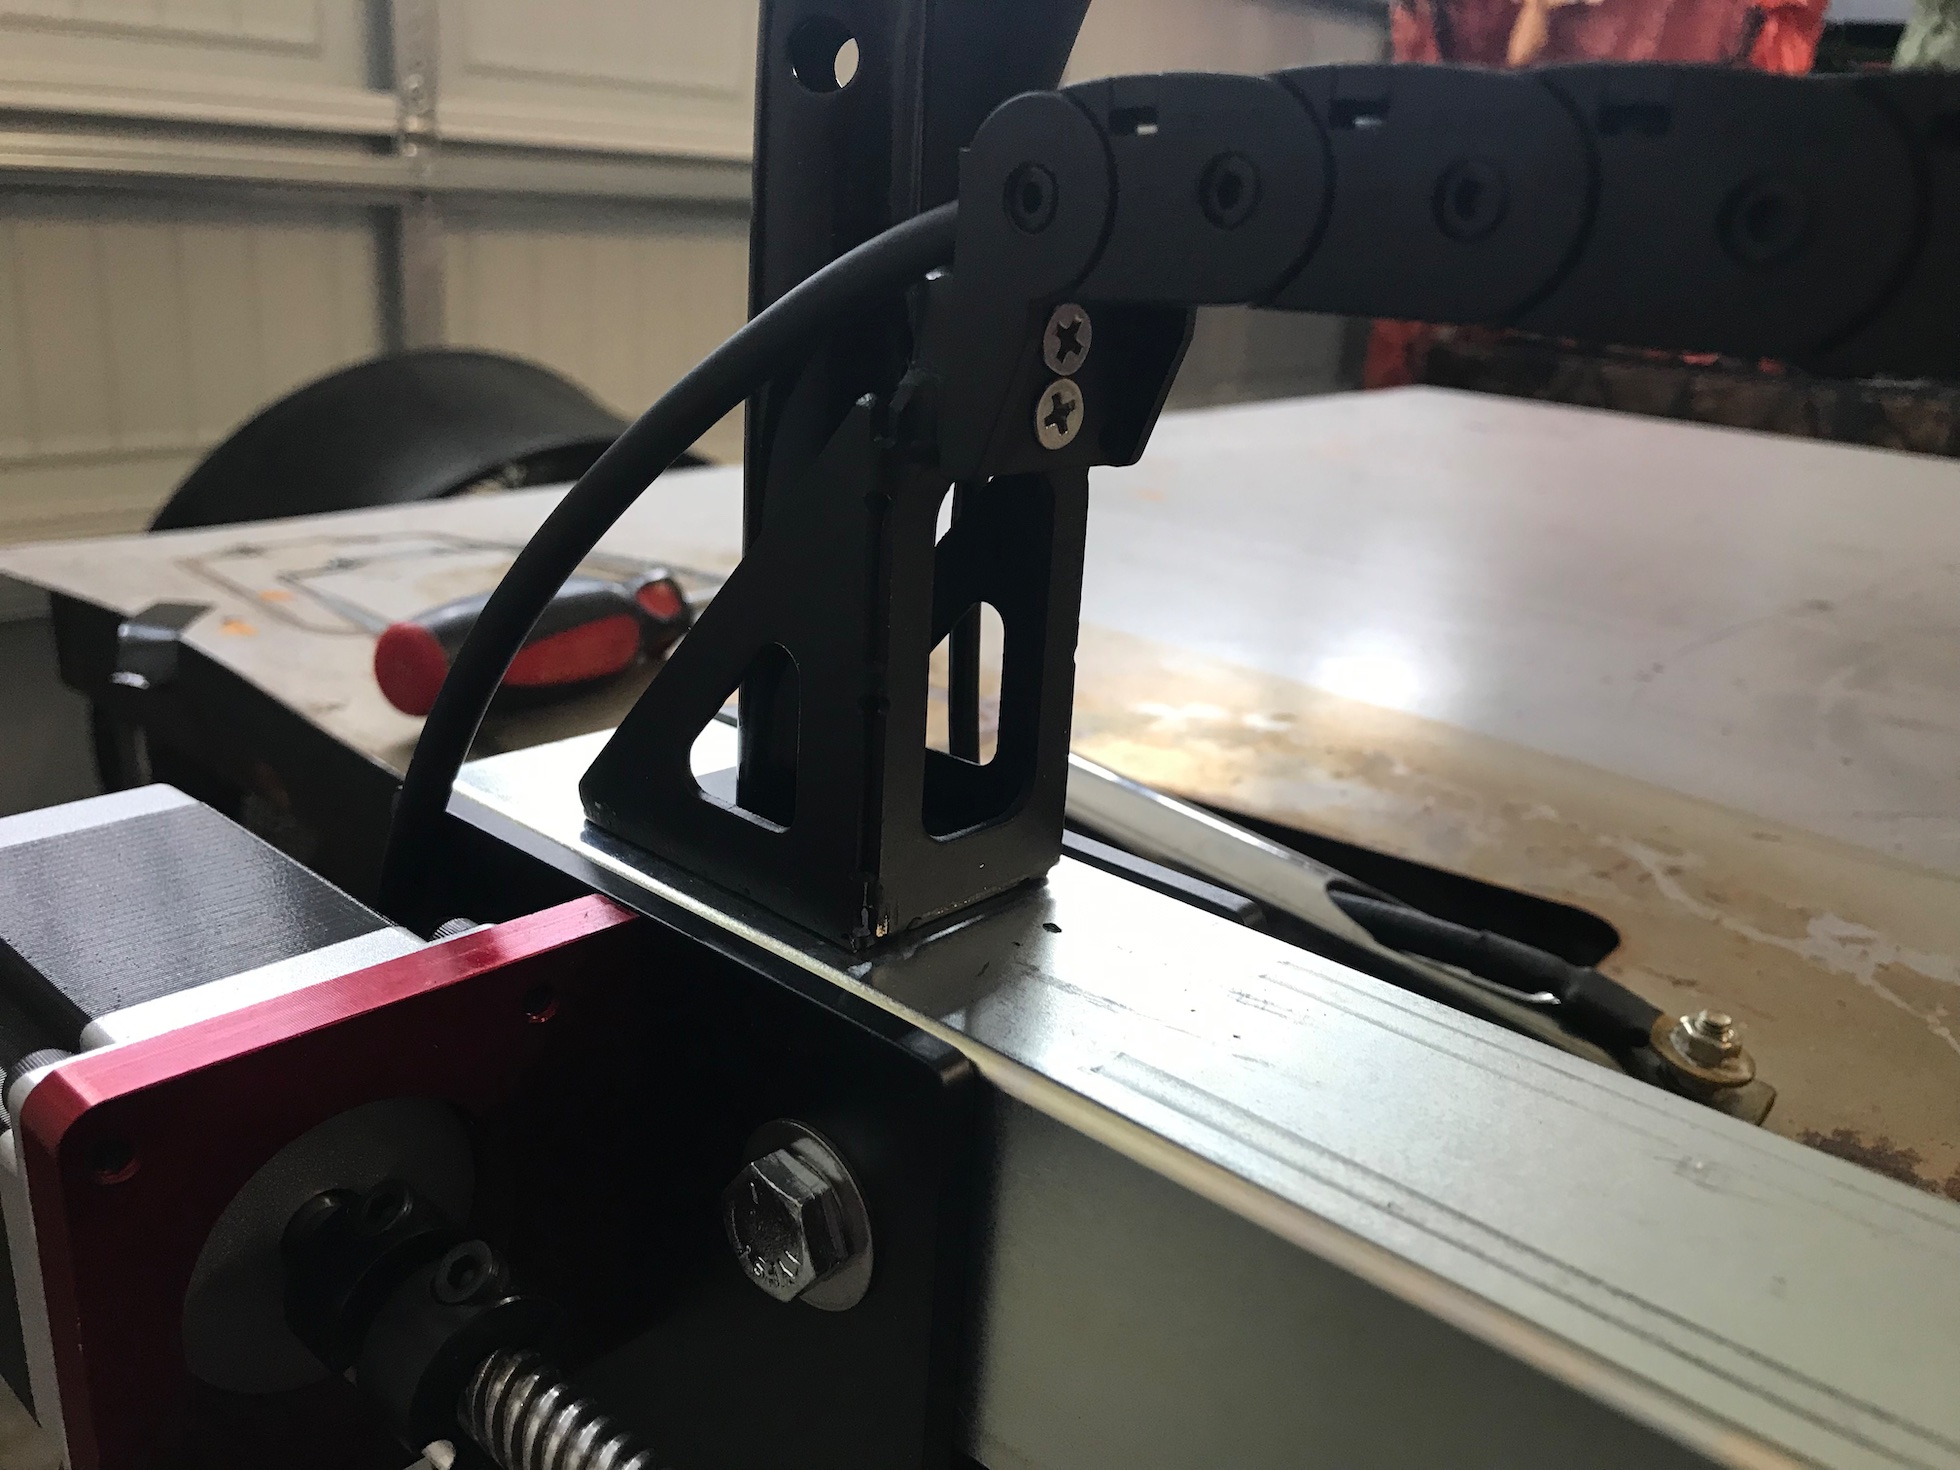
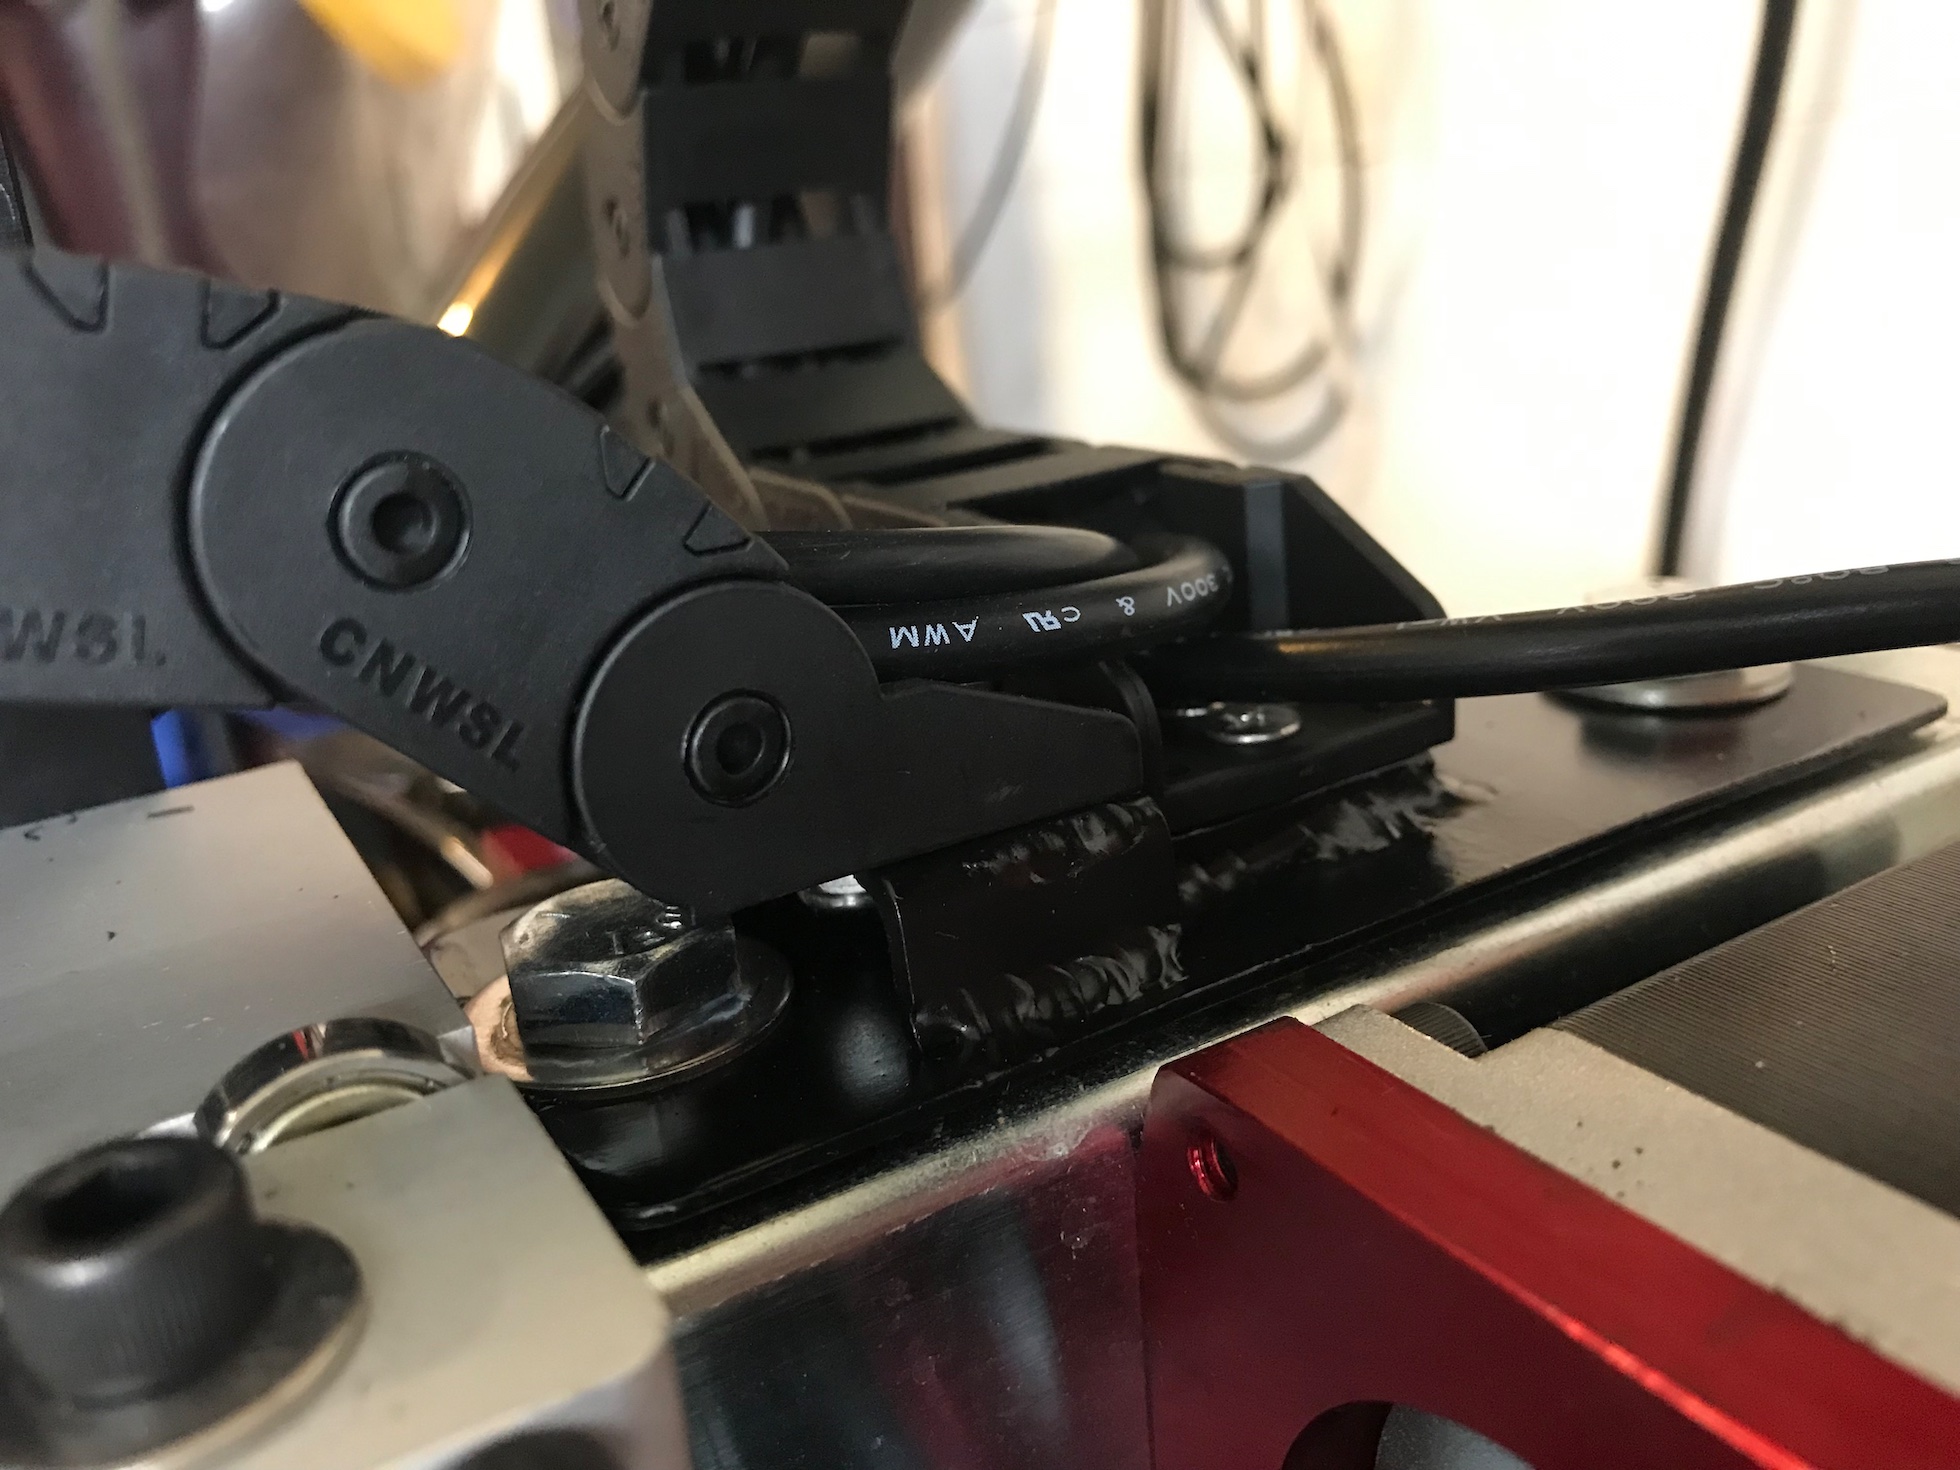
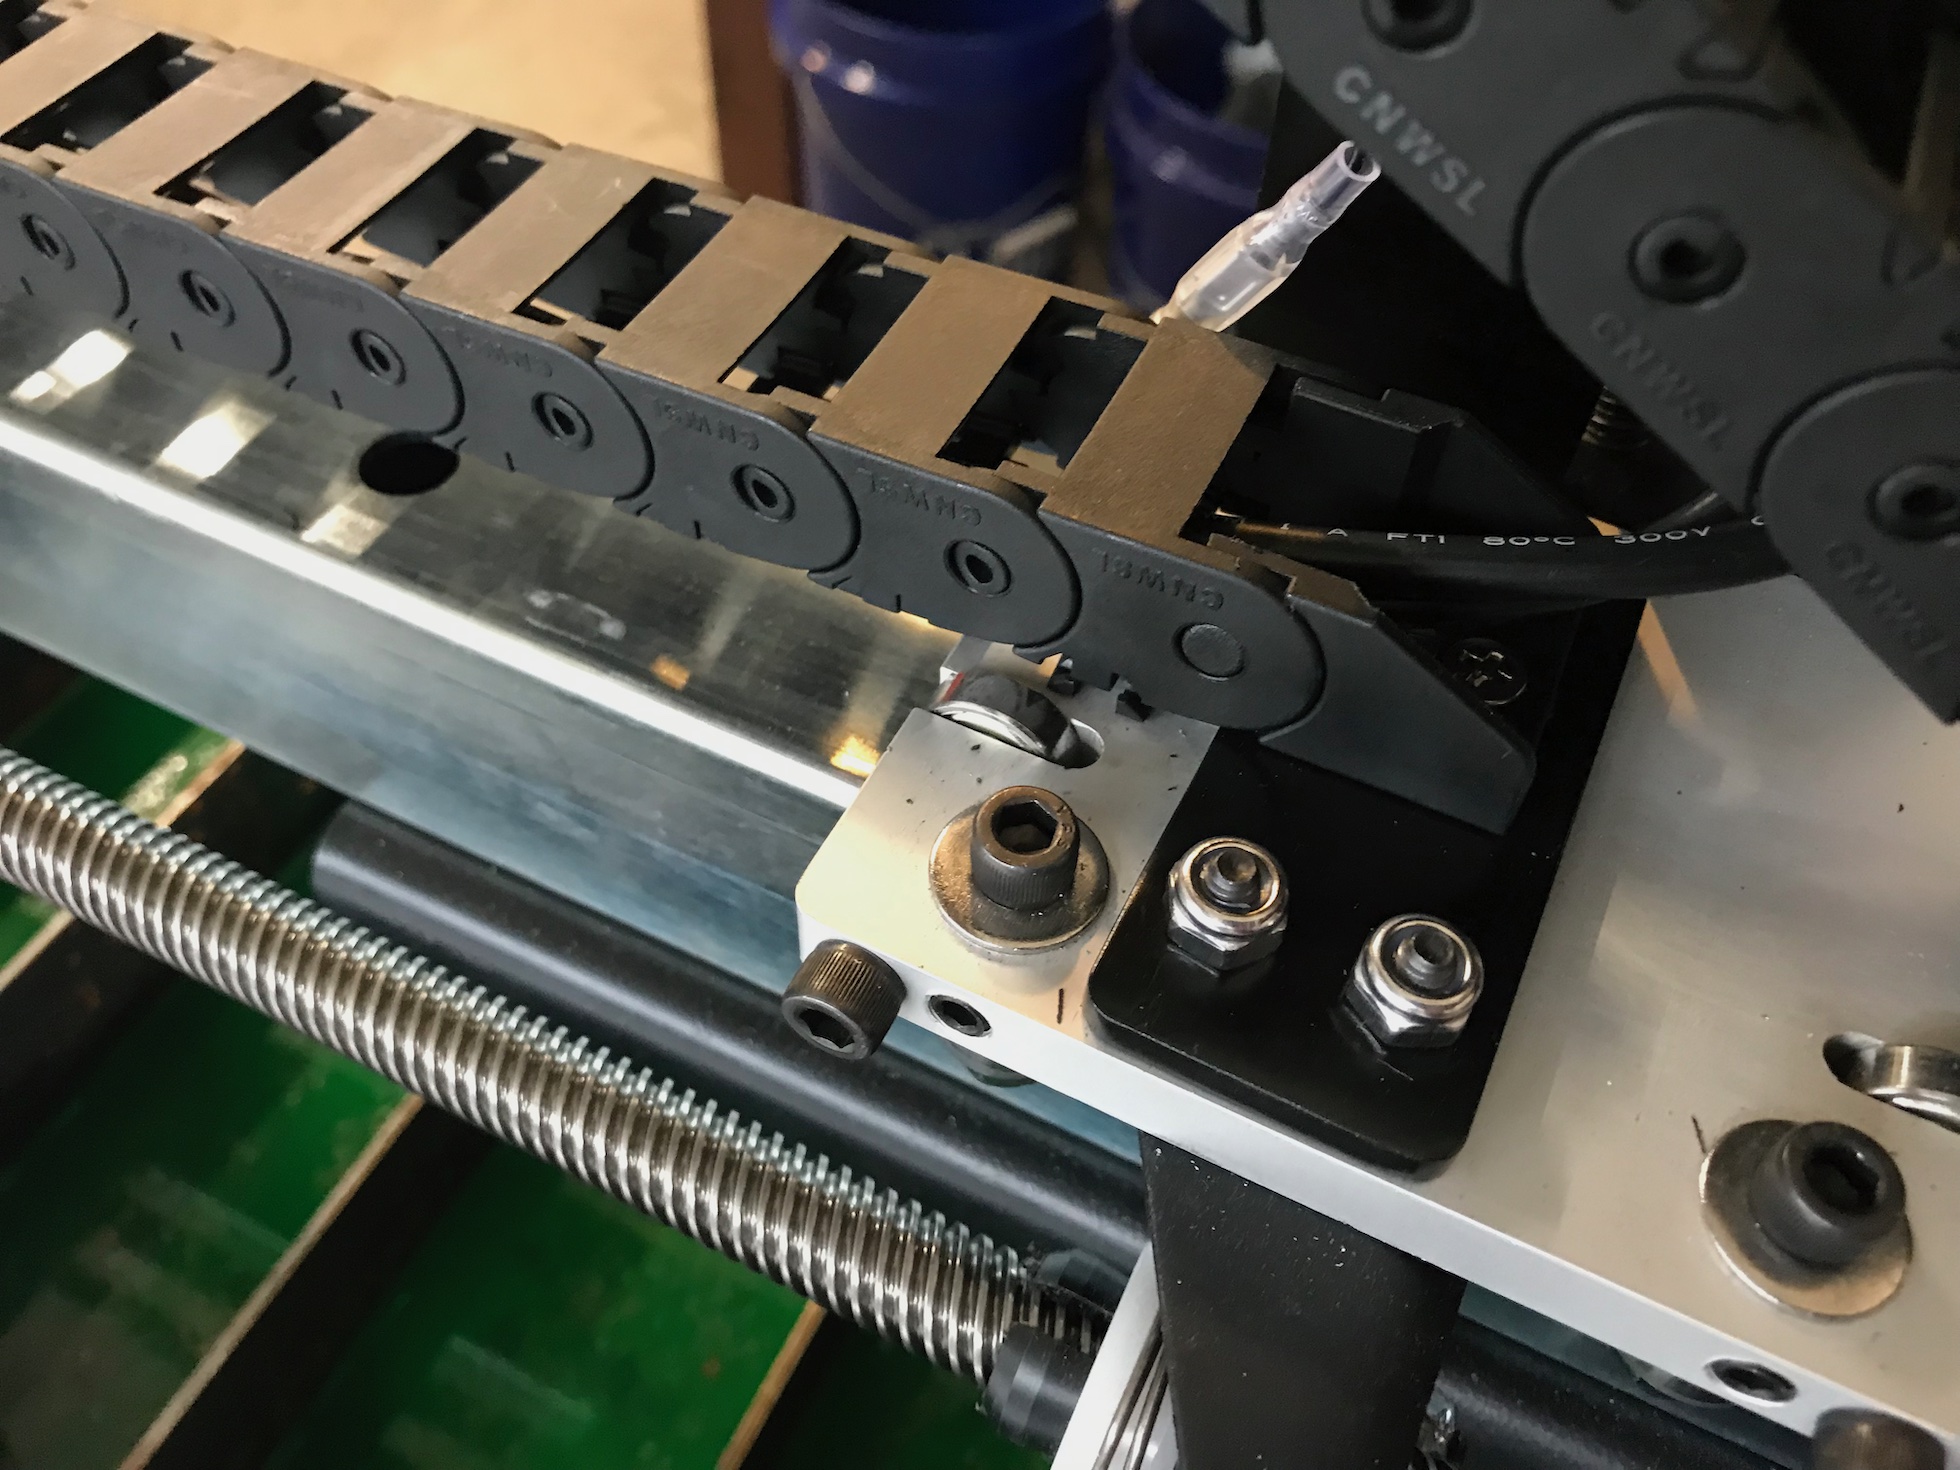
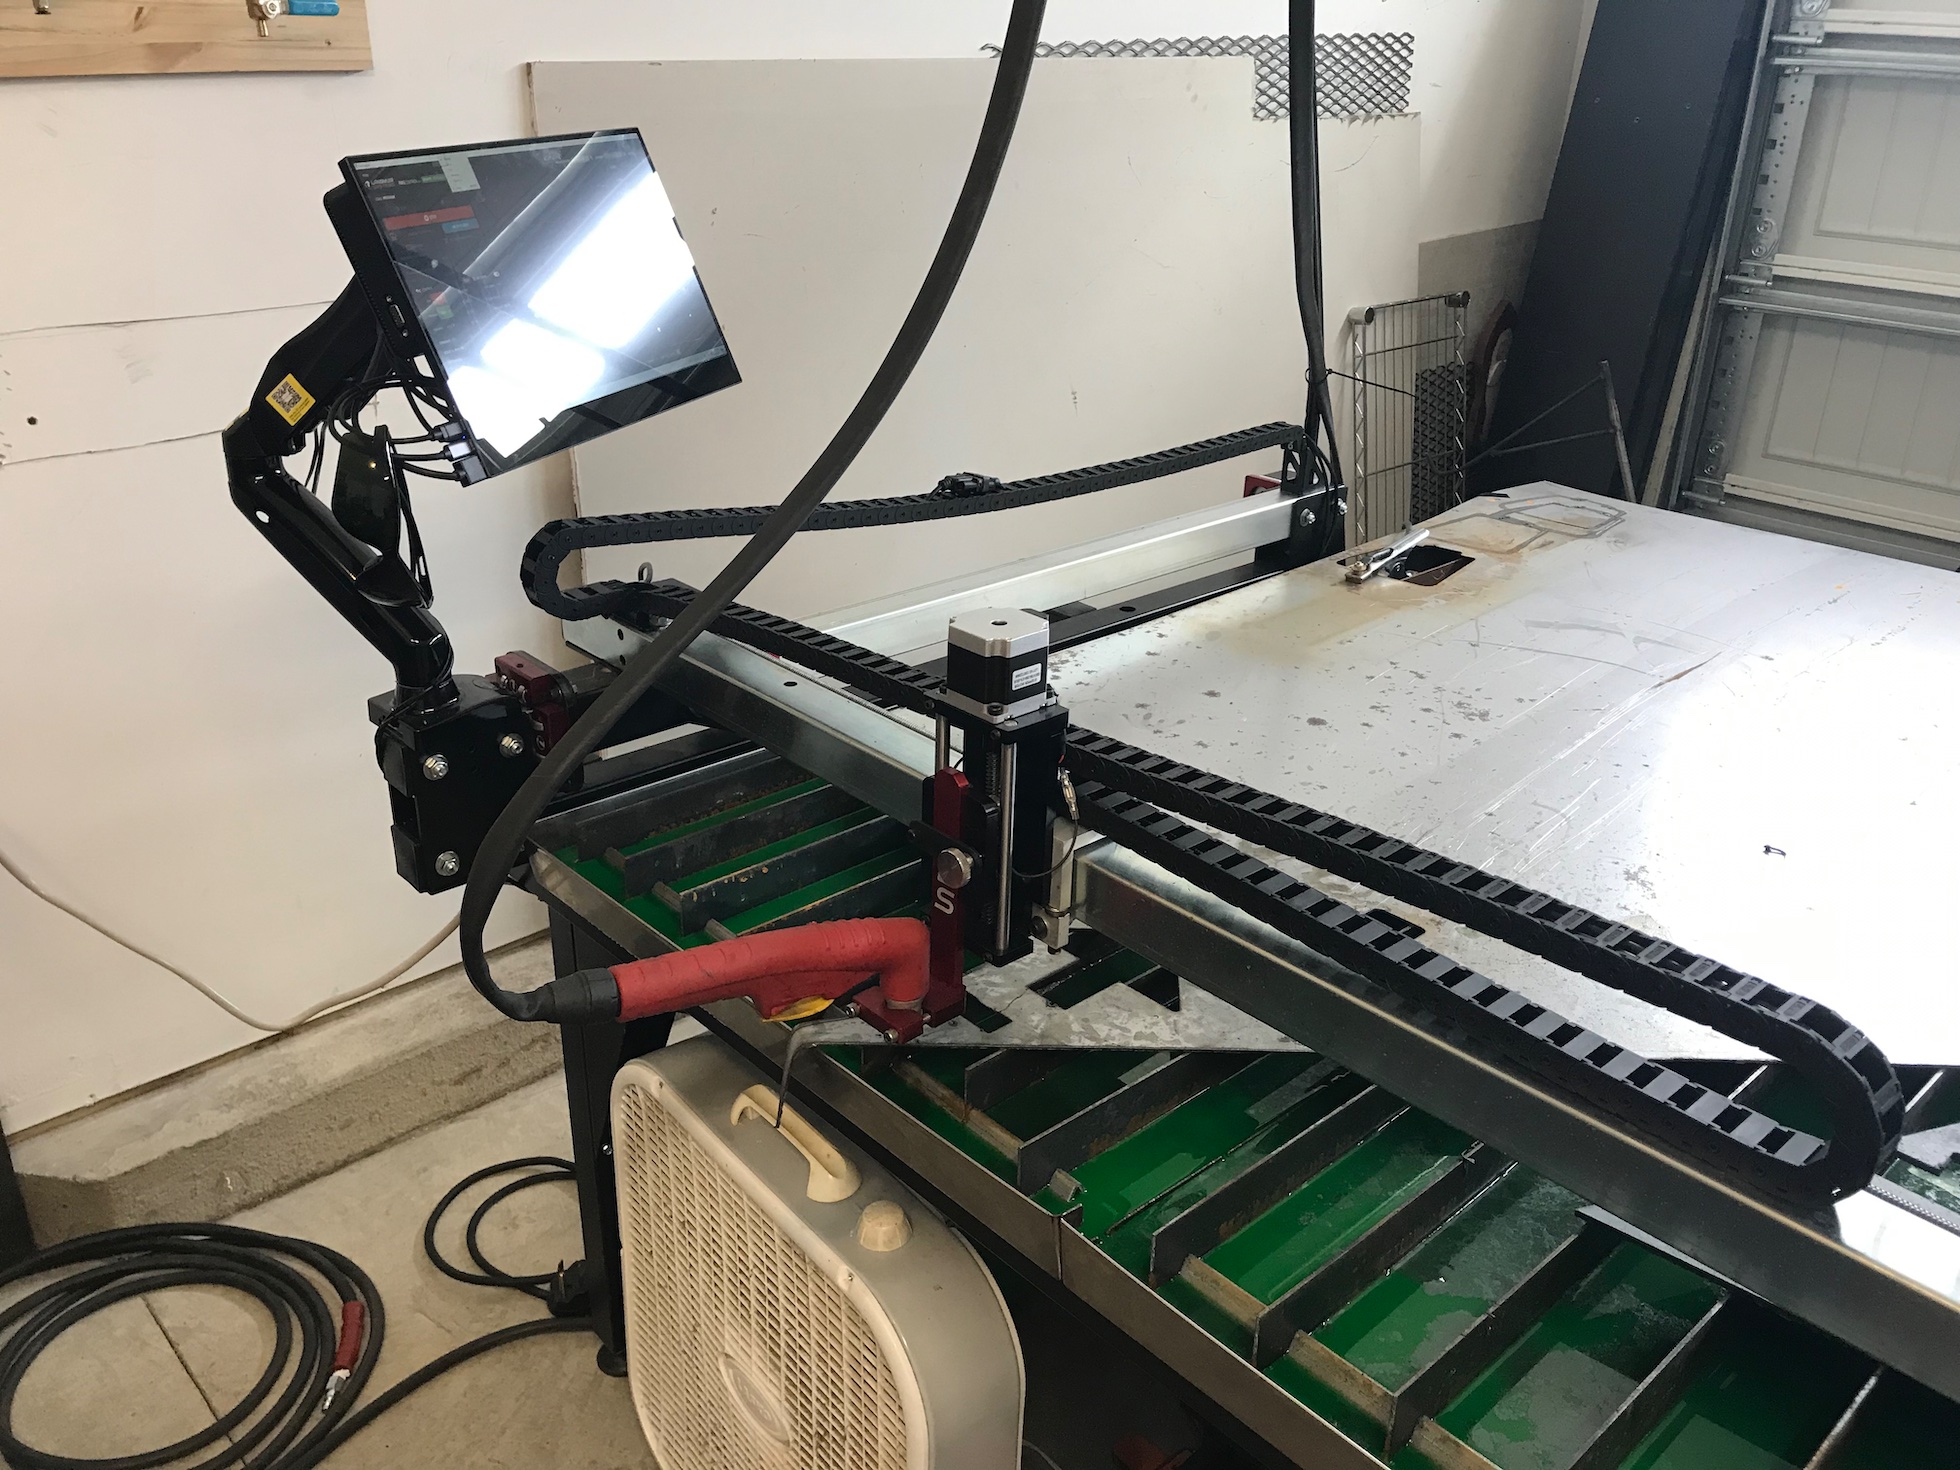
Okay, I have been studying everyone’s pictures of their drag chain setups and I finally finished mine. Thanks to everyone who has posted I managed to sort it out. Other than the drag chains not being able to house the torch cord it was a success. However, I am not too sure of what I have accomplished without the torch cord being housed in the drag chains. I had hoped to eliminate the overhead cords/wires. But, all is well it was only ~$60 or so to complete the project. I was also able to learn how to better use the machine and Fusion 360. I designed the brackets in Fusion 360 and cut them out of 18 gauge steel. A couple parts were 3/16 steel. Just stuff I had laying around. Thank you to everyone who shared.
@dustinlittle I laid out my drag chains laying on the frame tubes as you did. I didn’t see a reason to add “U” channels for the chains to follow. I like the bracketry you made.
Joel, I agree. It is simpler and just as effective. However, I just followed along with most the others from this feed. Thanks to them I was able to accomplish the project.