Multi layer signs

I prefer Rubio Monokote - it dries overnight and is hard-cured in a week (ready for a top coat - I use a nanocoating) You can put a second coat on the next day - I buff with a red scotch pad before doing a 2nd coat. The second coat will take care of any places you might have not coated or buffed properly on the first coat.

I’ve found it’s much better than Odie’s for application & curing times as well as long-term durability.

AKA sex screws or Chicago screws :smiley:

3 Likes

Nice! I just remembered I have a ton of those left over from my kydex experimentation. Those will finally get used!

1 Like

I just used some and they seemed to work fine. Can you show a picture of what you’re talking about?

Are you using a rivnut tool to install?

Did you use the 8-32 size (0.164"). I have no problem with 1/4 inch to size 10. But 8 is so fine of thread and my rivnut is designed for the larger ones. The device is so bulky that any slight angle is amplified. The larger sizes tend to square themselves.

And the housing for the camera required a minimum 1-1/2 inch length to get to full length of the rivnut. I suppose if I did another 10 of them, I would get better.

No pictures. But looking at them you can’t really see the slight angulation.

1 Like

Ok I see what you mean. I did use 8-32 or 8-24 and I put them in 1/8 material. But I only used them as standoffs no screws.

They may have been cocked slightly but of course it didn’t matter as I used no screws. I do remember when I inserted them they were harder then normal to keep straight.

2 Likes


Tried an experiment a while back doing a multi layer trailer hitch cover for a friend. I wanted no signs of bolts or studs and because of road vibration I figured glue was out. For durability I wanted to powder coat the layers which further added complications. I decided to try using silicon bronze filer rod to make studs and braze the pieces together from the backside after the pieces were powder coated. Because silicon bronze melts at a much lower temperature I figured I had a chance of making it work. After some trill and error it came out pretty good.

4 Likes

5 Likes

Sorry I haven’t cut anything in over a month but this posting caught my interest because layered signs are my favorite. So I use a threaded stud welder which is stupid expensive but really is amazing for layered signs. I could cut a layered sign and put it together in minutes. I do this for a hobby and don’t get into the money side myself. I’ll post a couple of the layered signs that i made in last few months. The trick in making layered signs I found is in the design. I add all my holes where i want them and shoot my threaded studs from the back so you never see it. Some of them I space out layers with nuts and some of them i don’t. You could weld bolts on just the same way i use my stud gun but might show marks on the face of the sign. The blue circled holes are the spacing studs from black layer to white layer. I also cut out all my hanging brackets and lower spacer brackets and just position them on the backer and shoot a stud through them. On this sign i also tack welded the hangers on the back because it was really heavy. I have included the DXF so you can see how i do them. I might have to fill my table up to make something now that i’m talking about metal again…lol

International sign.dxf (4.4 MB)

6 Likes

Running deer layered sign.dxf (3.2 MB)

What I did on this one was tape it into position and shoot studs from the back. This one was really easy so i didn’t cut out a stencil to line it up. when i say stencil i mean outside layer to match up with backer if that makes sense. If you have any questions just ask

4 Likes

What gauge do you typically use for layered signs? Also, do you use the threaded stud with or without tapered heads? The way you describe shooting them through makes me think you opt for the more expensive studs without a tapered head.

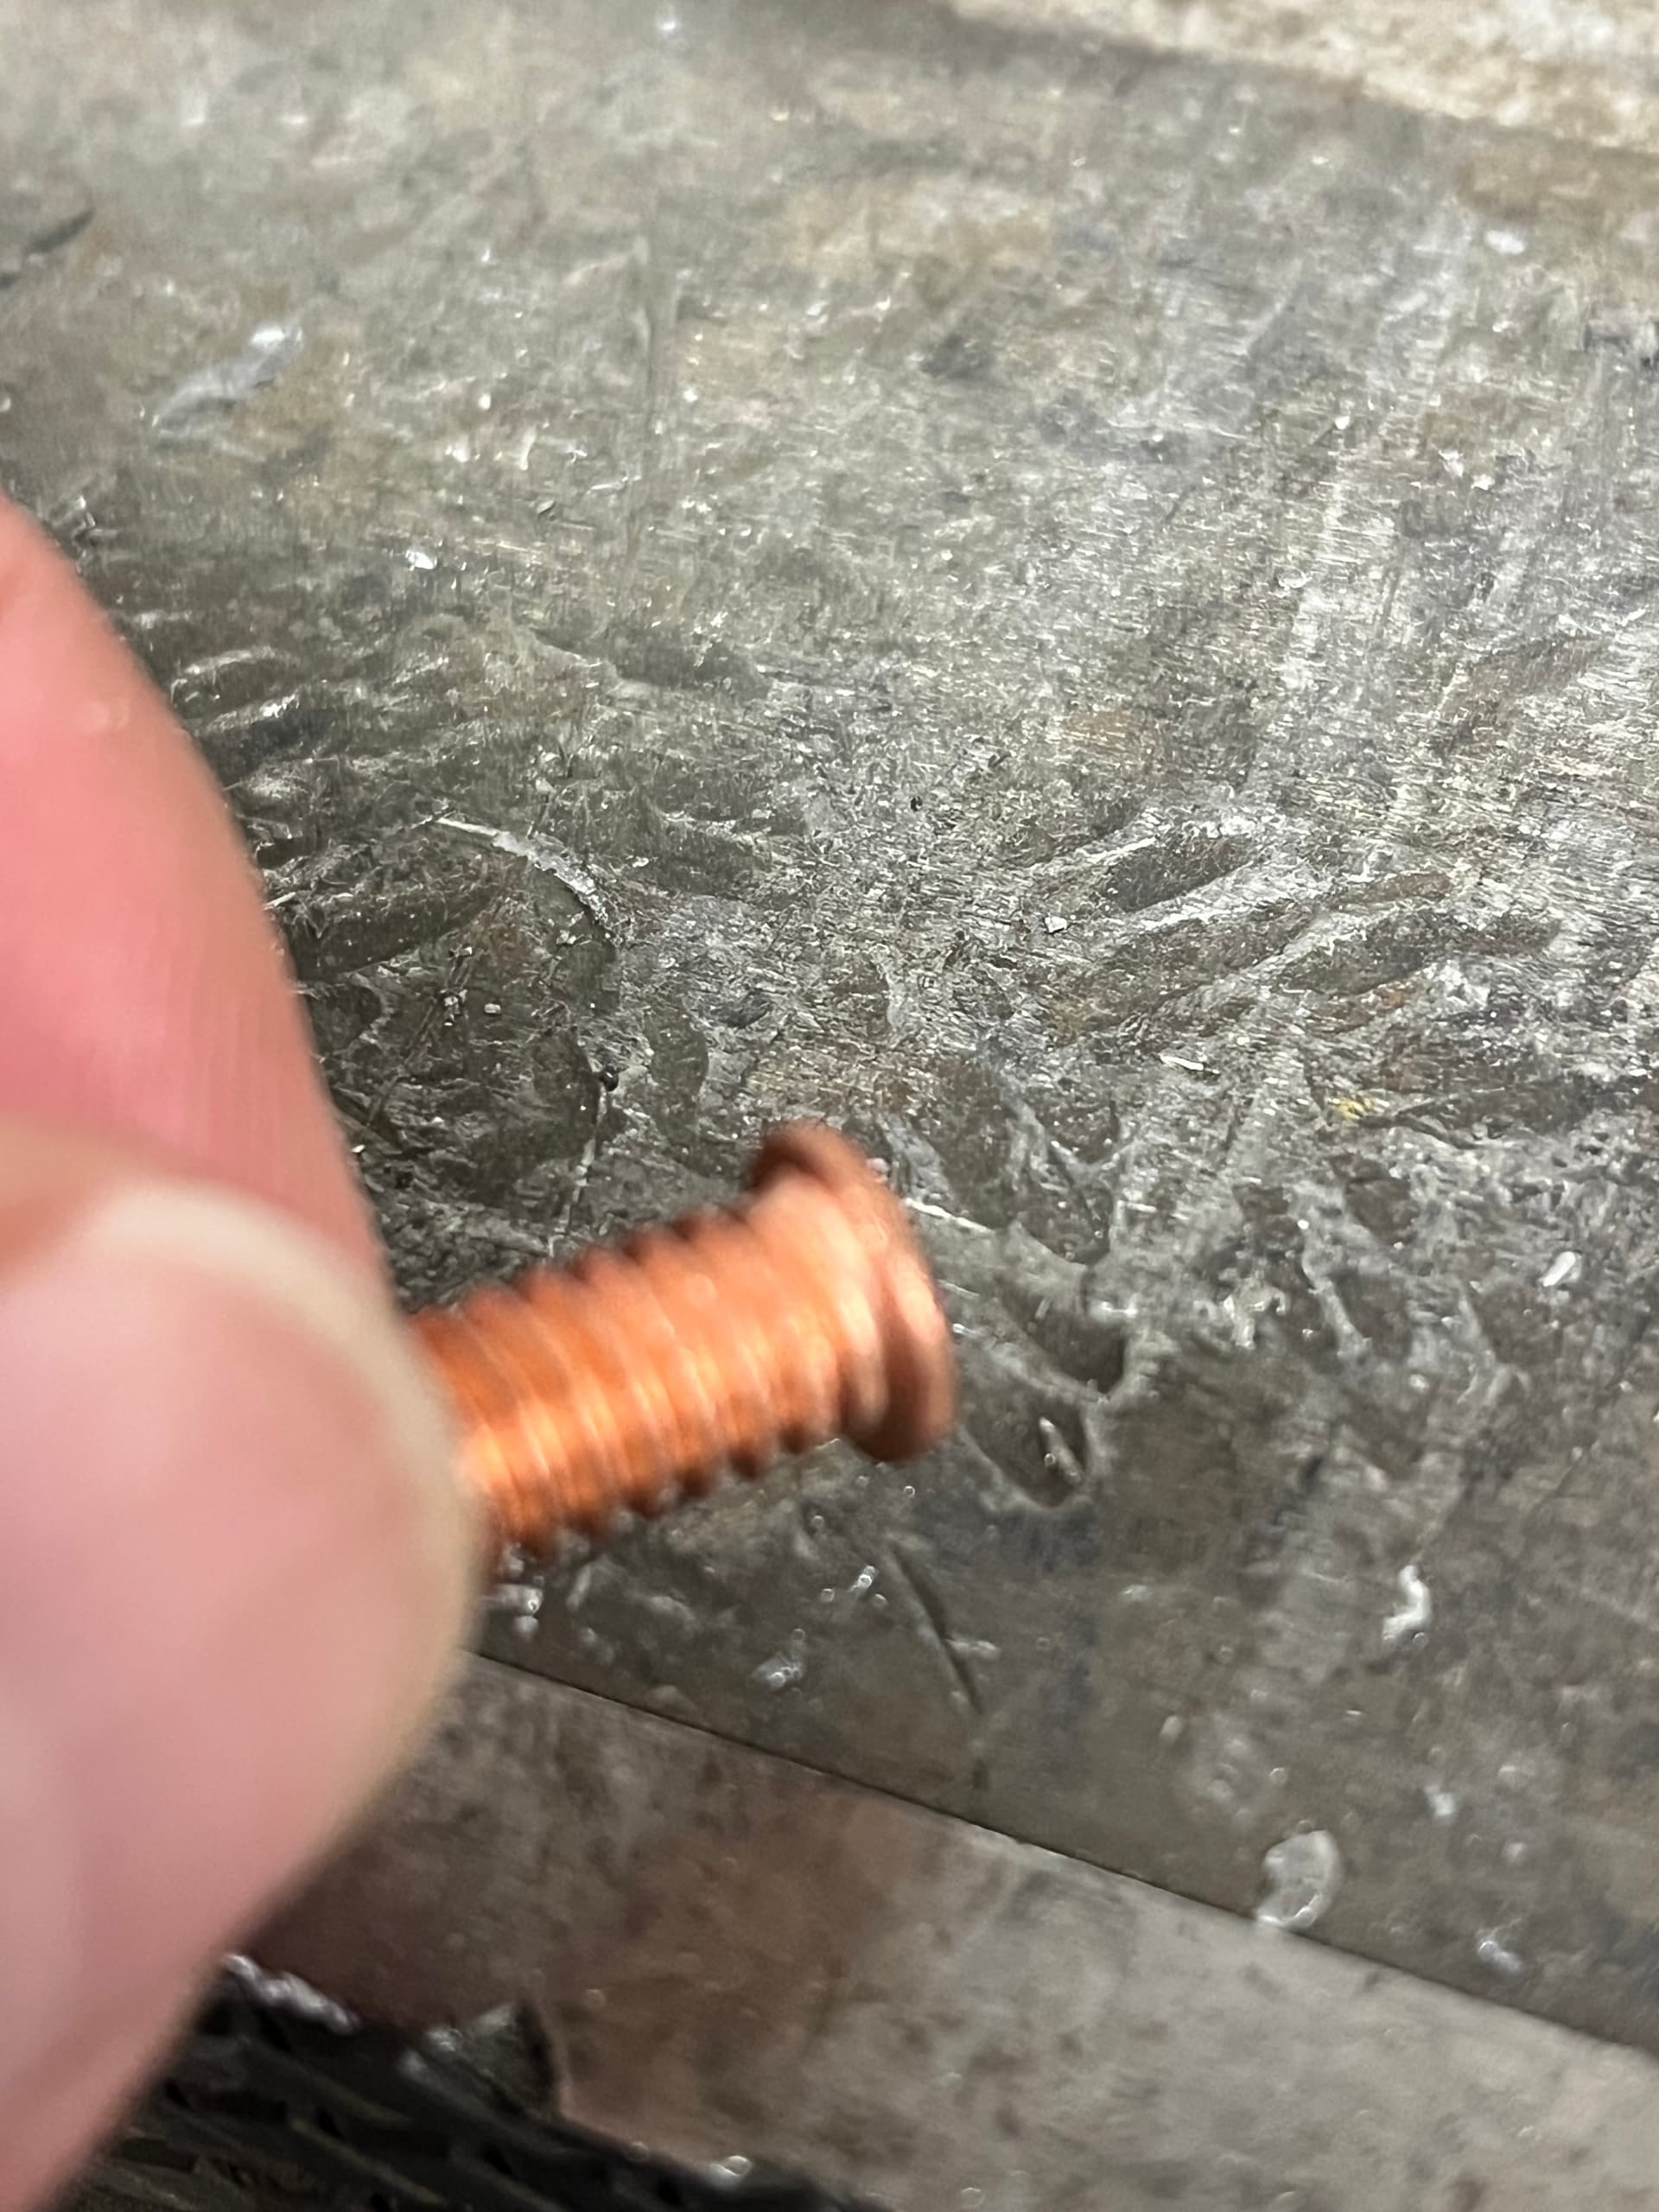
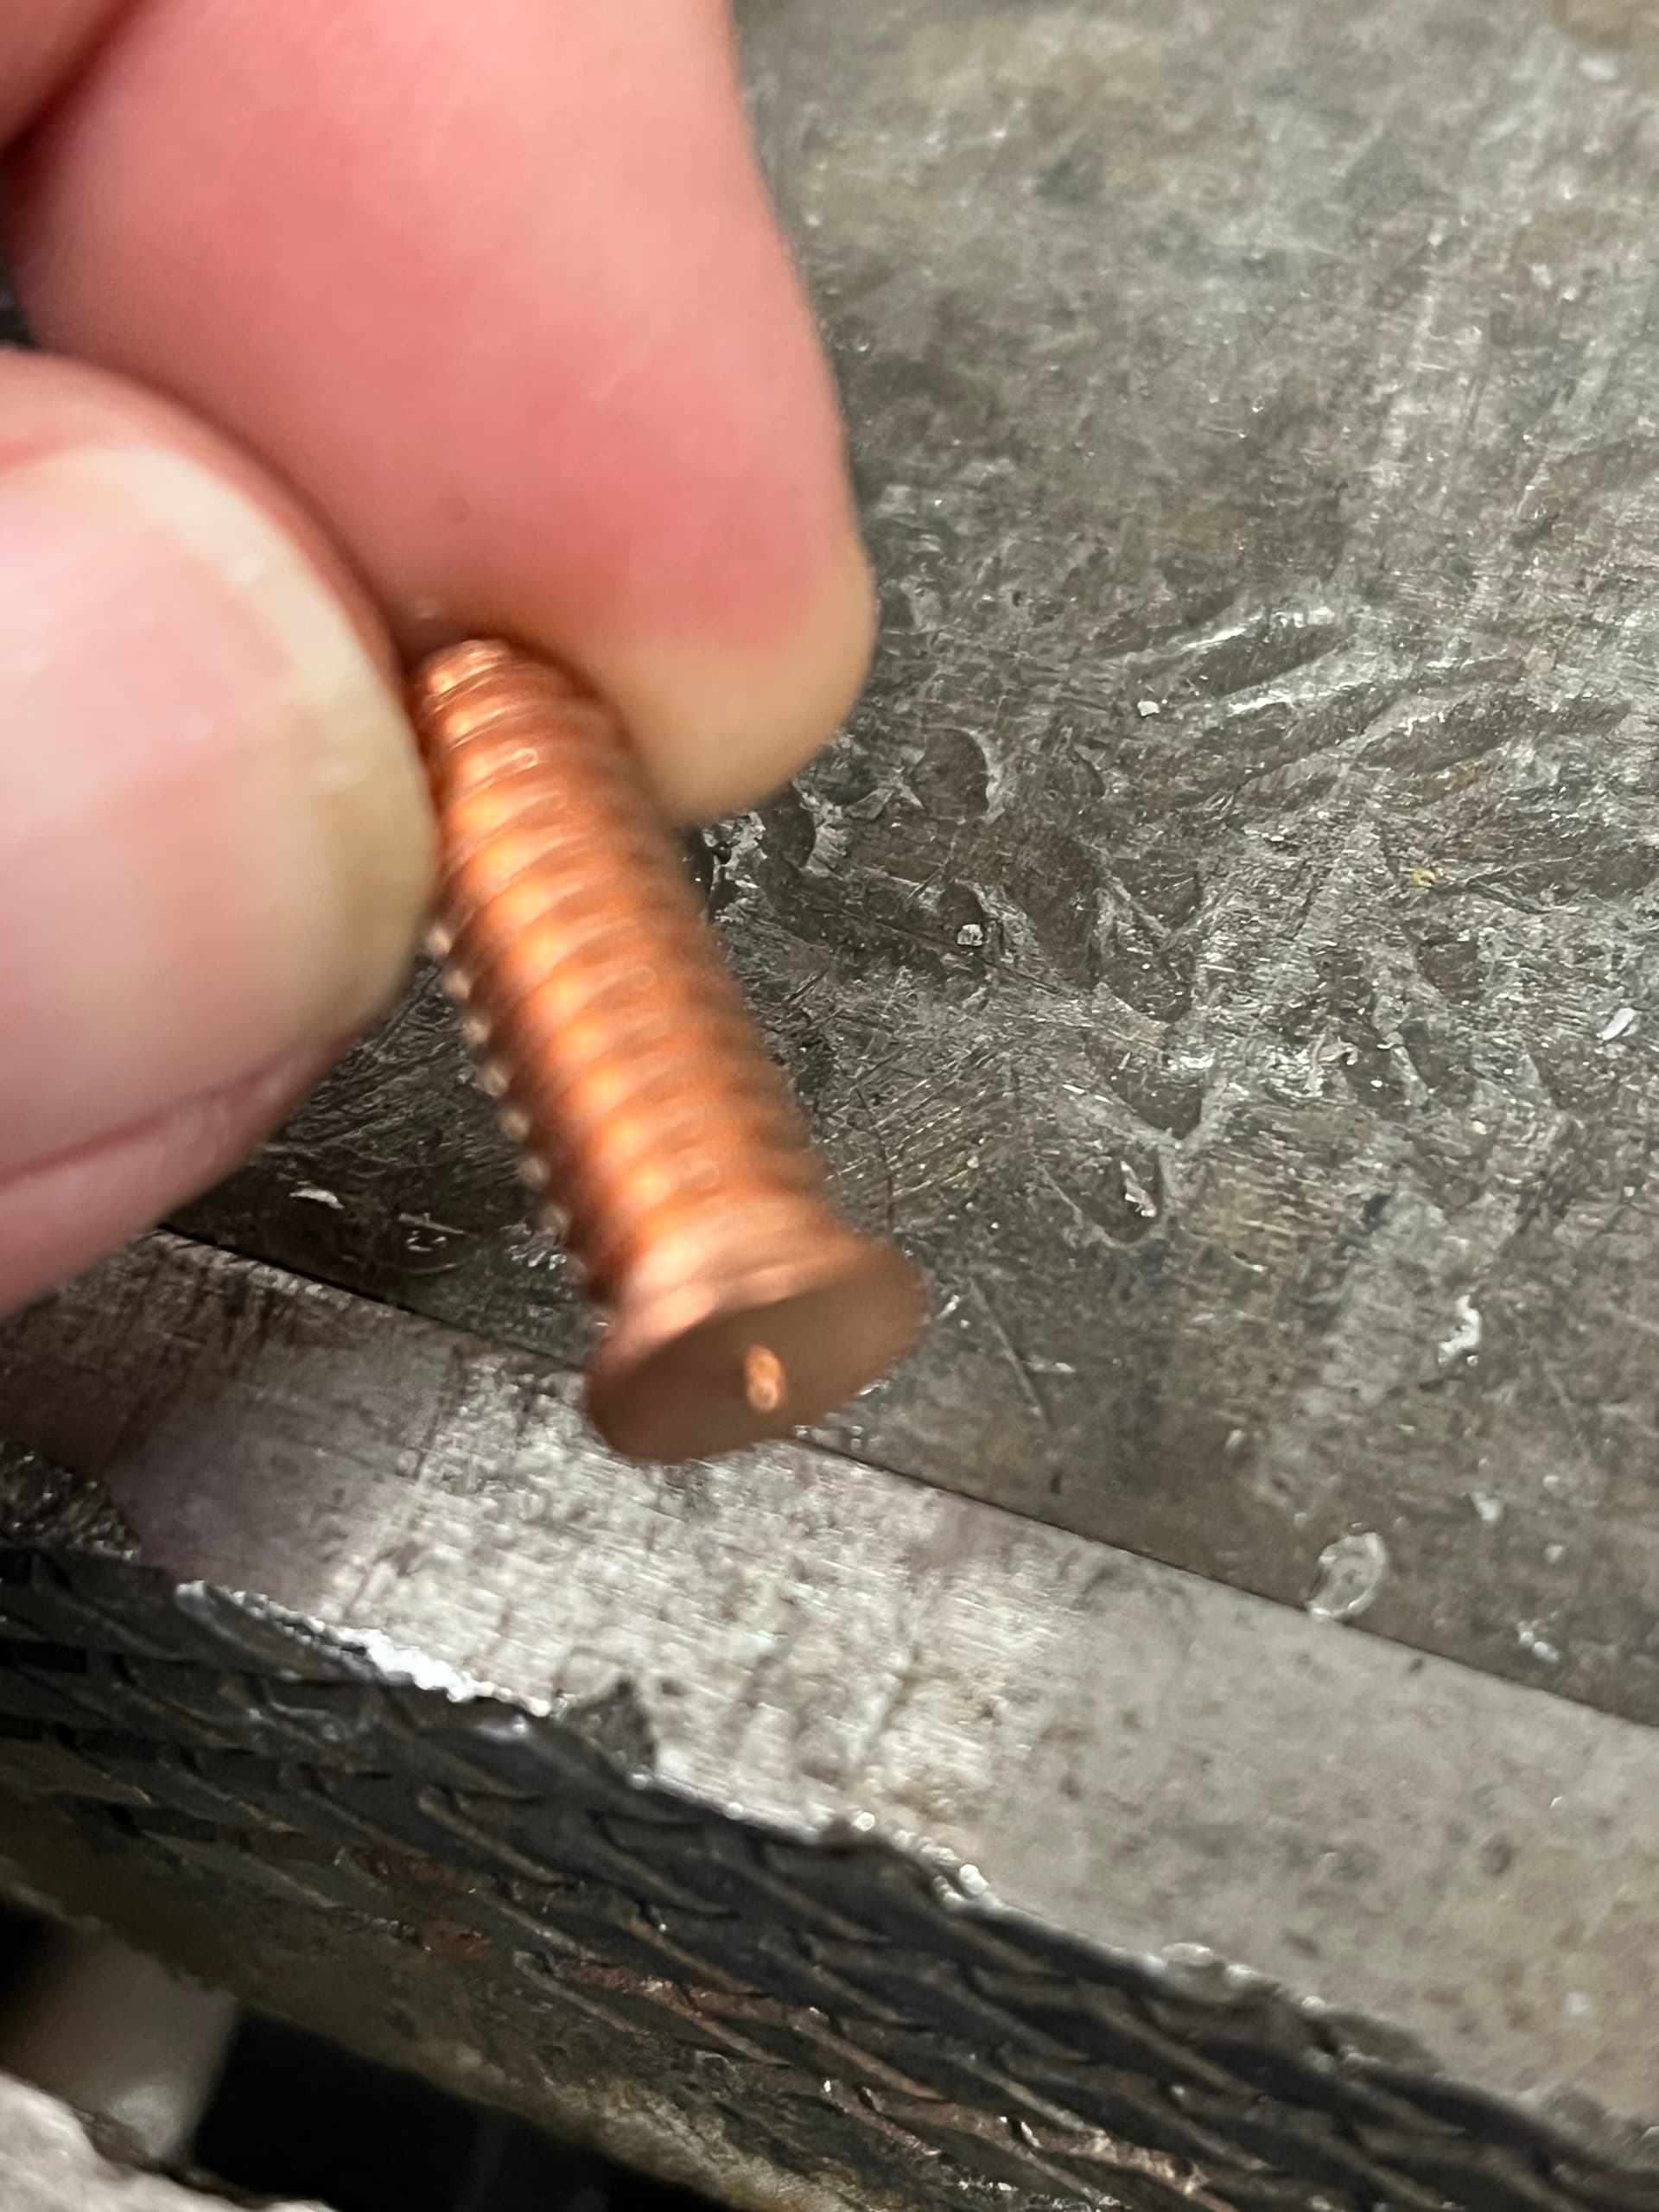
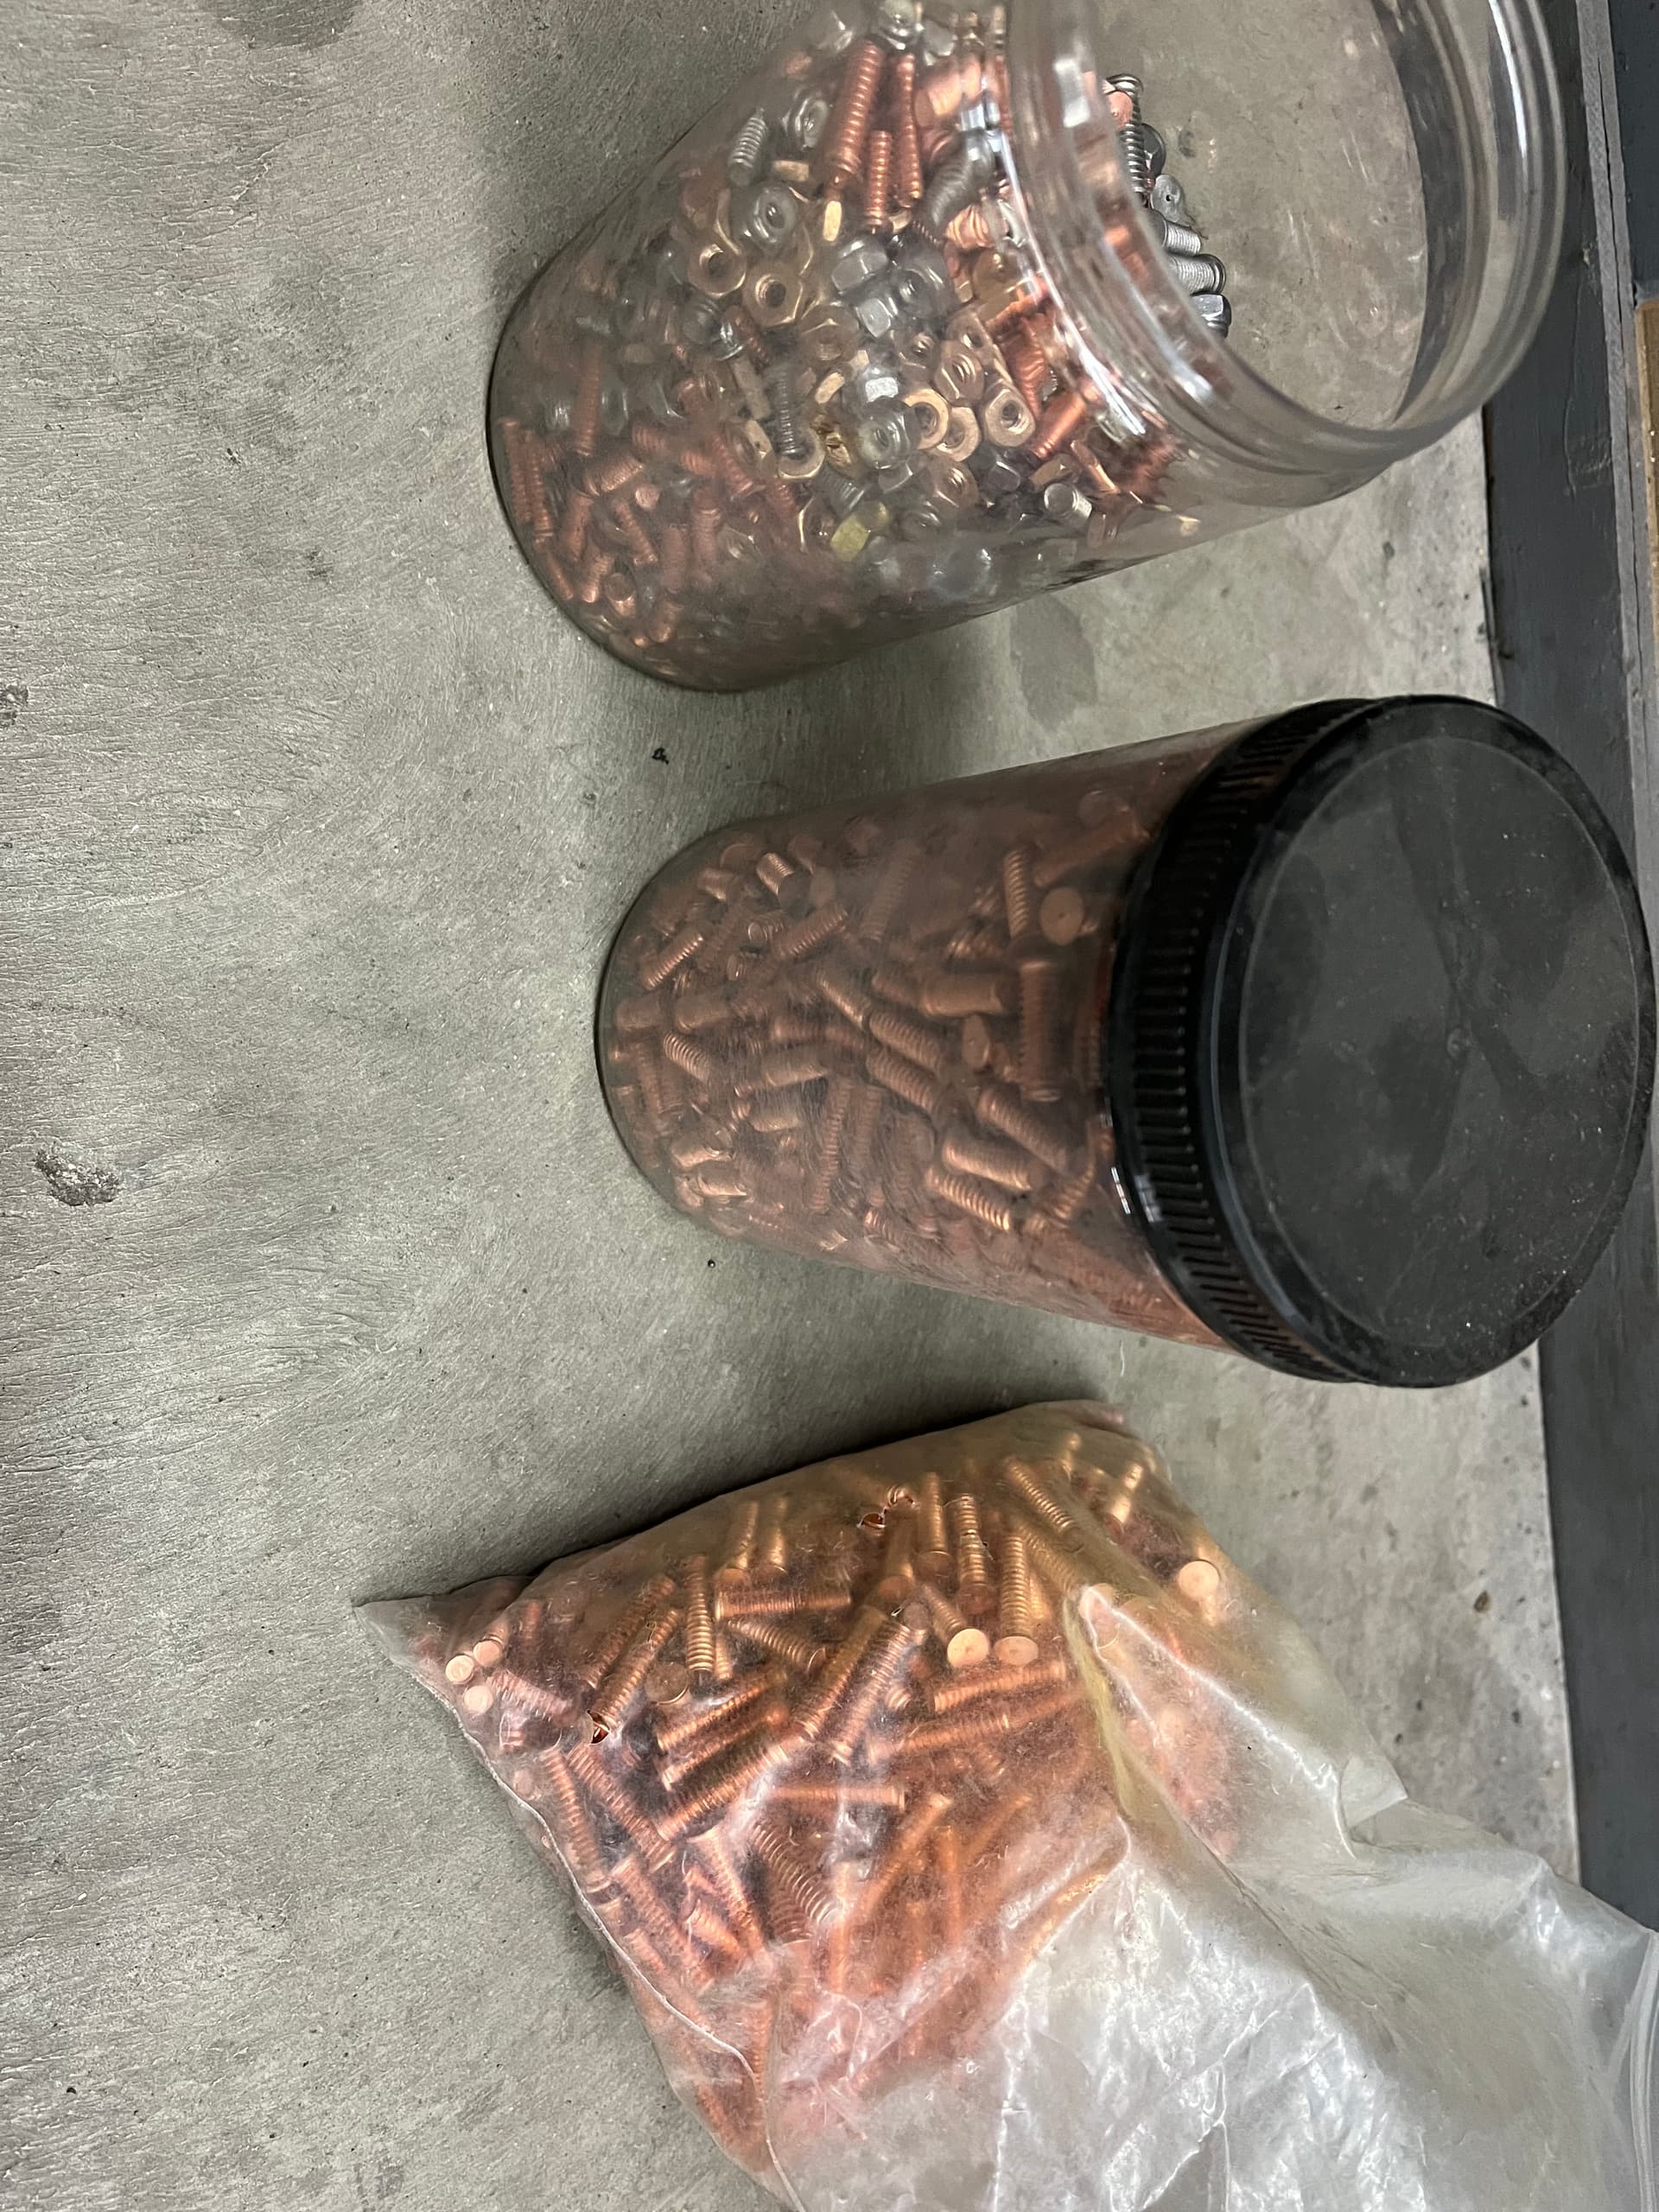
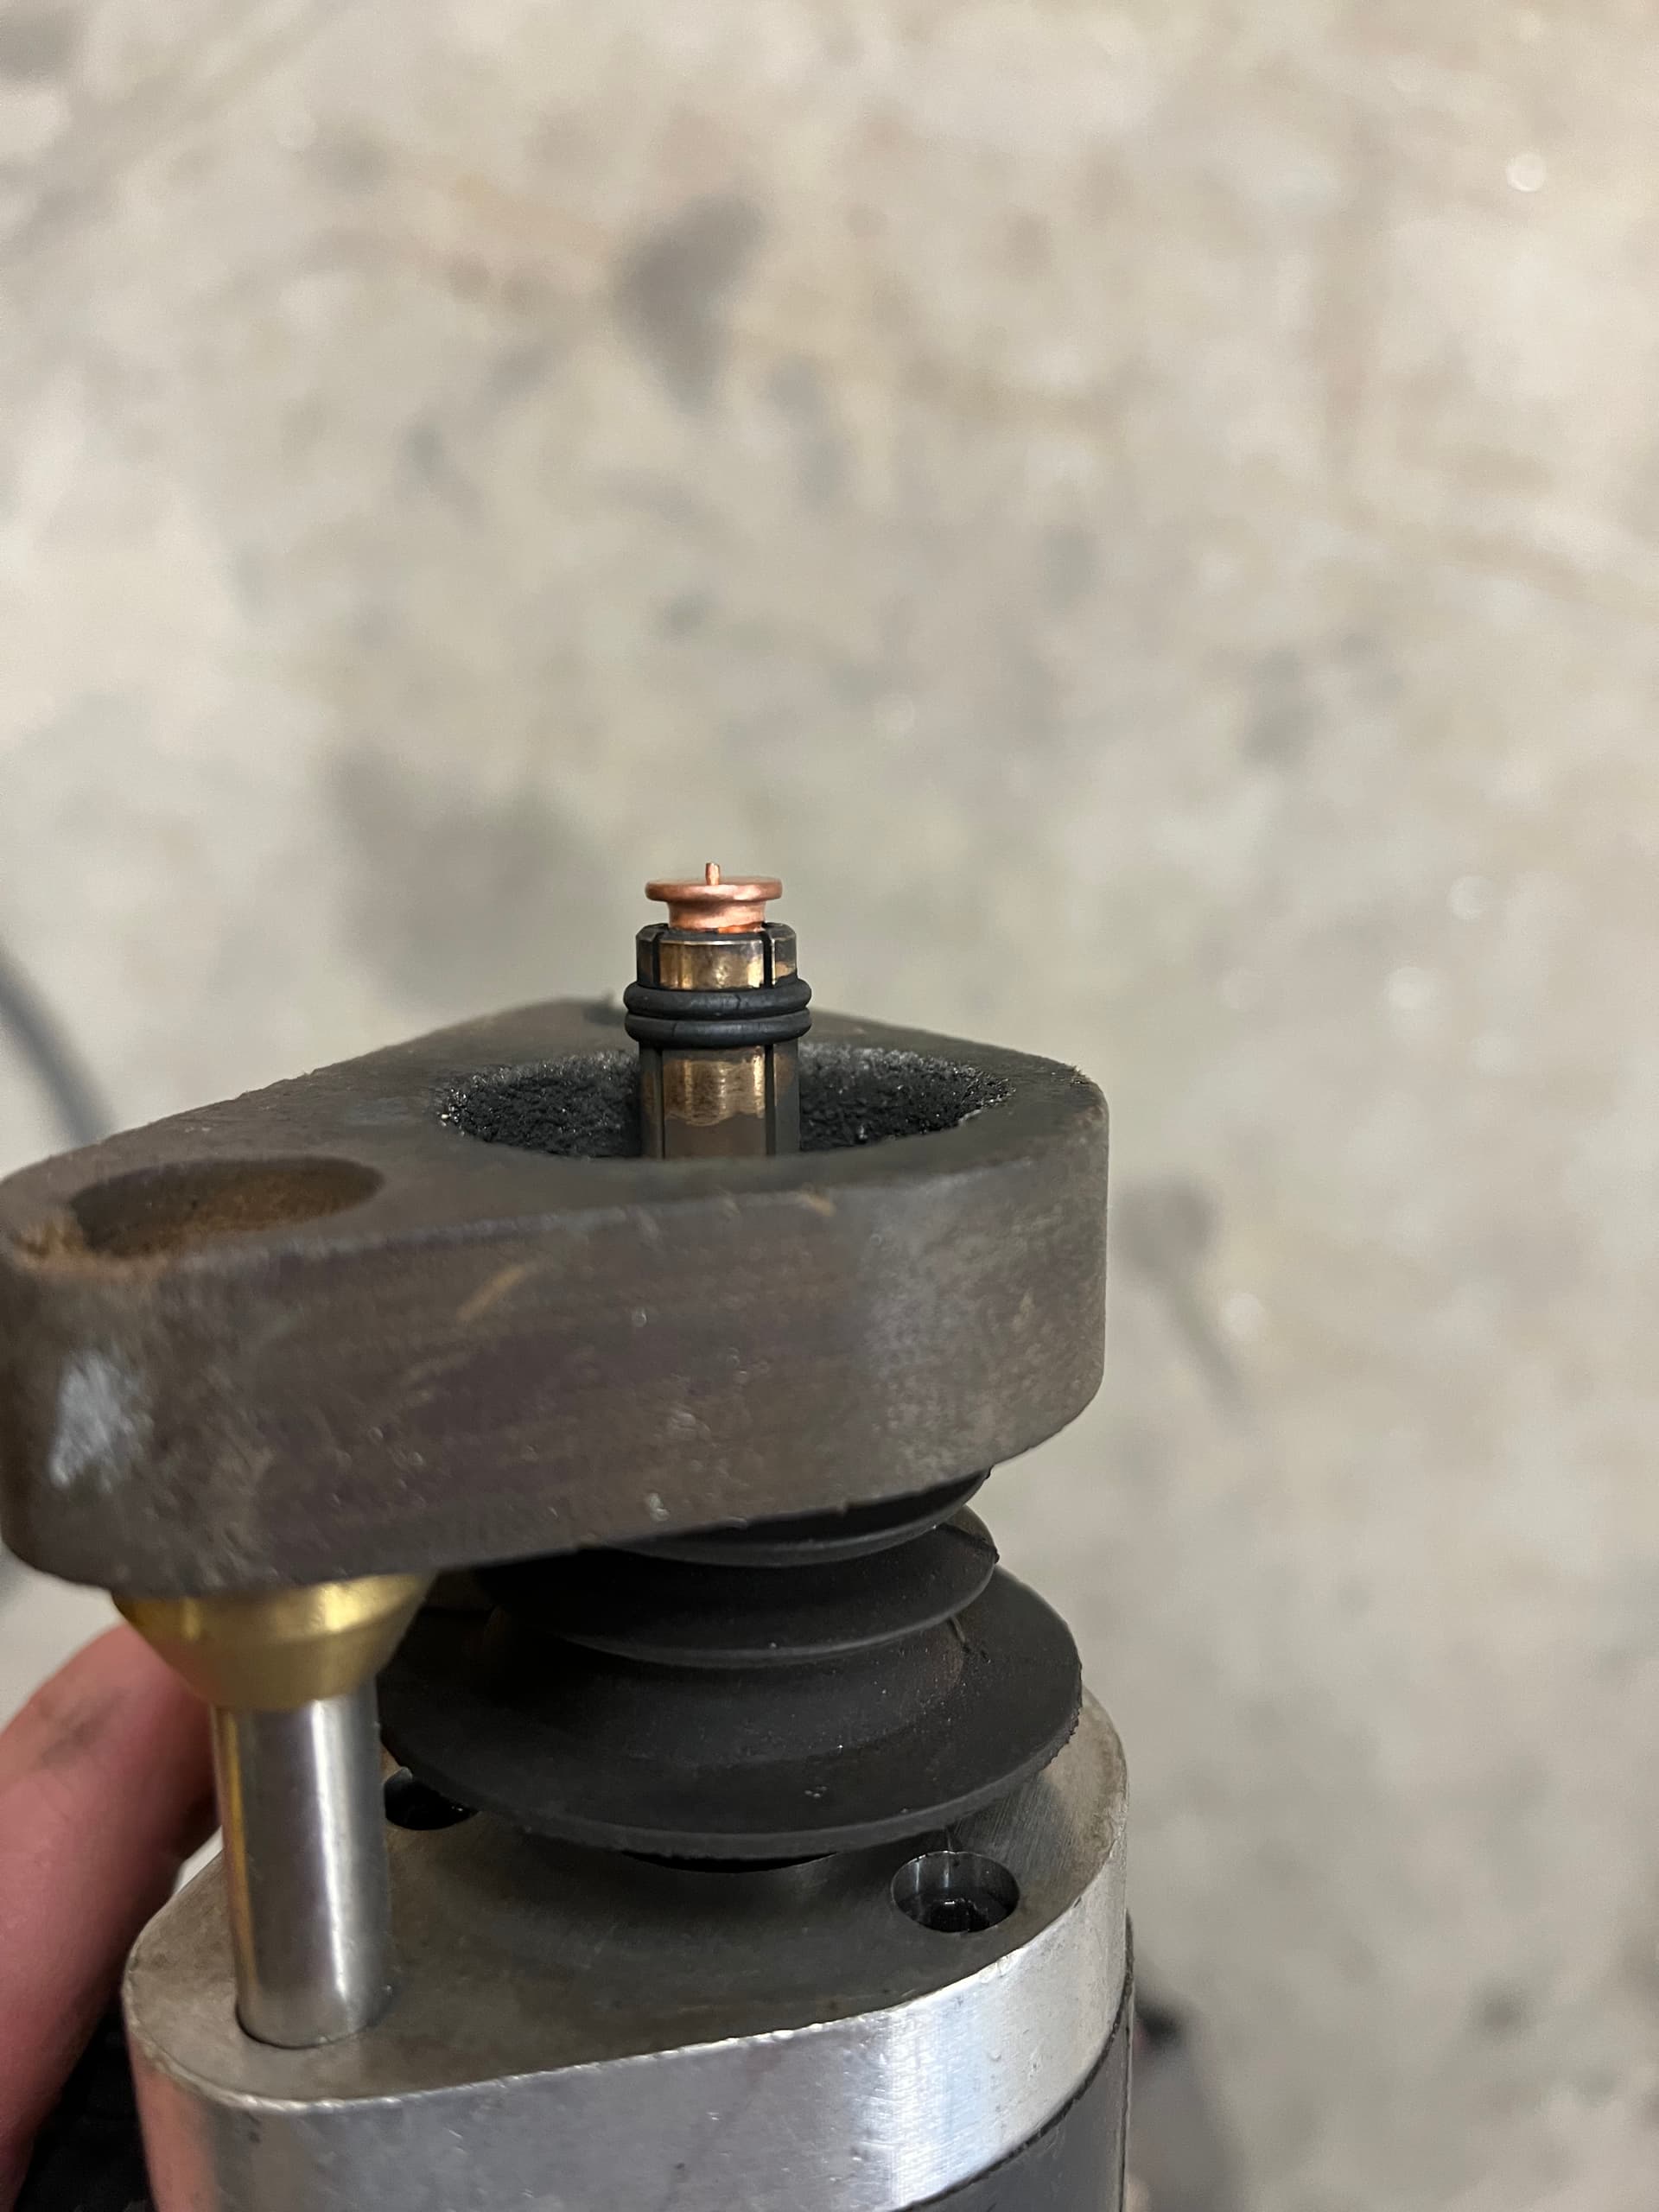
I use 16ga steel for most of my layered signs. I watch for good deals on good studs like i found few months ago and purchase 600 for $75. The 1" studs are normally too long for anything so I thread a nut on it and cut the excess off. When you unscrew the nut it will fix the threads so you can easily reassemble after painting each layer. I mainly use 1/4"x20 size studs because there strong. I originally started marking my spots and taking off layers to shoot my studs and figured out the exact size circle I need to shoot through layers. When you do this the weld stud stays and you can added nuts as spacers or just add nuts in the back to hold together.


5 Likes

A few months ago i showed another sign and how i line up letters for signs…

1 Like

Very nice international sign! do you mind if I use your dxf to make one for where i park my lo-boy?

1 Like

Thanks for the additional info, much appreciated. Looks like you are using the flanged studs. You can get ones without the flange, but I am not sure they are worth it (see picture). Especially since you already have the hole size figured out and a little fudge room is always nice to have in case the outer layer needs adjusting. I am also buying the 1" version and cutting them down if needed, using the same method you describe. The signs I have to do are outside so I have opted for the stainless steel versions. Your posts have been quite helpful.

image

3 Likes

I want to mention JB weld works well when you have painted your elements separately. It’s like a 2 part epoxy. I use it when I don’t want a fastener showing. https://www.jbweld.com/product/j-b-weld-twin-tube

6 Likes

Use welding shielding tape or rods to cover the places where you will be welding.

This will keep the paint from coming off.

@IssacAcker Welcome to the forum!

may you please go into more detail about the procedure you are taking about.

On the 3M VHB tape 1/4" is the narrowest? and how thick is it?

1mm thick, AKA 0.03937"

3 Likes

Slightly off topic but I’ve been asked to make an access door/vent for an older homes foundation. Do you think using the really strong magnets to secure the screen and the solid door would work if I powder coated over the magnets to keep them in place? I’m thinking the frame mounted then screen then door stuck on top of each other with the magnets.

1 Like