A question for the folks who make multi layer and multi color signs. I have a few ideas for things i want to make but im running into a snag.
Ideally id like my layered to be tig welded together in multiple places for sturdyness. If i weld first, im going to have an awful lot of masking to do for the second color. If i paint first , everywhere i weld will burn the paint off. I know i could bolt it together but i dont like the look. I could use weld on studs but not crazy about that idea.
Just looking for alternative ideas or tips and tricks.
I know you wanted to talk to those who have done multi-layer signs. I did one and was going to place rivets with spacers but ended up riveting without spaces. Looked great. My original idea was to use aluminum spacers with 1/4 inch ID and rivet front and back pinching the two layers together.
@DonP does some wonderful projects with a stud gun. Assembled after painting.
@Wsidr1 does some exceptional pieces by epoxy fixing bolts to the backside of the front piece and uses nuts to space as desired. Assembled after painting.
Others talk of some welding scarring the metal on the show side.
Hopefully, they will weigh in and clarify. Looking forward to seeing your results.
I want to try it on wood next. Using it on metal is temperamental. I find that applying with a white scotch brite and low speed orbital sander, then putting a terry cloth towel scrap on the sander to immediately buff it with only the weight of the sander works best. It stays just a bit tacky for a few days, then settles. If you wipe it too hard within a day of buffing it gums up and you have to strip it and start over.
I know it is unlikely that this would happen with most projects but I recently tried to do something with rivnuts in the size of 8-32. I would not recommend that size for any alignment as they are very temperamental. Any misalignment is magnified and I could not get them exactly perpendicular to the metal surface.
This caused cross threading nearly every time. I even bought the 8-32 mandrel for the project. Now I know why it is not very popular size with rivnuts.
I use 1/4" rivnuts inserted from the back and it gives me instant standoff and a flush back but I prefer the rivets like Tin uses. He got me started on them…
Agreed that would work well. I was making a bracket to mount some security cameras and thought the 8-32 was exactly what the doctor ordered. Needless to say, they are mounted but I will likely need to use a grinder to un-mount them in the future.
I do the same thing as @SWomack I like the preset standoff…can buy bolts with all different types head and finishes, and when i screw up the last part of painting its so much easier to disassemble for touch up. My first ones i welded and it was a nightmare for fixing paint. One error and you have to redo every level and color due to weld heat.
I prefer Rubio Monokote - it dries overnight and is hard-cured in a week (ready for a top coat - I use a nanocoating) You can put a second coat on the next day - I buff with a red scotch pad before doing a 2nd coat. The second coat will take care of any places you might have not coated or buffed properly on the first coat.
I’ve found it’s much better than Odie’s for application & curing times as well as long-term durability.
Did you use the 8-32 size (0.164"). I have no problem with 1/4 inch to size 10. But 8 is so fine of thread and my rivnut is designed for the larger ones. The device is so bulky that any slight angle is amplified. The larger sizes tend to square themselves.
And the housing for the camera required a minimum 1-1/2 inch length to get to full length of the rivnut. I suppose if I did another 10 of them, I would get better.
No pictures. But looking at them you can’t really see the slight angulation.
Ok I see what you mean. I did use 8-32 or 8-24 and I put them in 1/8 material. But I only used them as standoffs no screws.
They may have been cocked slightly but of course it didn’t matter as I used no screws. I do remember when I inserted them they were harder then normal to keep straight.
Tried an experiment a while back doing a multi layer trailer hitch cover for a friend. I wanted no signs of bolts or studs and because of road vibration I figured glue was out. For durability I wanted to powder coat the layers which further added complications. I decided to try using silicon bronze filer rod to make studs and braze the pieces together from the backside after the pieces were powder coated. Because silicon bronze melts at a much lower temperature I figured I had a chance of making it work. After some trill and error it came out pretty good.
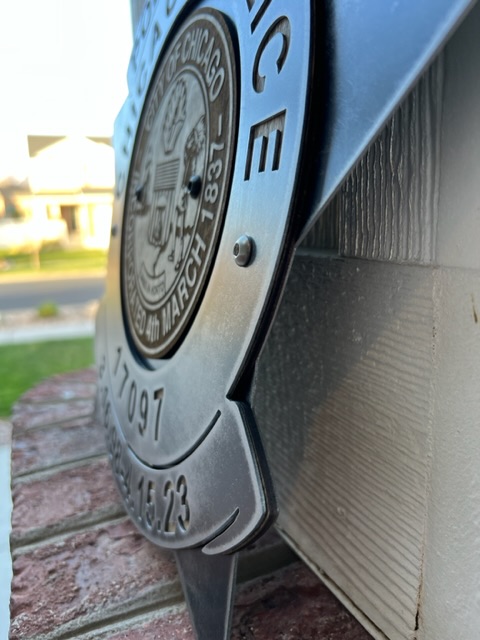
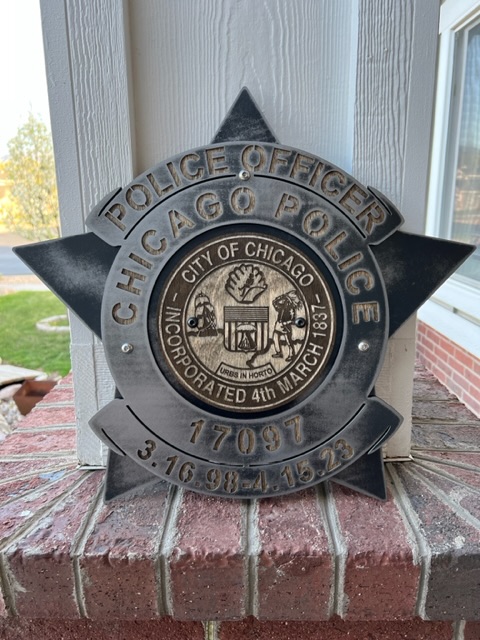
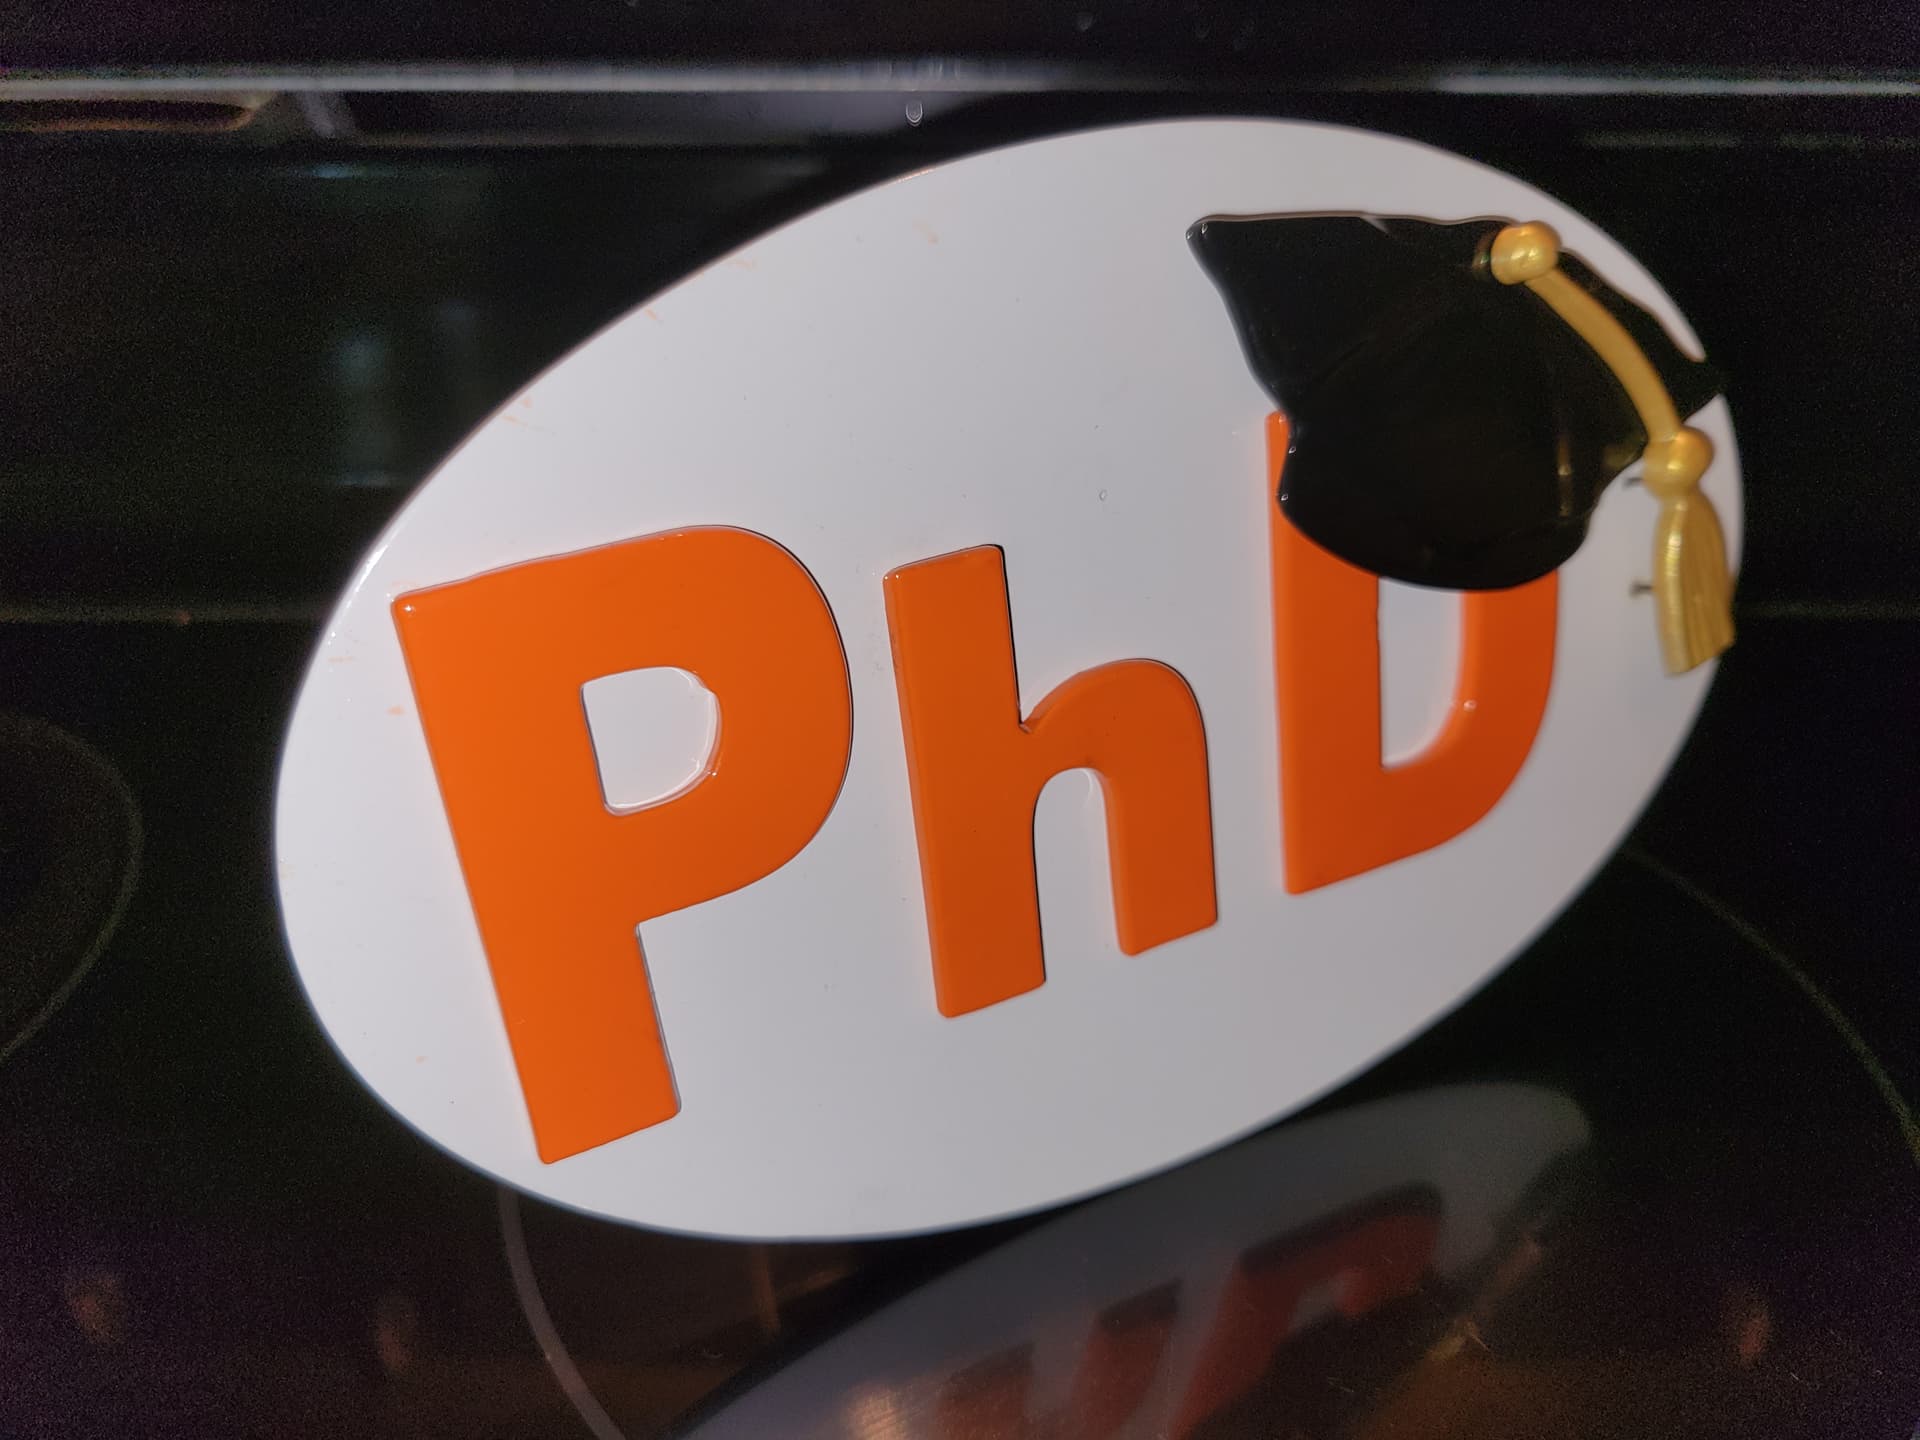
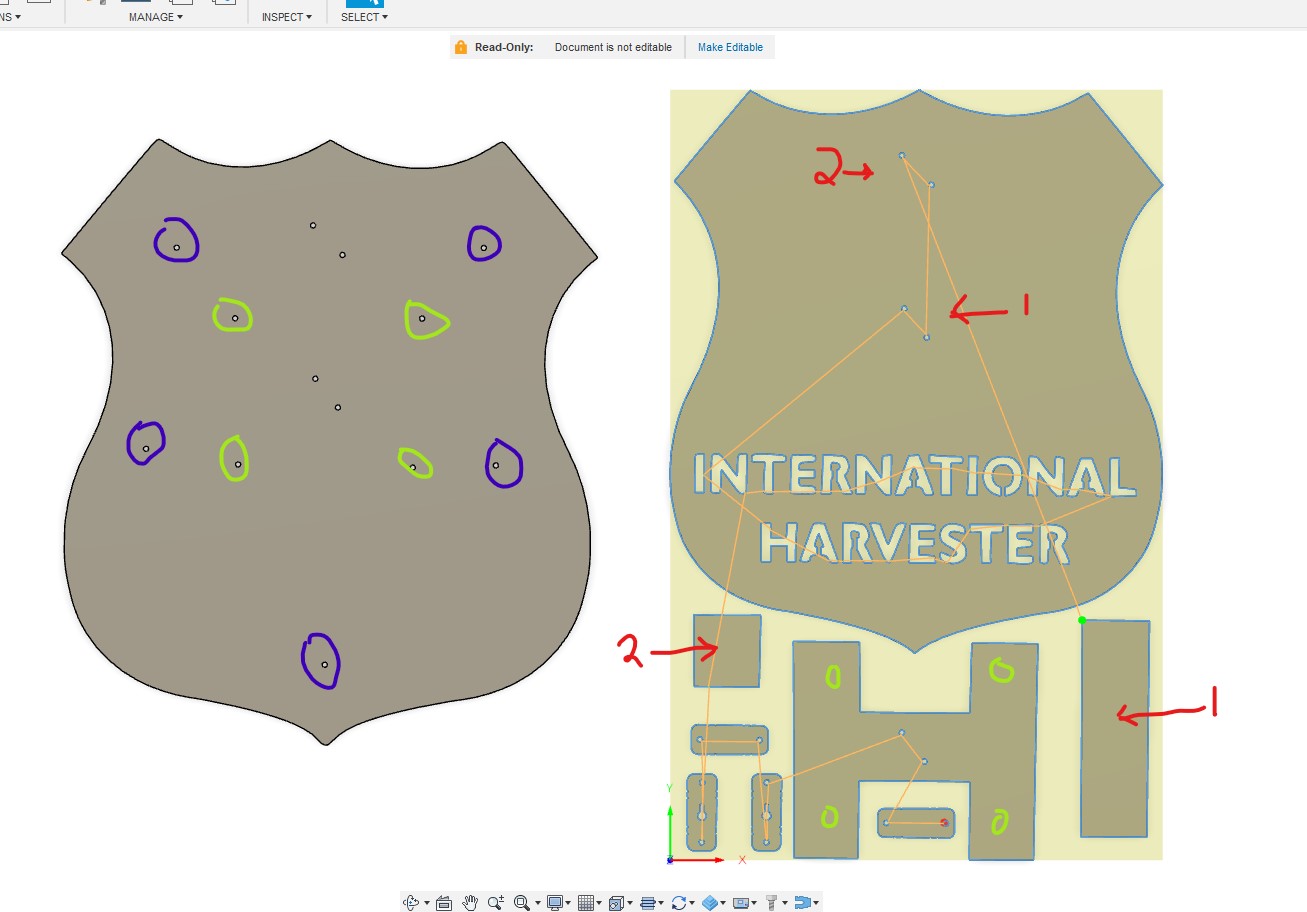
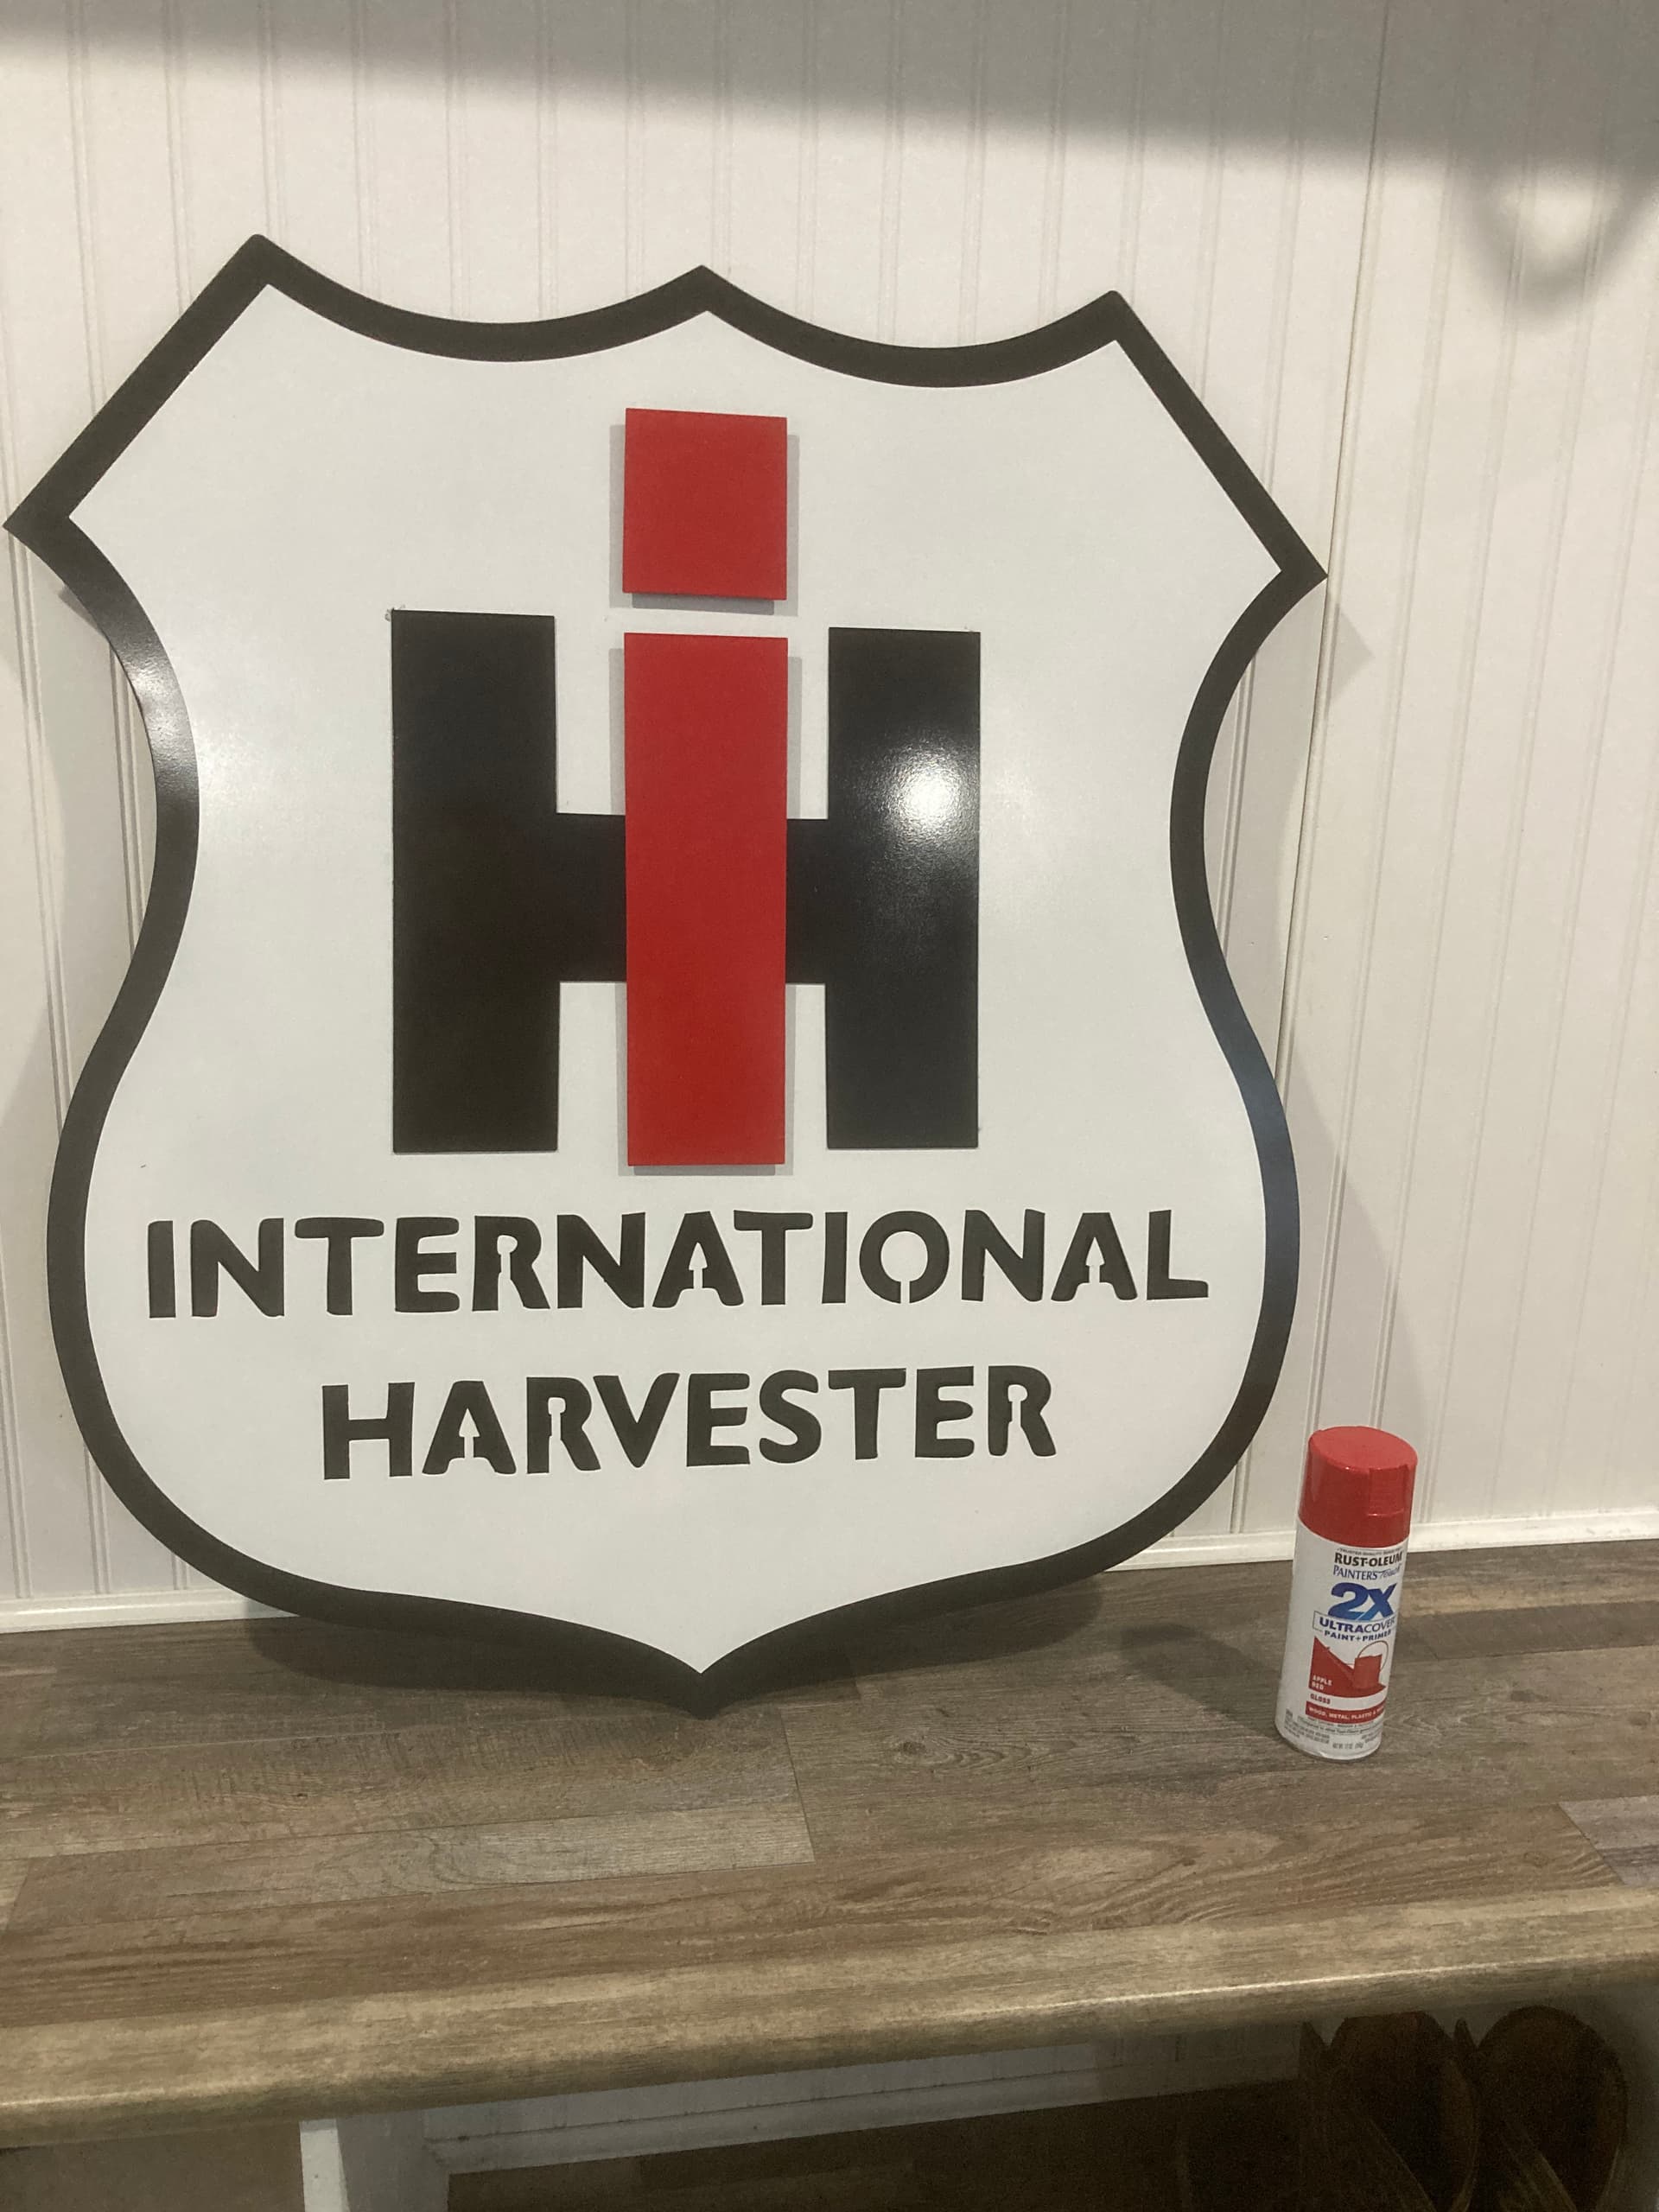
Sorry I haven’t cut anything in over a month but this posting caught my interest because layered signs are my favorite. So I use a threaded stud welder which is stupid expensive but really is amazing for layered signs. I could cut a layered sign and put it together in minutes. I do this for a hobby and don’t get into the money side myself. I’ll post a couple of the layered signs that i made in last few months. The trick in making layered signs I found is in the design. I add all my holes where i want them and shoot my threaded studs from the back so you never see it. Some of them I space out layers with nuts and some of them i don’t. You could weld bolts on just the same way i use my stud gun but might show marks on the face of the sign. The blue circled holes are the spacing studs from black layer to white layer. I also cut out all my hanging brackets and lower spacer brackets and just position them on the backer and shoot a stud through them. On this sign i also tack welded the hangers on the back because it was really heavy. I have included the DXF so you can see how i do them. I might have to fill my table up to make something now that i’m talking about metal again…lol