I have just ordered a CNC PTM 60 machine torch. My question is what machine torch holder is recommended and where can I purchase it? I thought Langmuir would sell them but can’t find it on the website.
Go to store on this sight and scroll to bottom ,machine torch listing for crossfire and Pro. $75
@ds690 has a 3D printed one on thingiverse that works well.
2 Likes
Don’t know how I missed that.
Thanks
Can this be purchased or do I need to find someone to print it?
The file is free if you can find someone to print it.
This is the link for Langmuir’s machine torch holder. I have it. I have not had a bit of trouble with it:
2 Likes
You will have to rework it if you are using a hypertherm mini machine torch. Trust me.
1 Like
Looks like the LM Machine Torch Holder should work
The Tecmo CNC PTM-60 Plasma Torch is an Italian-made torch head that is compatible with the PrimeWeld CUT60. The torch includes a 25-foot cable with Euro central connection.
This torch is 25’ long and has coaxial cable.
Torch Diameter 34.5 mm or 1.360 inch
1 Like
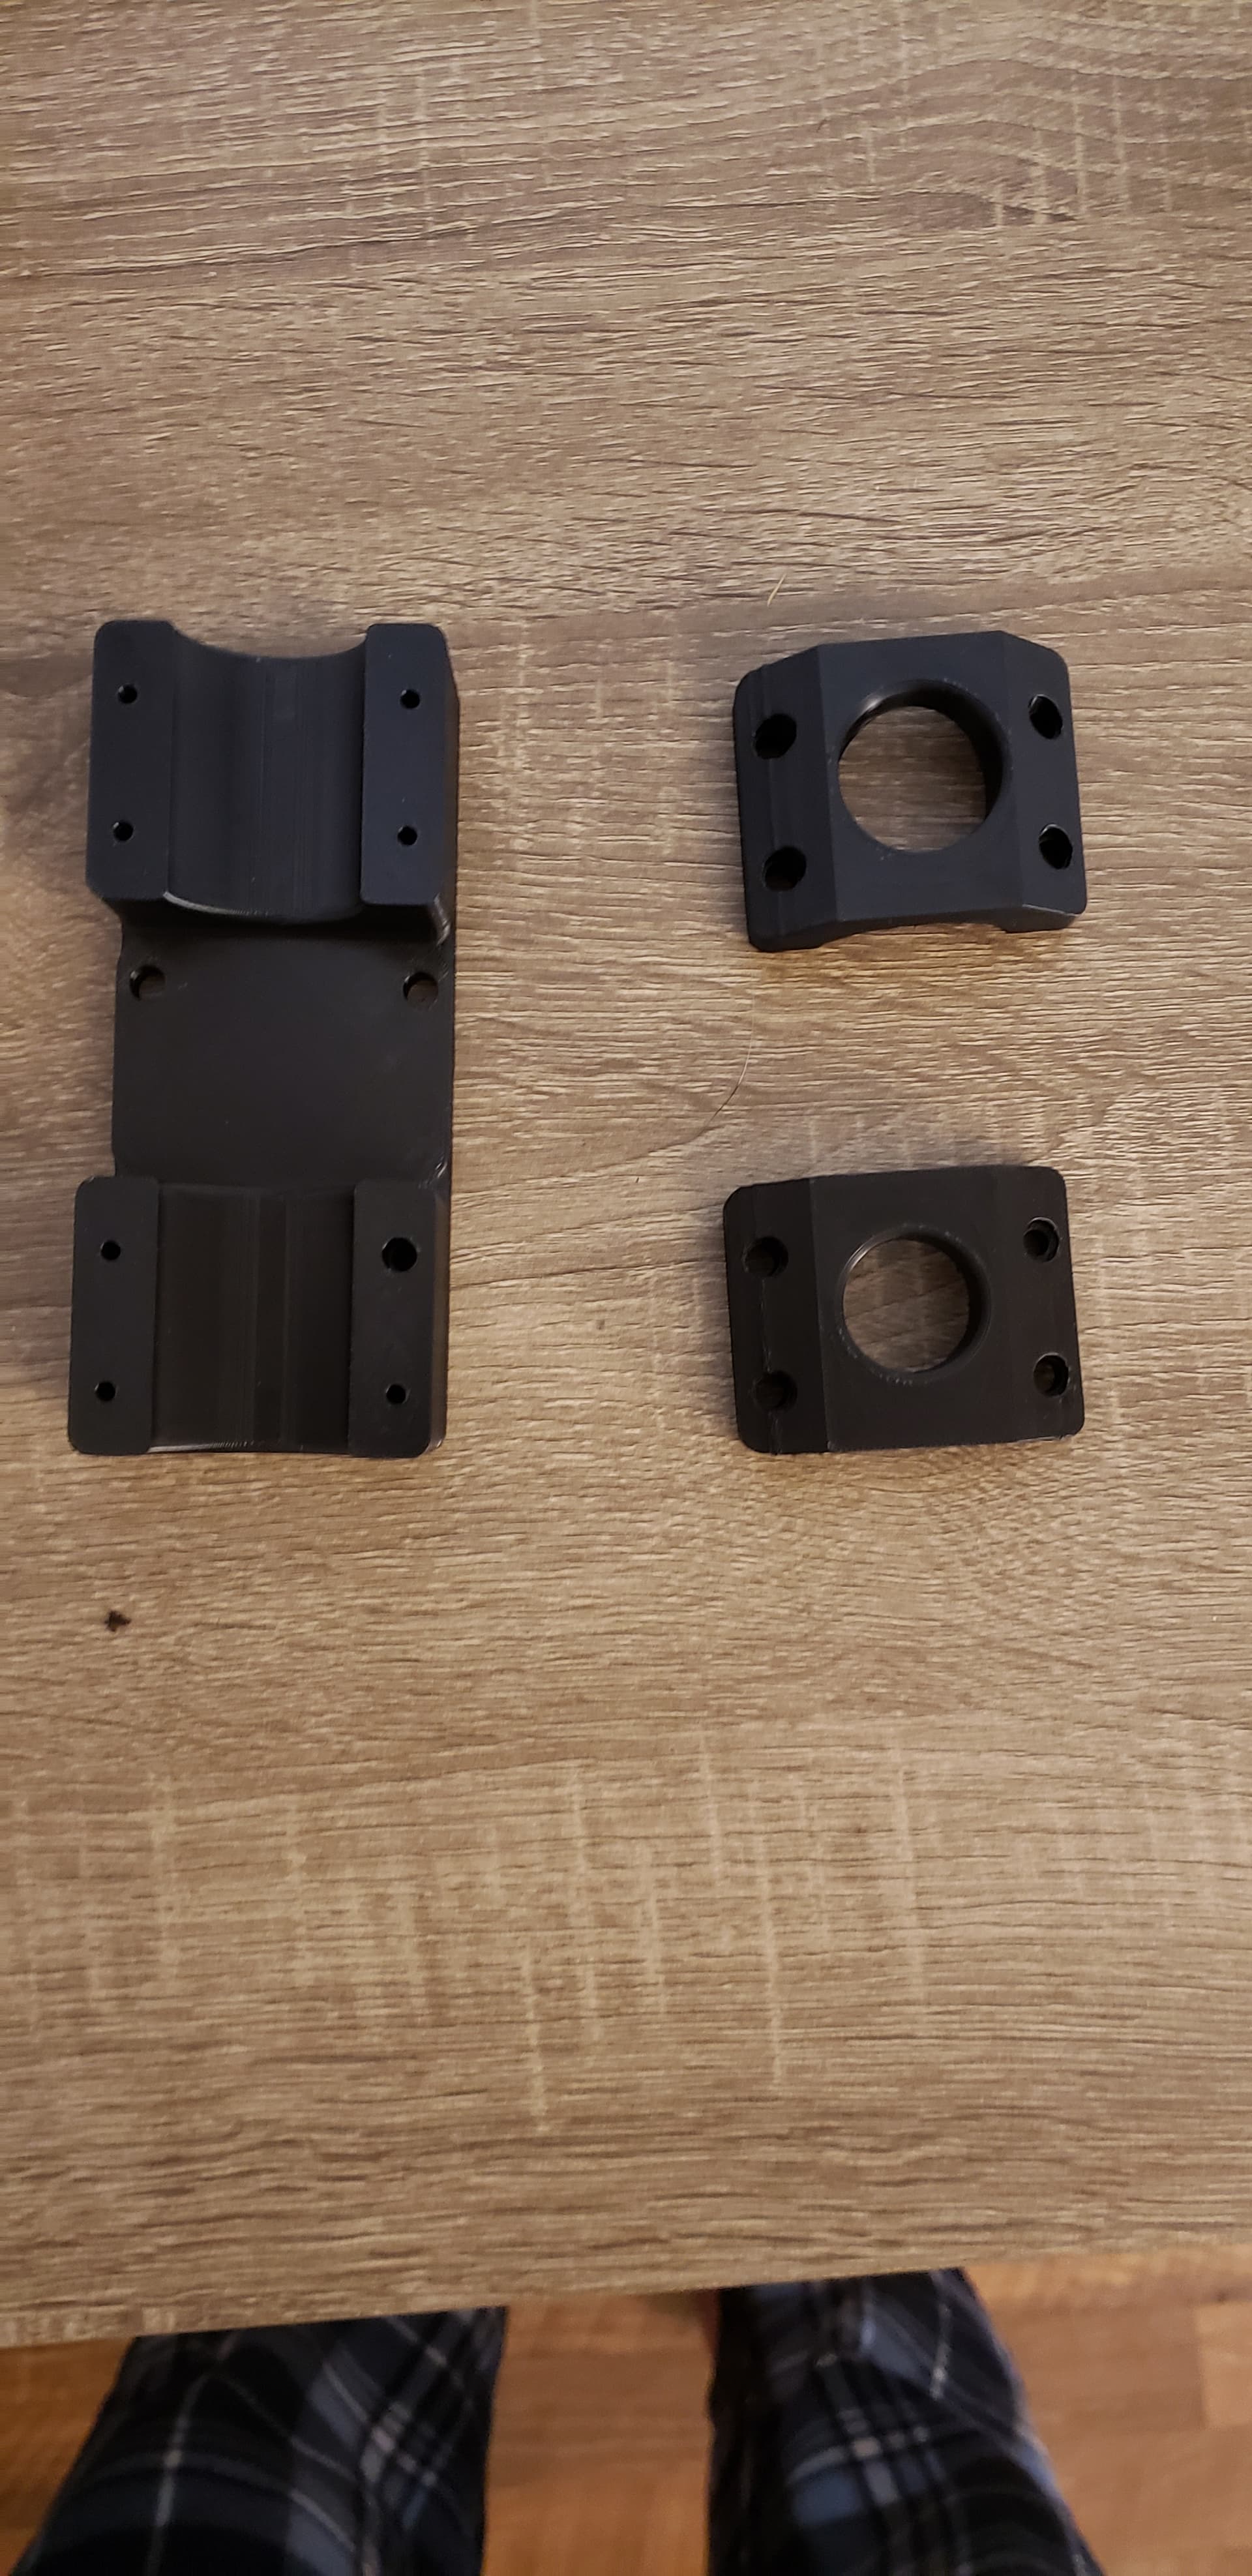
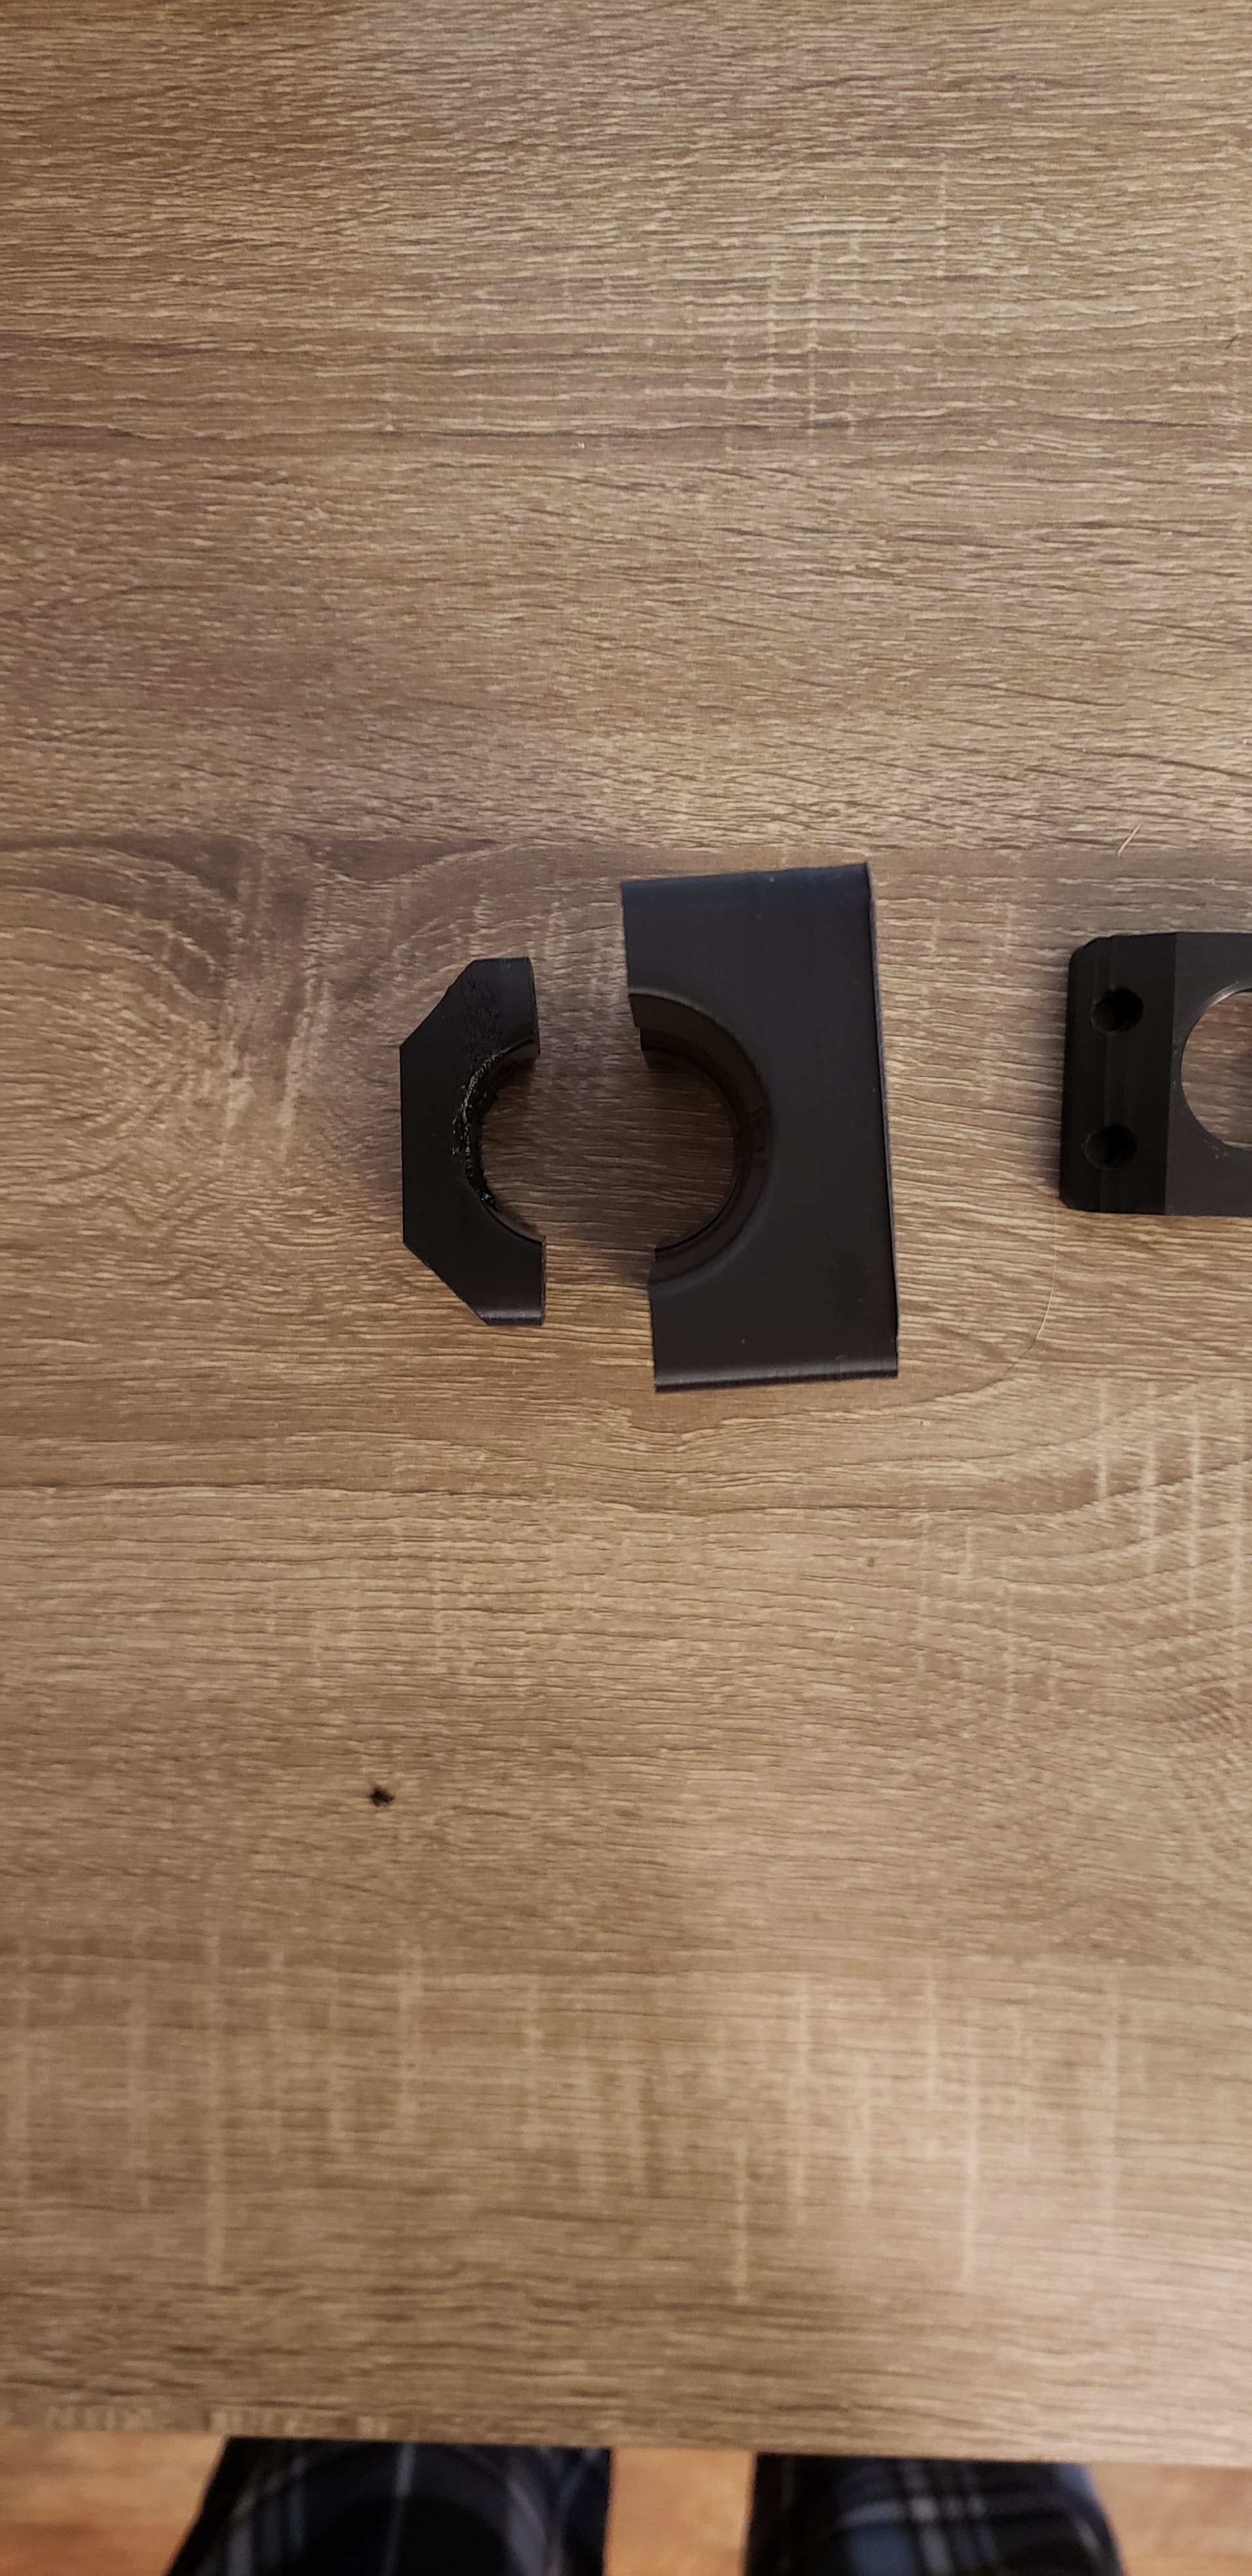
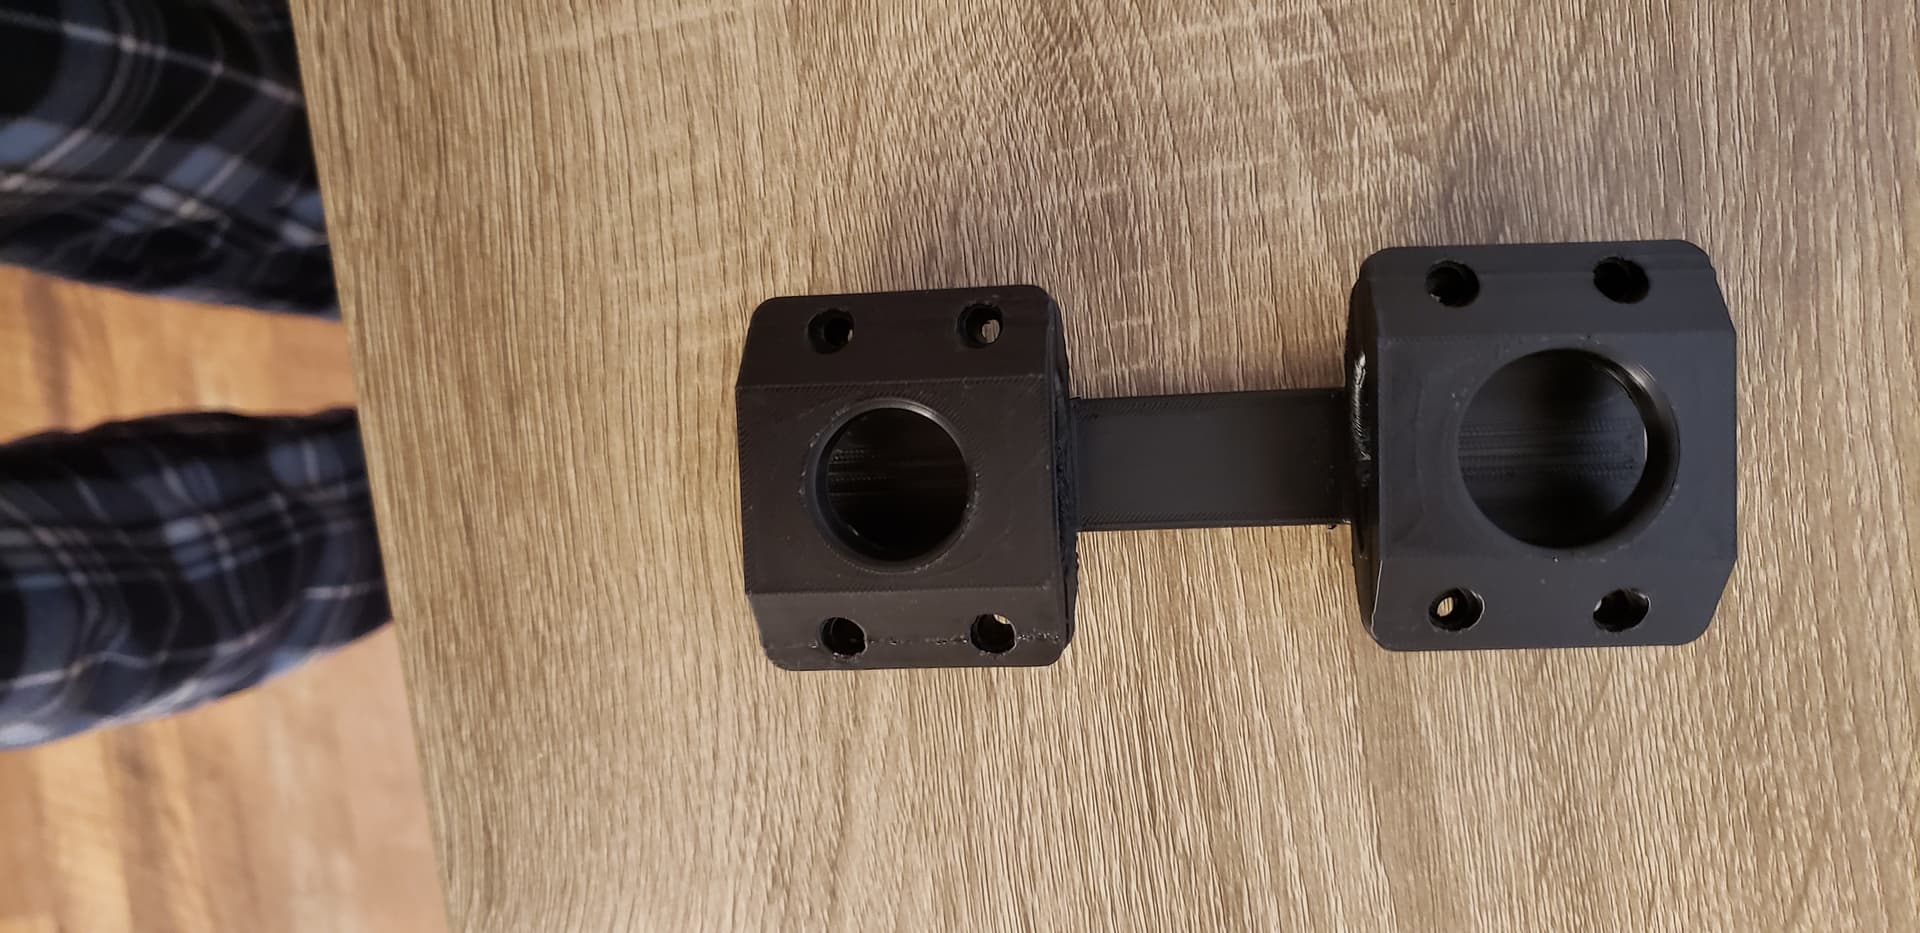
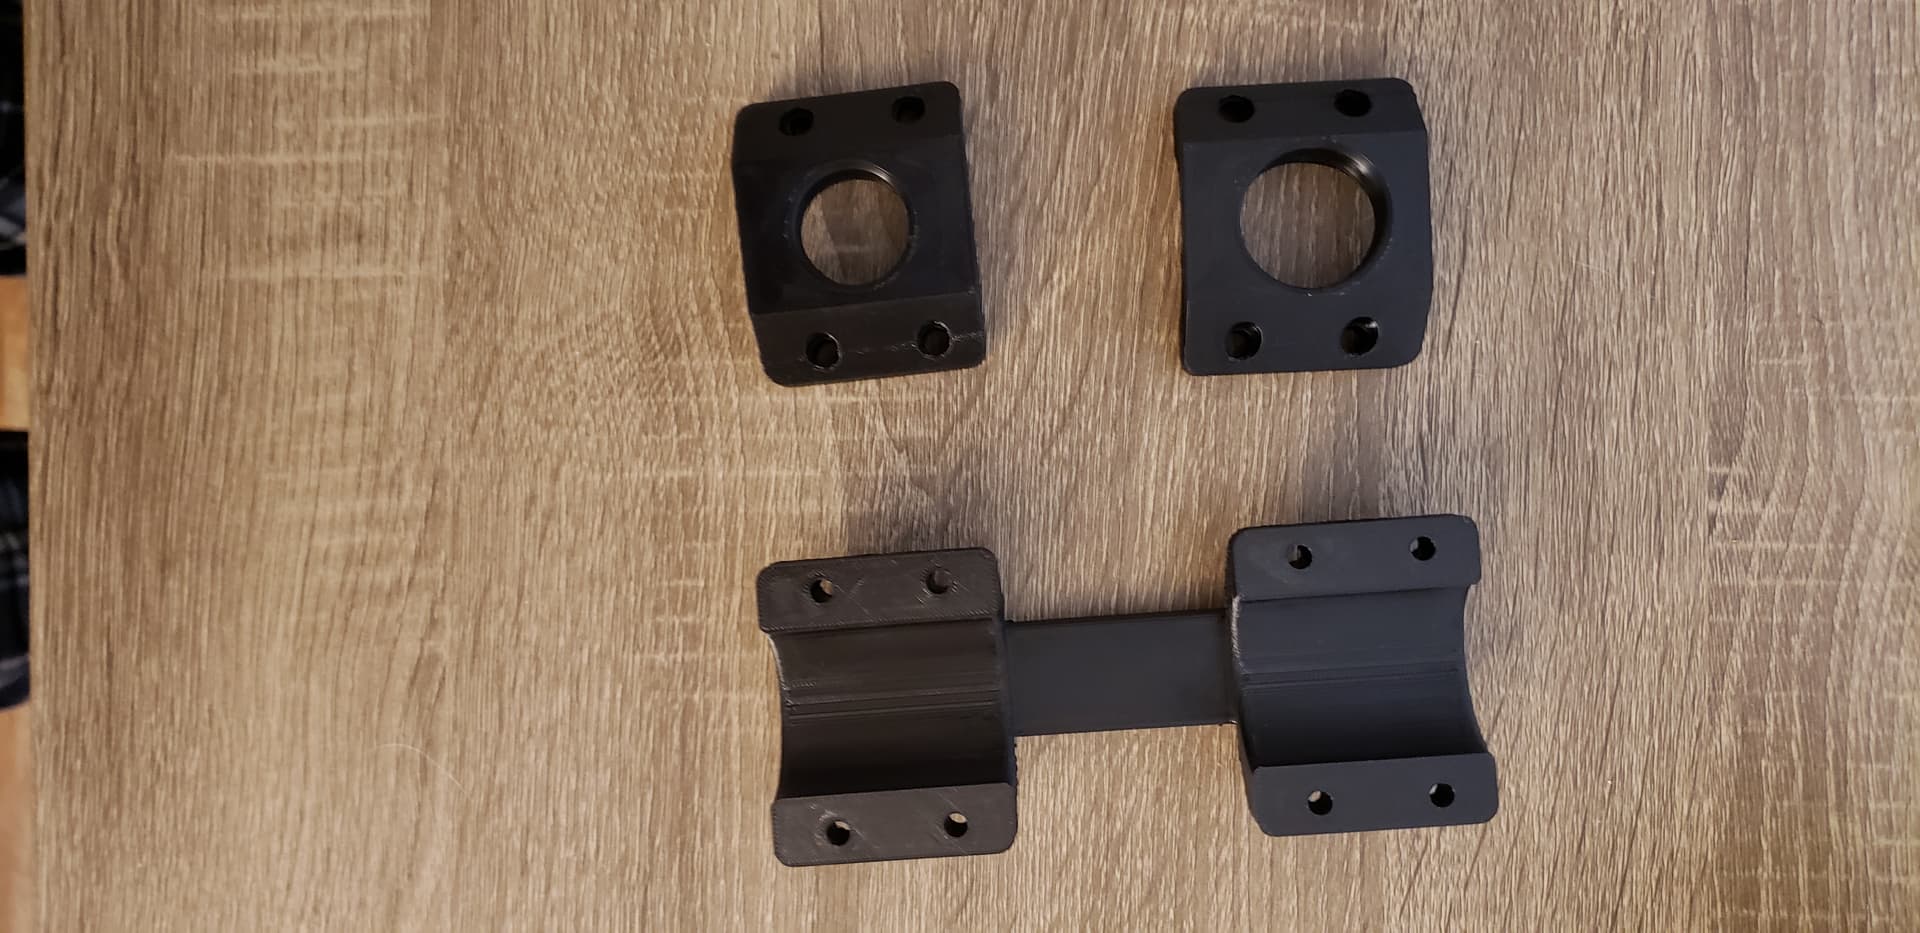
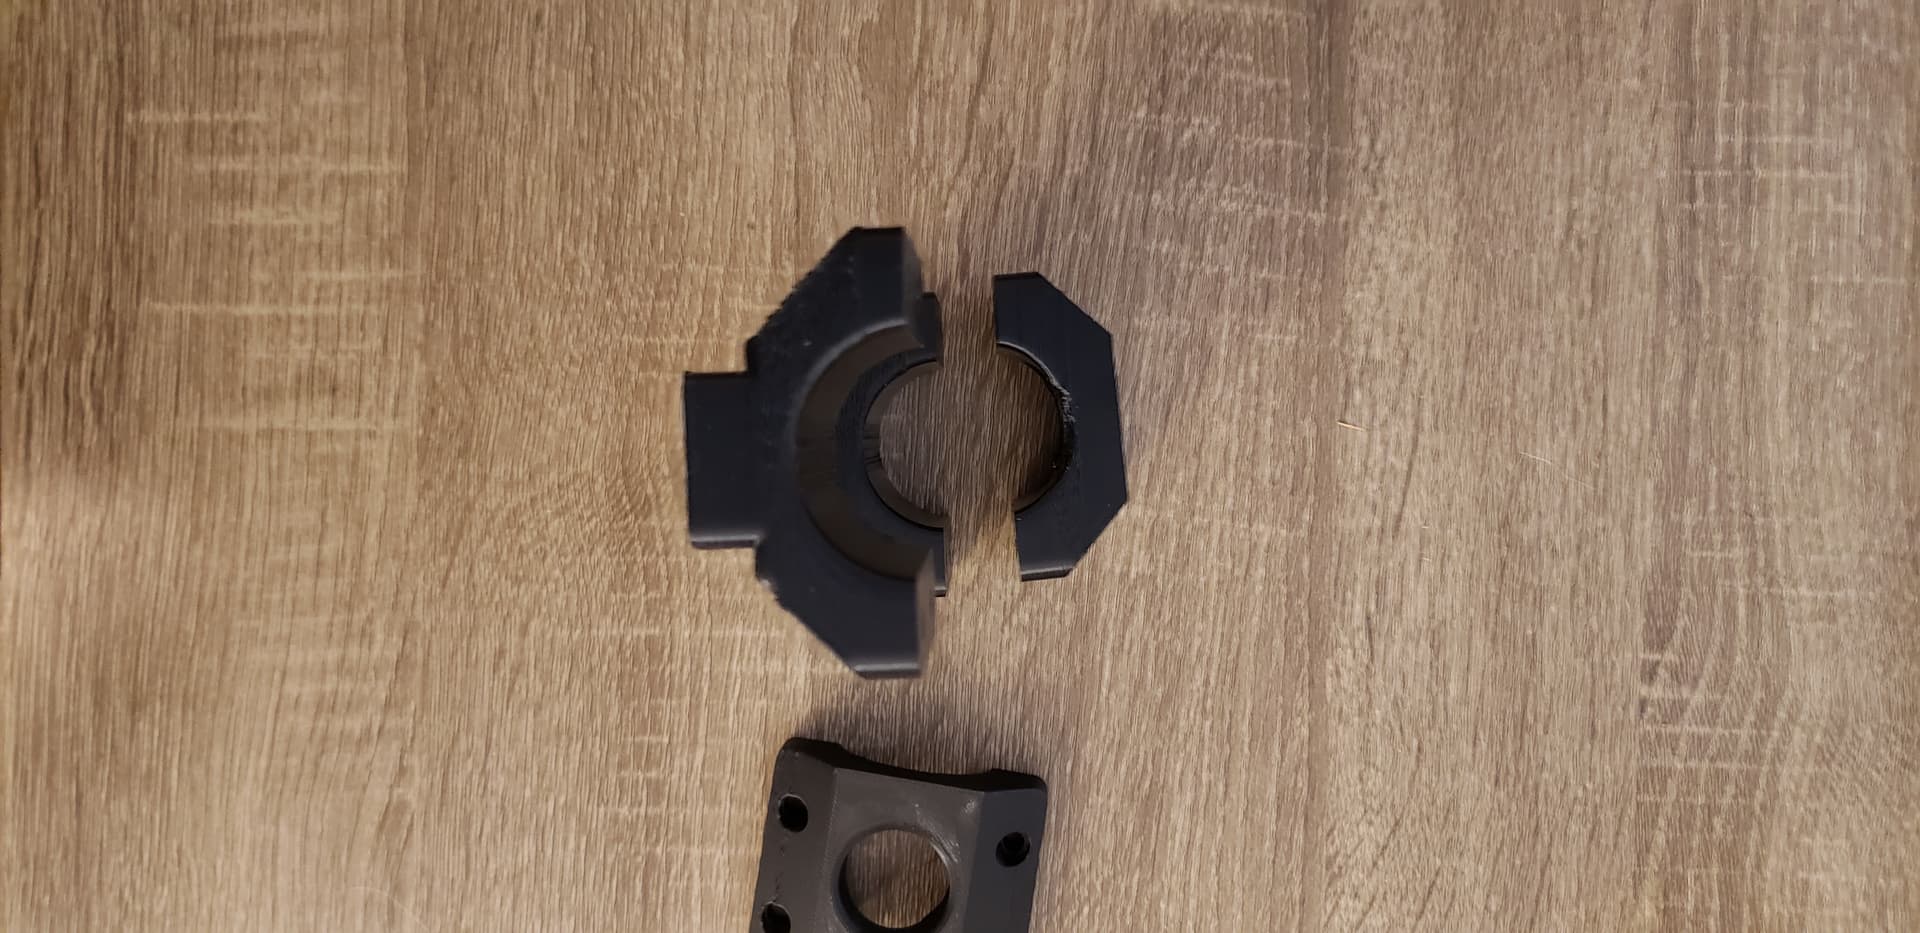
I used @ds690 (thank you for the inspiration) torch holder for mine, and did not print with enough wall structure and it broke (Hypertherm machine torch is 7/8" dia and is hella stiff - also running drag chain).
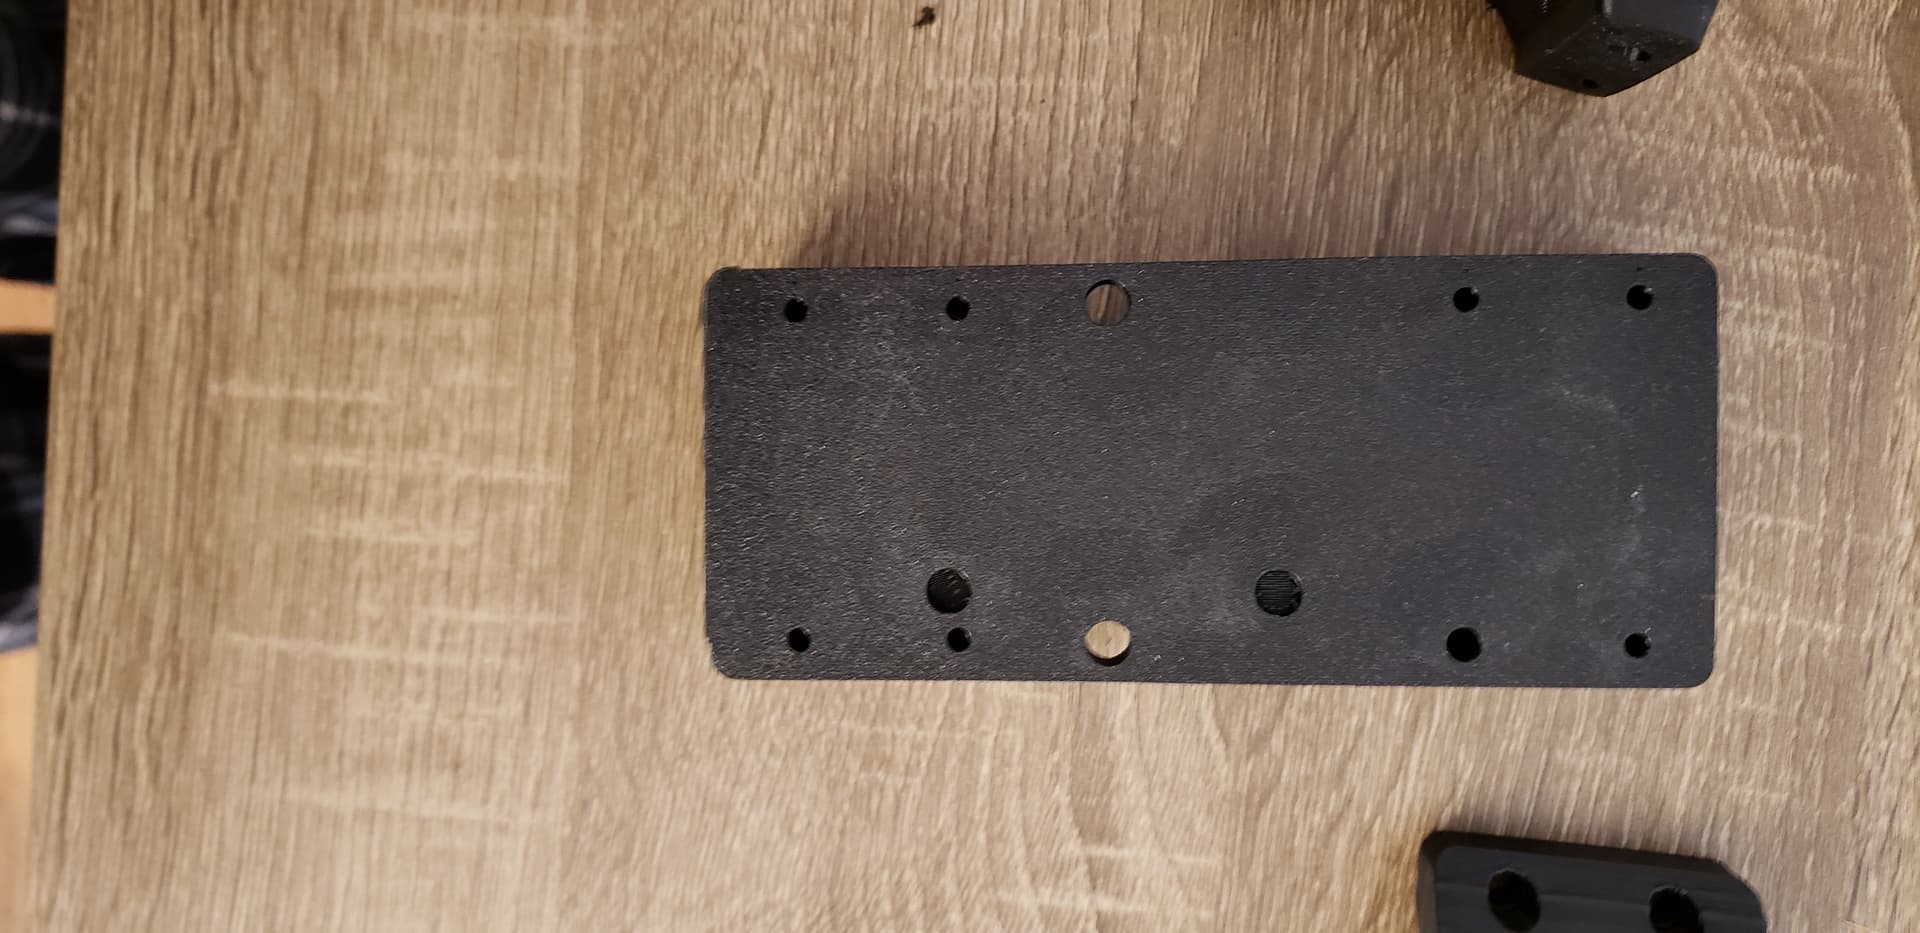
I modified it and printed using ASA with a 30ct wall and 15% infill. Going into V2.0 soon to cut some more weight and use the keyway and OEM strap for height adjustment.
https://www.printables.com/model/497313-langmuir-crossfire-machine-torch-mount
Link to his (ds690) original post - 3d printed machine torch mount
This is a long print on a standard printer - like 20+ hours. My printer will do it in 7. Since not everyone has a 3d printer, If interested I can print for members and ship for $45. PM me, and for the love of the gods, don’t post your mailing address or phone number on the pubic thread!
Might want to toss DS690 a bone, as this was his concept.
1 Like
Thanks for the shout out. I print most of mine with 4 walls and 30 - 40% infill. The newer one, with modeled threads, gets 6 walls for additional material on the threads.
I’m going to have to revise mine again to make clearance for those protruding bolts on the Z axis. That seems to be a recent change that was made to the specs on the bolts. Mine do not stick out past the face of the Z carriage.
2 Likes
I re-sliced mine with 6 walls and it’s 50% faster. Surprising. I don’t play with wall count that high, usually 2-5 walls then infill% max at 15. Lost almost half the weight too. I may print one and stress test it.
My first attempt may have been better and not broke with a few more walls, and maybe a little better tweaking on my filament for layer adhesion.
1 Like
I do all of my printing with Sunlu PLA+ and I’ve found that 230C works best for layer adhesion with that filament on my Ender3.
I wanted something a bit more resilient to the working conditions and potential heat so I went with ASA.
Unless I am prototyping, I don’t use plain PLA anymore. PLA+ for light duty, PETG, ABS, ASA for heavy duty/outdoor/UV exposure/High Temps and Chemical.
1 Like
I’ve been amazed by how resistant to heat and UV damage this PLA+ is. I have a black cell phone holder that’s been on the dash of my truck for 2 years with no signs of damage. I also have a water shield on my Z axis that shows no signs of damage after months of cutting.
2 Likes
That is good real world results.
Printing safety wise, PLA+ is the way to go. The fumes from ABS and ASA are not fun.
1 Like
@ds690 and @Sticks:
I am really enjoying this conversation even though I have never seen any 3D printer work (except video).
2 Likes
V4.0 should work in the Z axis channel. I need to tune this filament better and my supports. Not perfect, but certainly usable.
Also working on a screw on pointer that you can swap out the shield, locate your cut point, or work zero, then put the shield back on. Poor mans not a laser indicator.
2 Likes
BUT! It doesn’t require batteries or power!
2 Likes