I searched the forums and found that people were making brackets for the xfire and xfire pro to mount ball swivel laser guides to mark pierce point on the torch but they also double up to square up and guide sheet placement when laying material onto the bed. I seen on fireshare they have these brackets for thoes model machines but not the XR.
Has anyone used this or come up with a laser system for the XR?
I also thought I’d seen some sort of square blocking spacer method people were using to square sheets… this didnt seem to be as good as lasers though…
Thought I’d post and see if anyone had any feedback, systems, or pictures they could share that they are using in direct regard to the XR.
I dont know if this can help or not but its how i do it on my table as well as the waterjet machines at work. First eyball the piece square, then lower torch to just above the material with the center of the nozzle over the edge of your material. Next using the jog button run along the edge, youll see which way it deviates from the torch. Bump it over and repeat. Eventually itll run nearly dead true to the machine axis. Sometimes it takes a few tries, others it lines right up.
I made a guide for squaring on mine. Basically got a piece of 3”x3/8 strap. Welded some tabs underneath to push up against the water table. Make a cut an inch or two off your limit of your y1 and then just use it to square your plates up. Hope this helps!
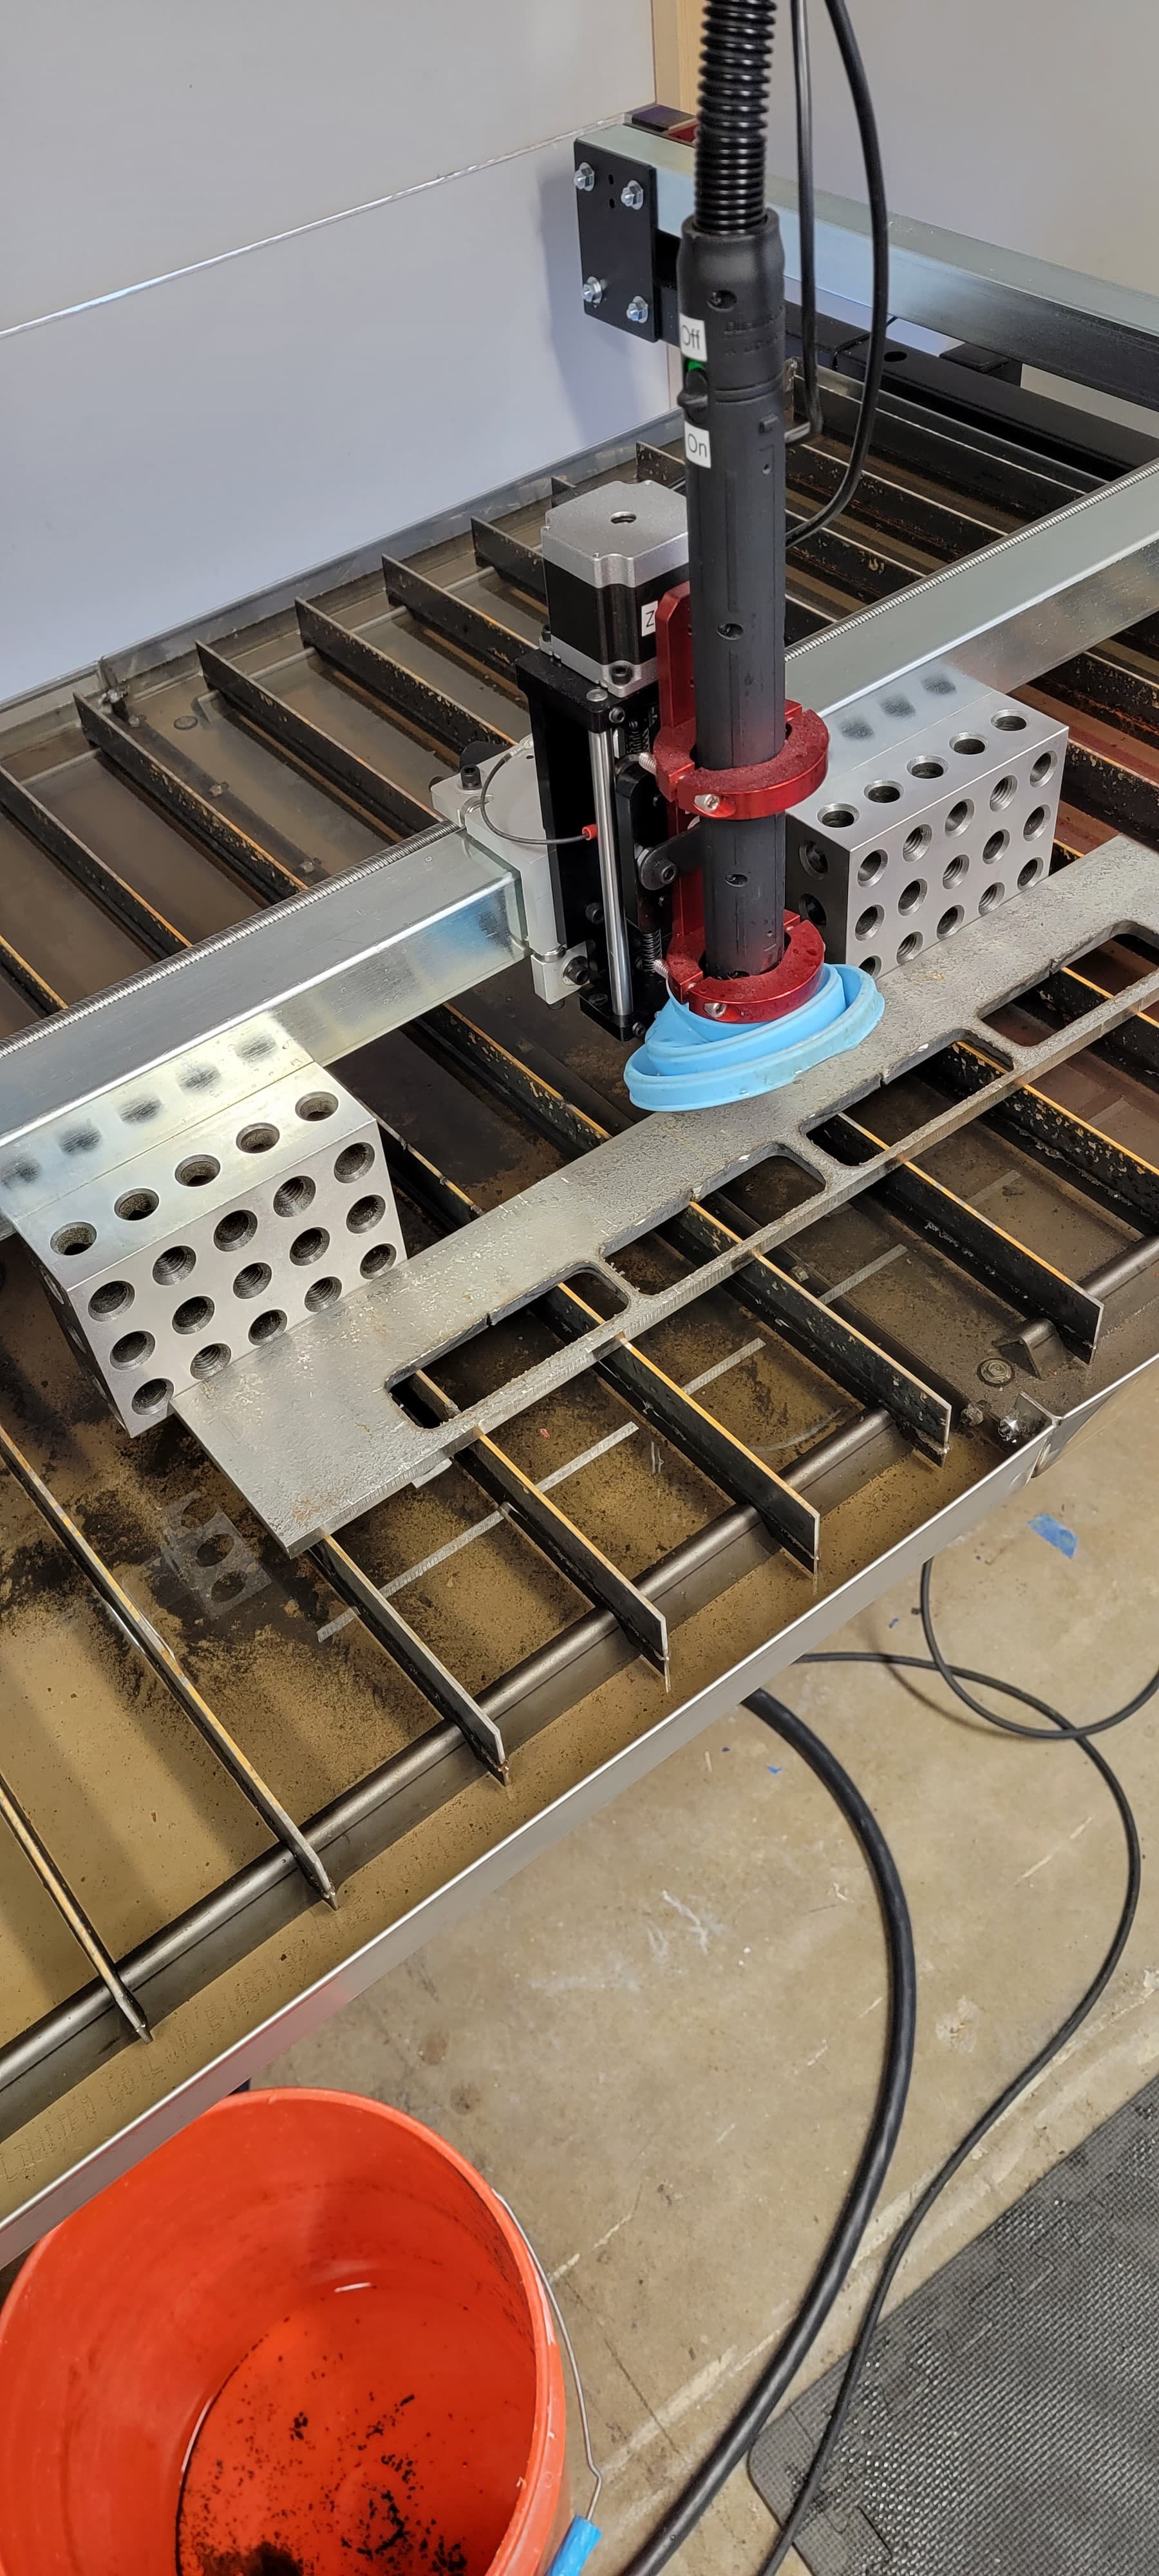
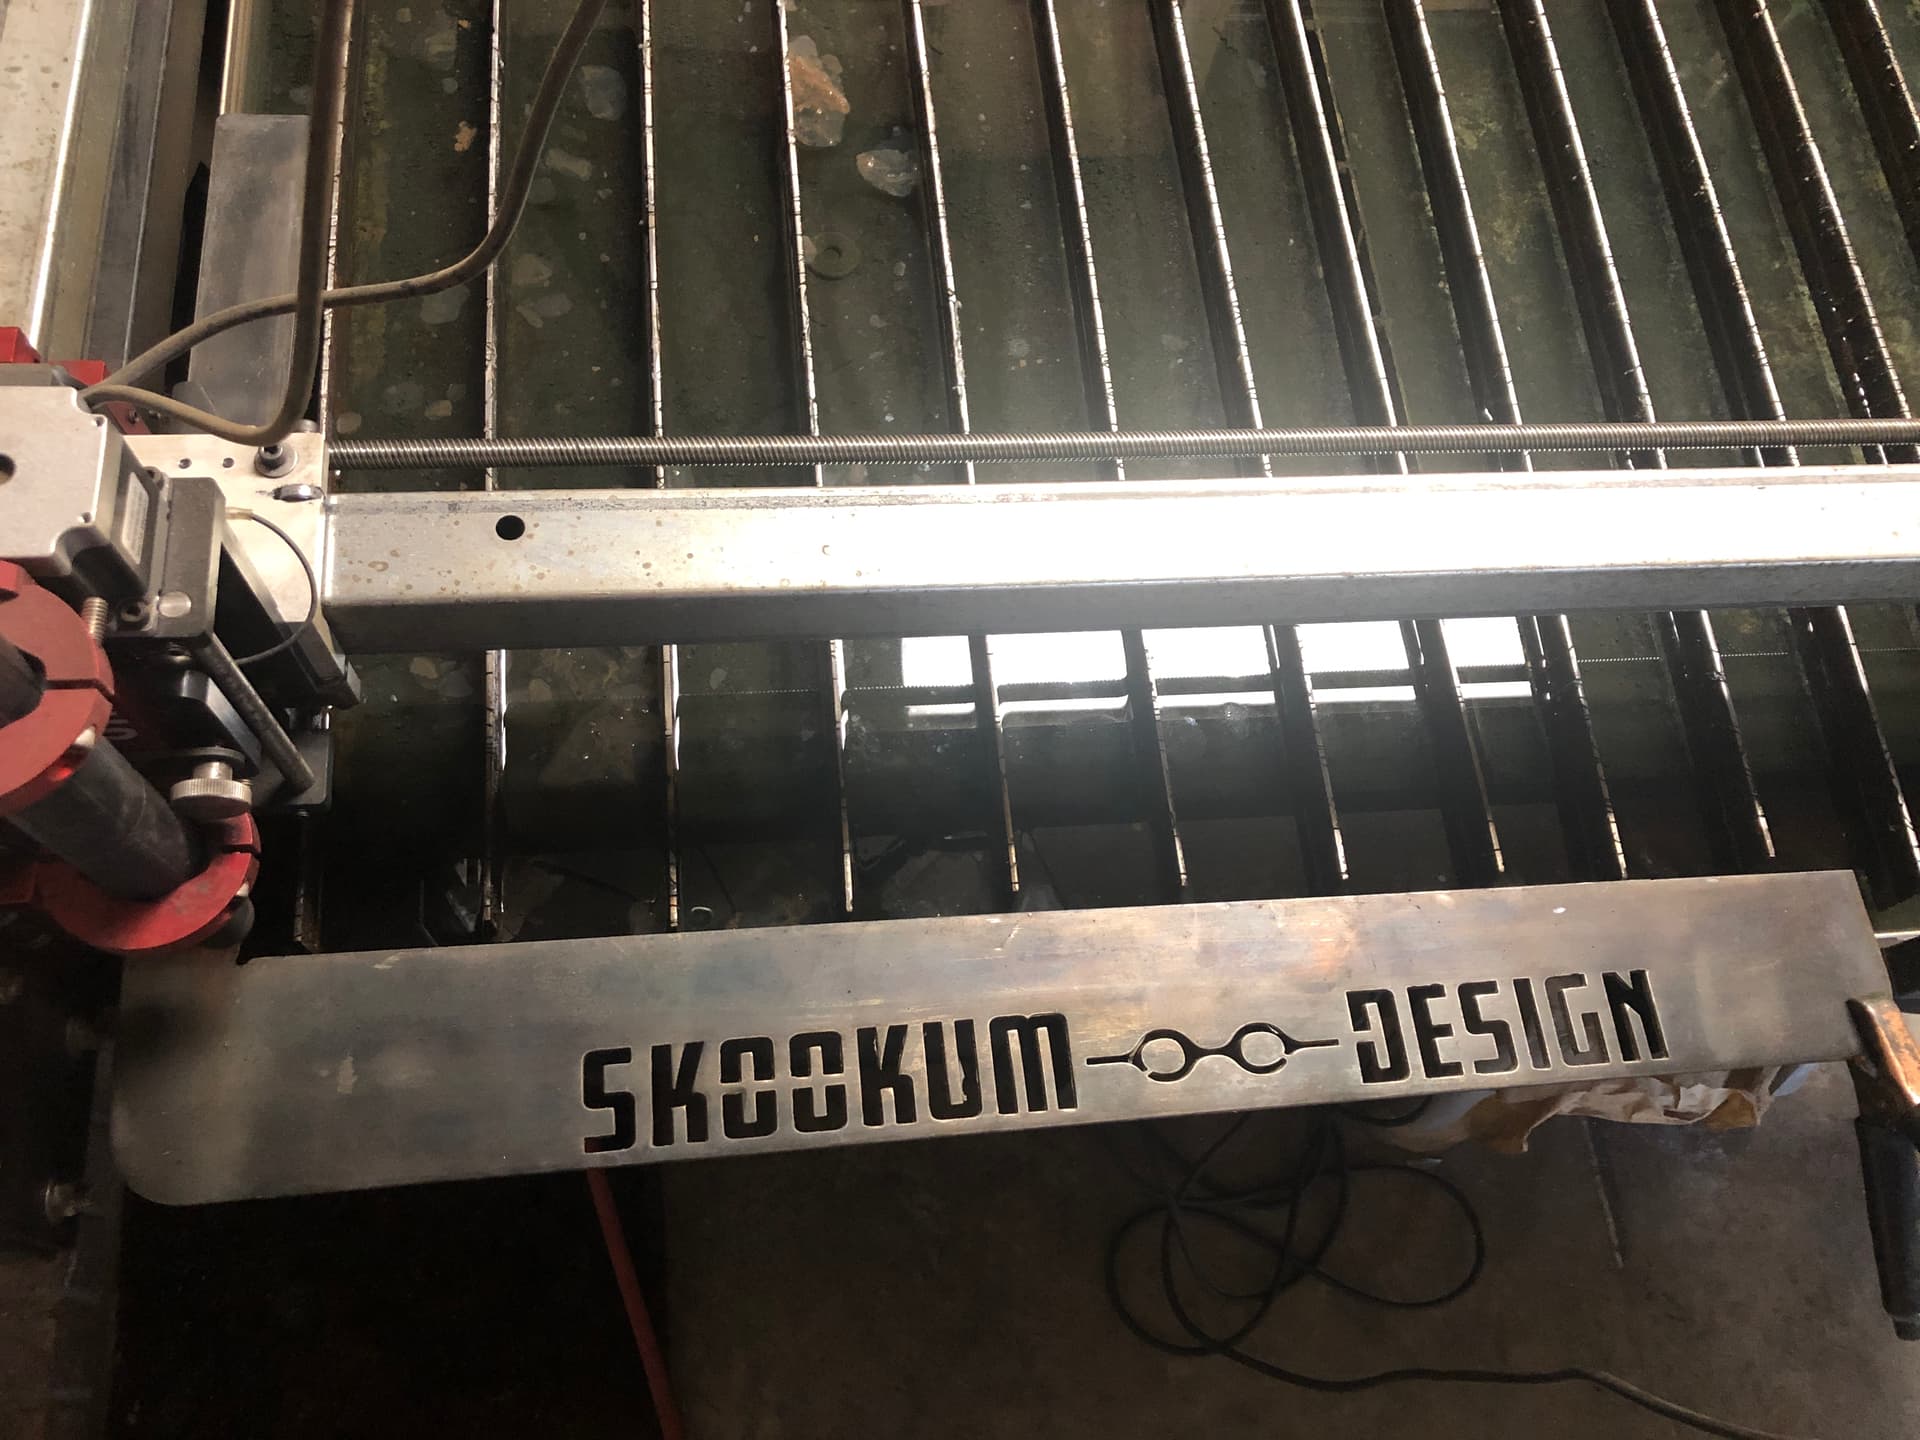
I built a permanent square on the table. Attached with welded brackets and screwed to the frame so it can be taken off and returned precisely. Made slightly oversized I just put the torch on the X-Y limits and made two cuts to create a bracket that is square to the gantry. Now I can just slide whatever needs cutting up to it and know that I’m square and able to utilize the maximum amount of material.
Lasers will help with other things but this makes those alignment basics a brain-dead operation. Plus I have a nice spot to attach the ground clamp.