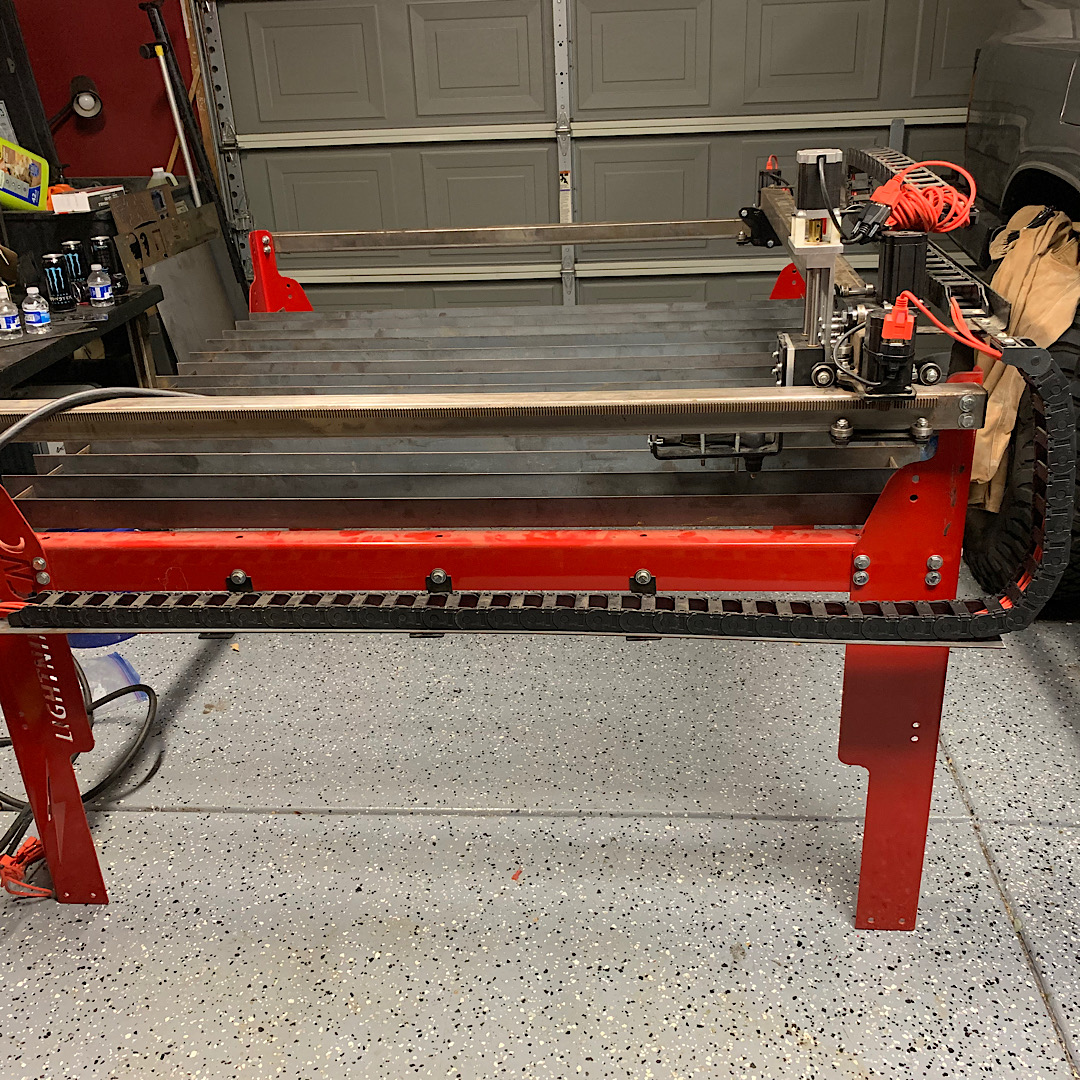
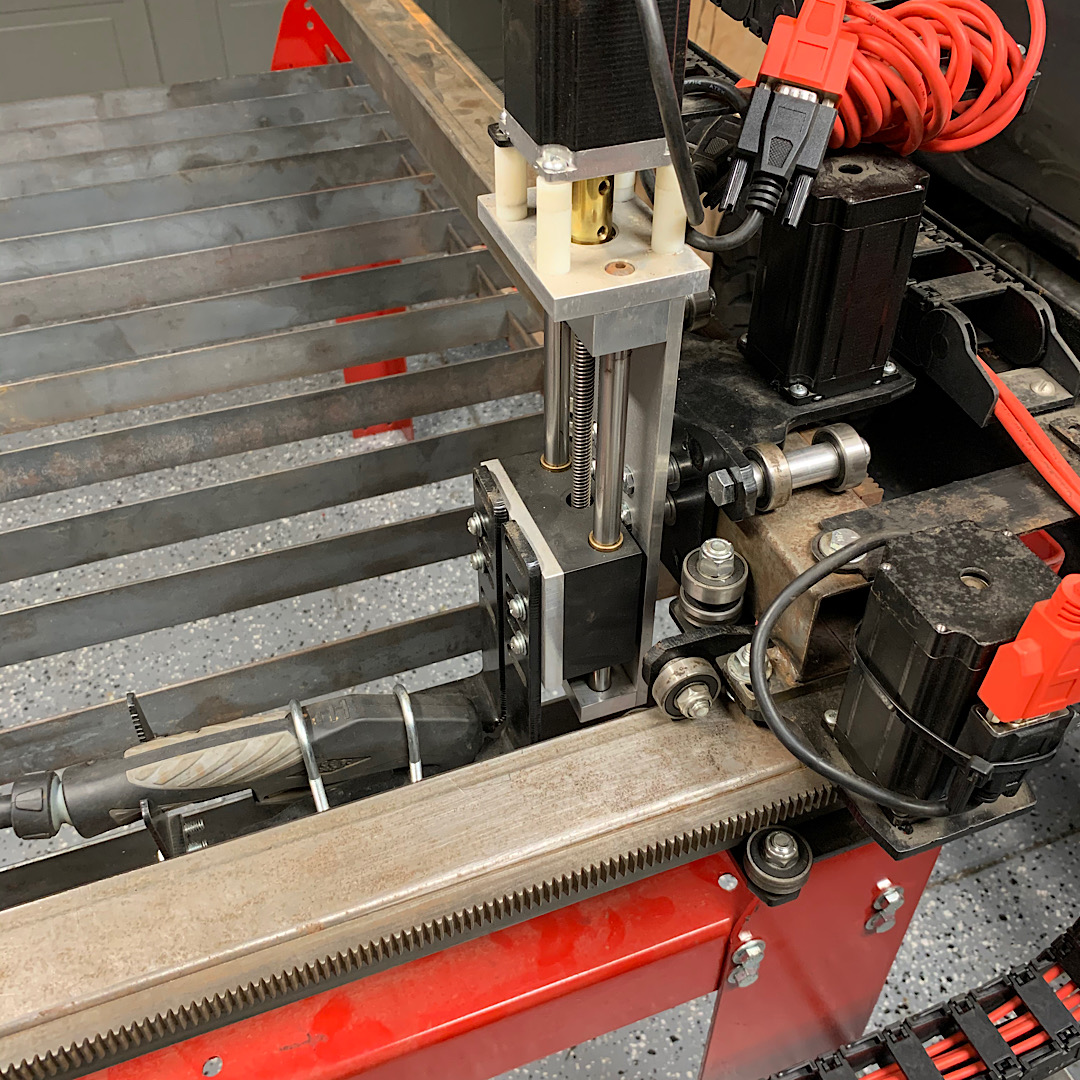
After using the crossfire table for the last couple months and also adding a z axis, I got a pretty good look at the electronics they used. I’ve been talking to a guy for about a year, about a 4ft x 4ft table that is from another company that isn’t making them anymore and from the reviews wasn’t a really good setup (control setup). My idea along was to get the table and retrofit it with some kind of usb breakout board (its using a parallel port right now) . So tomorrow 11/19 im going down to pick up the table and finally start on this project.
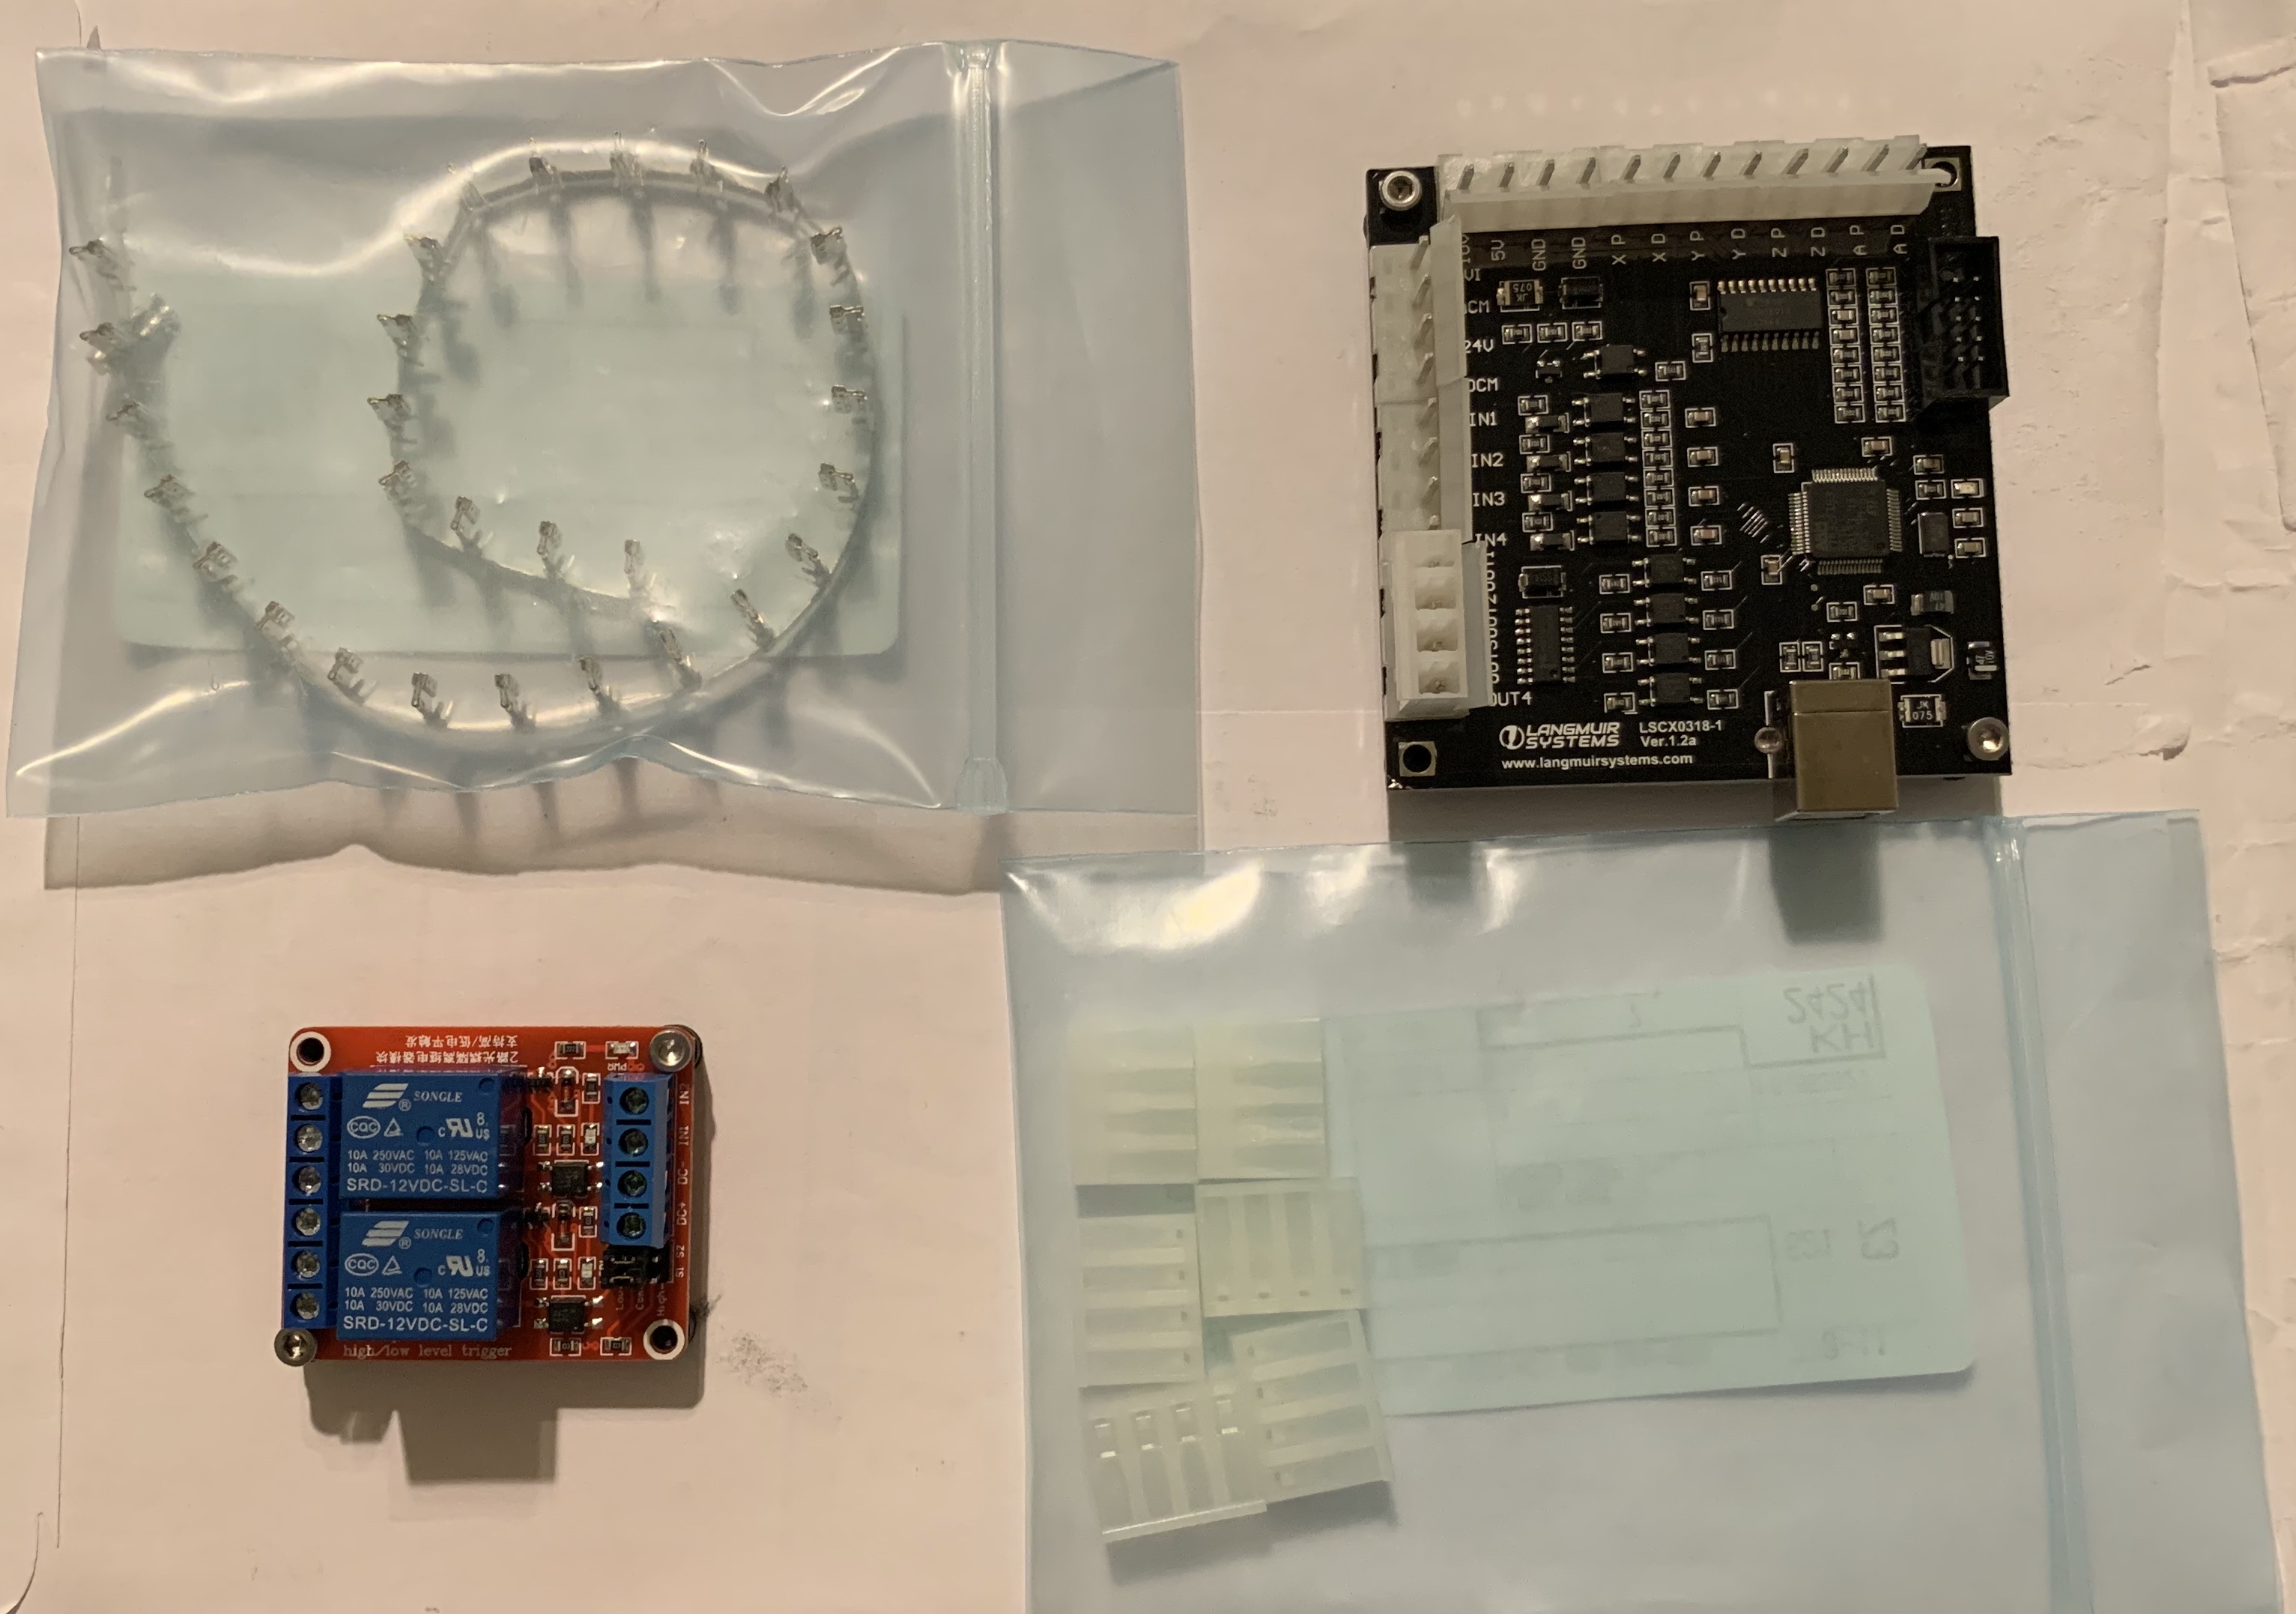
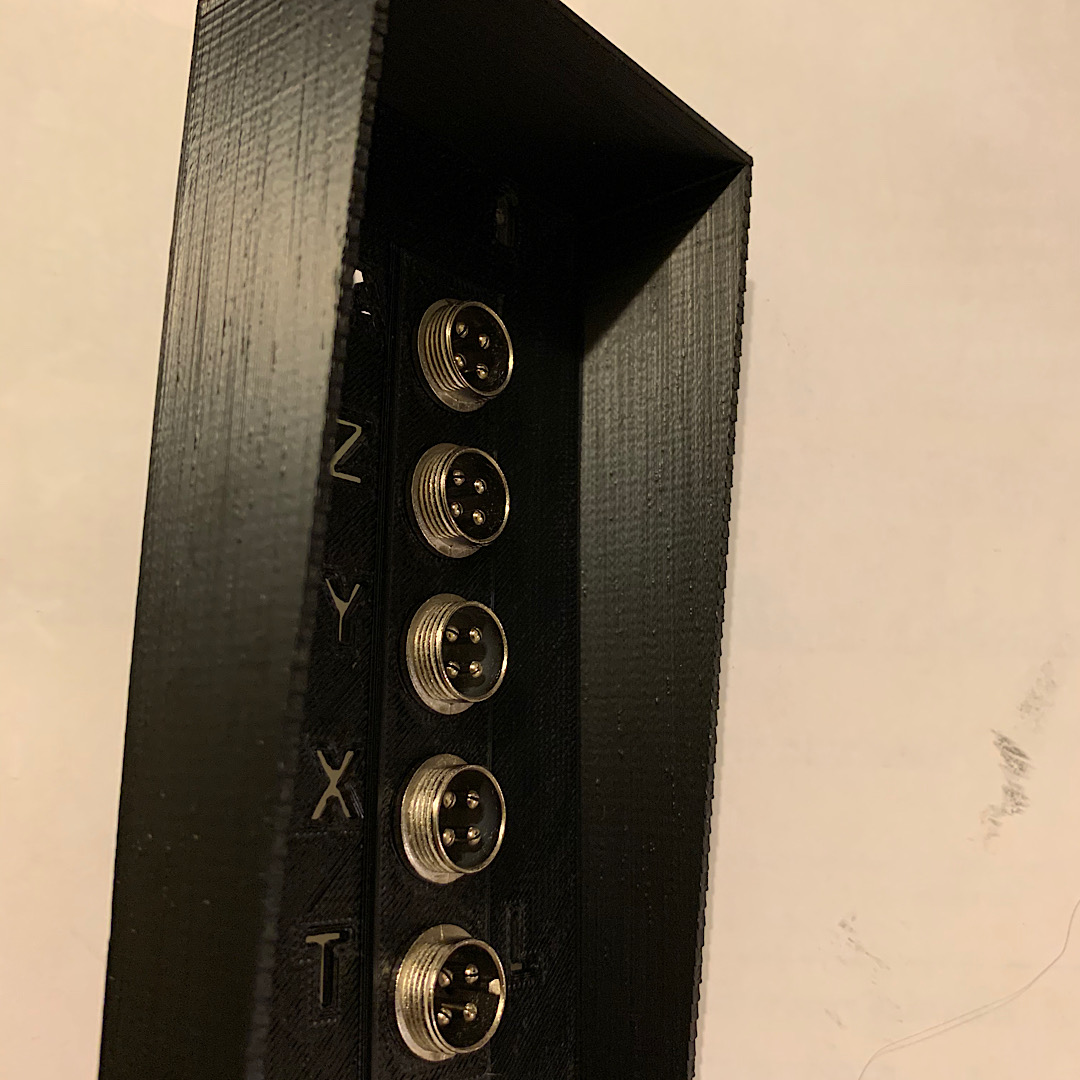
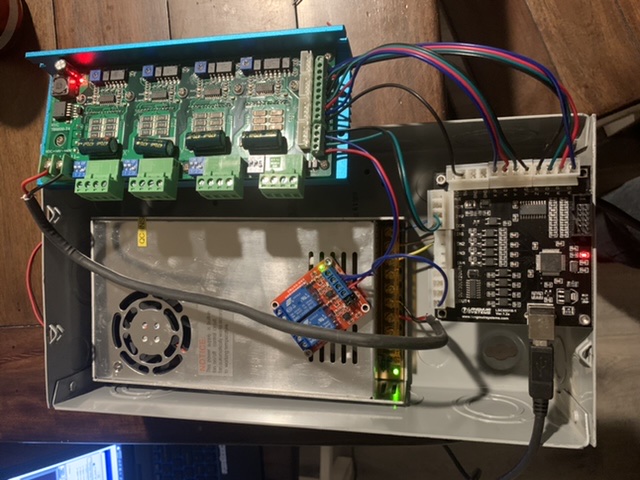
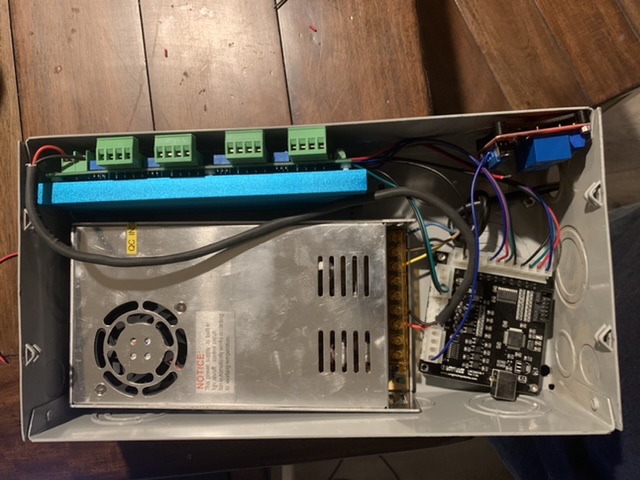
I had already ordered the board from Langmuir and some of the connectors and plugs to get started on project. In the lower left corner is a 2 channel relay for now one channel will be used to control the torch.
The Langmuir board is a nice little board having 4 axis x y z a makes it a good option for my retrofit. I will be using all the axis x,y,z then a axis will be a slave for the x axis. There’s also enough inputs and outputs to control and add endstops that i want to do.