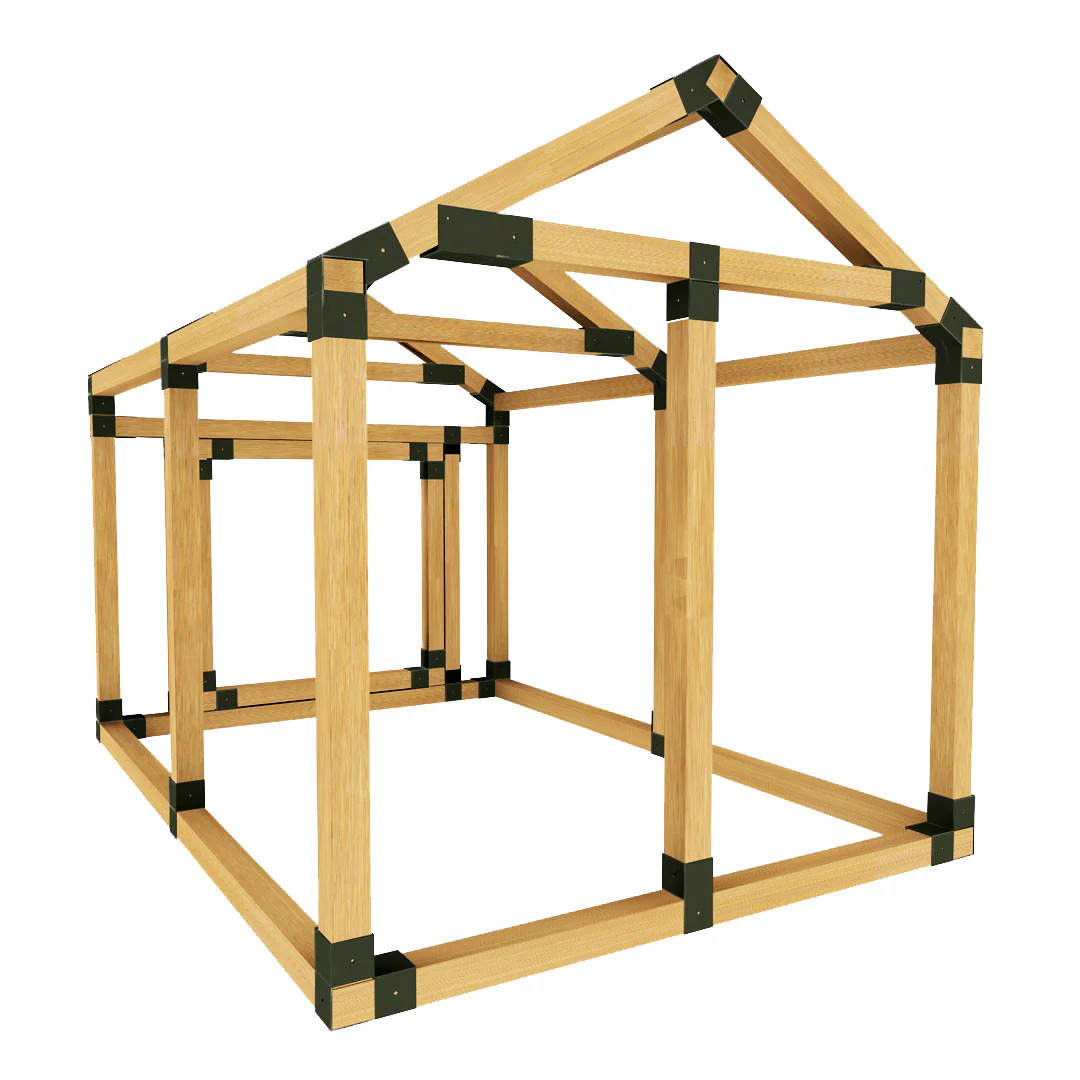
As we head into the warmer months, I wanted to invite all of our talented CNC table users to join in a friendly competition over the summer to design your own metal brackets or kits to assemble standard dimension lumber into small yard structures, such as garages, sheds, or wood sheds, using your Langmuir Systems plasma cutting CNC table. The goal of this contest is to encourage creativity and share our designs with each other.
Here’s how it works:
Design and Create: Develop your own unique metal bracket or kit design for assembling standard dimension lumber into small yard structures. You can create a new design from scratch or remix and improve an existing one. Submit as many designs as you like.
Upload Your Design: Upload a picture of your design to our “Fire Share” site along with a description of your project. Be sure to include detailed instructions or plans for how your design can be used to assemble a small yard structure. FireShare - Download and Share Free 2D Projects | Langmuir Systems
Share and Engage: Post your design below in the comments section of our contest announcement thread. Encourage your fellow members by “liking” their posts and offering constructive feedback.
The contest will run throughout the entire summer, ending on September 30th.
There won’t be any official winners, but we will all win by having access to a wide range of designs and ideas that we can use for inspiration.
If you decide to build any of the designs that are posted, please share pictures of your final projects with the community. We’d love to see what you come up with.
Let’s get creative and have some fun with this! If you have any questions or suggestions, please feel free to share them in the comments section below.
(Anything that aids in the construction of small yard structures is OK to submit.)
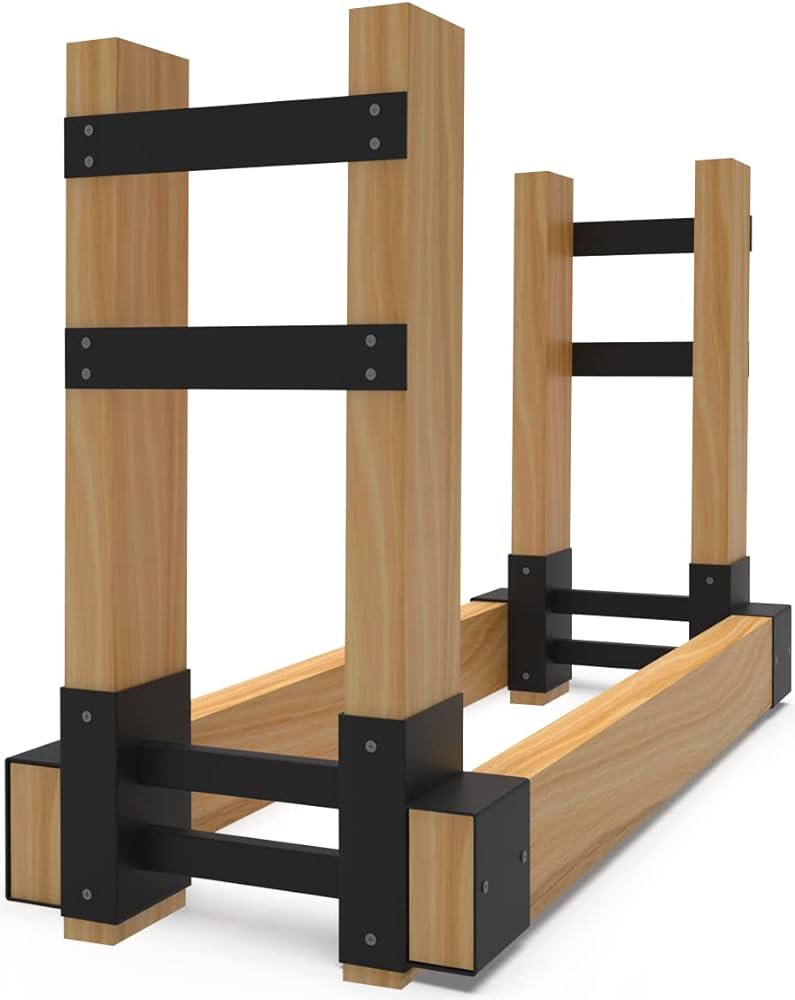
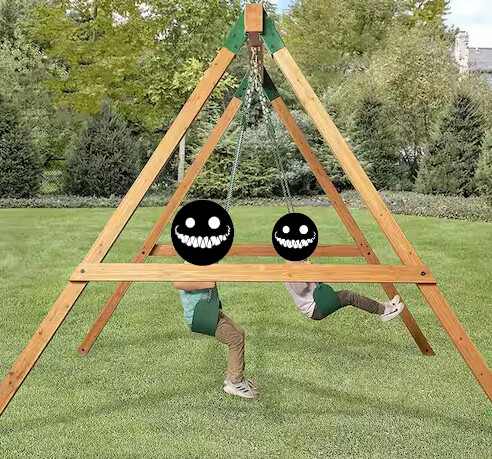
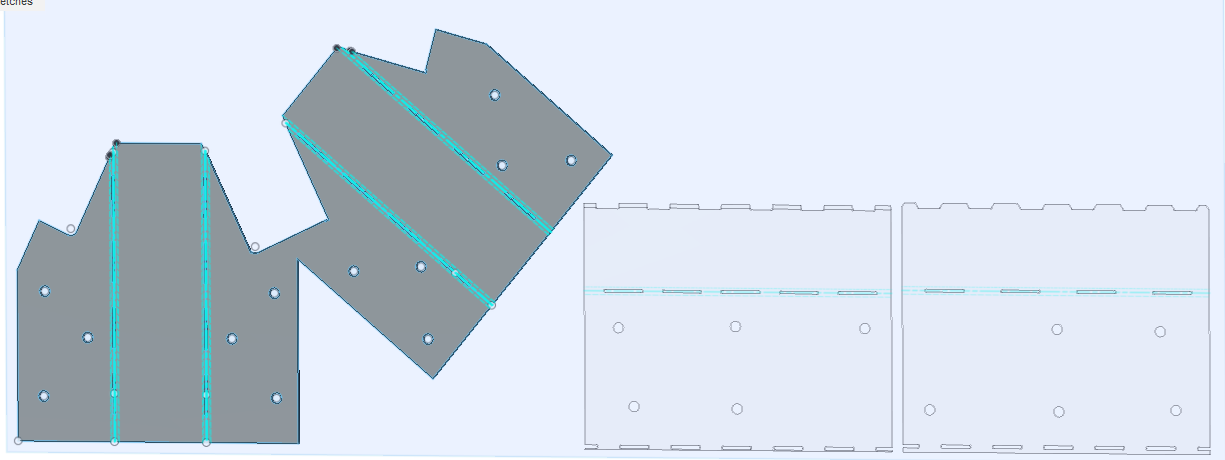
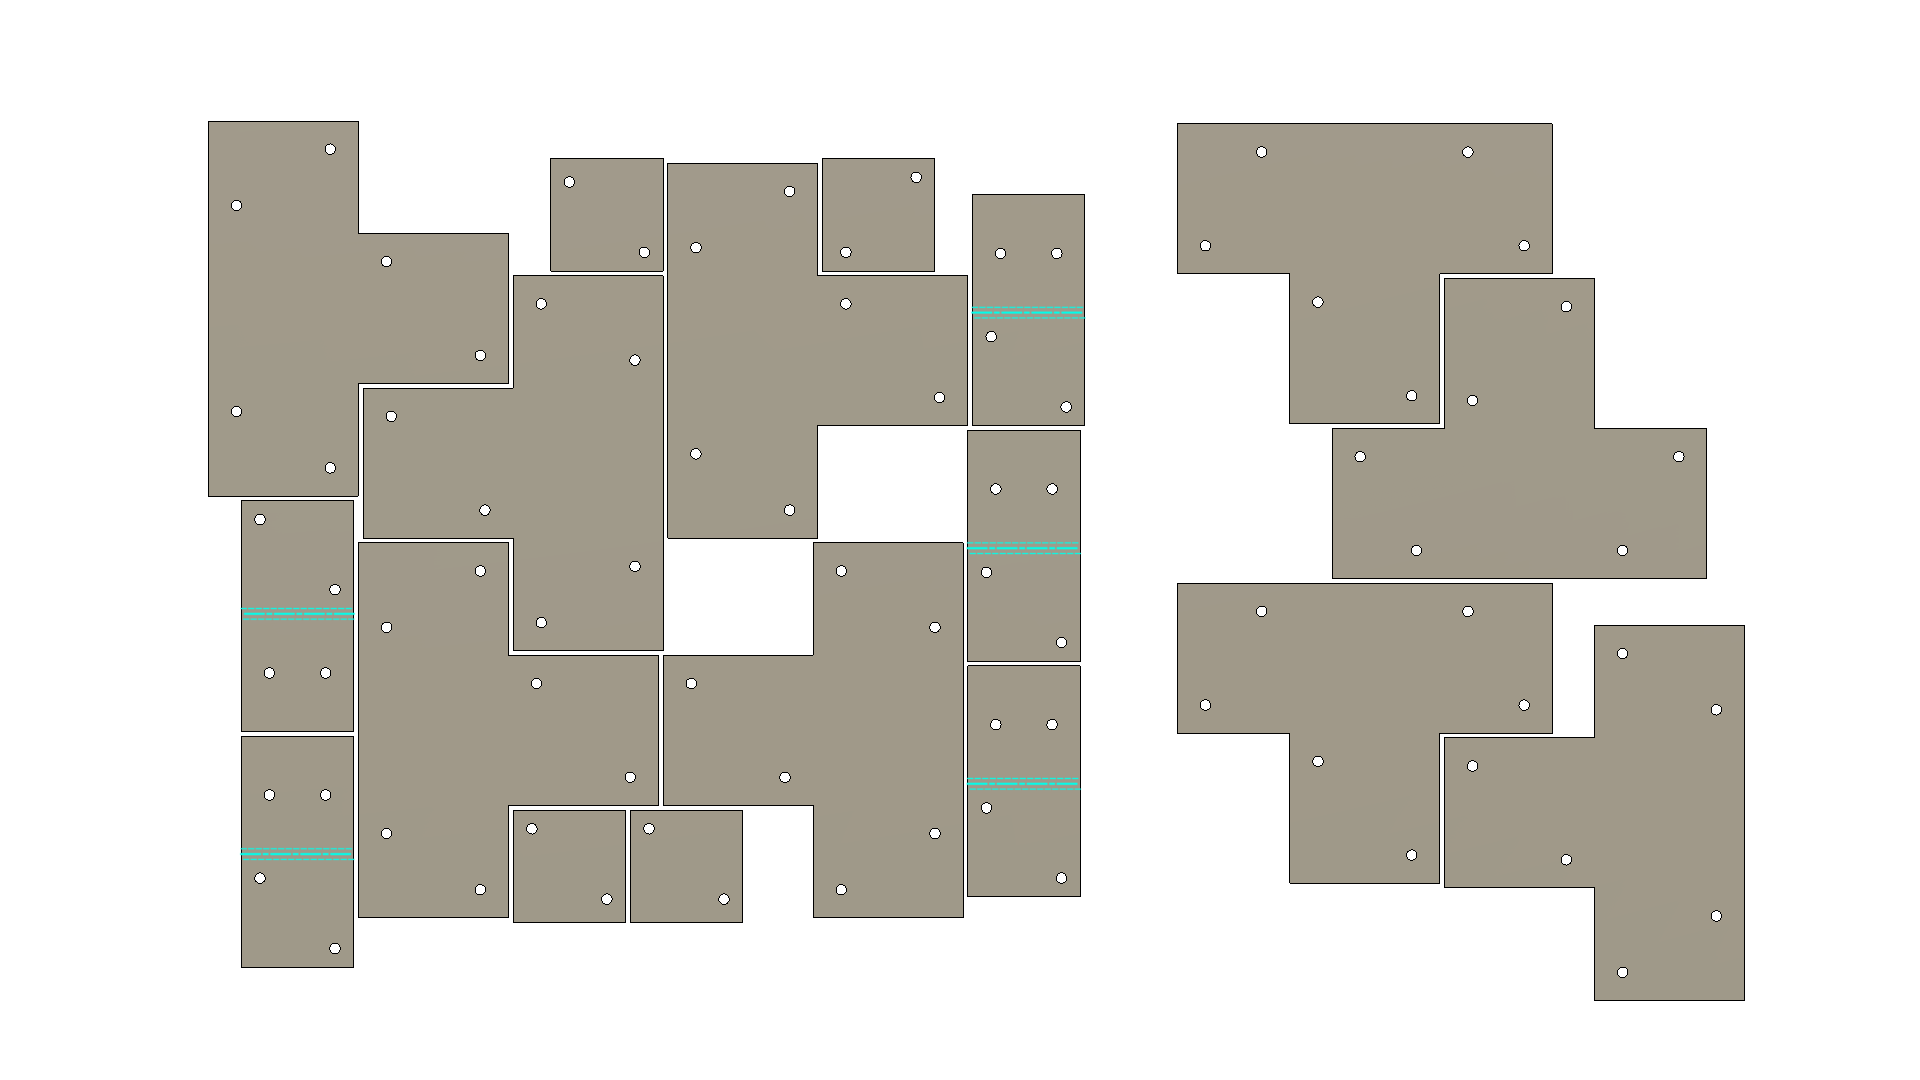
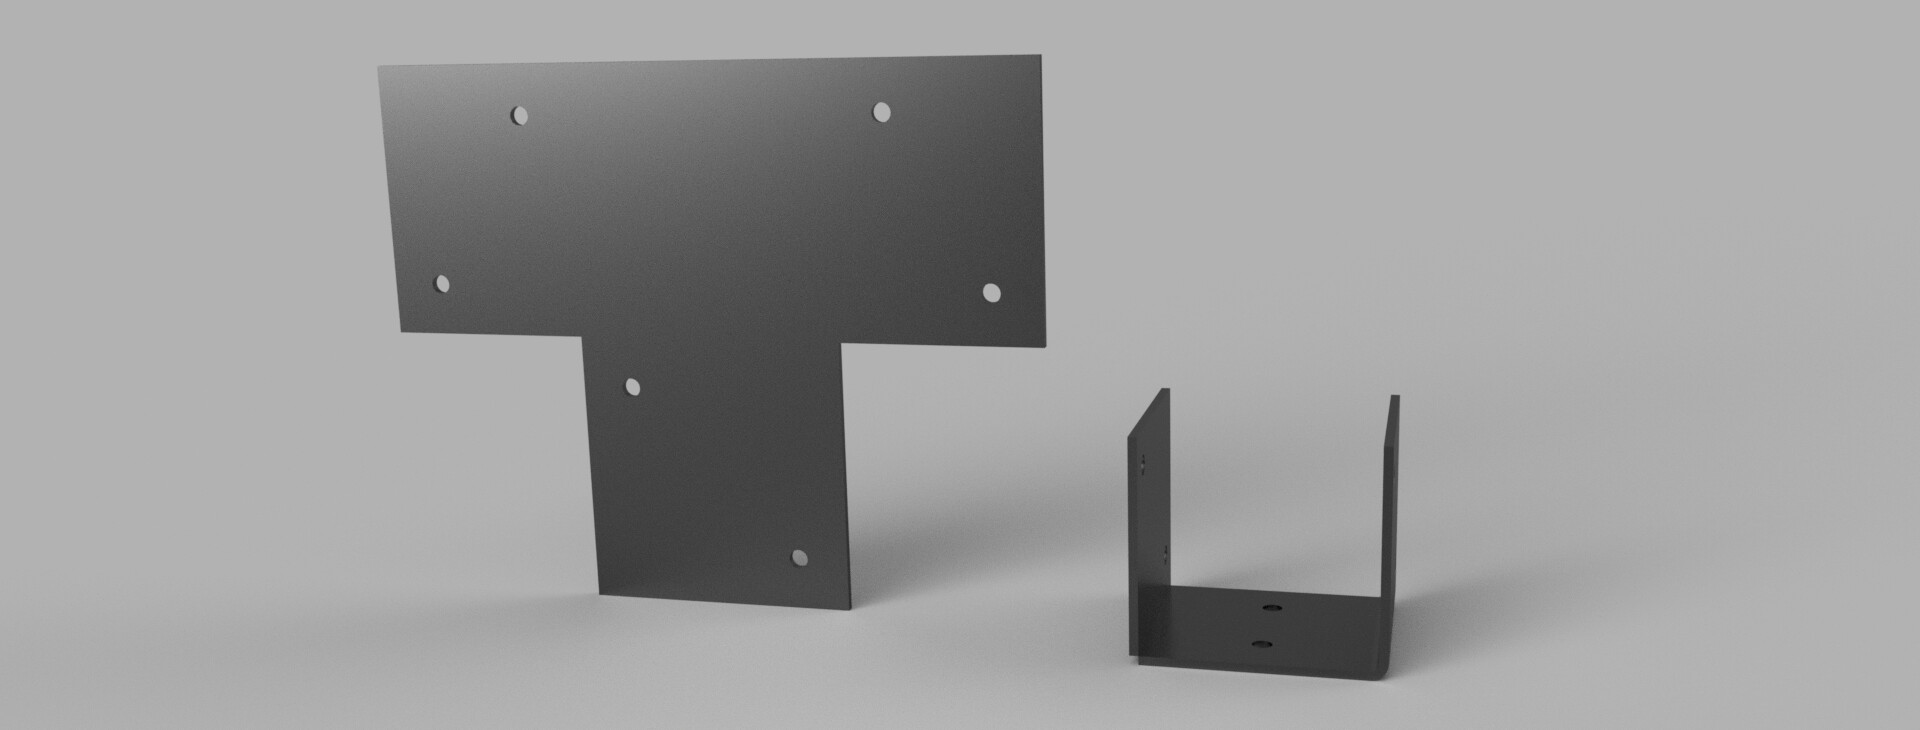
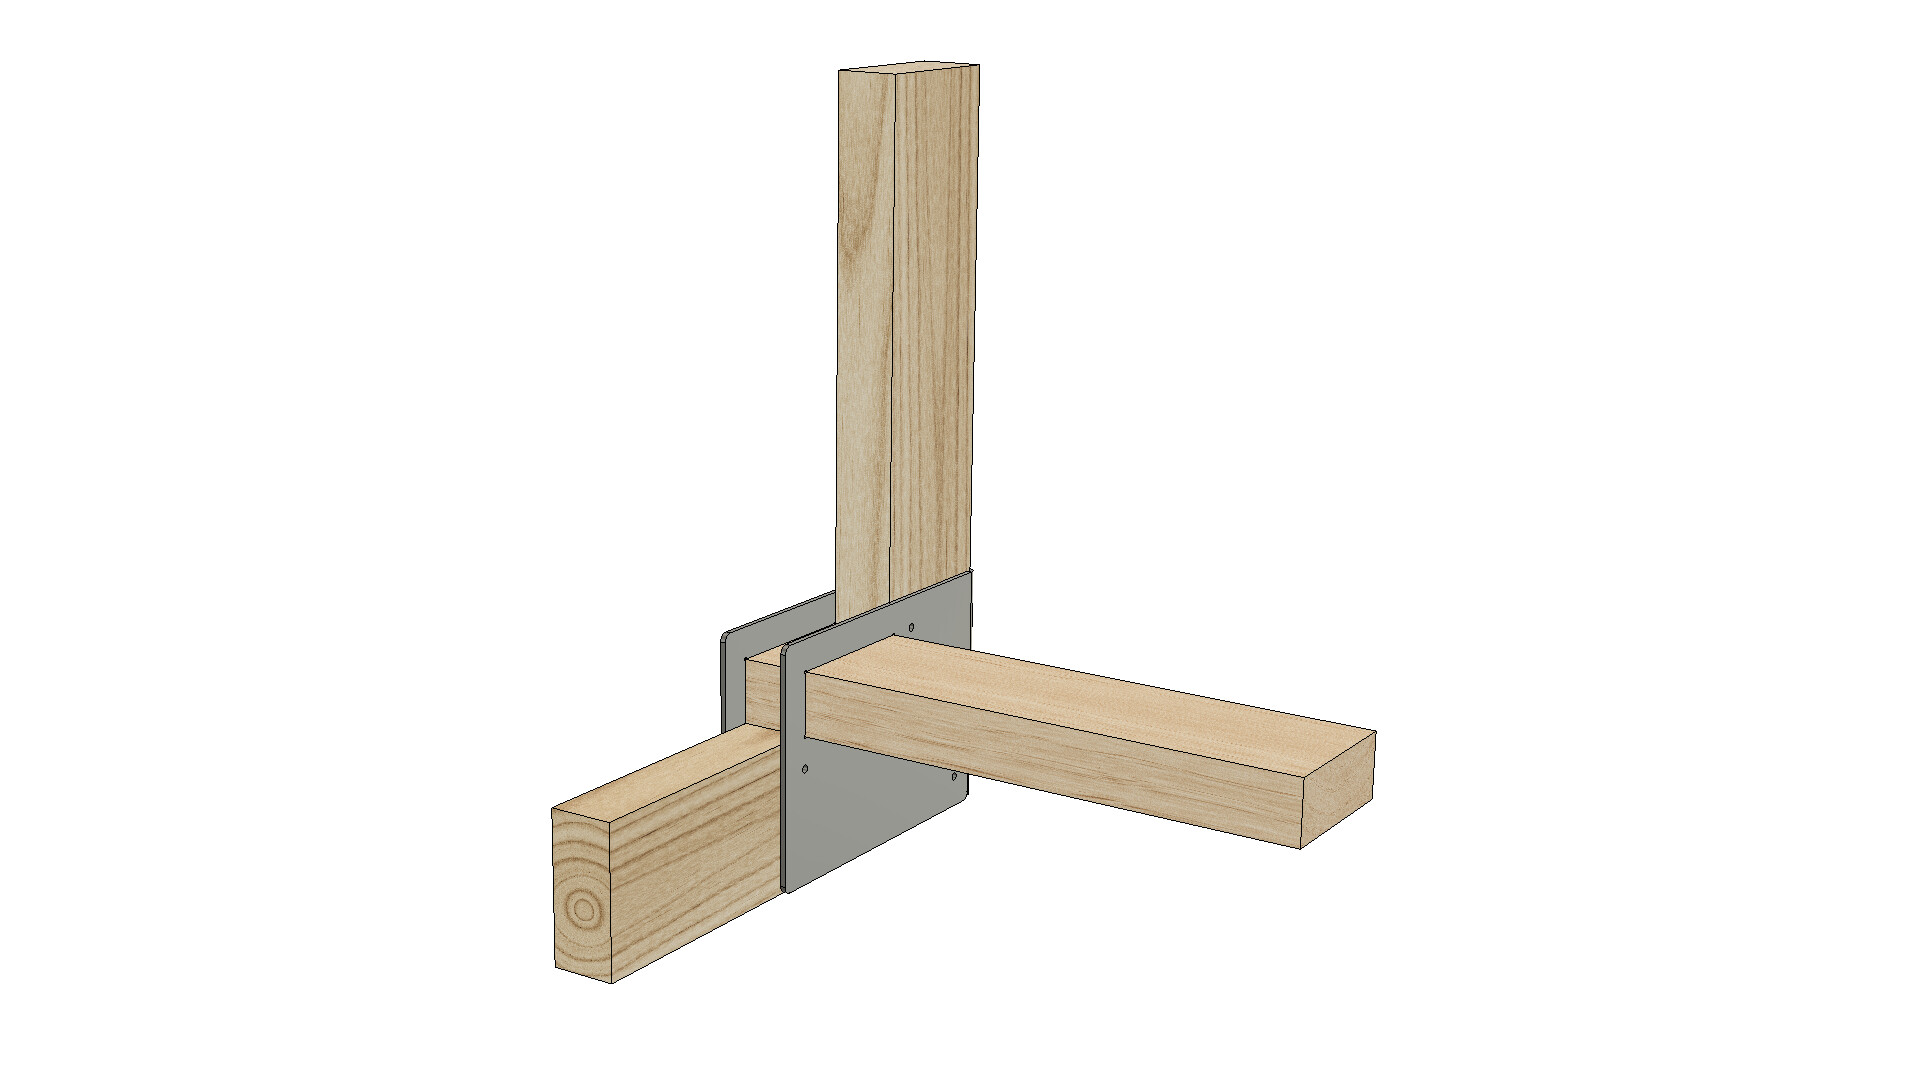
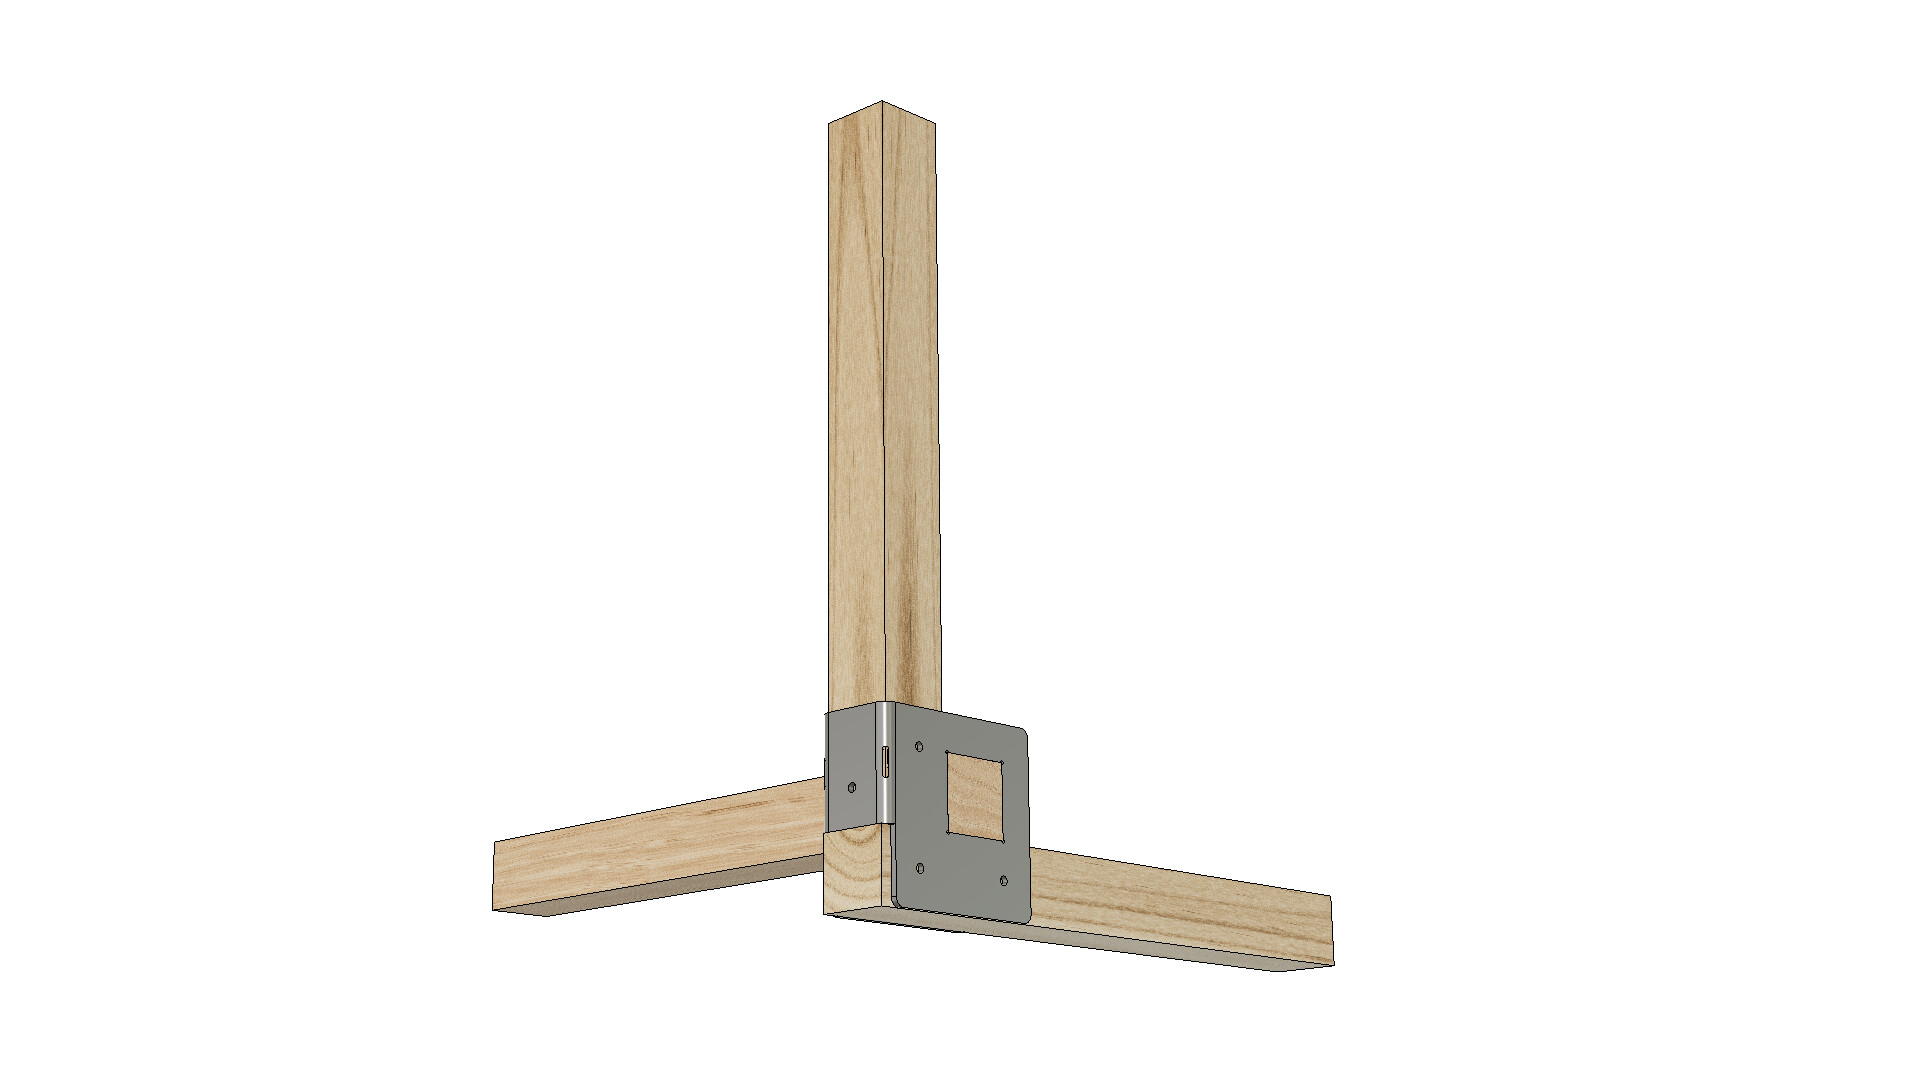
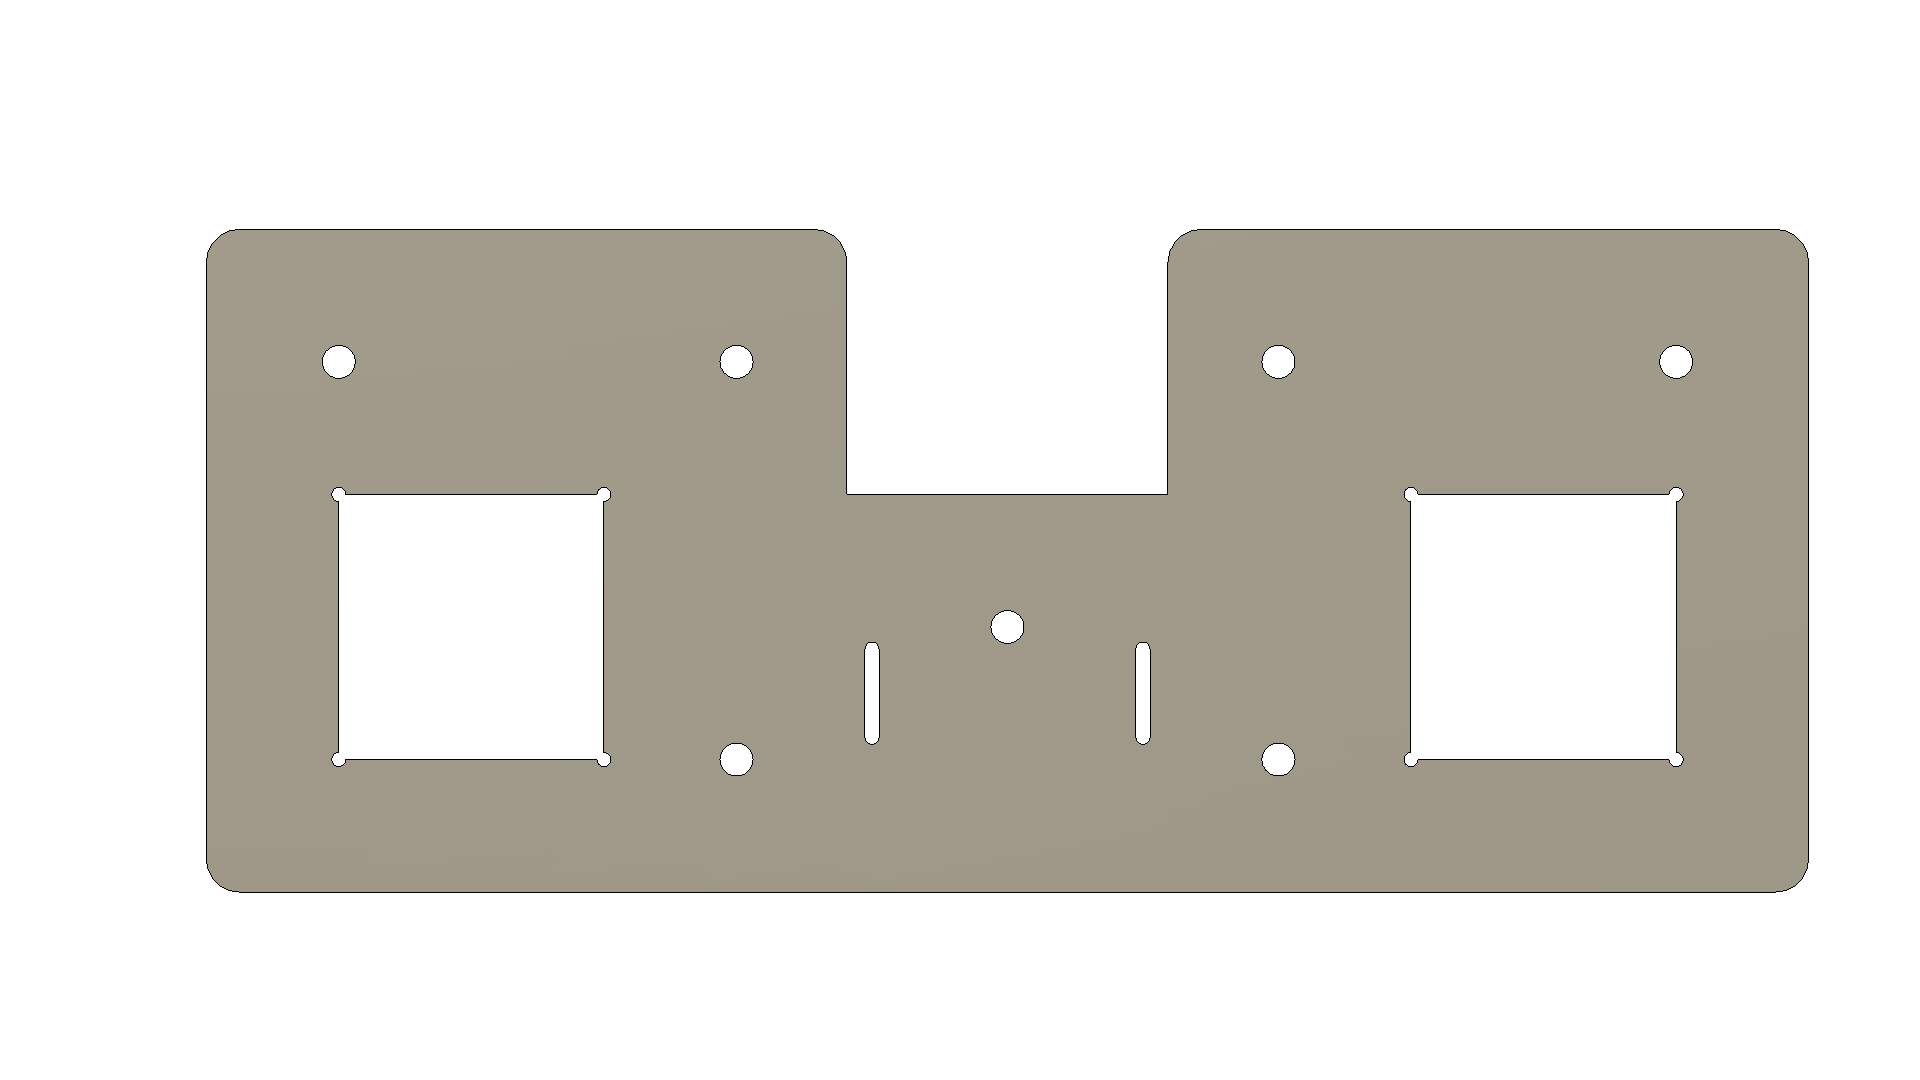
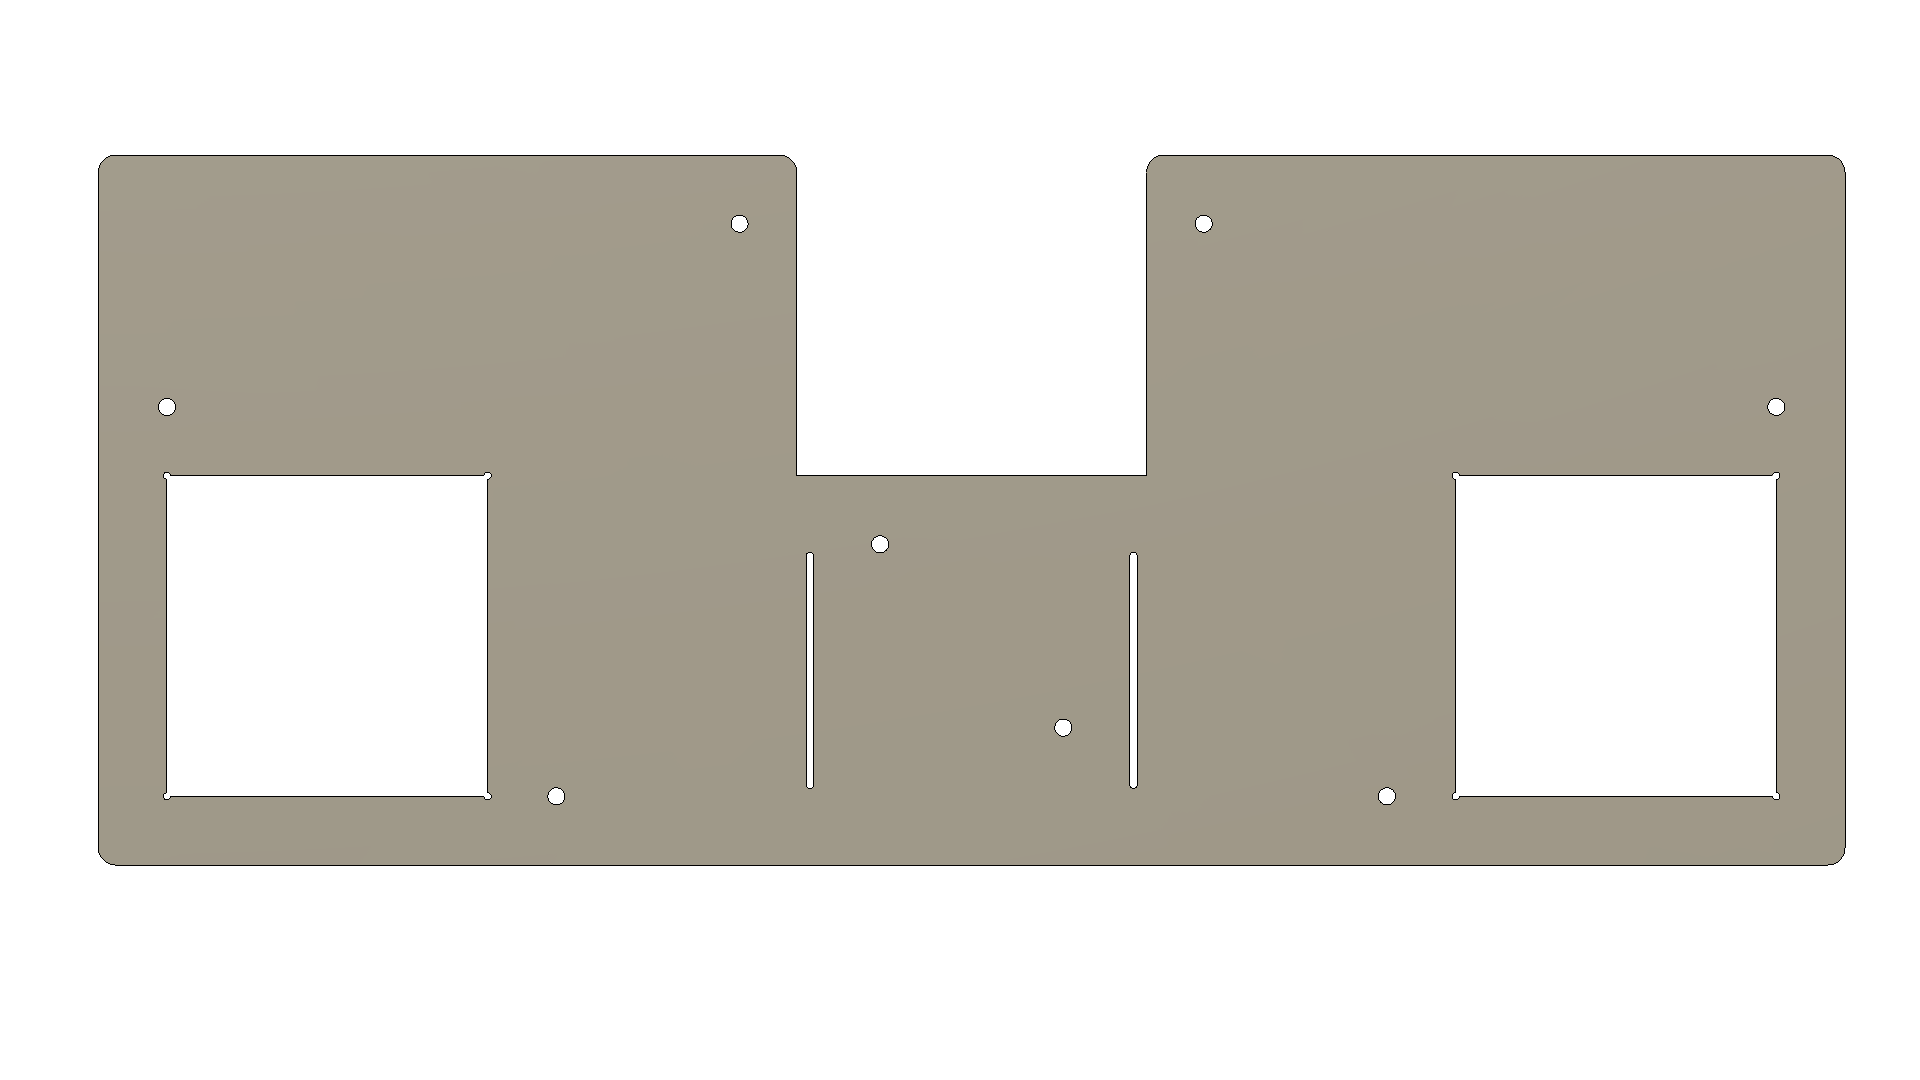
Swing Sets: Who doesn’t need one but hates the hassle of assembly and moving them. This little bracket requires some welding and you might close in the space that surrounds the leg but basically this is just 3 flat panels made out of 12 gauge steel. I have put nominal amount of bend relief that can be welded up once bent.
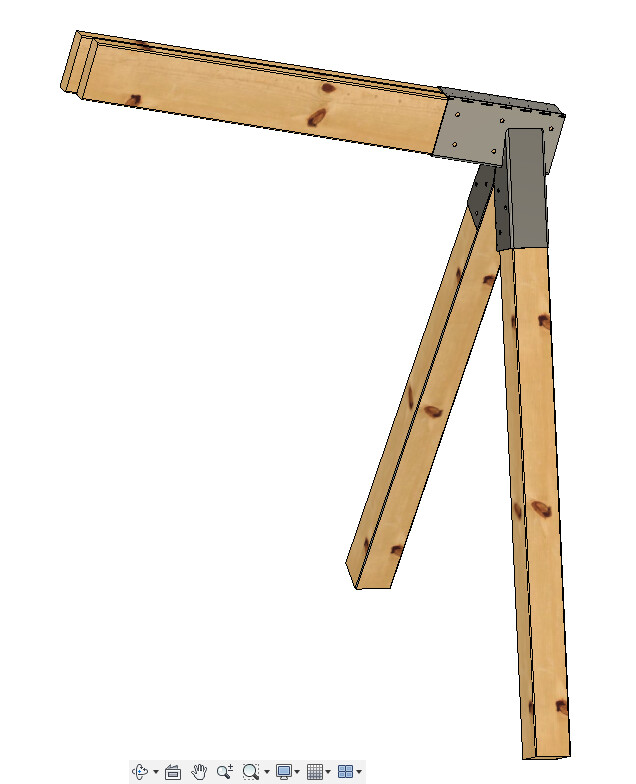
The original design calls for a 4x6 going thru the top. Well, I changed that to doubled up 2x6’s. It might not look as nice but I was going for economy and the (2) 2x6 will have similar strength once bolted together. You could use this support for a swinging tire, hammock or pot over the wood stove. Maybe even a swinging target for football or soccer drills.
Hardware needed:
Each bracket will need eleven (5) 3/8 x 4 inch bolts and (6) 3/8 x 4-1/2 inch bolts Use loctite on the bolts and you won’t need to worry about the lock nuts.
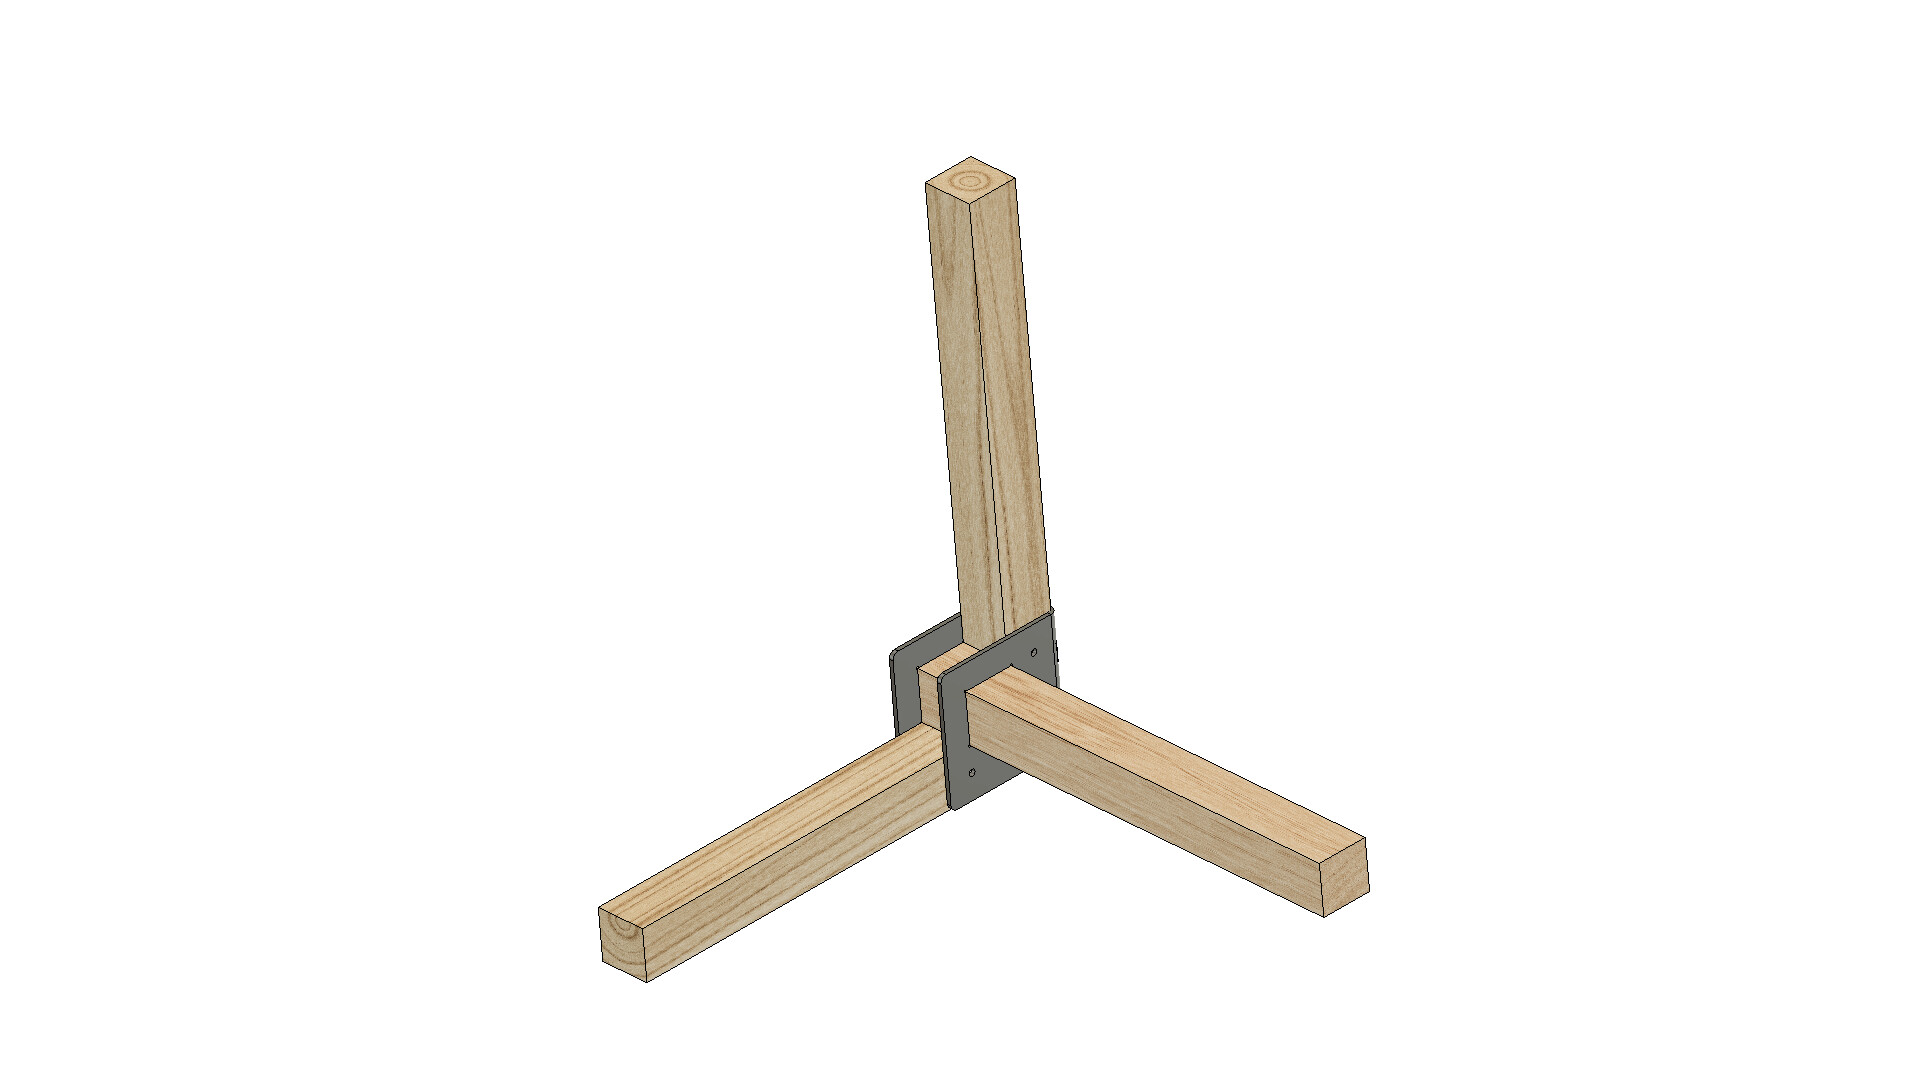
The support will be adequate for two swings mounted on 2 - 2x6 beams and 4 - 4x4x8 feet posts.
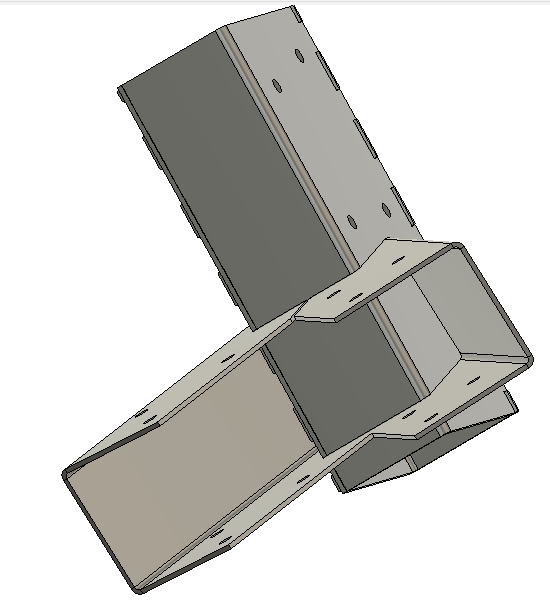
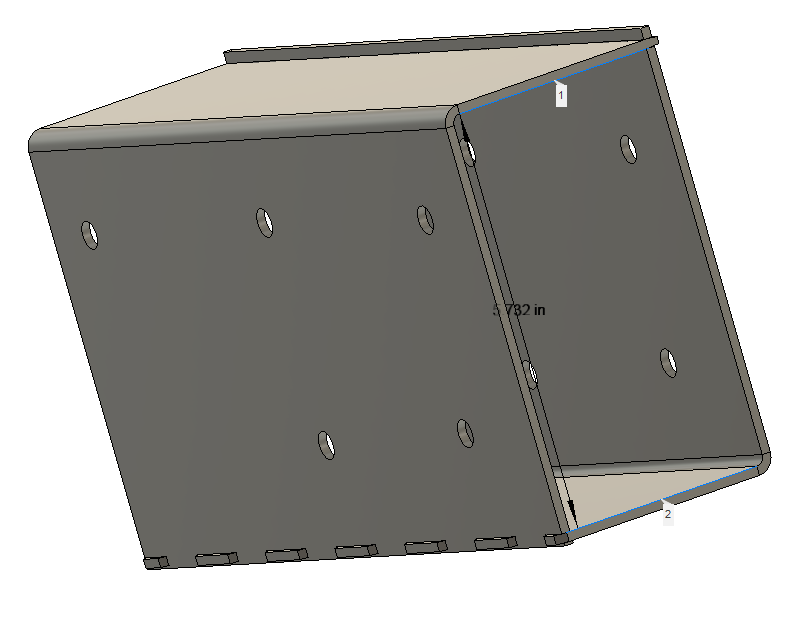
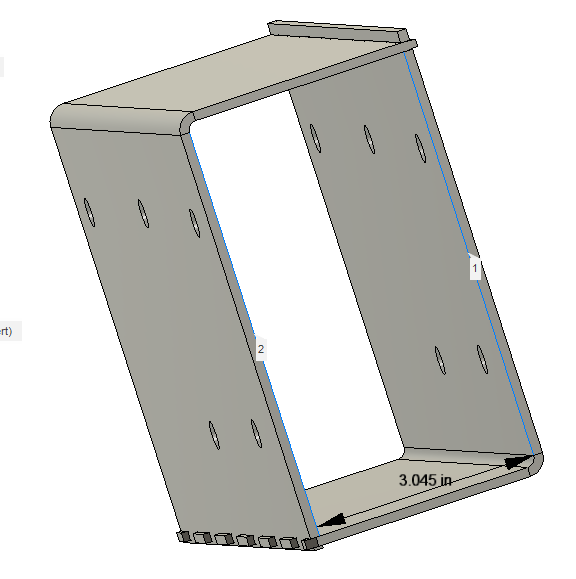
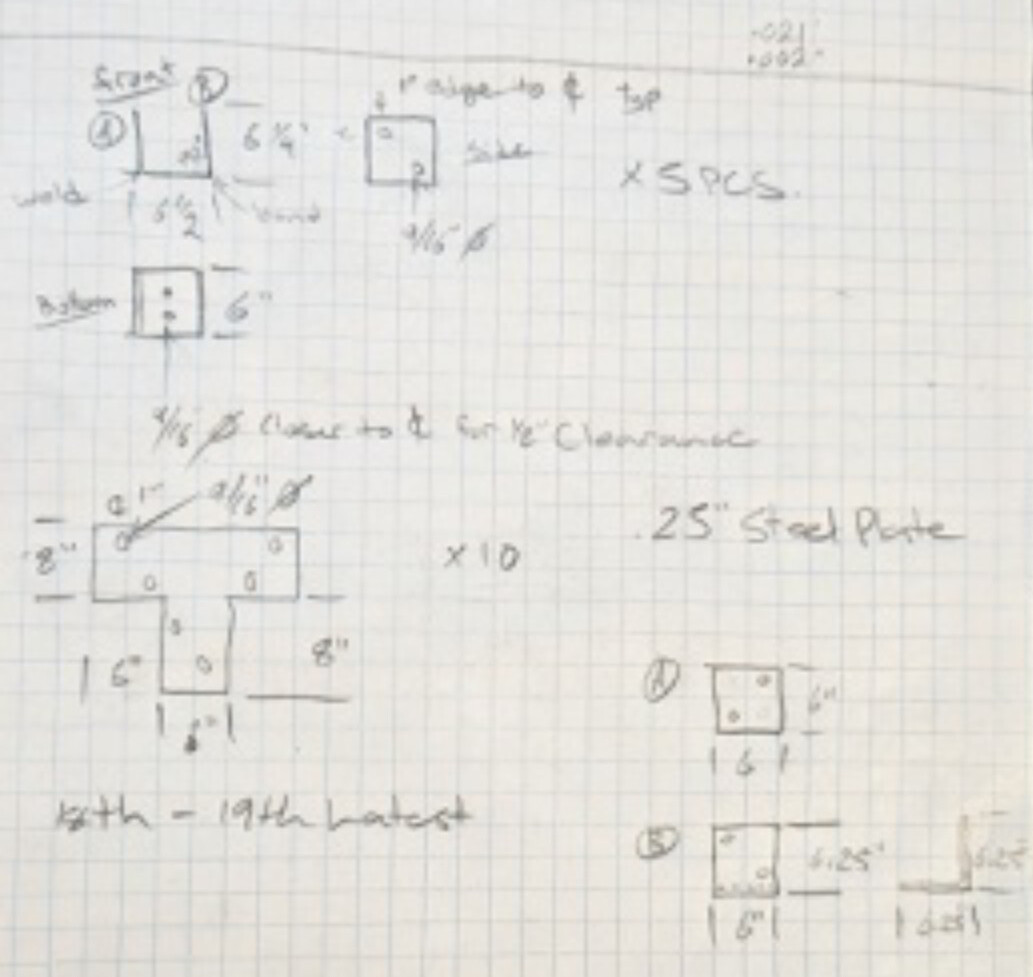
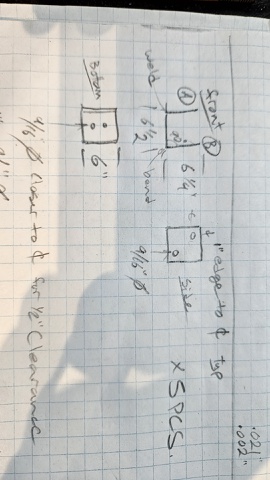
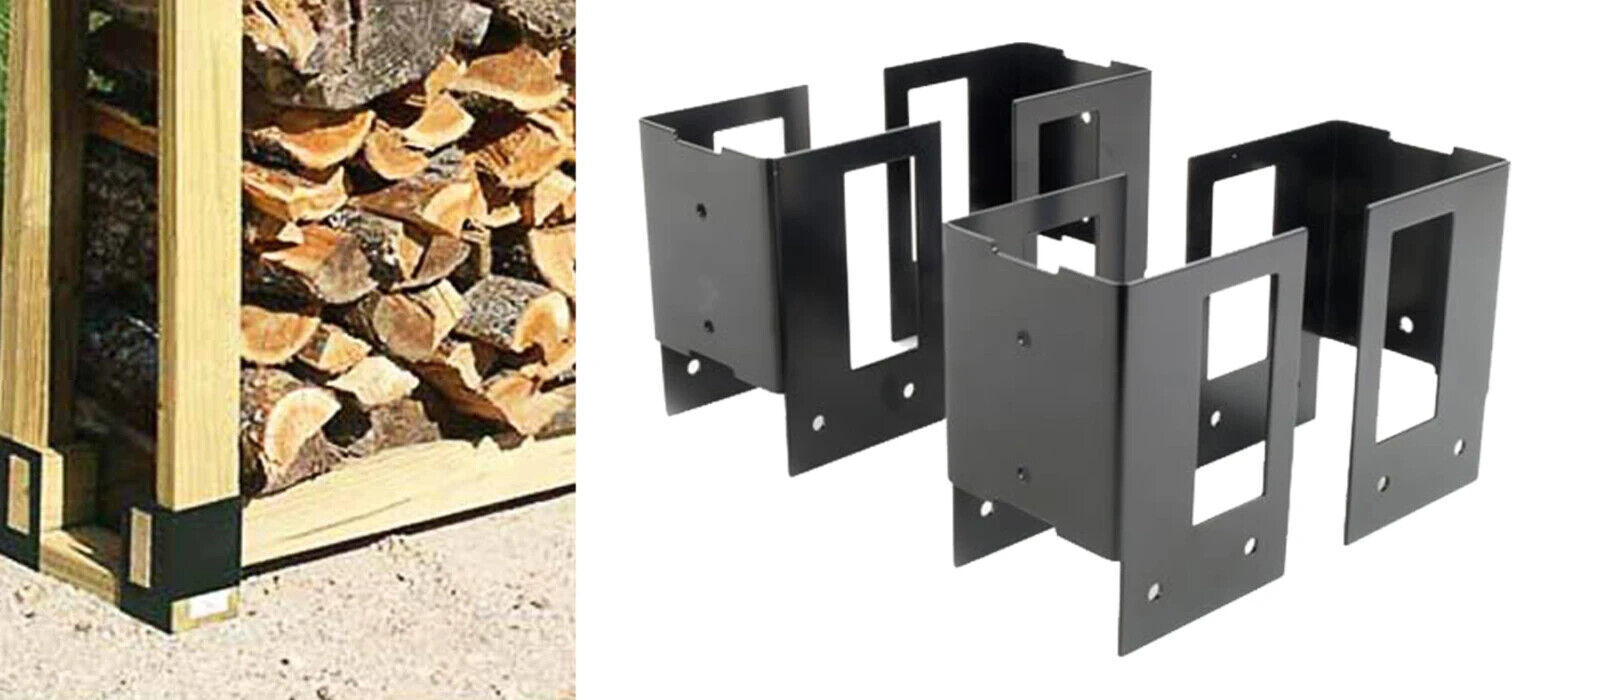
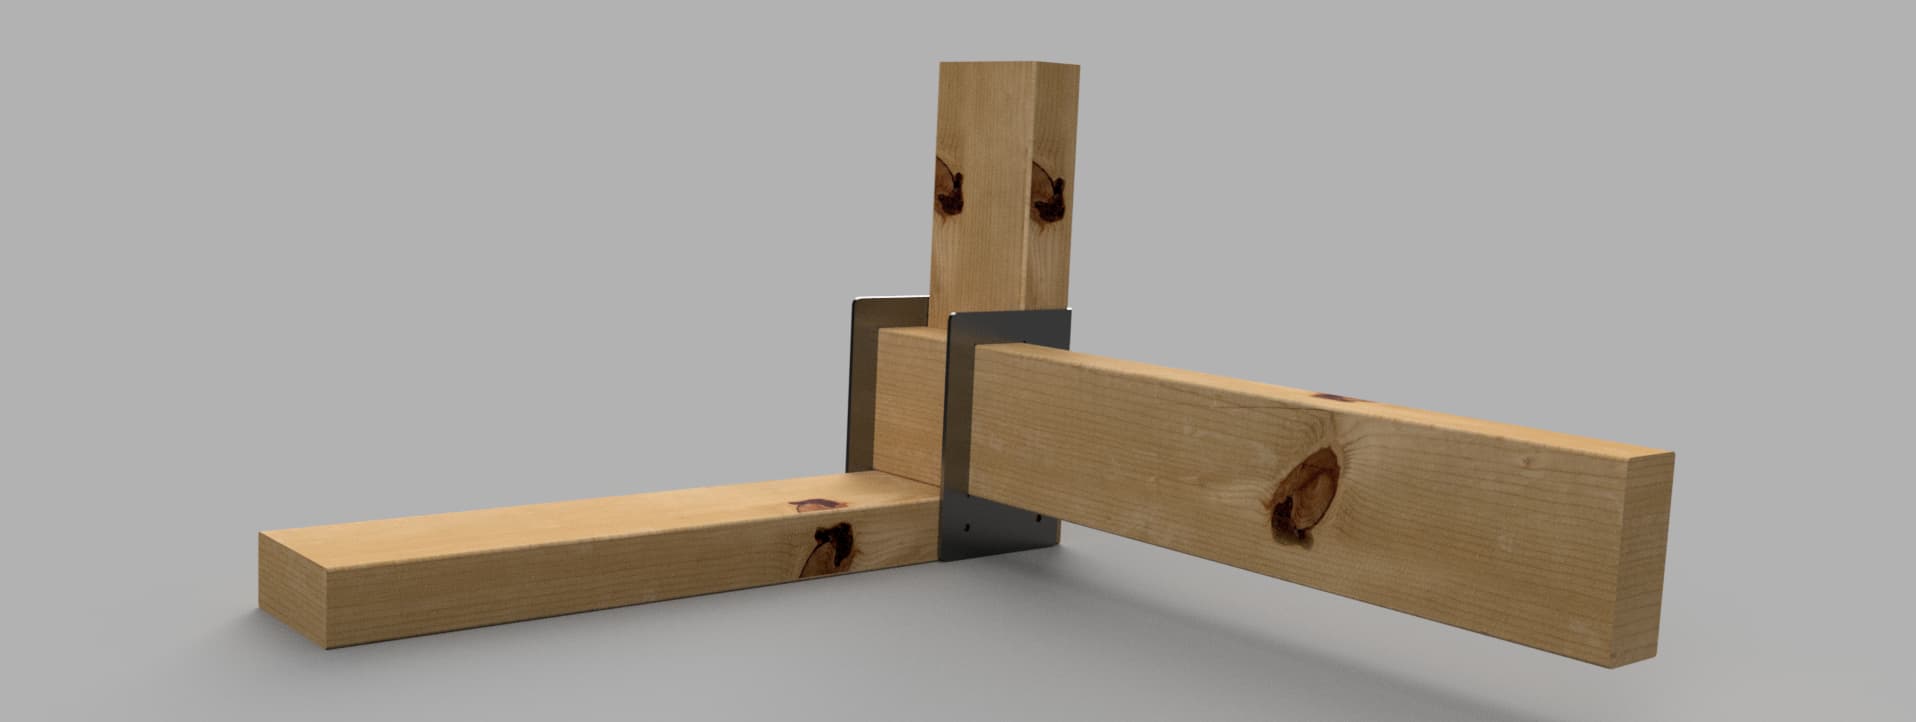
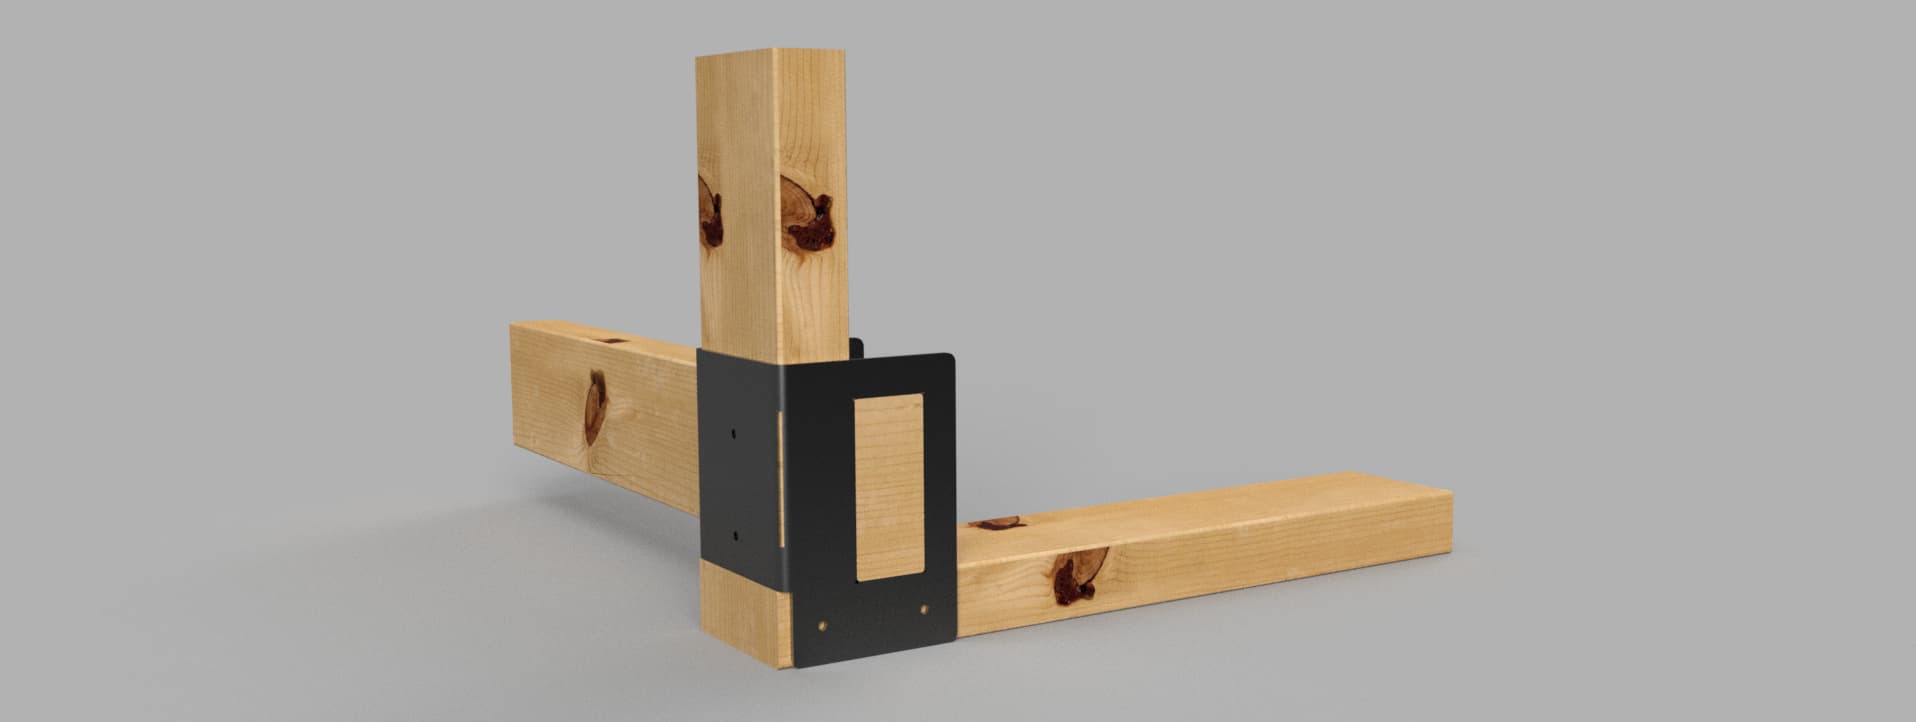
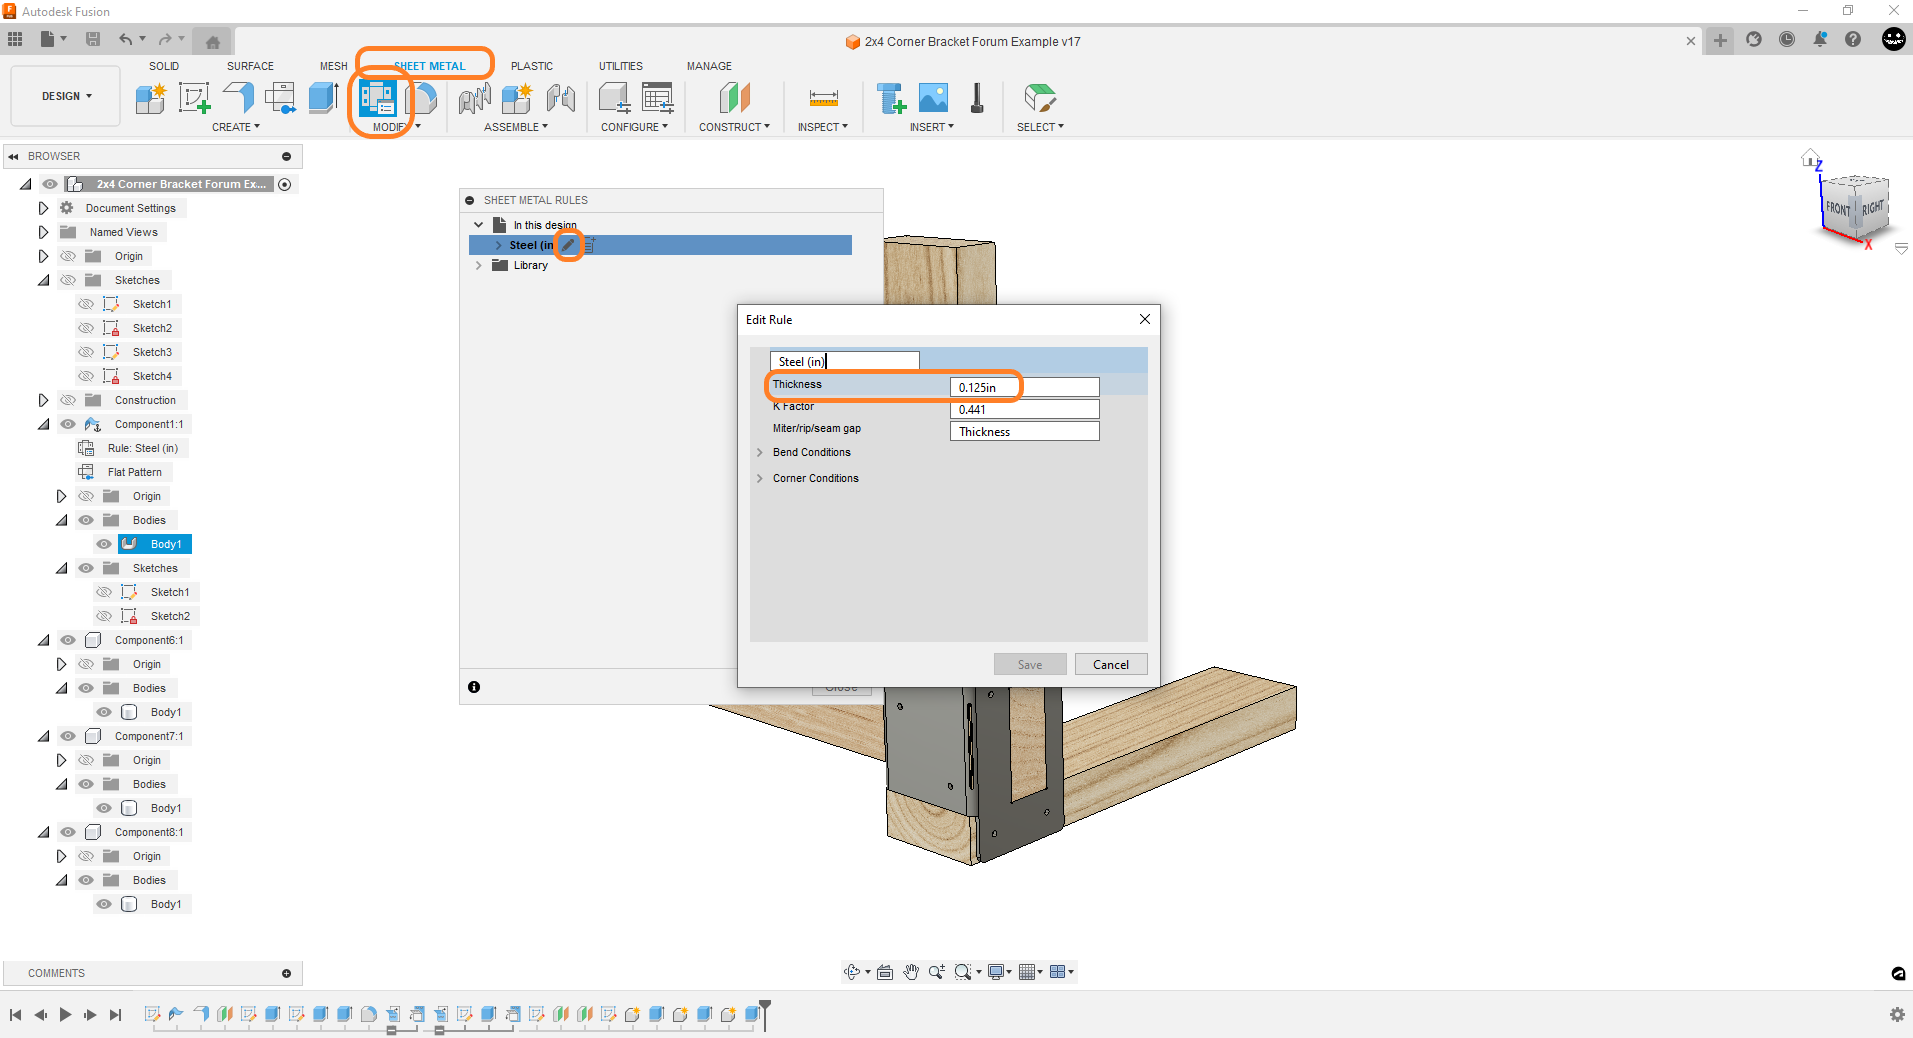
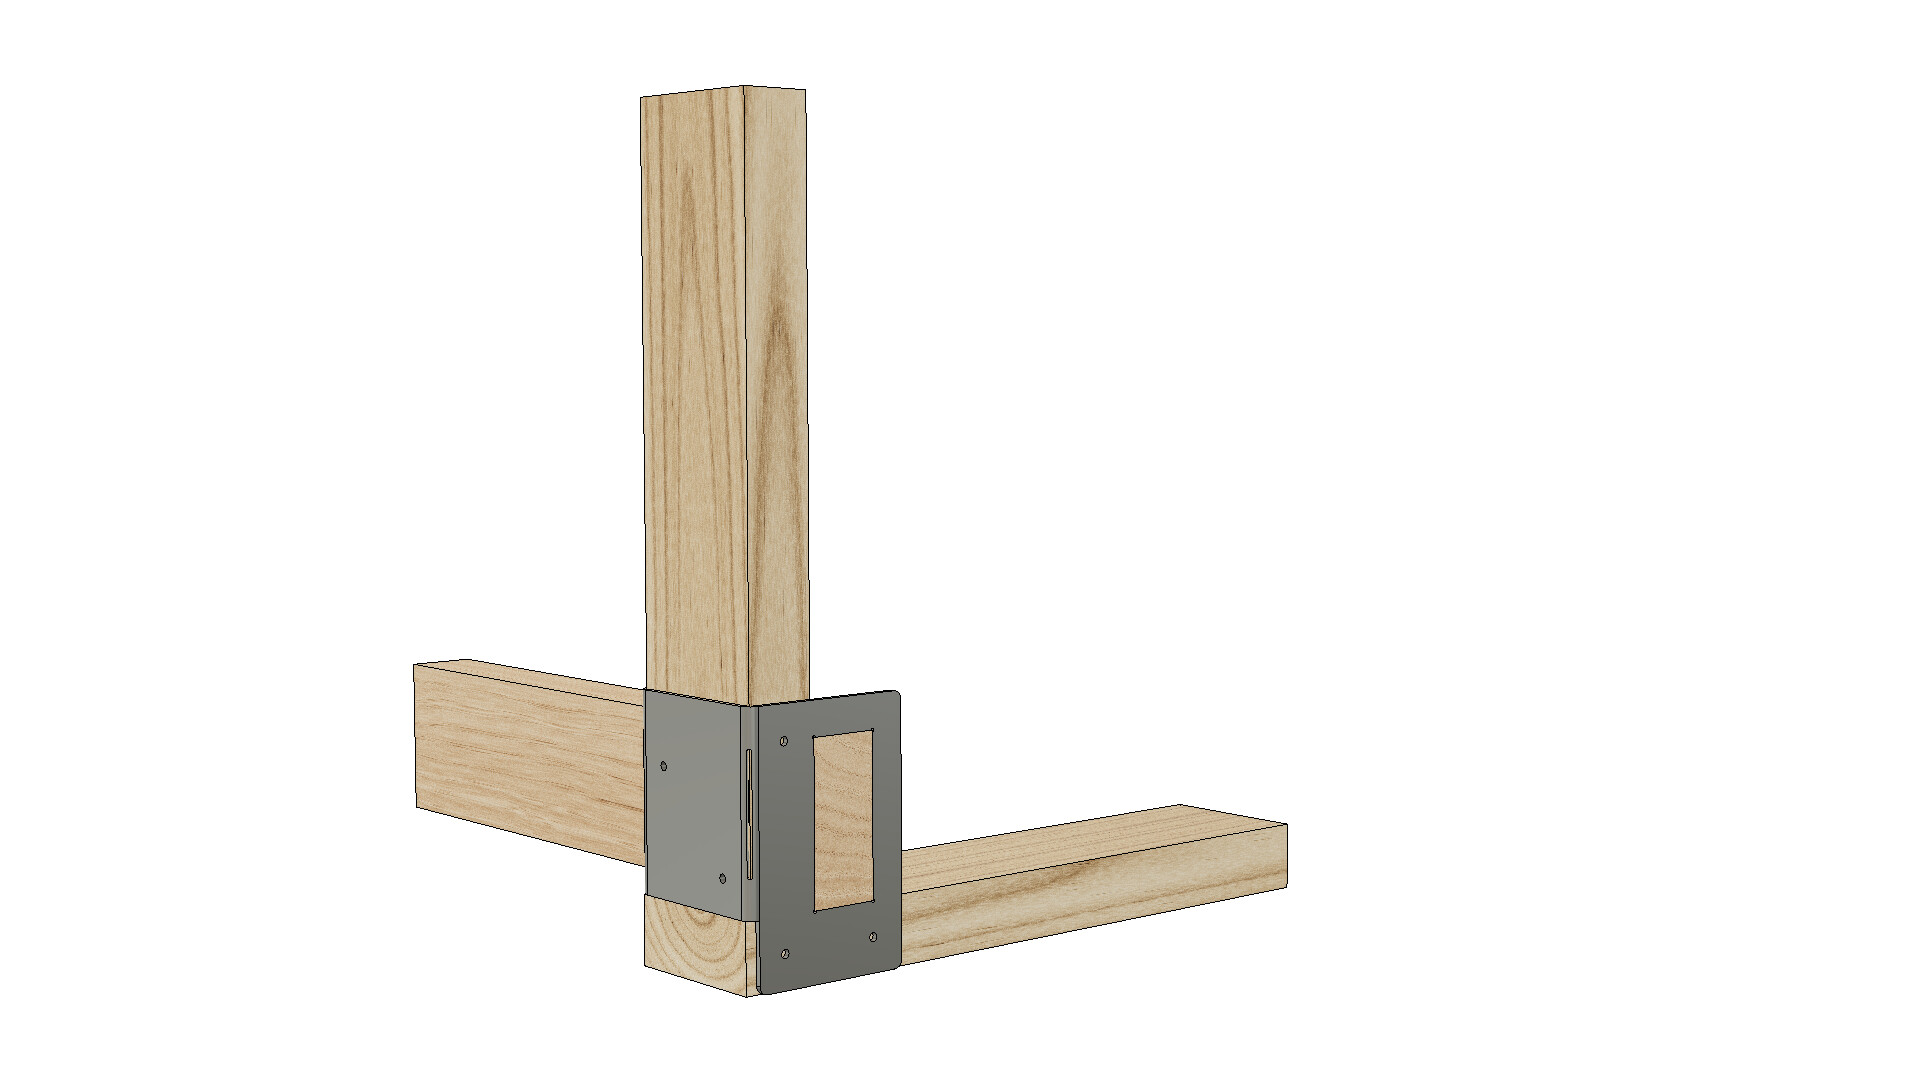
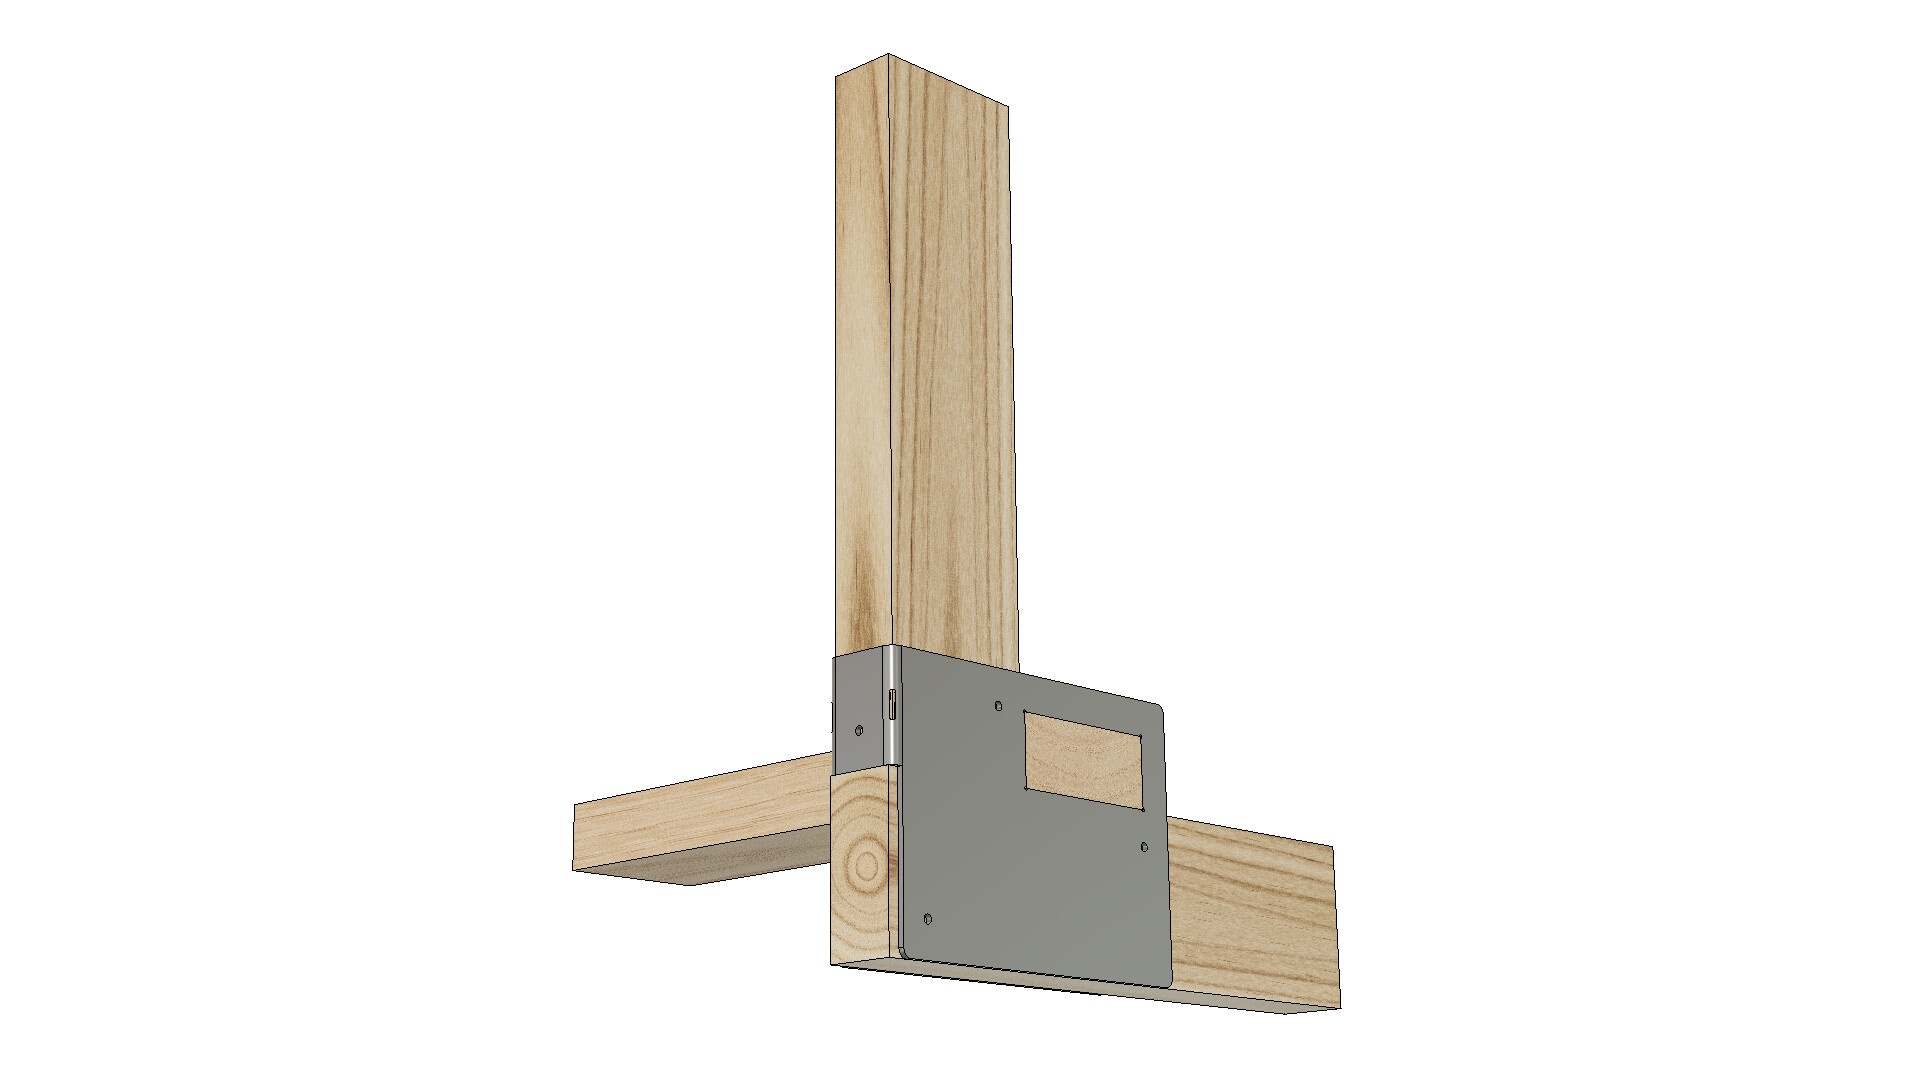
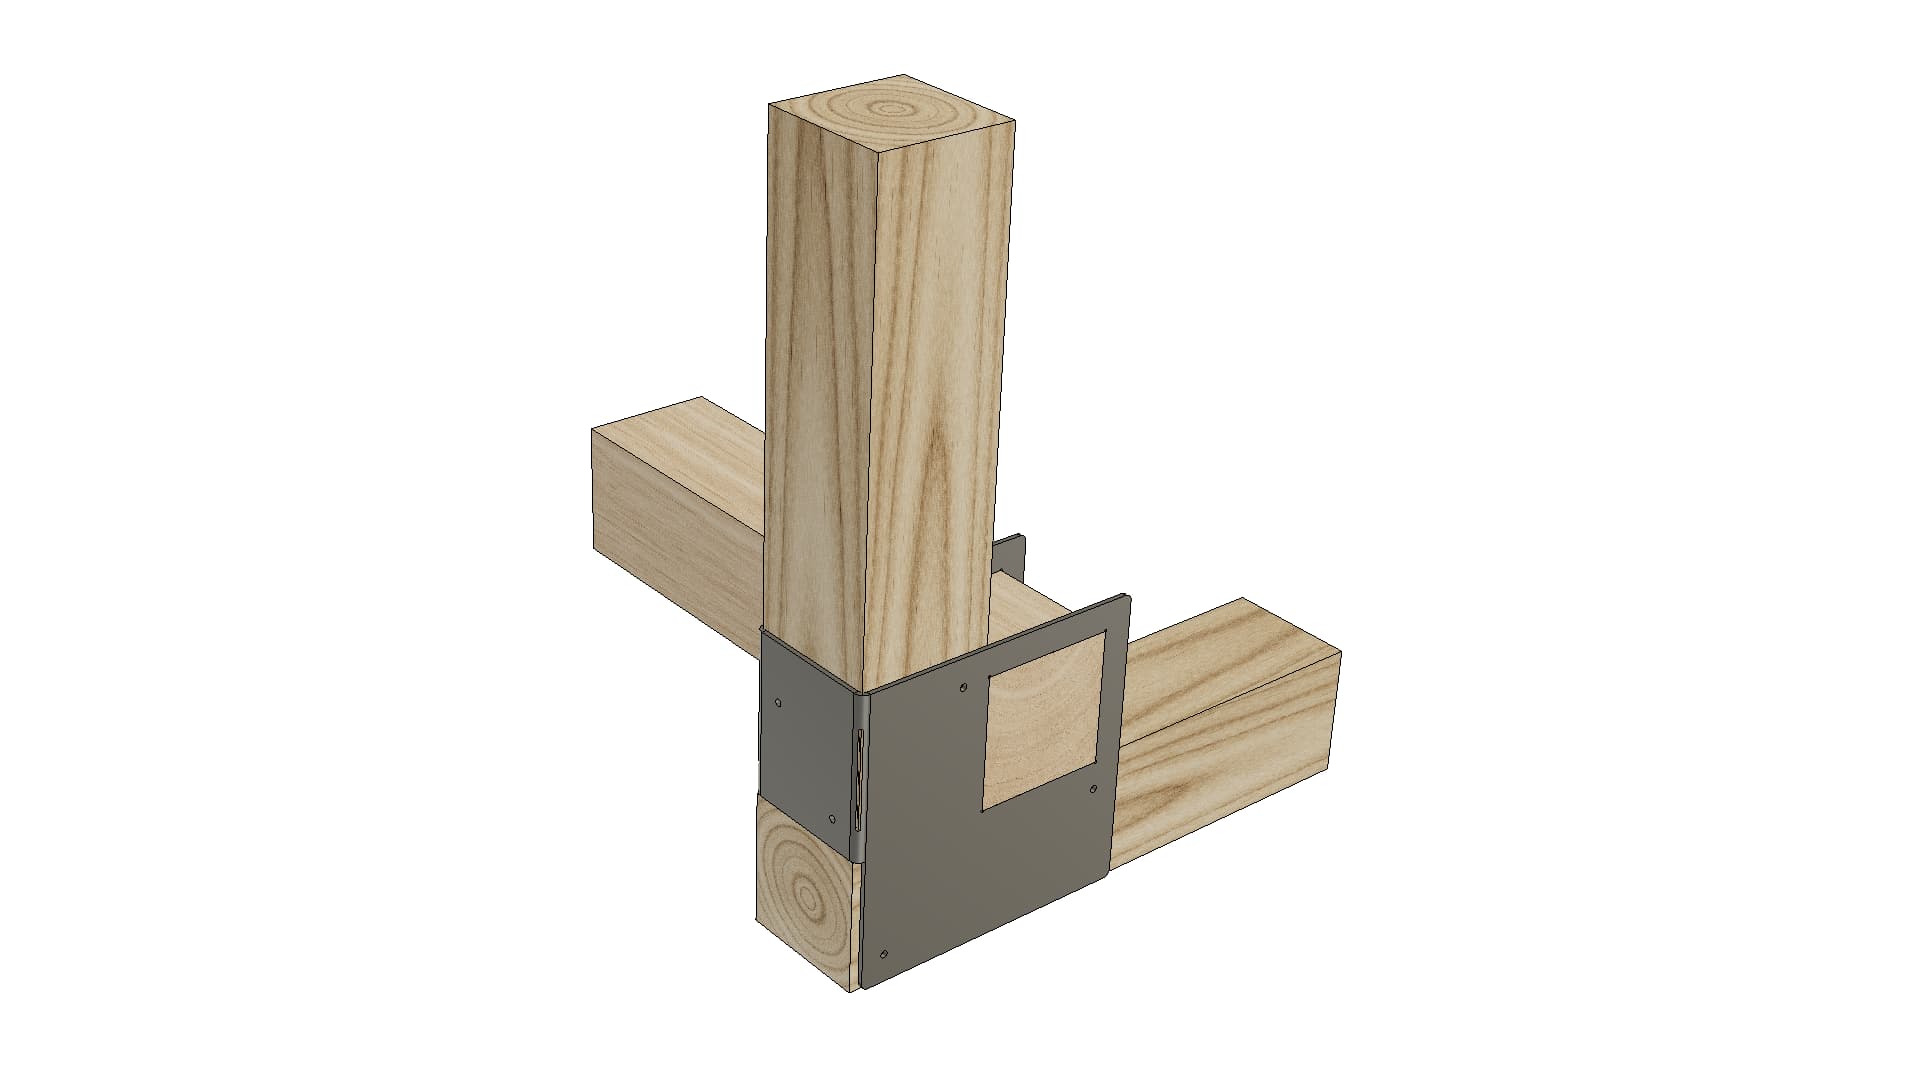
The primary housing bracket is meant to engage each other and the teeth lock into the counterpart. I specifically gave extra room top to bottom to accommodate variations in lumber but this might be a bit generous. Be prepared to put a shim of metal in between the wood and the bracket if it is too loose.
(Note: I had thought of making the slots for the tabs deeper in the metal to allow for adjustment for variations in wood dimensions but this would alter the holes that are suppose to line up with the ‘thru’ bolts. Note also that most of the brackets for sale only rely on screws to hold the bracket. These bolts will have much more strength.)
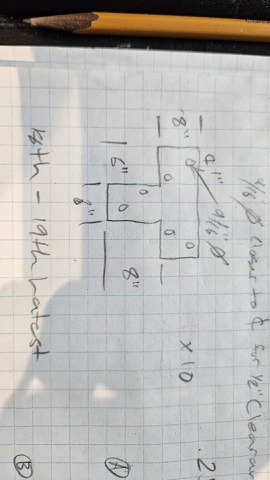
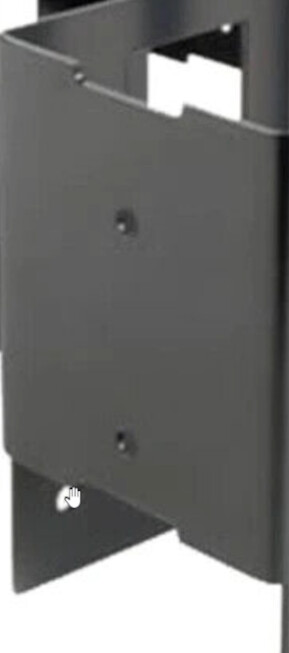
The leg support bracket will require more delicate bending. I would suggest bending the outside of the bracket first. Hopefully you have some type of brake to do this. There are relief cuts in the flat panels that will assist.
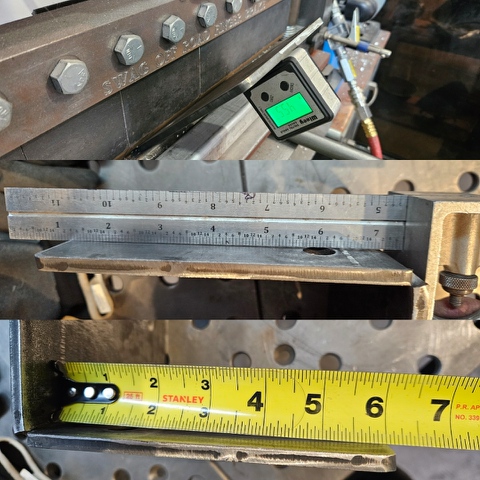
The inside bend will be more difficult. Just get the bend started and then clamp a 2x4 to hold the metal and continue the bend of the metal. If you can get this second bend to 45 degrees, you can then put a C-clamp over the metal and cinch down until you have a reasonable completion of this second 90 degree bend.
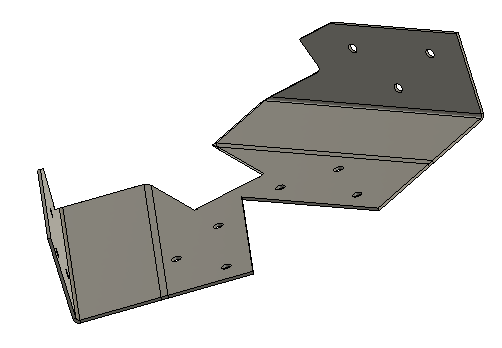
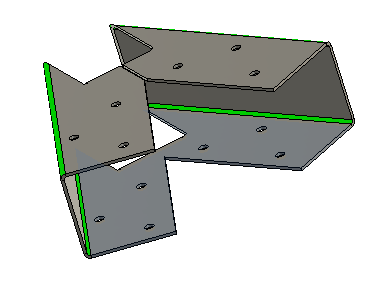
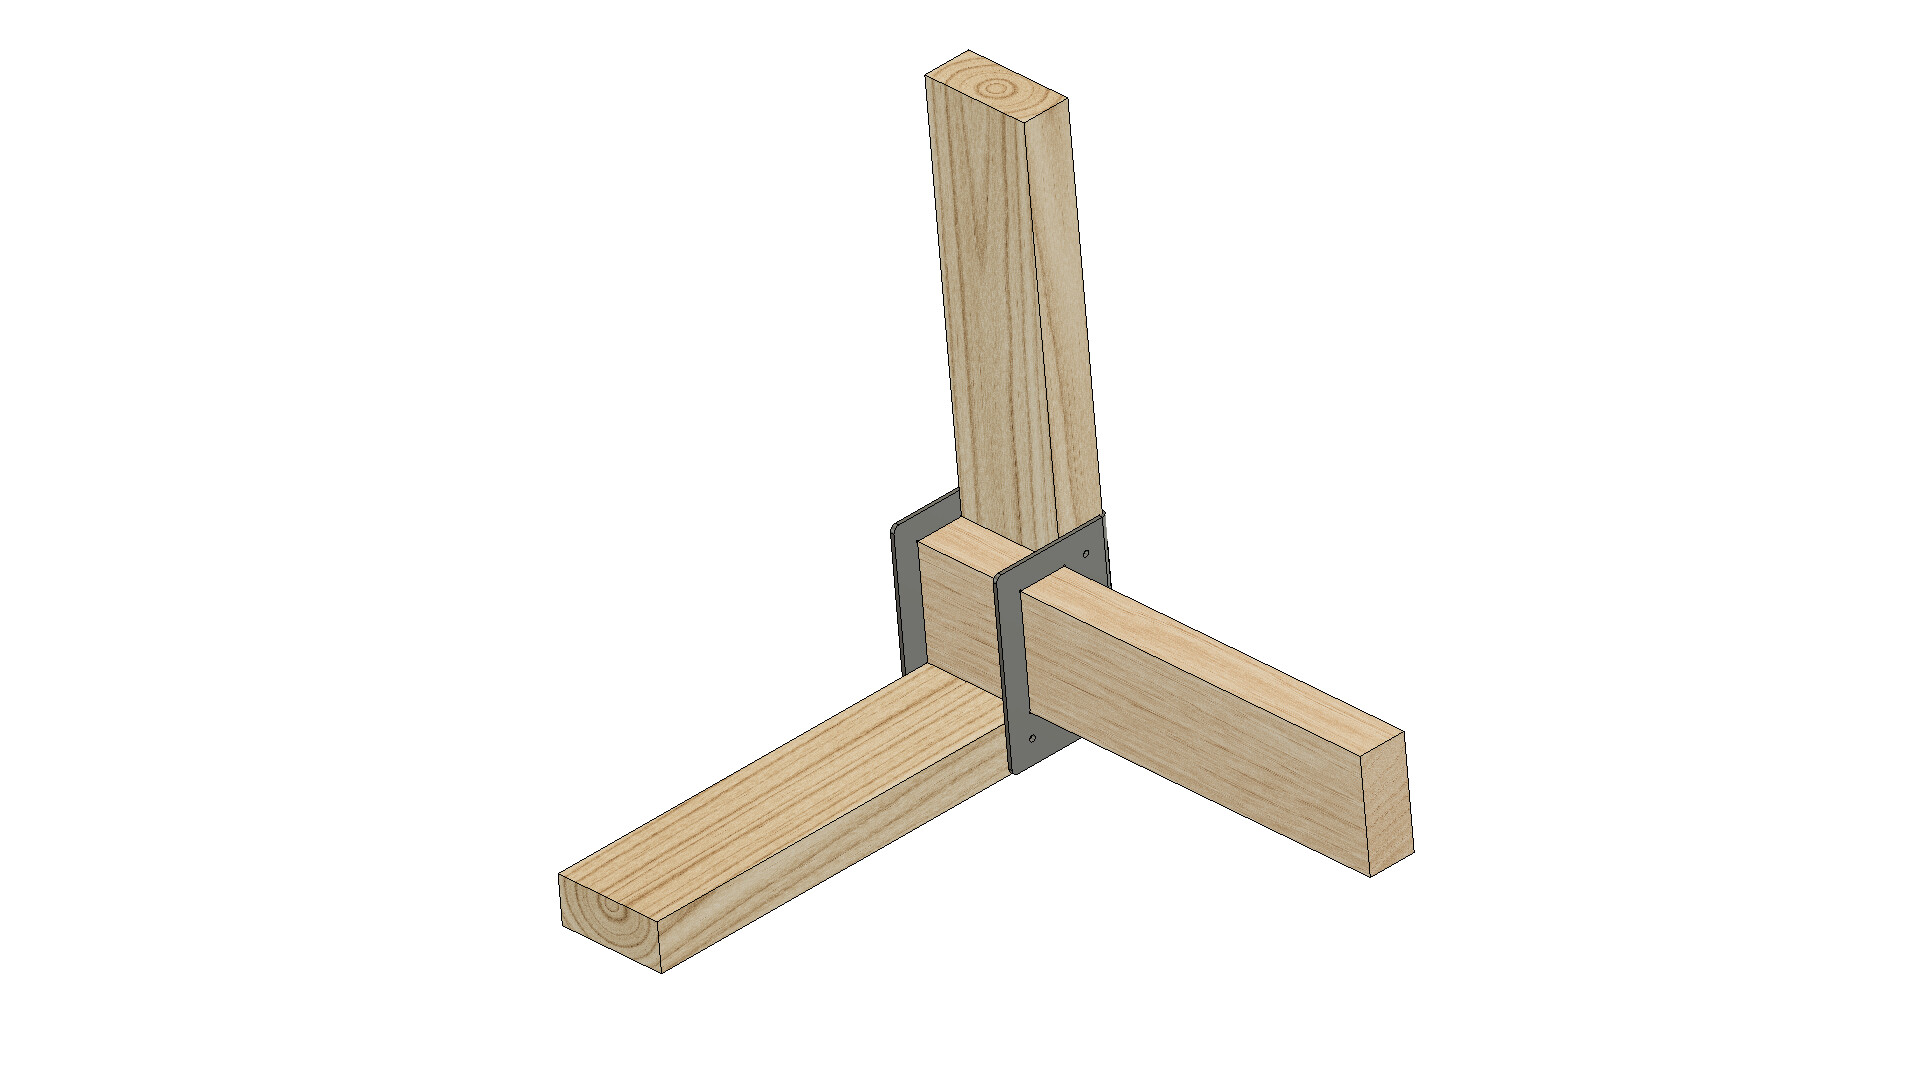
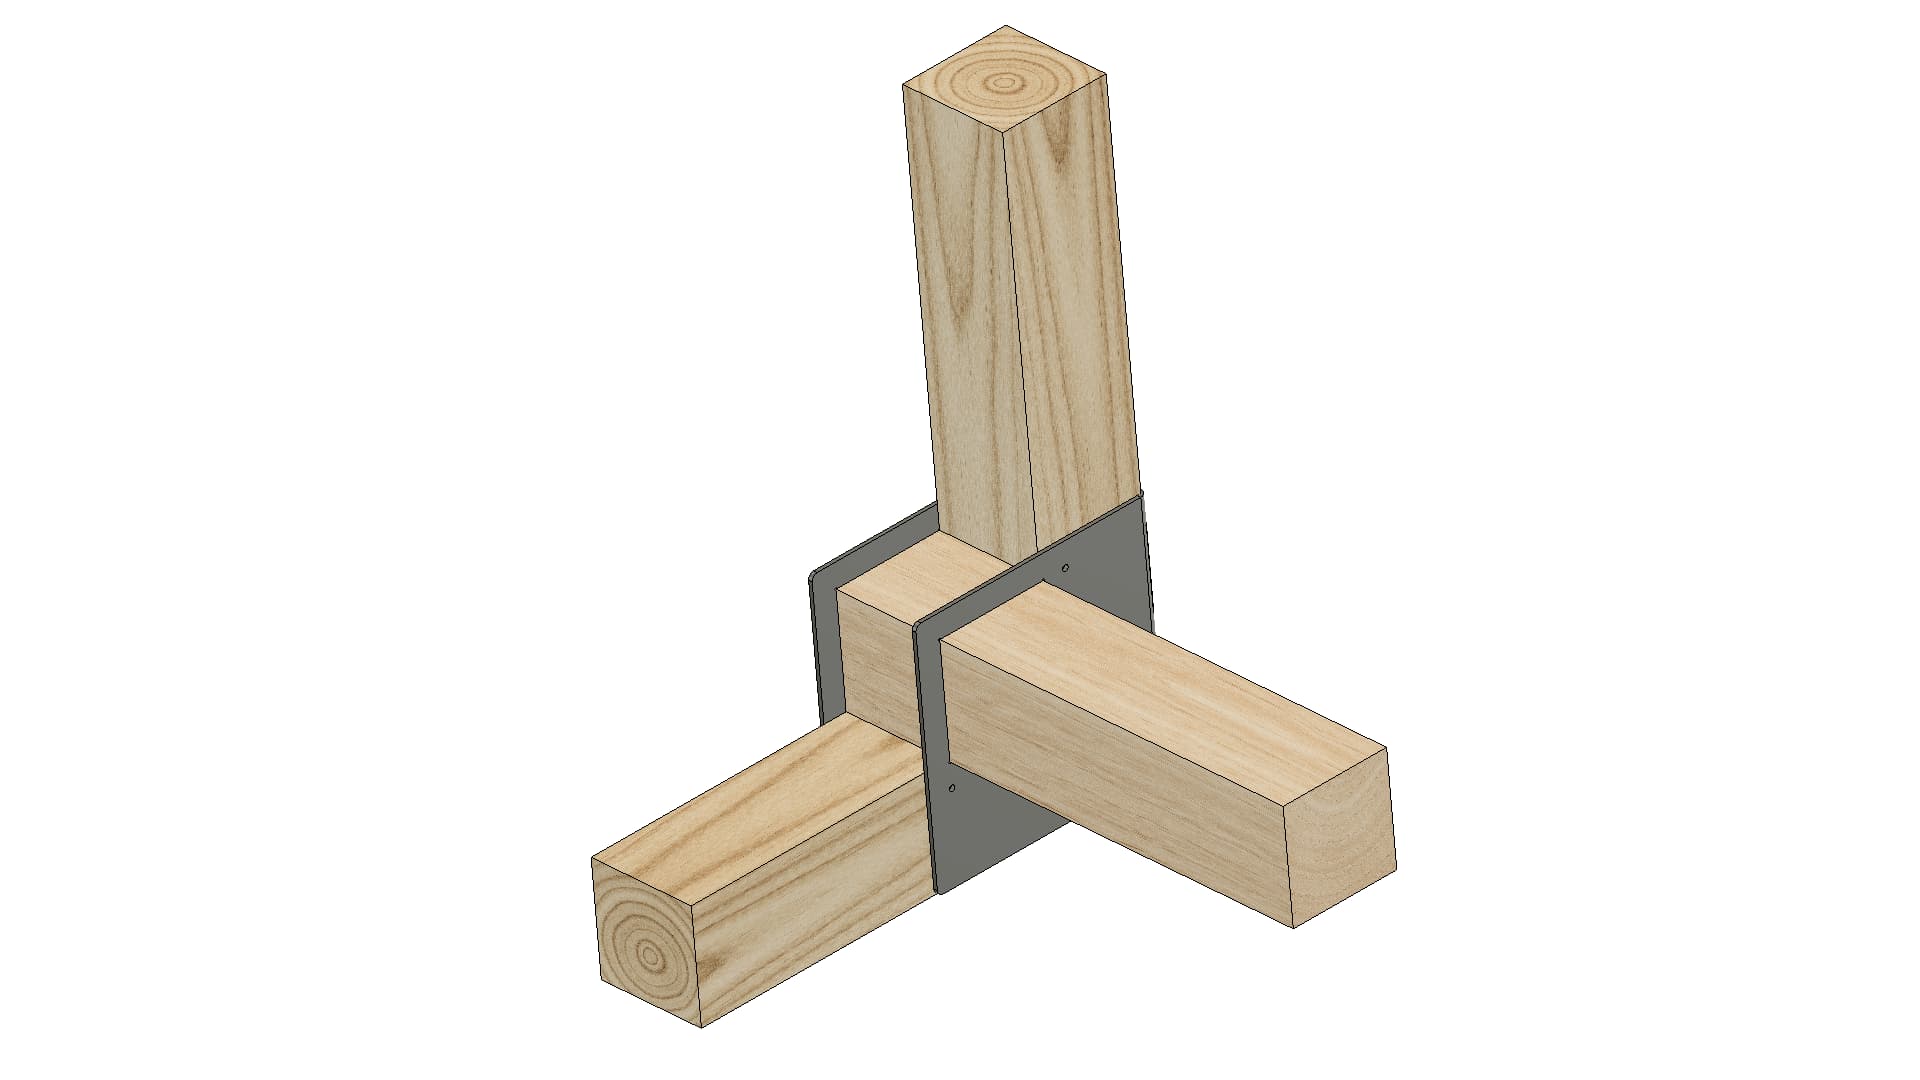
The leg gusset assembly is meant to sit on the primary housing bracket at a 10 degree angle. Here is where some spot welding inside the housing would be advisable. And some welding outside of the bracket once you are satisfied with the positioning.
Drilling ‘thru’ holes. The trick to that is to drill just past halfway from each side as perpendicular as you can. Eventually the drill bit will find the other hole and will follow the path of least resistance.
Remember to shim the primary housing bracket before drilling holes.
Install the horizontal 2x4 or 2x6 supports on the legs.
Install the swings. Since you are using two 2x6’s for the beam, I would advise bolts sandwiching the 2x6’s together near where you drill holes for the brackets for the actual swing. There are various brackets and bolts available online for this purpose.
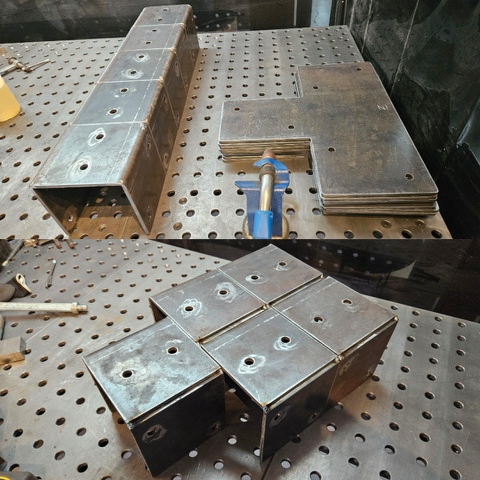
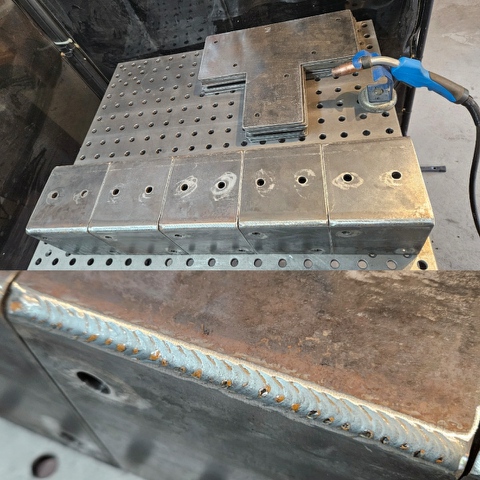
These brackets are done and off to the customer. I believe they’re being installed tomorrow. It’s for 6x6 posts and 6x10 beams. I’ll take some pictures once it’s all installed.
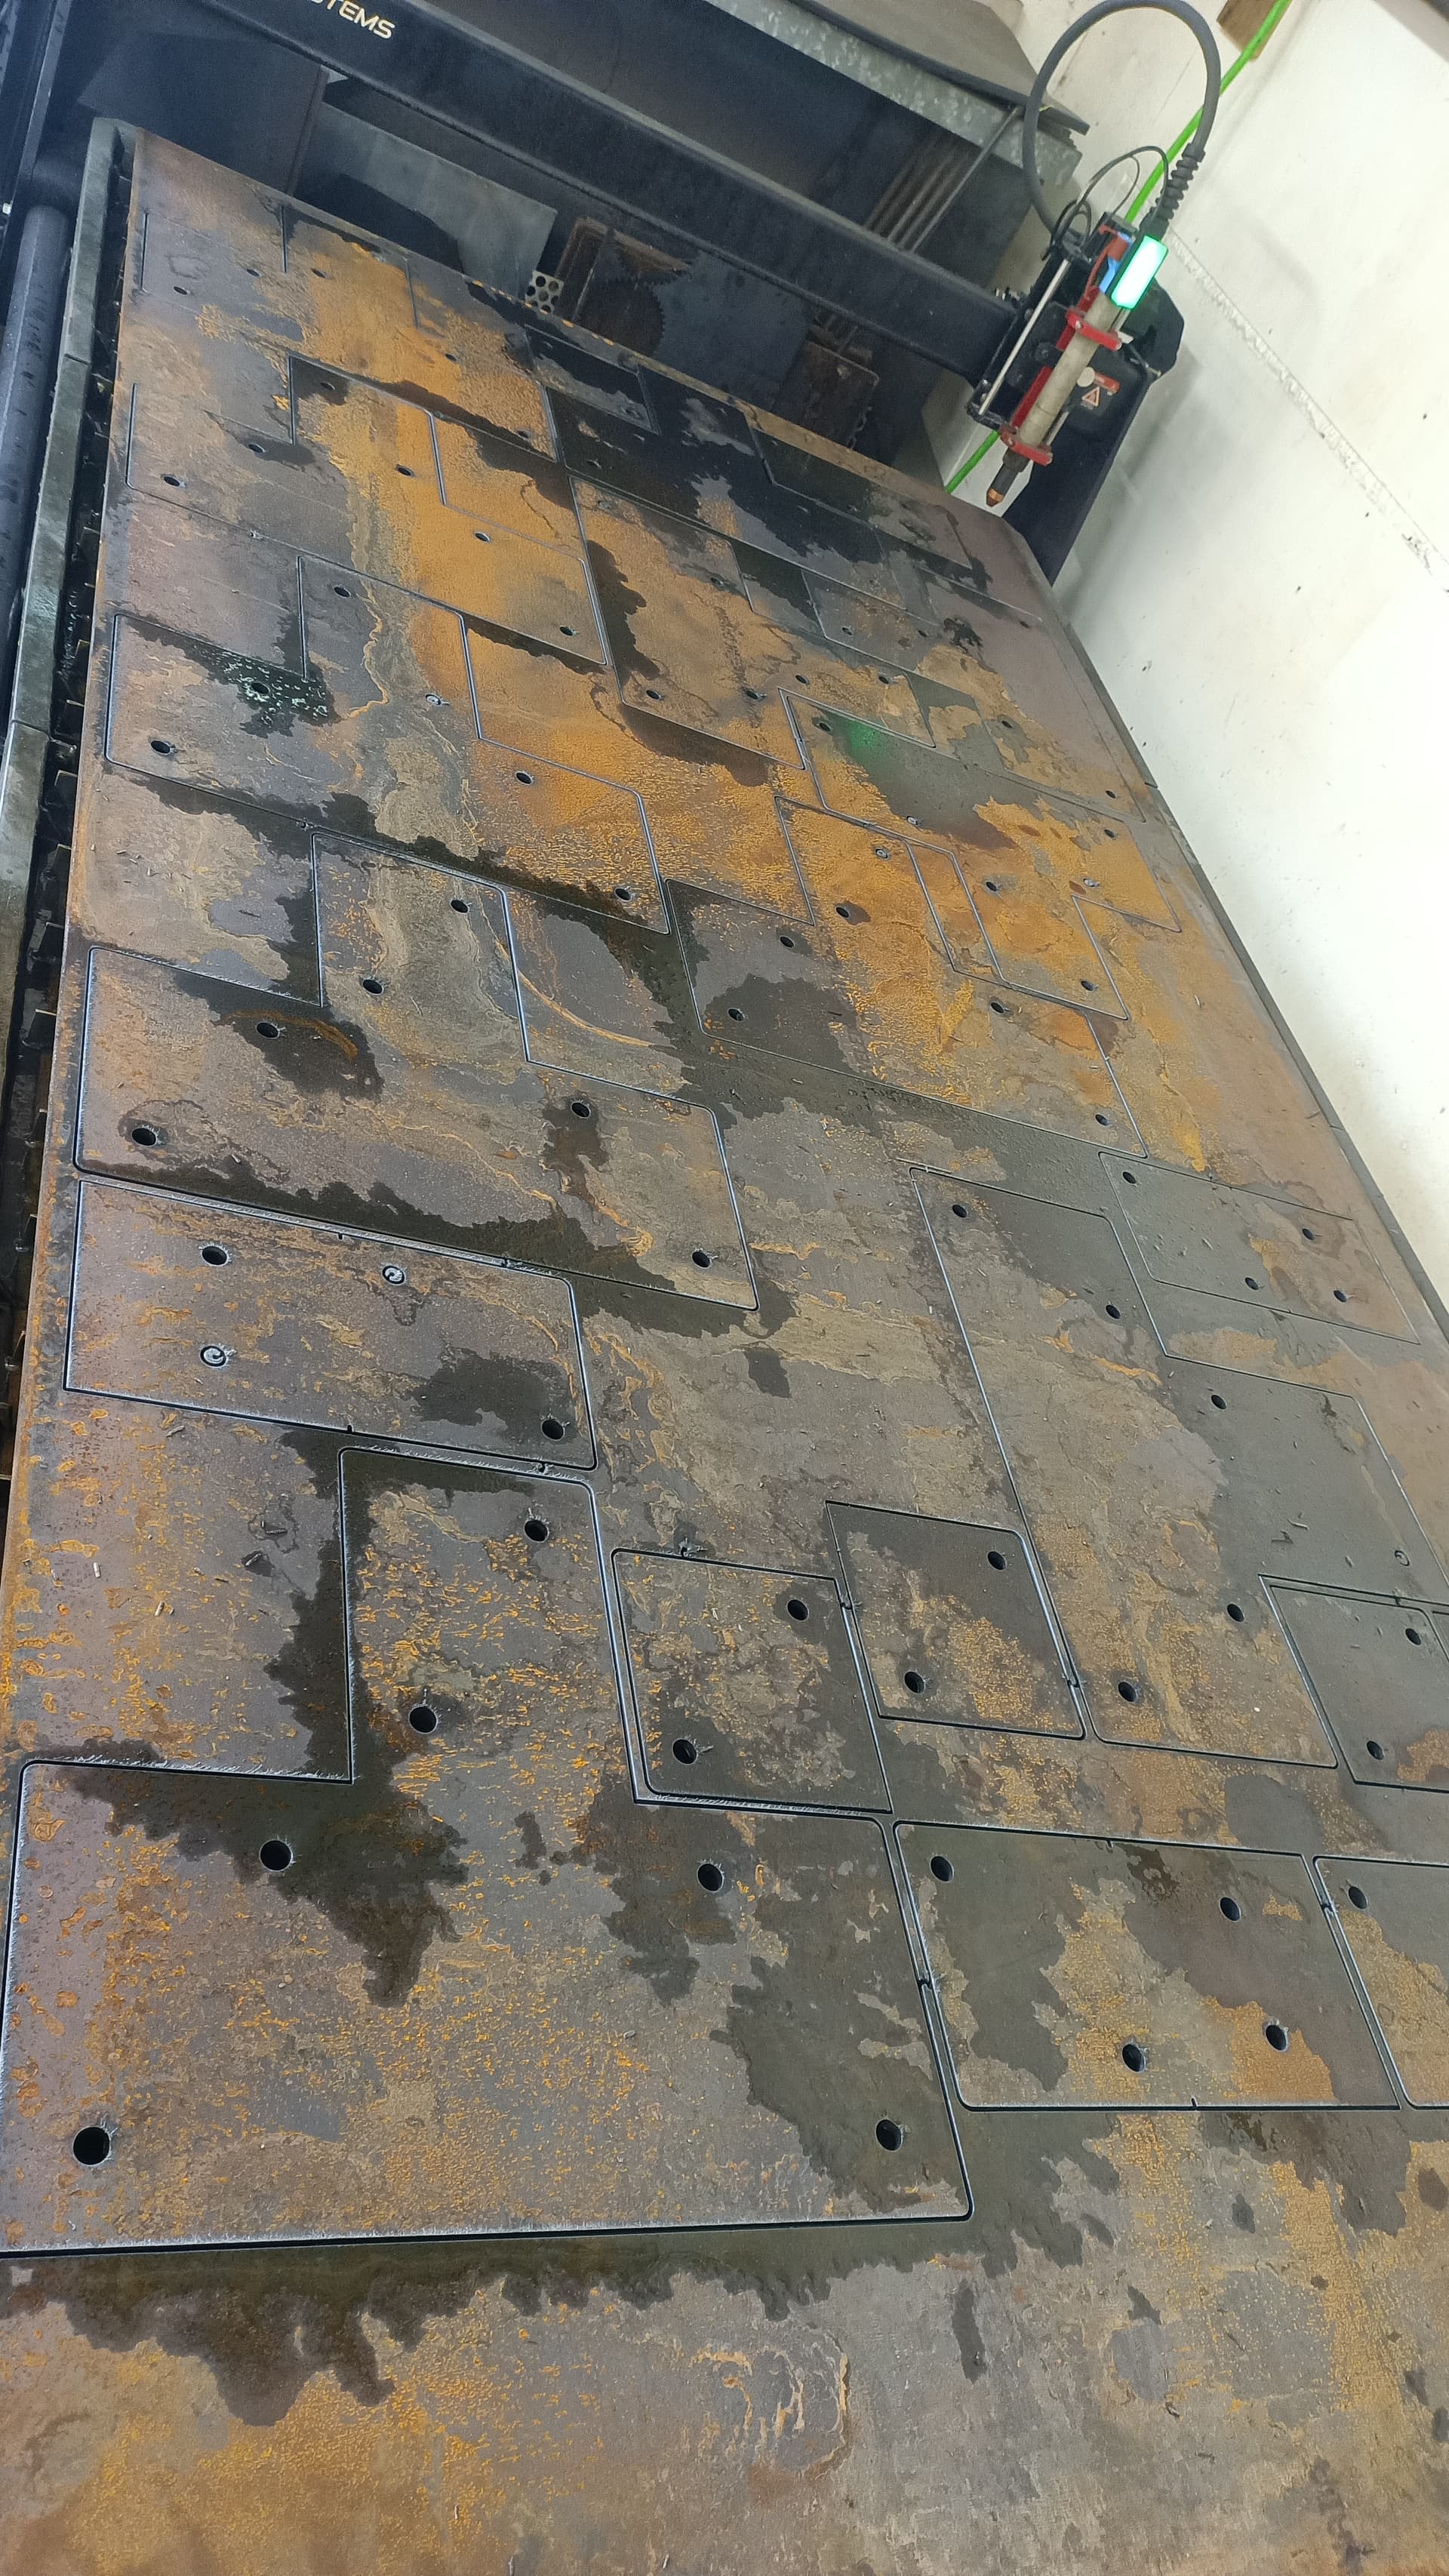
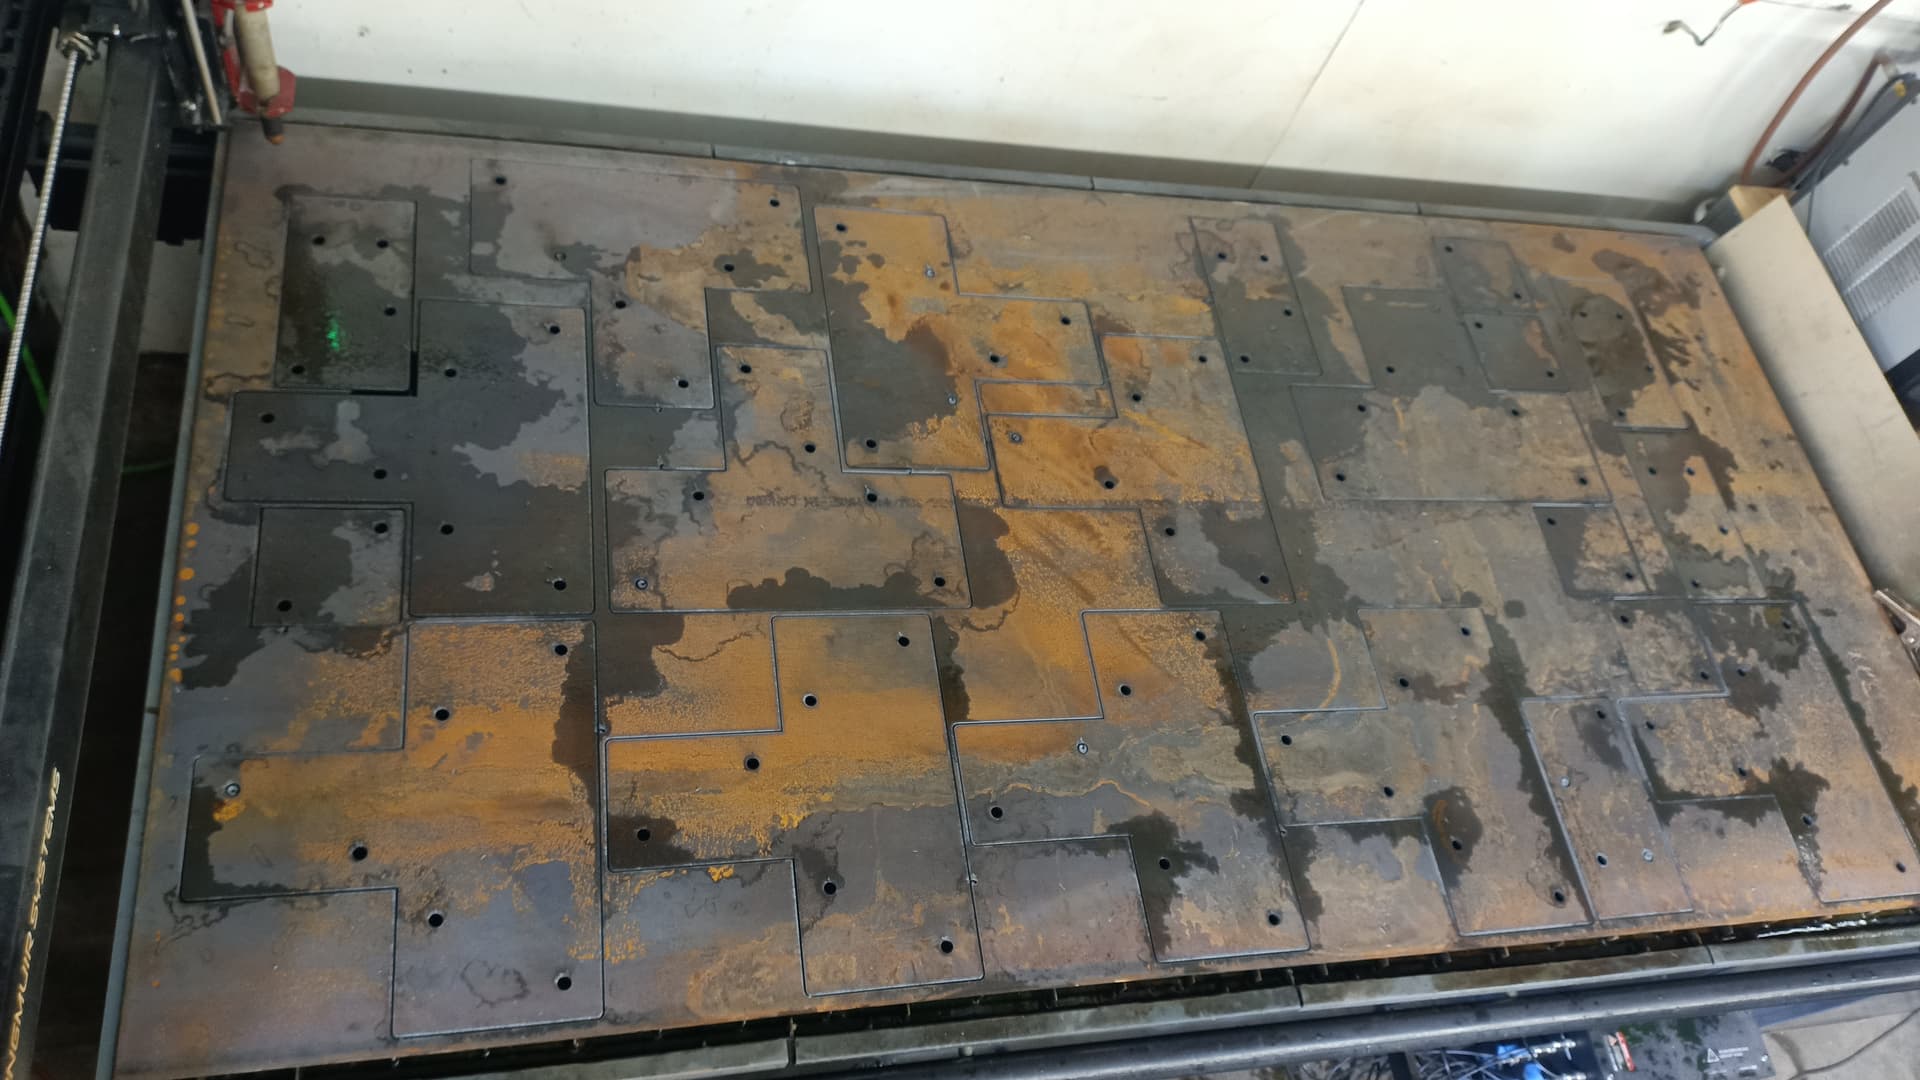
I was using the hypertherm PowerMax 85 with 65 amps shielded consumables. I used the cut chart parameters it ended up being a little drossy but very Square edges and good hole profiles. The cup brush immediately knocked it off.
were those to deep to bend? so you welded them?
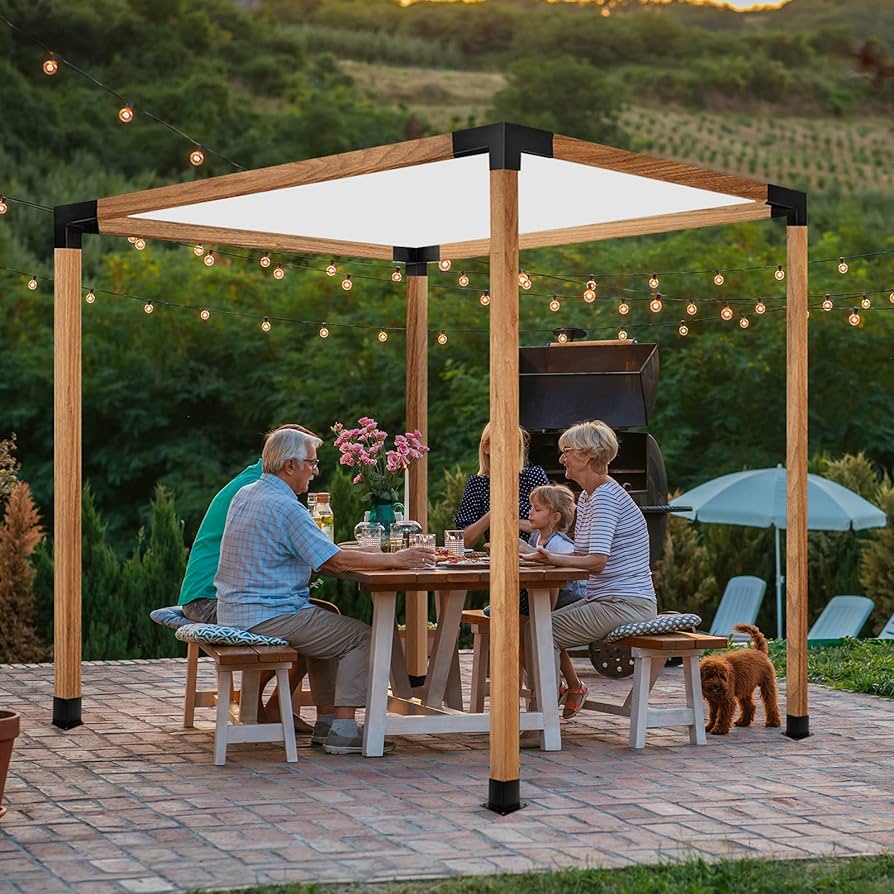
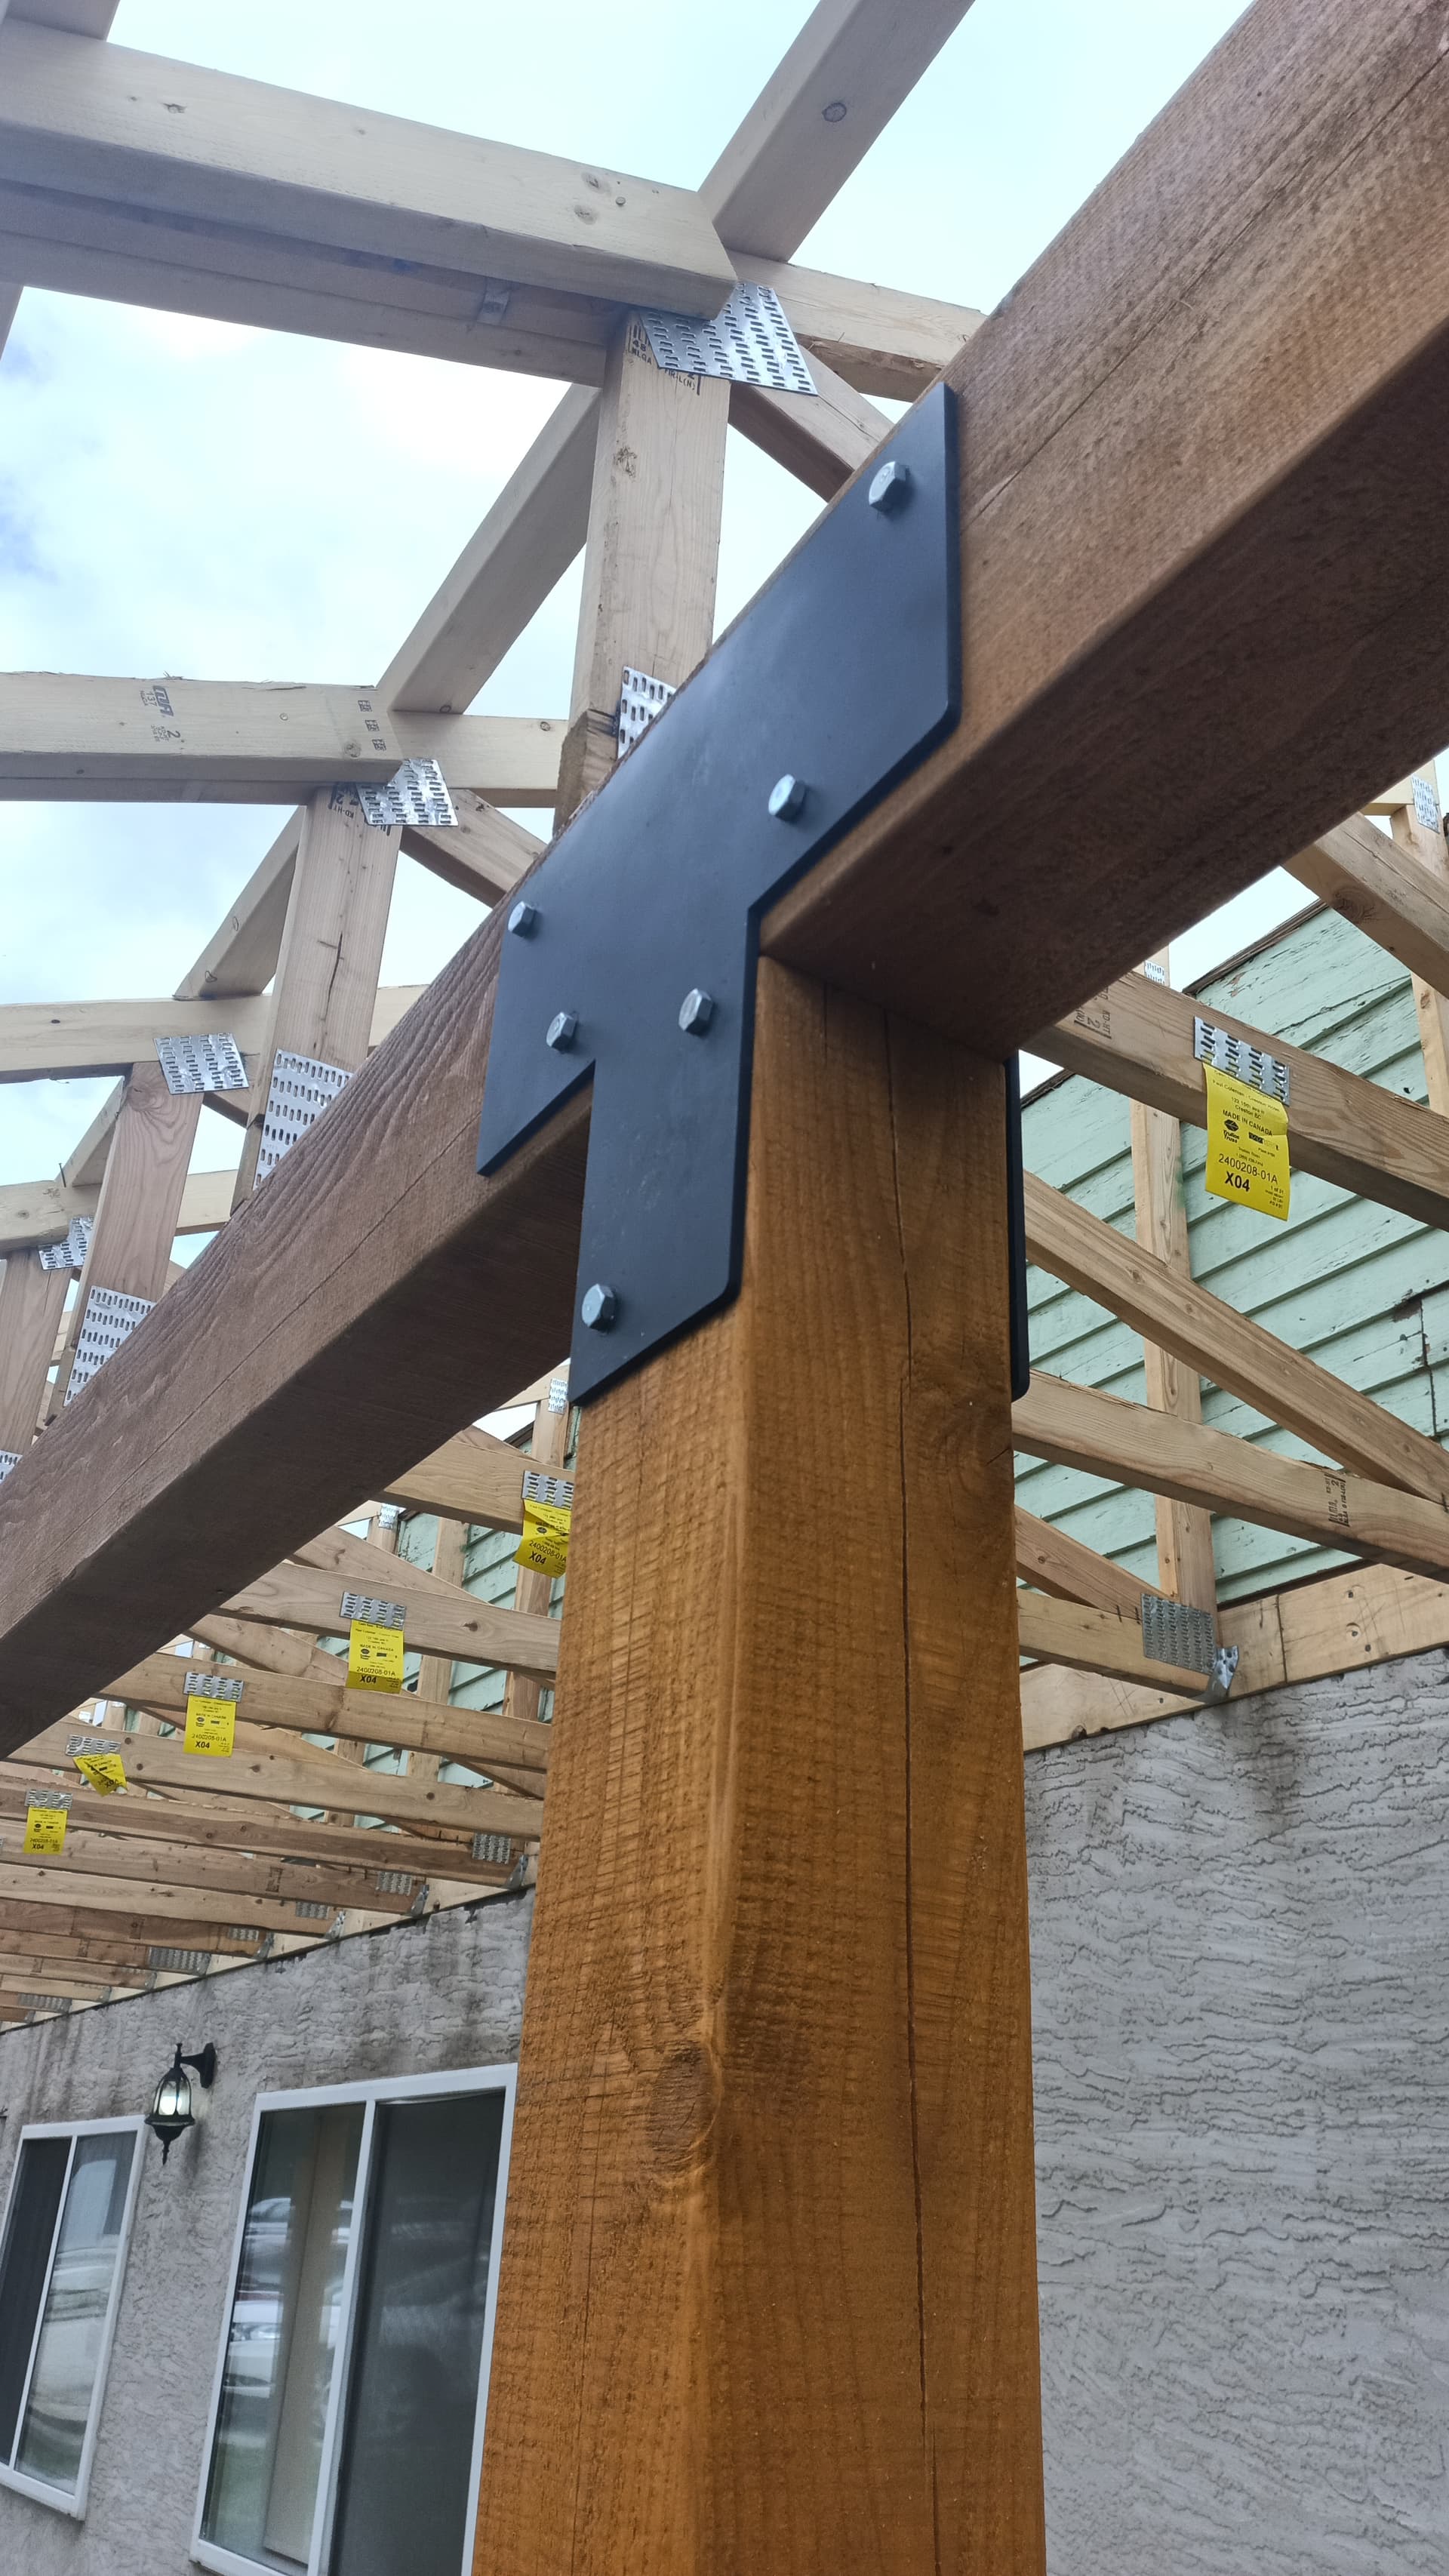
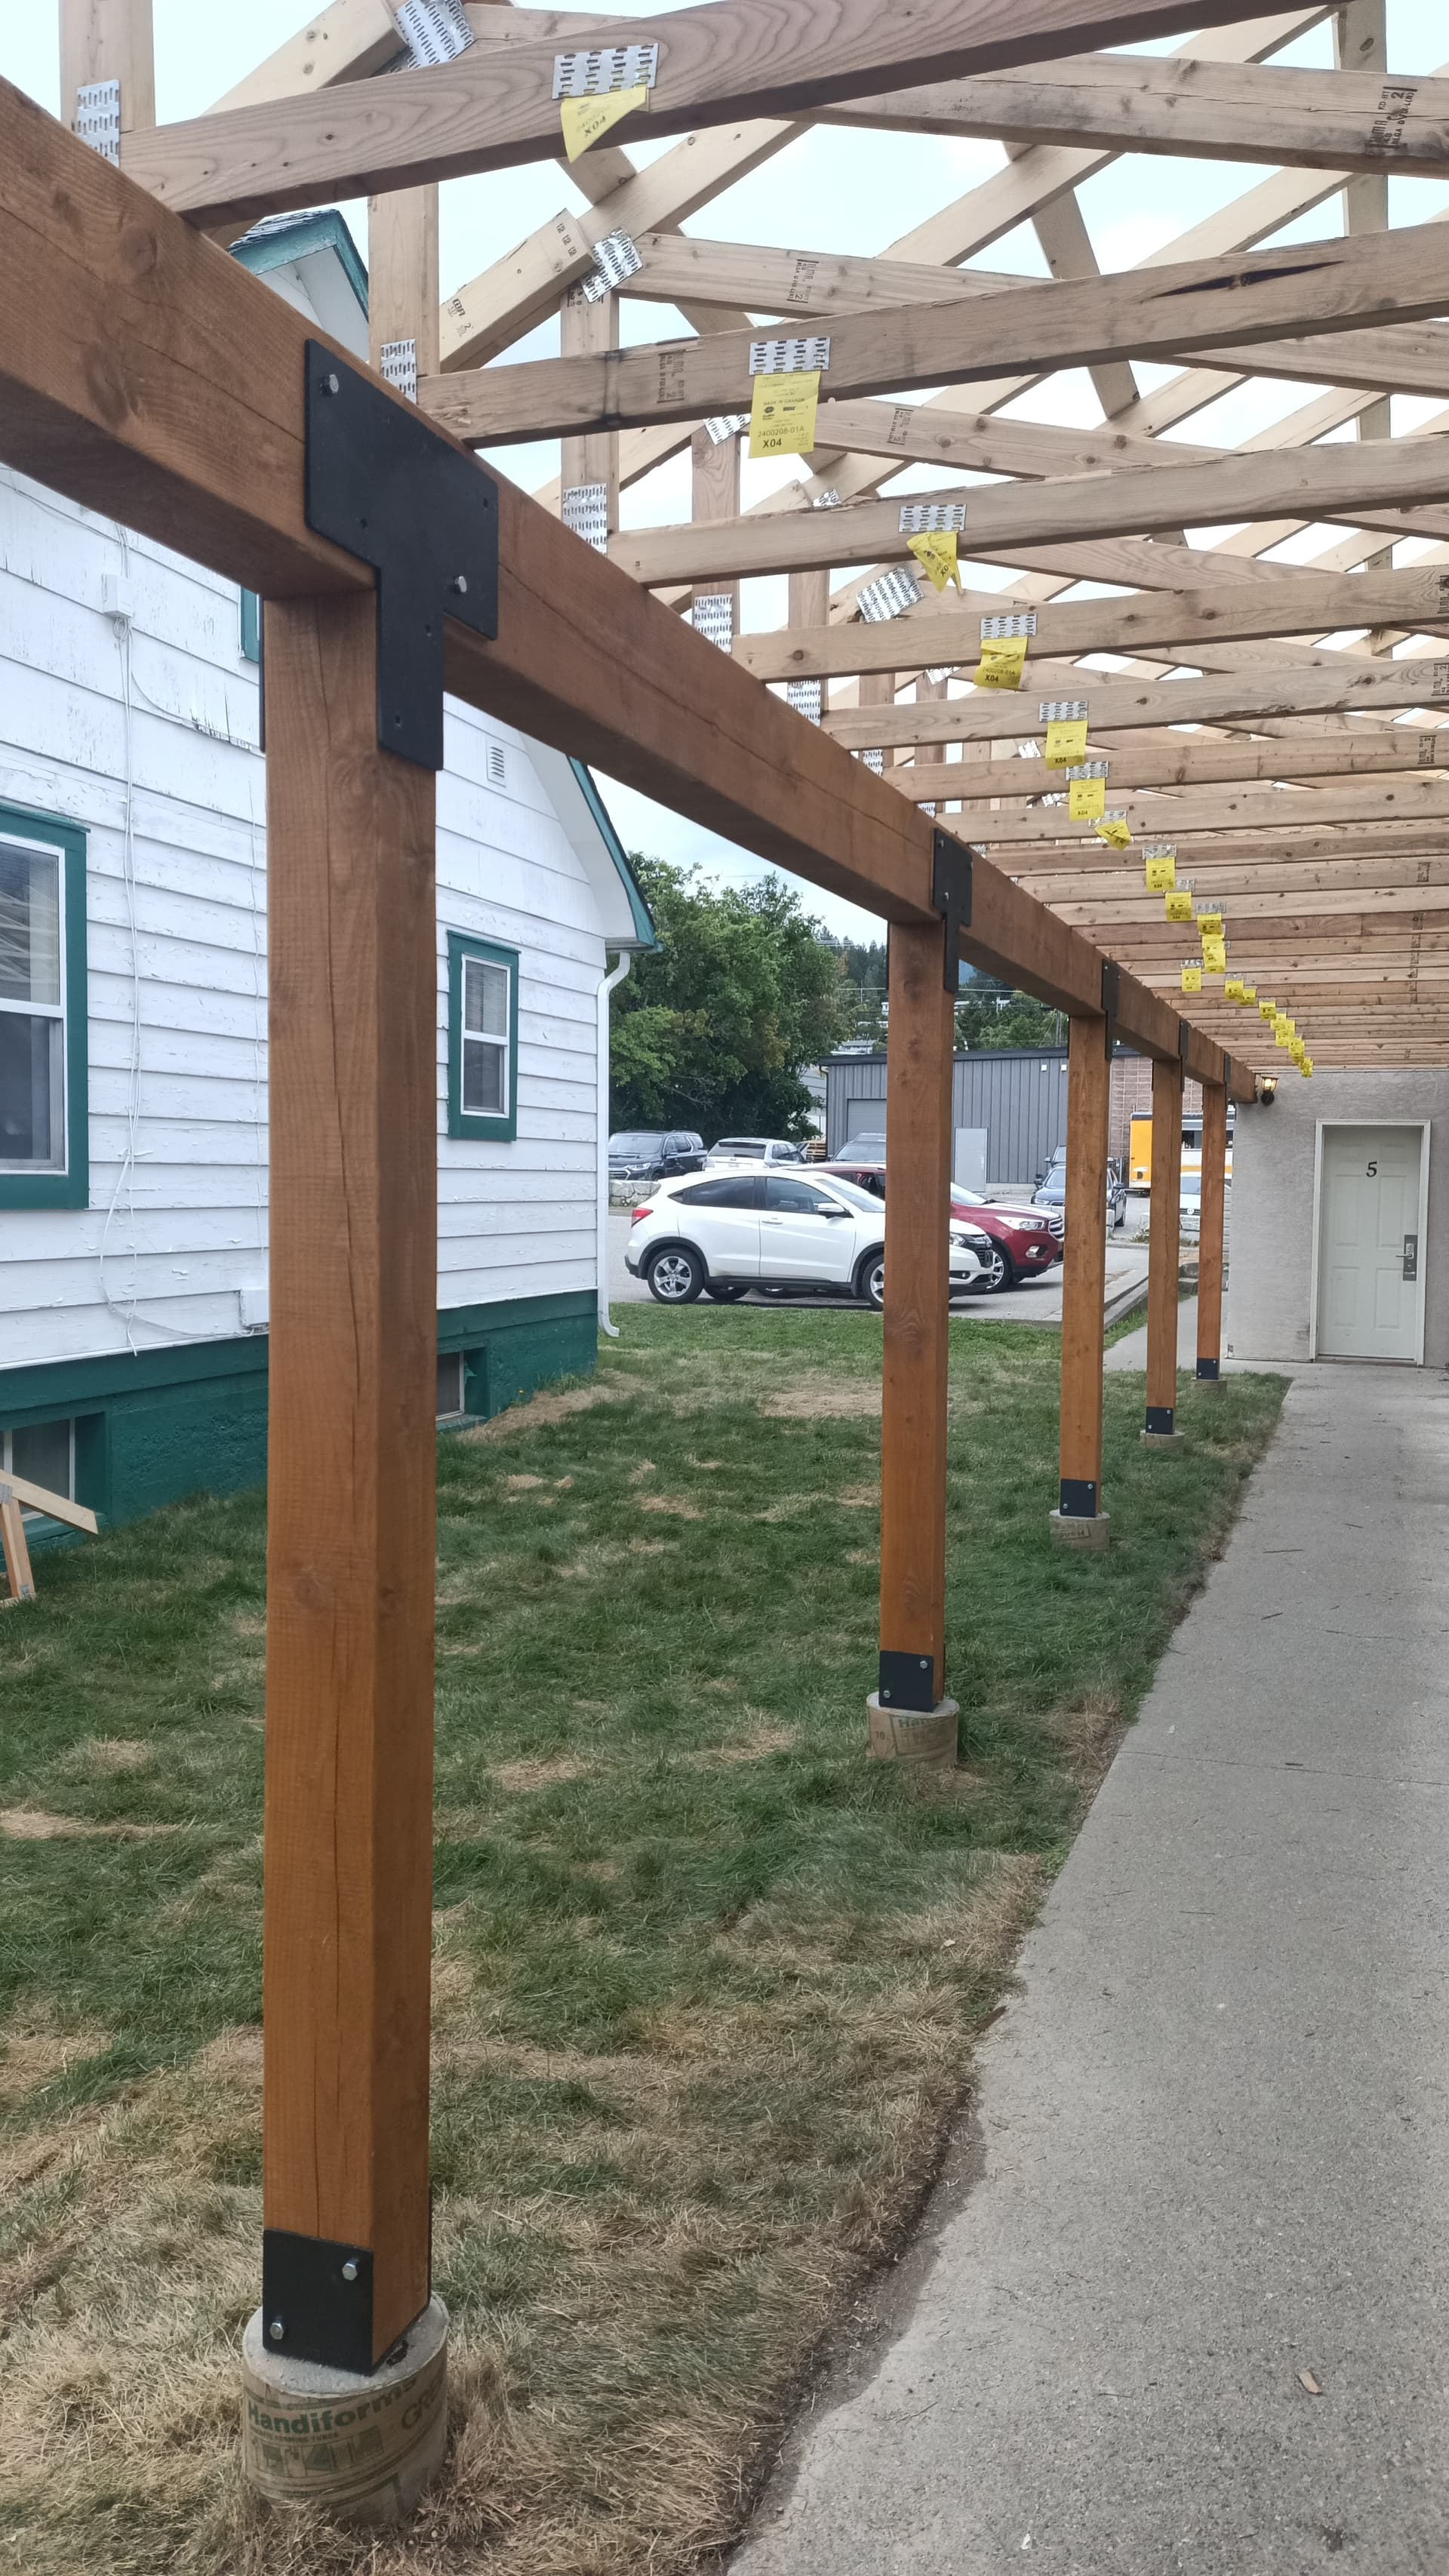
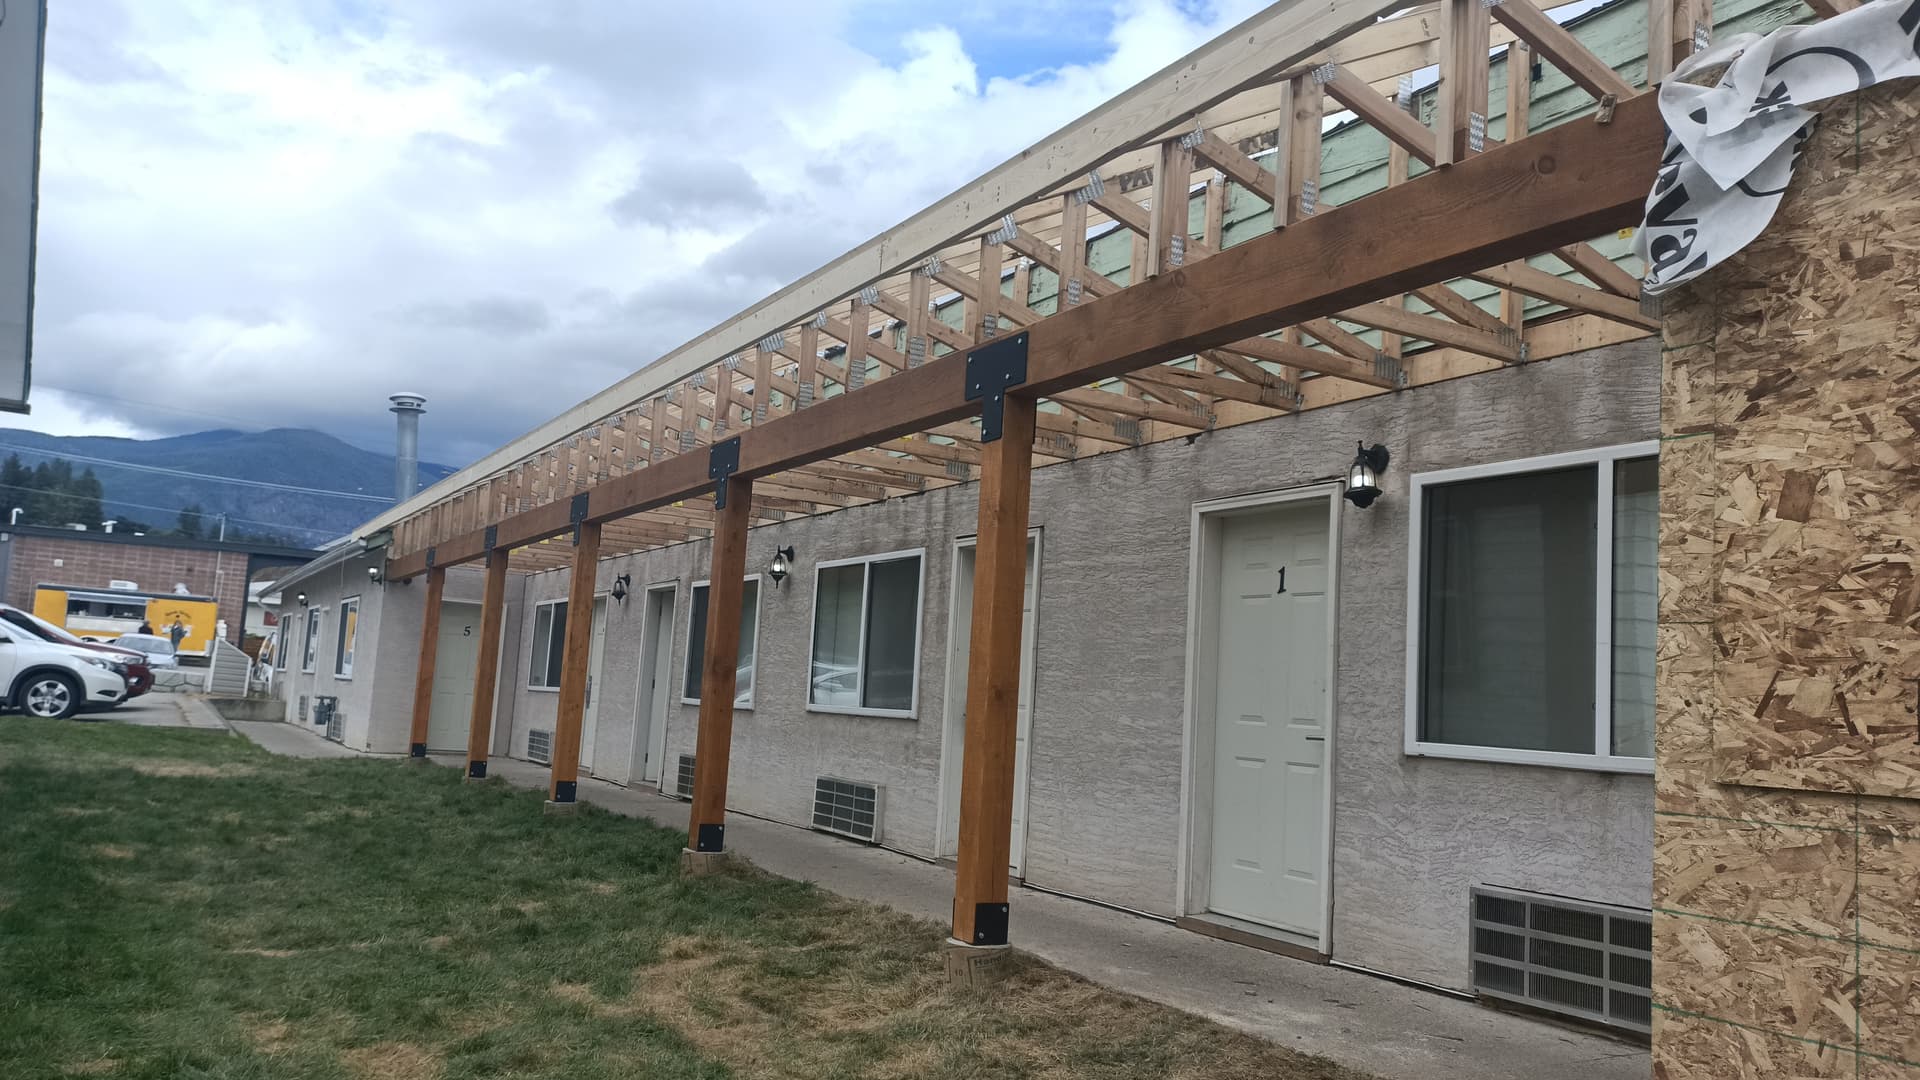
I just did a bunch of similar stuff for a pergola in Florida last summer.
My welds did not look as pretty
This would have been a great project for the Titan but Swag brake handled this small job . We have it set up with an air driven Jack. With the air driven Jack and the wixie (digital angle box) you can bent fairly accurately.
It is always helpful when I see you encounter a problem and then work thru it. That helps me learn almost more than if everything goes without a hitch. Thank you as always for this time you give.
Hope your back feels better soon. It is probably one of the 7-10 day recovery things.
When your busy and self employed it is a disaster.
It is part of the reason I do these videos live, I think it makes fusion more approachable.
It’s okay for things not to work perfectly as long as you continue to the goal.