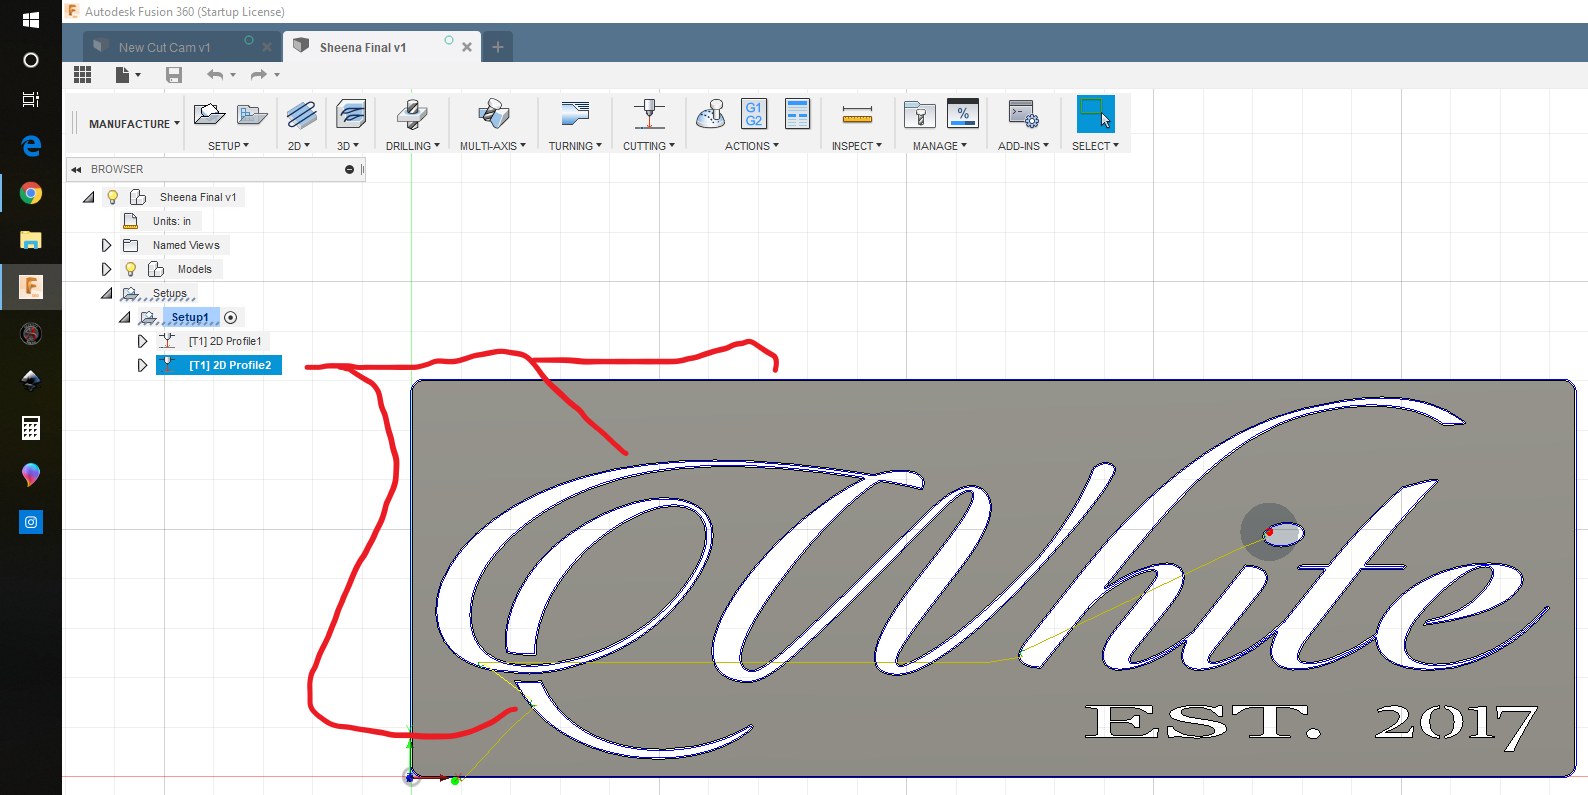
hey guys, I’m currently running into issues with selecting my cut lines in Manufacture. Its wanting me to click every single line I need cut, I’ve read about extruding the image first in Model, But it wont show the cut lines when extruded? What am I doing wrong? I’ll attach photos for a better explanation of my issues. thanks 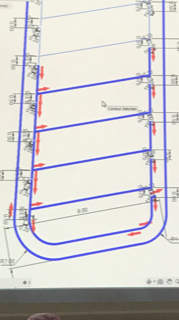
It’s because they are single stroke lines and there is no “contour” to cut out. The way you are selecting the lines is how it should be done for single stroke lines.
Also if you are cutting these single stroke lines make sure your kerf is .001 in your tool setup, use no lead in or out, and your pierce clearance is set to zero. Otherwise is will cut to one side of the line or the other and could mess up your final product.
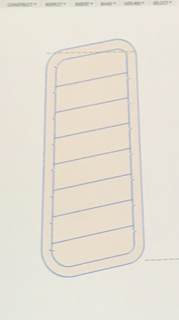
It looks like you are making a louver of some sort.
1 Like
thanks that helps a lot as far as the setup of the cut tool. Headed in the right direction, but the other issue I’m having is not being able to make a single line cut in one continuous pass, if that makes sense. For instance the bottom louver is one rounded line, but its being programmed as 3-4 different cuts? isn’t there a way to program it to start at one side ( lets just say the left side) of the line and have one continuous cut to the right side? Or somehow constraint the lines to be “one”. I maybe beating a dead horse here but this is relatively new to me, hope I’m making sense. thanks
There is a way. Not at the computer right now and could probably be of more help tomorrow.
This is all in the manufacture tab and in the pop up window after you select your tool. Clear your toolpath selection by clicking the “x” next to the box that tells you how many contours are selected. Now let’s say there is one line but it’s breaking it down into 3 different lines to cut. You would select the first line and it should turn blue. This part is foggy for me, then either hover over the next line or right click not sure which one, and a small box should show up with a “+” and “x”. Click the “+” symbol. Do the same for the third line. This should make the entire line one cut. You will have to do this for each set of lines that you want to be one continuous cut. Each time you select a new cut left click.
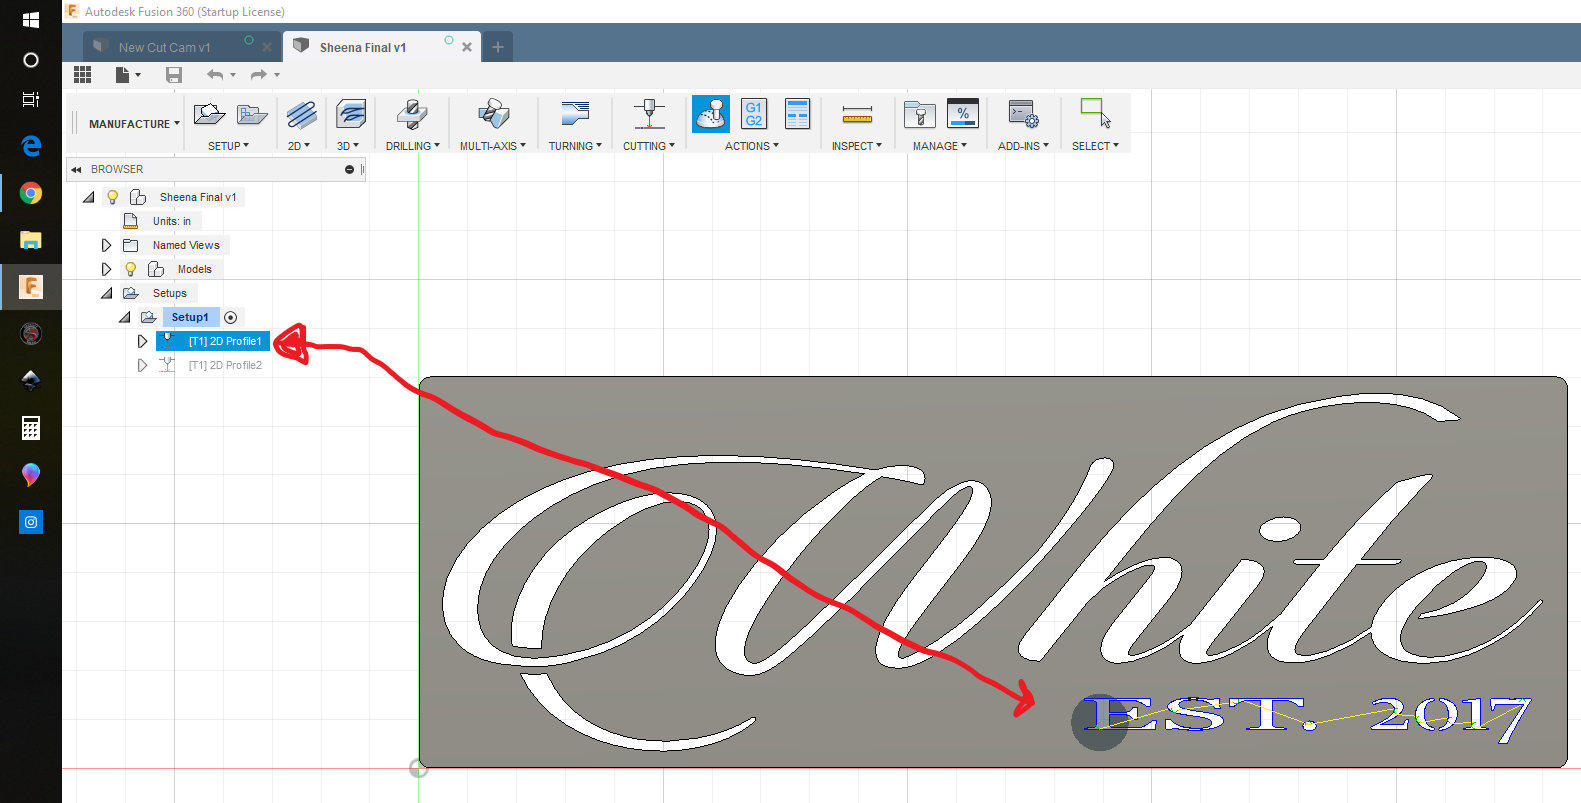
Could you also make multiple cut “orders” and select or designate each line in the middle portion as a separate cut? I have done this on some small fonts that are part of a larger sign. Bigger letters cut out fin but smaller, tighter fonts don’t play well with the overall cut of the sign. So what I do is (1) select the smaller font or lines, in your case the middle lines, as one cut operation, set my line for center, no lead in or lead out and process as
2d profile 1.
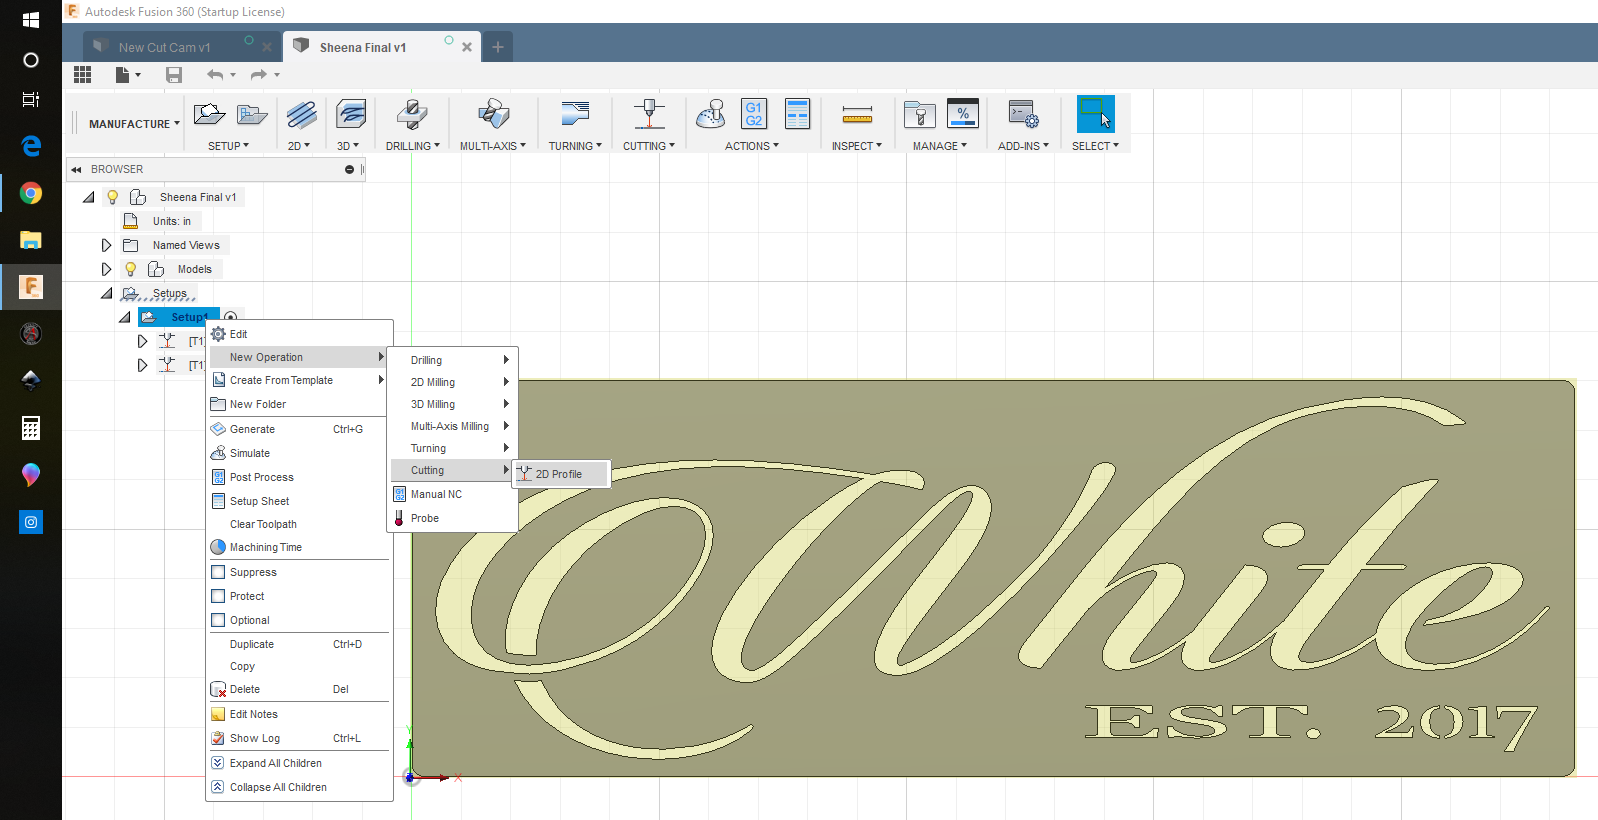
Then (2) right click on "setup and configure a new cut profile by selecting “new operation” and follow it down to 2d profile, go thru the setup process as normal (3) selecting your other cut lines and process them as normal. Then to save all cut profiles to one gcode publish I hold shift and select both or all and publish it to post processing.
1 Like
I went ahead and tried to select multiple lines the way you described. The only thing Ive found it clicking on a selected line, then double clicking the same line brings up a “+” or “x” or Delete option. but even clicking the “+” symbol nothing seems to change. I tried it on the first louver and its still showing 6 red arrows, with 6 line segments? Does this still mean its going to cut in one motion? Maybe Im missing something? thanks
that maybe a possibility, if not it is good to know how to do that. thanks
I actually believe i have figured it out. Browsing youtube videos for fusion showed a couple things. Mostly 3d drawings but it made me start playing around with my drawing/keyboard. I haven’t tested the cutting yet, but the drawings showing one pass cuts with one arrow. exactly what i needed.
While in contour selection.
Click your starting point.
Double click the selected line
HOLD ALT
click “+” symbol
Click your last line/exit cut
Let go of ALT
Click “+” symbol again
This is the way I figured it out, seems complex but once you get it down its pretty fast, a lot easier then clicking 100 lines. I will update you guys if the cuts turnout as it should! thanks again. Hope this helos/ makes sense.
1 Like
Glad you figured out. Was just on the computer to to get the exact process for you.
My process was just a bit different.
Click on the line at the start of the cut.
Double click the same line.
Click the line at the end of cut.
Click “+”
2 Likes