@greywoodmills let me know what the result is , my 30air is coming in today and I’m gonna go the same way orange and violet according to the tech manual those are the two however people have been reporting getting error msg torch stuck or something. Thank you
@langmuir-daniel I don’t want to take the chance with the torch. It’s put together pretty well, just afraid I’d mess it up trying to put it back together again.
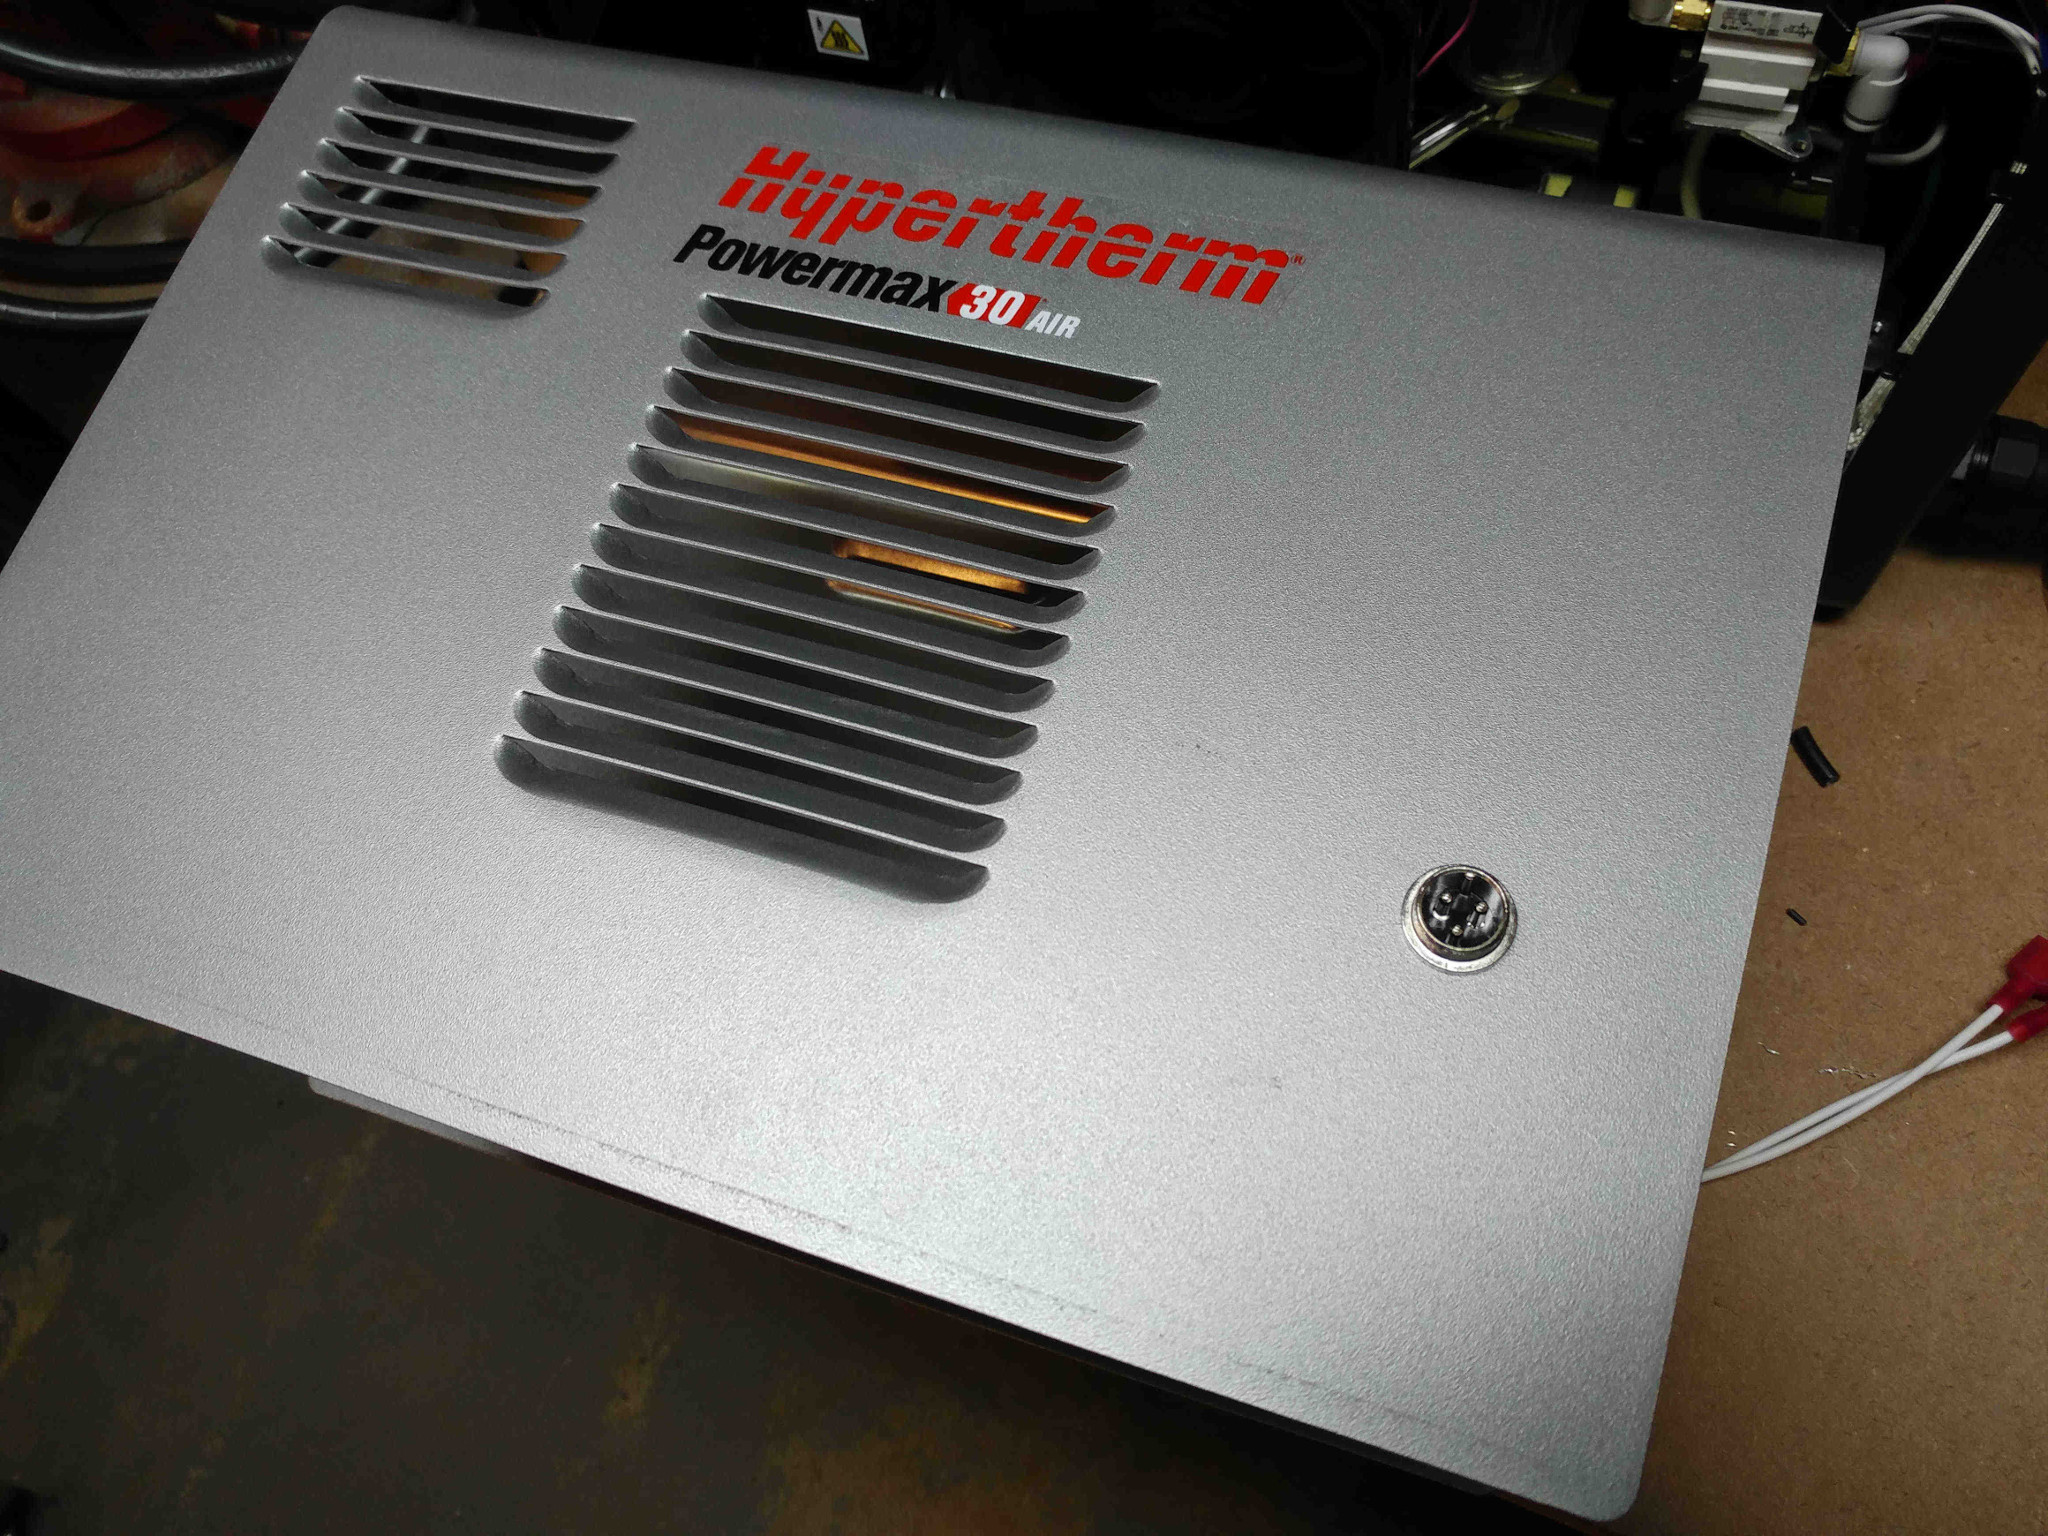
@Veetek I got everything wired up last night, but did not have time to try it. Wiring took a bit longer than normal because I installed a panel-mount connector to make it easy to connect/disconnect from the table, since I will still need to use the Hypertherm for manual cutting from time to time. Tonight I’ll download Mach 3 and test it out.
Thank you for the update, would you mind sharing the pics of the connector? I’m about to do that as well. Did you make a cut in the inverter enclosure to install that connector? Best, V
@Veetek I will post photos tonight. Tried to post them from my phone but they were not uploading. It was not a difficult modification. I picked up the connector and mating plug at a local electronics store for about $6 total. Cut the Langmuir-provided cable about 10-12 inches back from the two quick-disconnect terminals, strip back the insulation on the two leads, and solder to the panel-mount connector. Strip back the wires on the other cable section and solder to the mating plug. I did drill a hole in the Hypertherm enclosure using a step drill bit. Hole diameter was 5/8". The panel-mount connector came with a lock washer and a nut to hold it in place. I have posted the photos in my instagram story (@greywoodmills), but I will try to post them here on the forum tonight when I’m at my PC.
2 Likes
Hi, again thank you for your help on it.
Doesn’t look like I’ll be able to do this tonight, but wanted to let everyone know that Hypertherm did confirm today that orange and violet are, in fact, the correct wires. I’ll post more when I have some time.
1 Like
IT’S ALIVE!!! Everything is working (mostly) flawlessly. I have a small leadscrew issue on the X-axis, just needs some adjustment, but I can successfully fire the torch from Mach 3. Also tested firing manually again, just to make sure it works after the wiring mod. Everything is good.
It will take me a bit to upload images of my connector setup.
2 Likes
Glad you got that working, btw do you thing a standard dc 2.1mm barrel connector will be ok for the panel mount? Is there a significant current flowing thru the trigger switch circuit?
Thanks
I went a little bit larger on the connector. I’d be surprised if there is any significant current because it’s a low-voltage signal wire, but I wasn’t about the cut the wires to see what the wire gauge was. Hence, just erred on the larger side. Finally got photos of mine uploaded on the PC. I’ll try to load them here in a few minutes.
1 Like
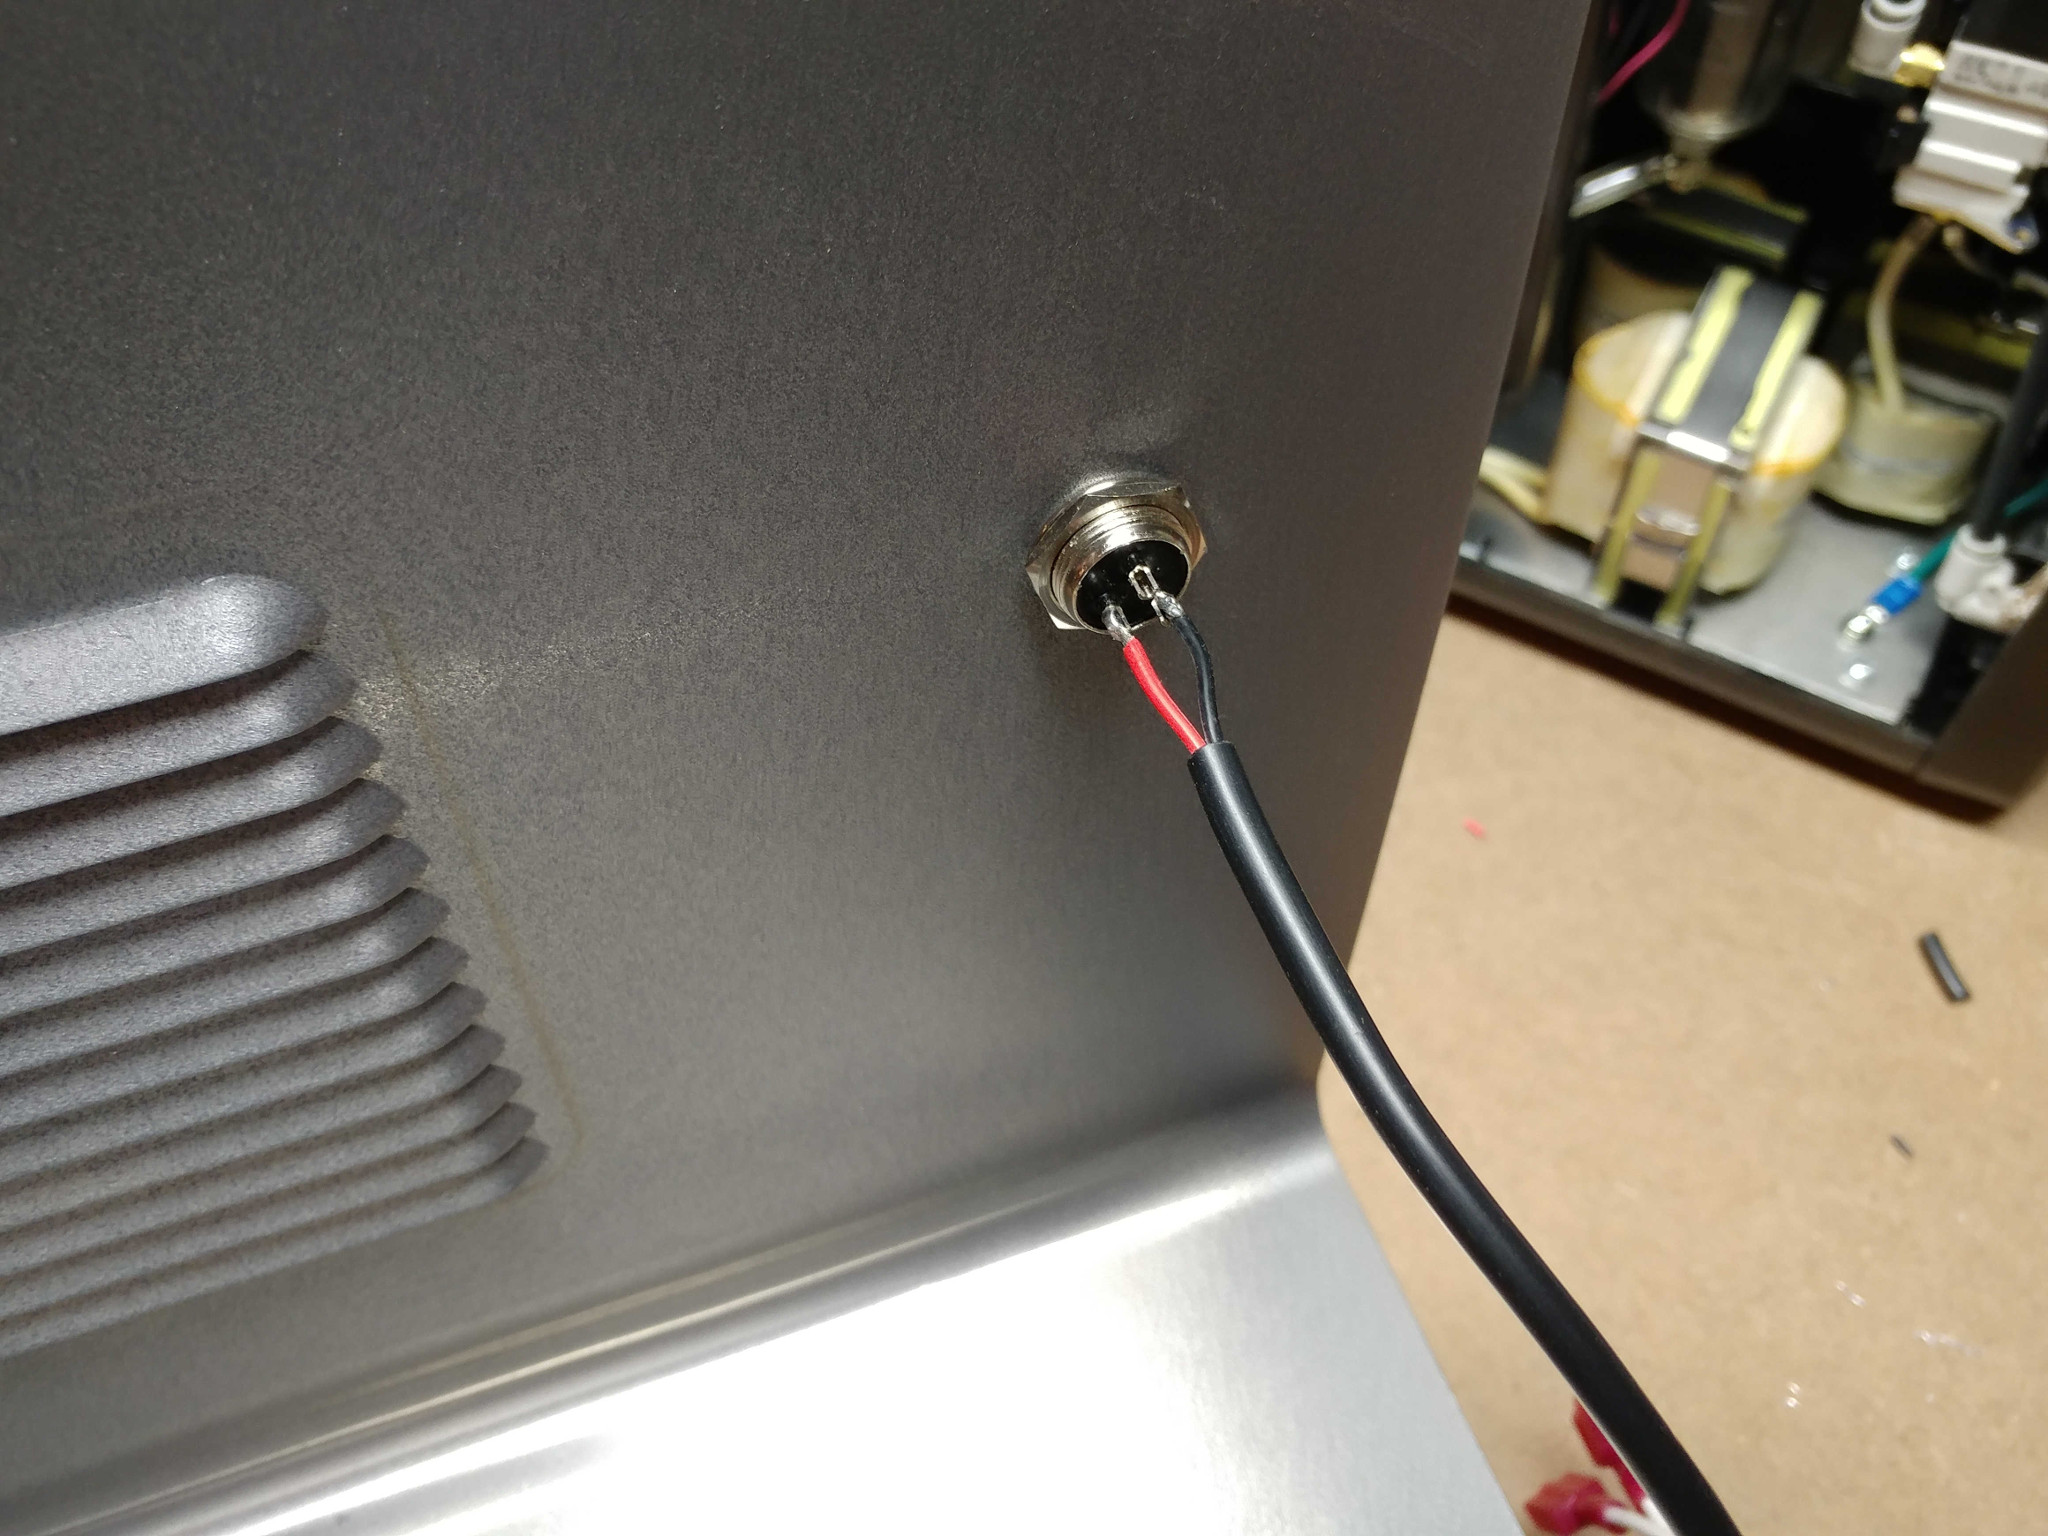
The barrel diameter of the connector is just under 5/8". I used a step drill to poke a 5/8" hole in the cover.
The wire connected to the barrel goes to what? And what wires on the inside is it connected to and how? I have the XP and considering the cnc table but want to make sure it will work.
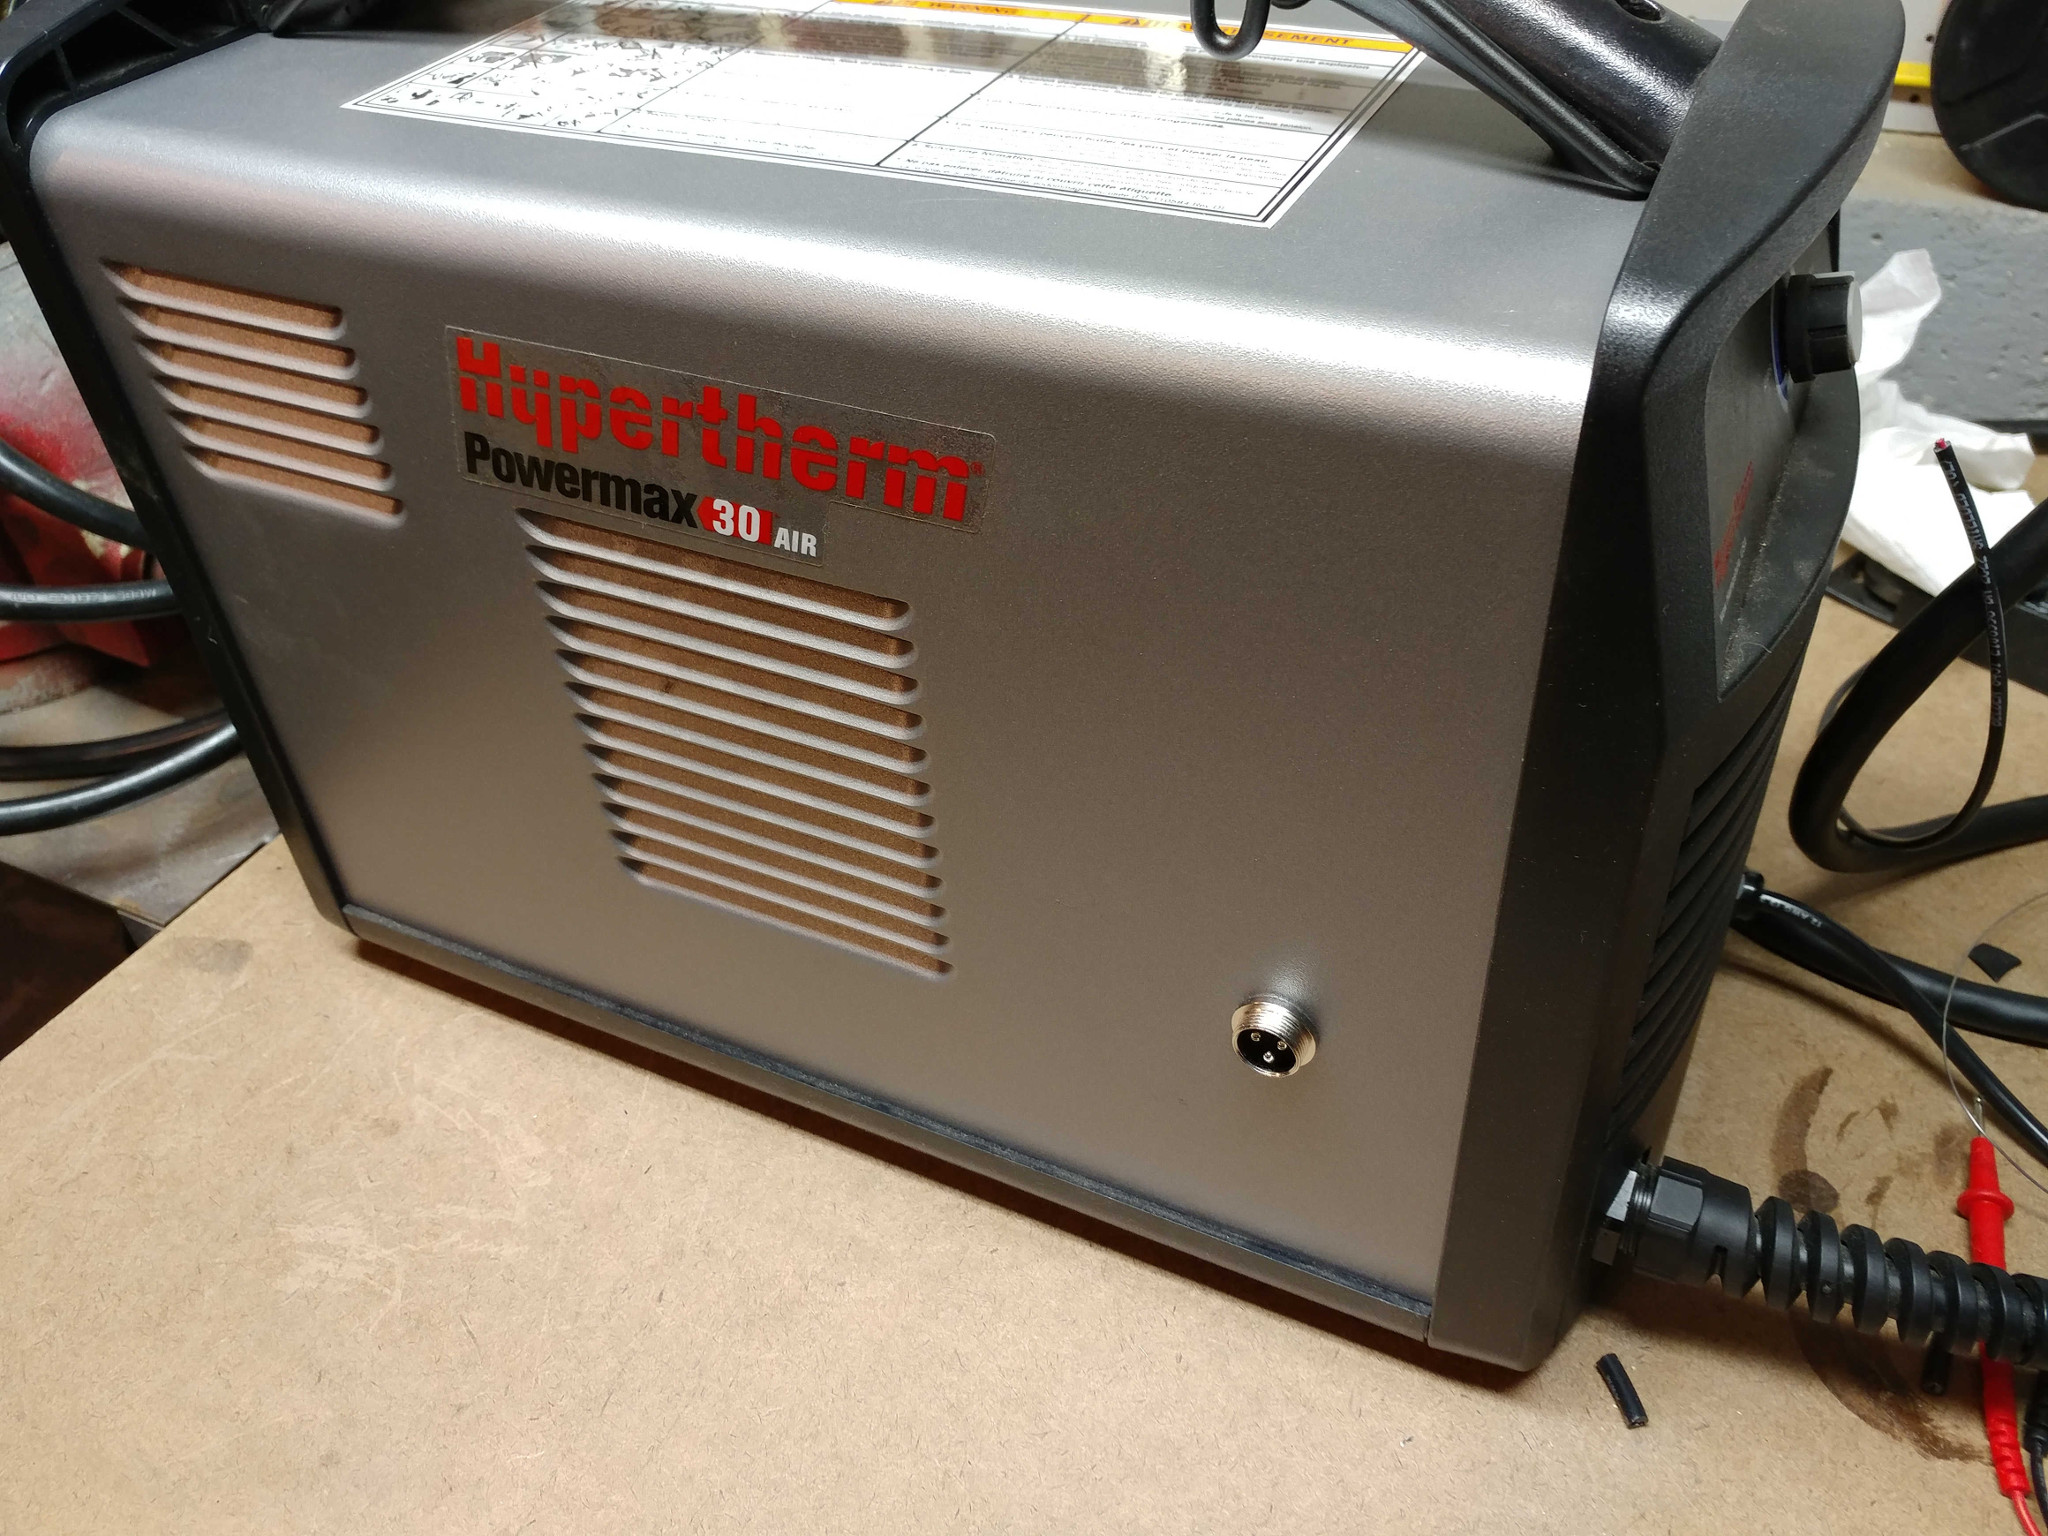
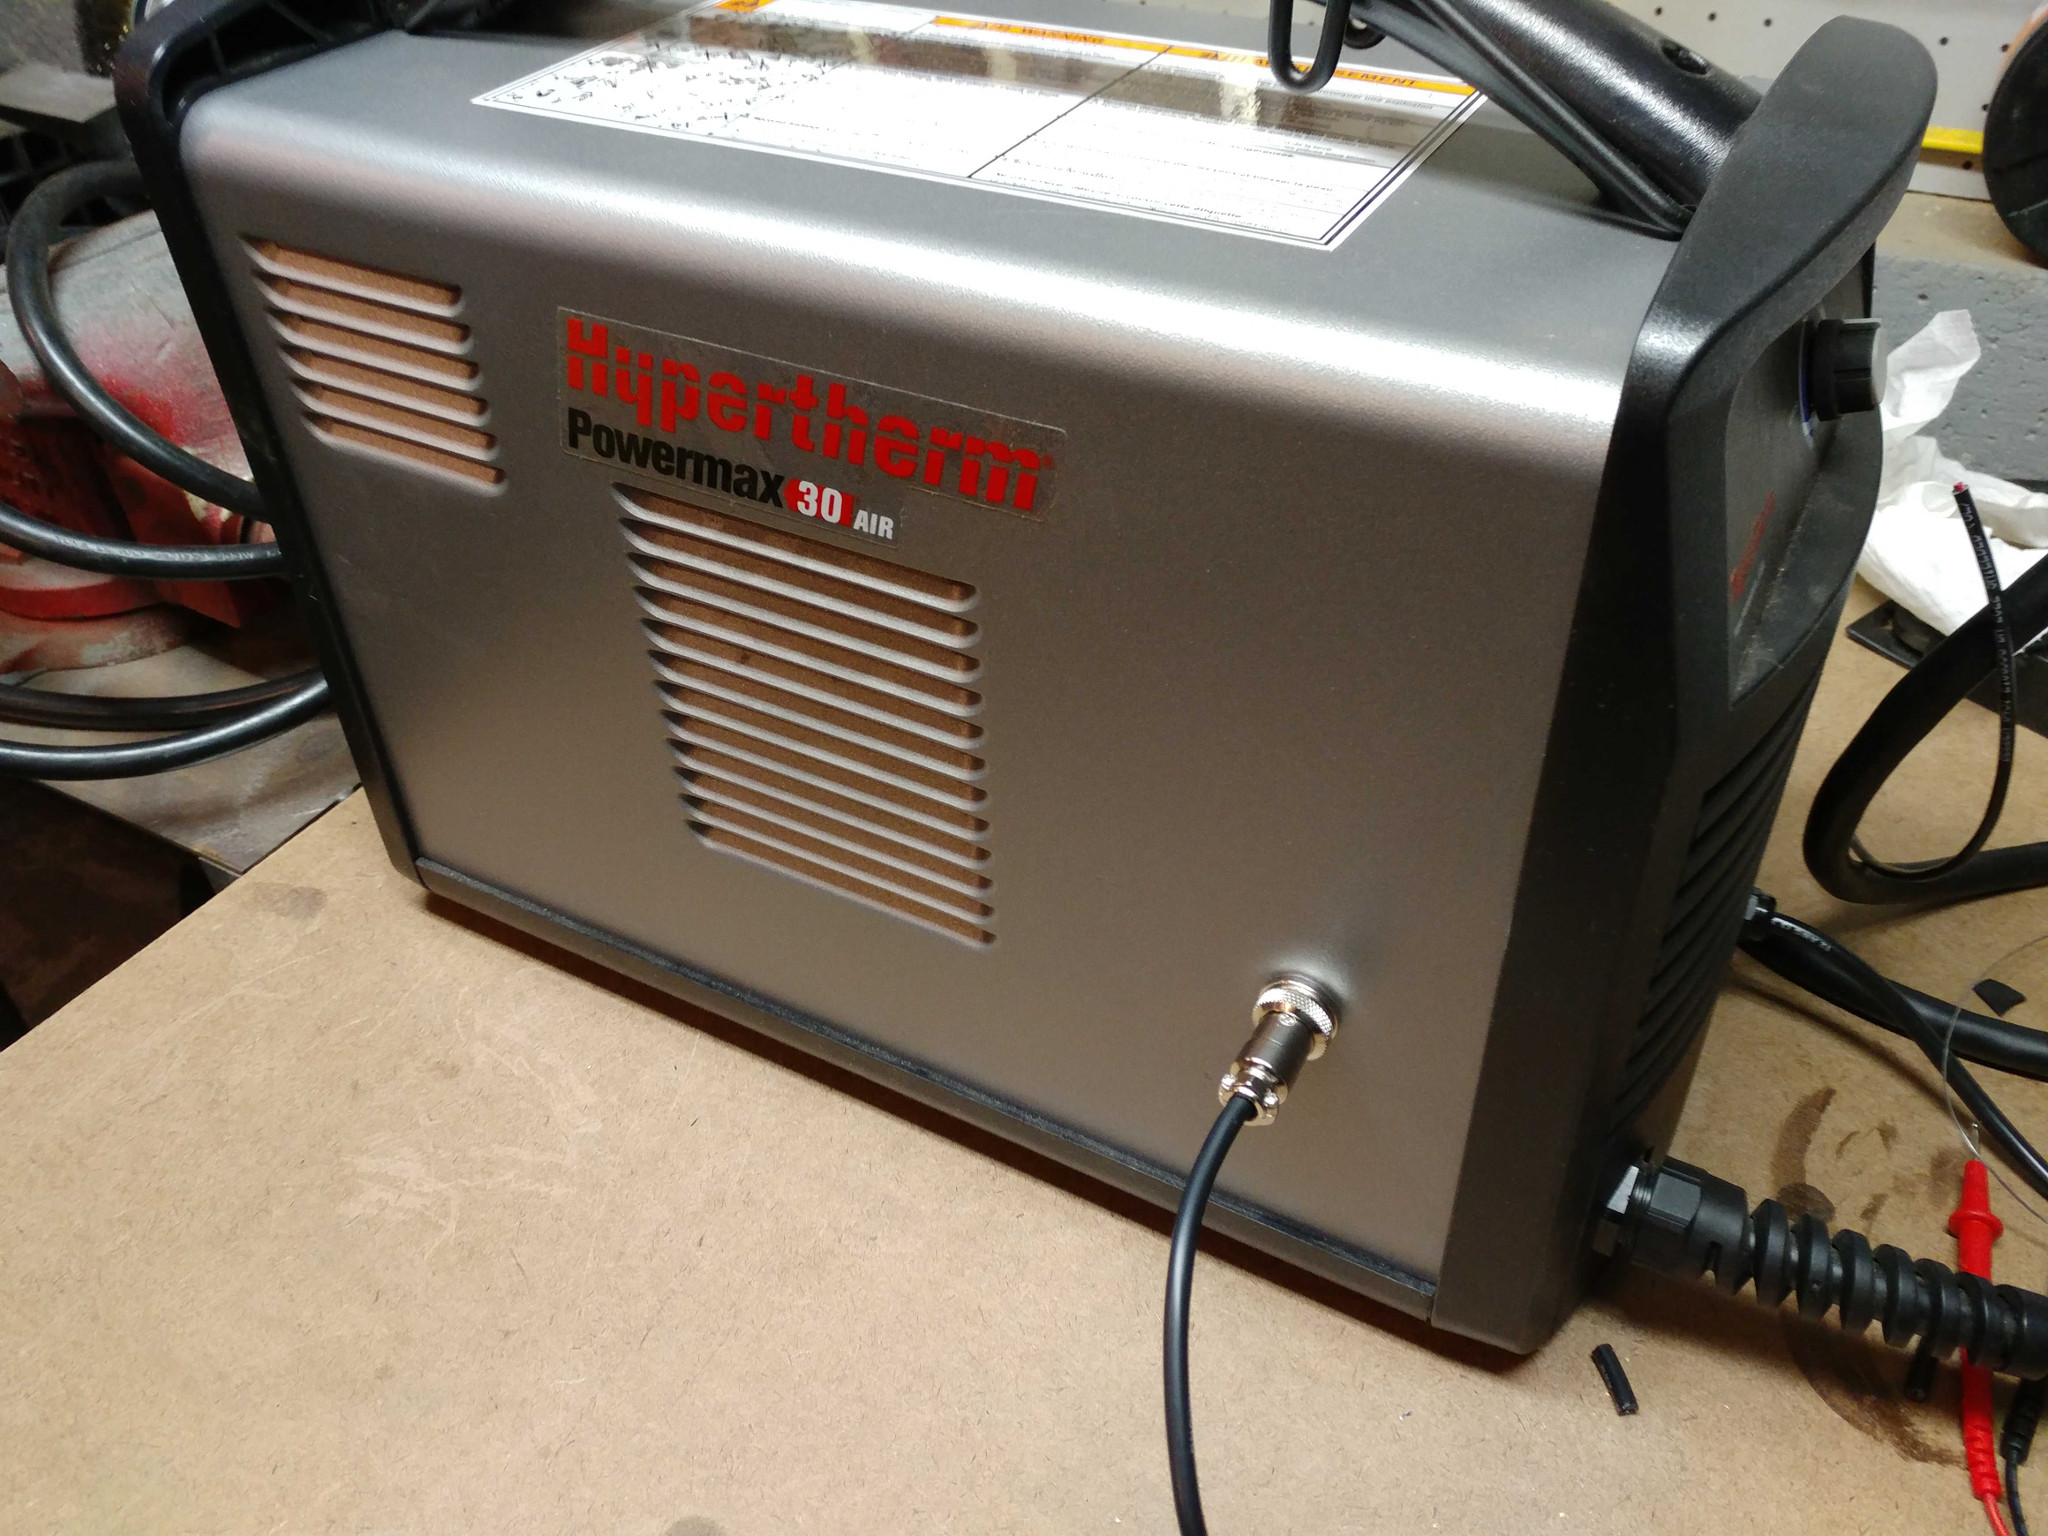
@Spaz192 It will work. There are other people on this forum who have succesfully connected the PowerMax 30XP to the table. The barrel connector that I installed on mine is not necessary; it’s just for convenience. The general idea with all of this wiring is that you need to create a second trigger loop which allows the Langmuir Systems CNC controller to control your plasma cutter trigger. This allows the controller to fire the torch automatically when the CNC program calls for it to fire. Let me try to explain further. When you are using your plasma cutter (without the table), you pull the trigger to fire the torch. When you pull the trigger, you are closing a signal circuit. When you release the trigger, that circuit “loop” opens again, and the torch stops firing. All you are doing with this extra wiring is creating another trigger loop which is closed and opened by the CNC controller. Langmuir Systems provides clever little connectors called “T”-taps. A “T”-tap is a connector that you close over the insulation of the trigger control wires inside you plasma cutter. As you close the T-tap, it pierces the wire insulation on the trigger wire and creates an electrical connection. Langmuir Systems also provides a cable that plugs into those T-taps (one end), and also plugs into the CNC control box (the other end). This completes that second signal loop I was talking about above, and allows the plasma cutter to be controlled by the CNC controller. This is all you need to do to allow the table to work with your machine. With my setup, I took it a step further and added a connector (the barrel connector shown in my photos above). I basically took the cable that Langmuir Systems provided and cut it in half. I then soldered the wires on the CNC side to a barrel plug, and soldered the wires on the T-tap side to the barrel connector. All it does is create a nice neat connection point for the table. That way, when I want to use my plasma cutter without the table, I just unplug that barrel plug instead of unplugging the cable from the T-taps. Hope this helps.
1 Like
Where do you buy the barrel connector? Does it come with male and female?
I bought them at a local electronics supply place. They did not come as a set, but they were right next to each other on the shelf. I’m sure you’d be able to find nearly identical connectors on Amazon, New Egg, etc.
I bought some barrel connectors (male & female) from Amazon. But trying to get the wire through the solder connections is virtually impossible due to its small diameter hole. Tried to enlarge the hole, but connection fell off.
Can you help me find a connector like yours (5/8) rather than the 0.30" diameter that was sent to me from Amazon?
Thanks, Dennis
p.s. When I plugged in the male, the machine shorted out. I have been using a 3 tang connector.
I found a connector jack from Adafruit #610. Now, I’m trying to figure how to wire the 3 pins for the jack.
@Greywoodmills, so how is the hypertherm 30 air holding up for you now that you have it running? I’m very interested in getting one and would like to know how you like it on the crossfire.
@Geojust It works great for my purposes (weekend use only, cutting 3/16" or less). Haven’t had any issues at all. If you’re planning to run it more frequently or cut thicker materials, it would probably be worth upgrading the the 45XP. In my case, I don’t have room for a compressor (plus I wanted the added portability for manual use) so the self-contained 30Air was a good choice for me. There is one negative thing to note: Cut quality on thin material is not as good as the 30XP or 45XP because Hypertherm does not make fine-cut consumables for the 30Air. As an example, I have not been able to get dross-free cuts on 16ga cold-rolled, which I have seen others do with the 45XP + fine-cut consumables. I have, however, been able to get near-dross-free cuts on 1/8" material with the 30Air.
From my experience, you can’t go wrong with any Hypertherm machine. It really comes down which attributes are most important to you.
Hope this helps.
1 Like
@doleslie This one is almost identical to the plug and socket that I bought at my local electronics store.
What do you have your IPM set at on 1/*8" if you don’t mind me asking? I have no problem with the quality of my cuts in the 11 to 14 gauge stuff, but I would like to see if I can reduce the dross.
Thanks,
Wade