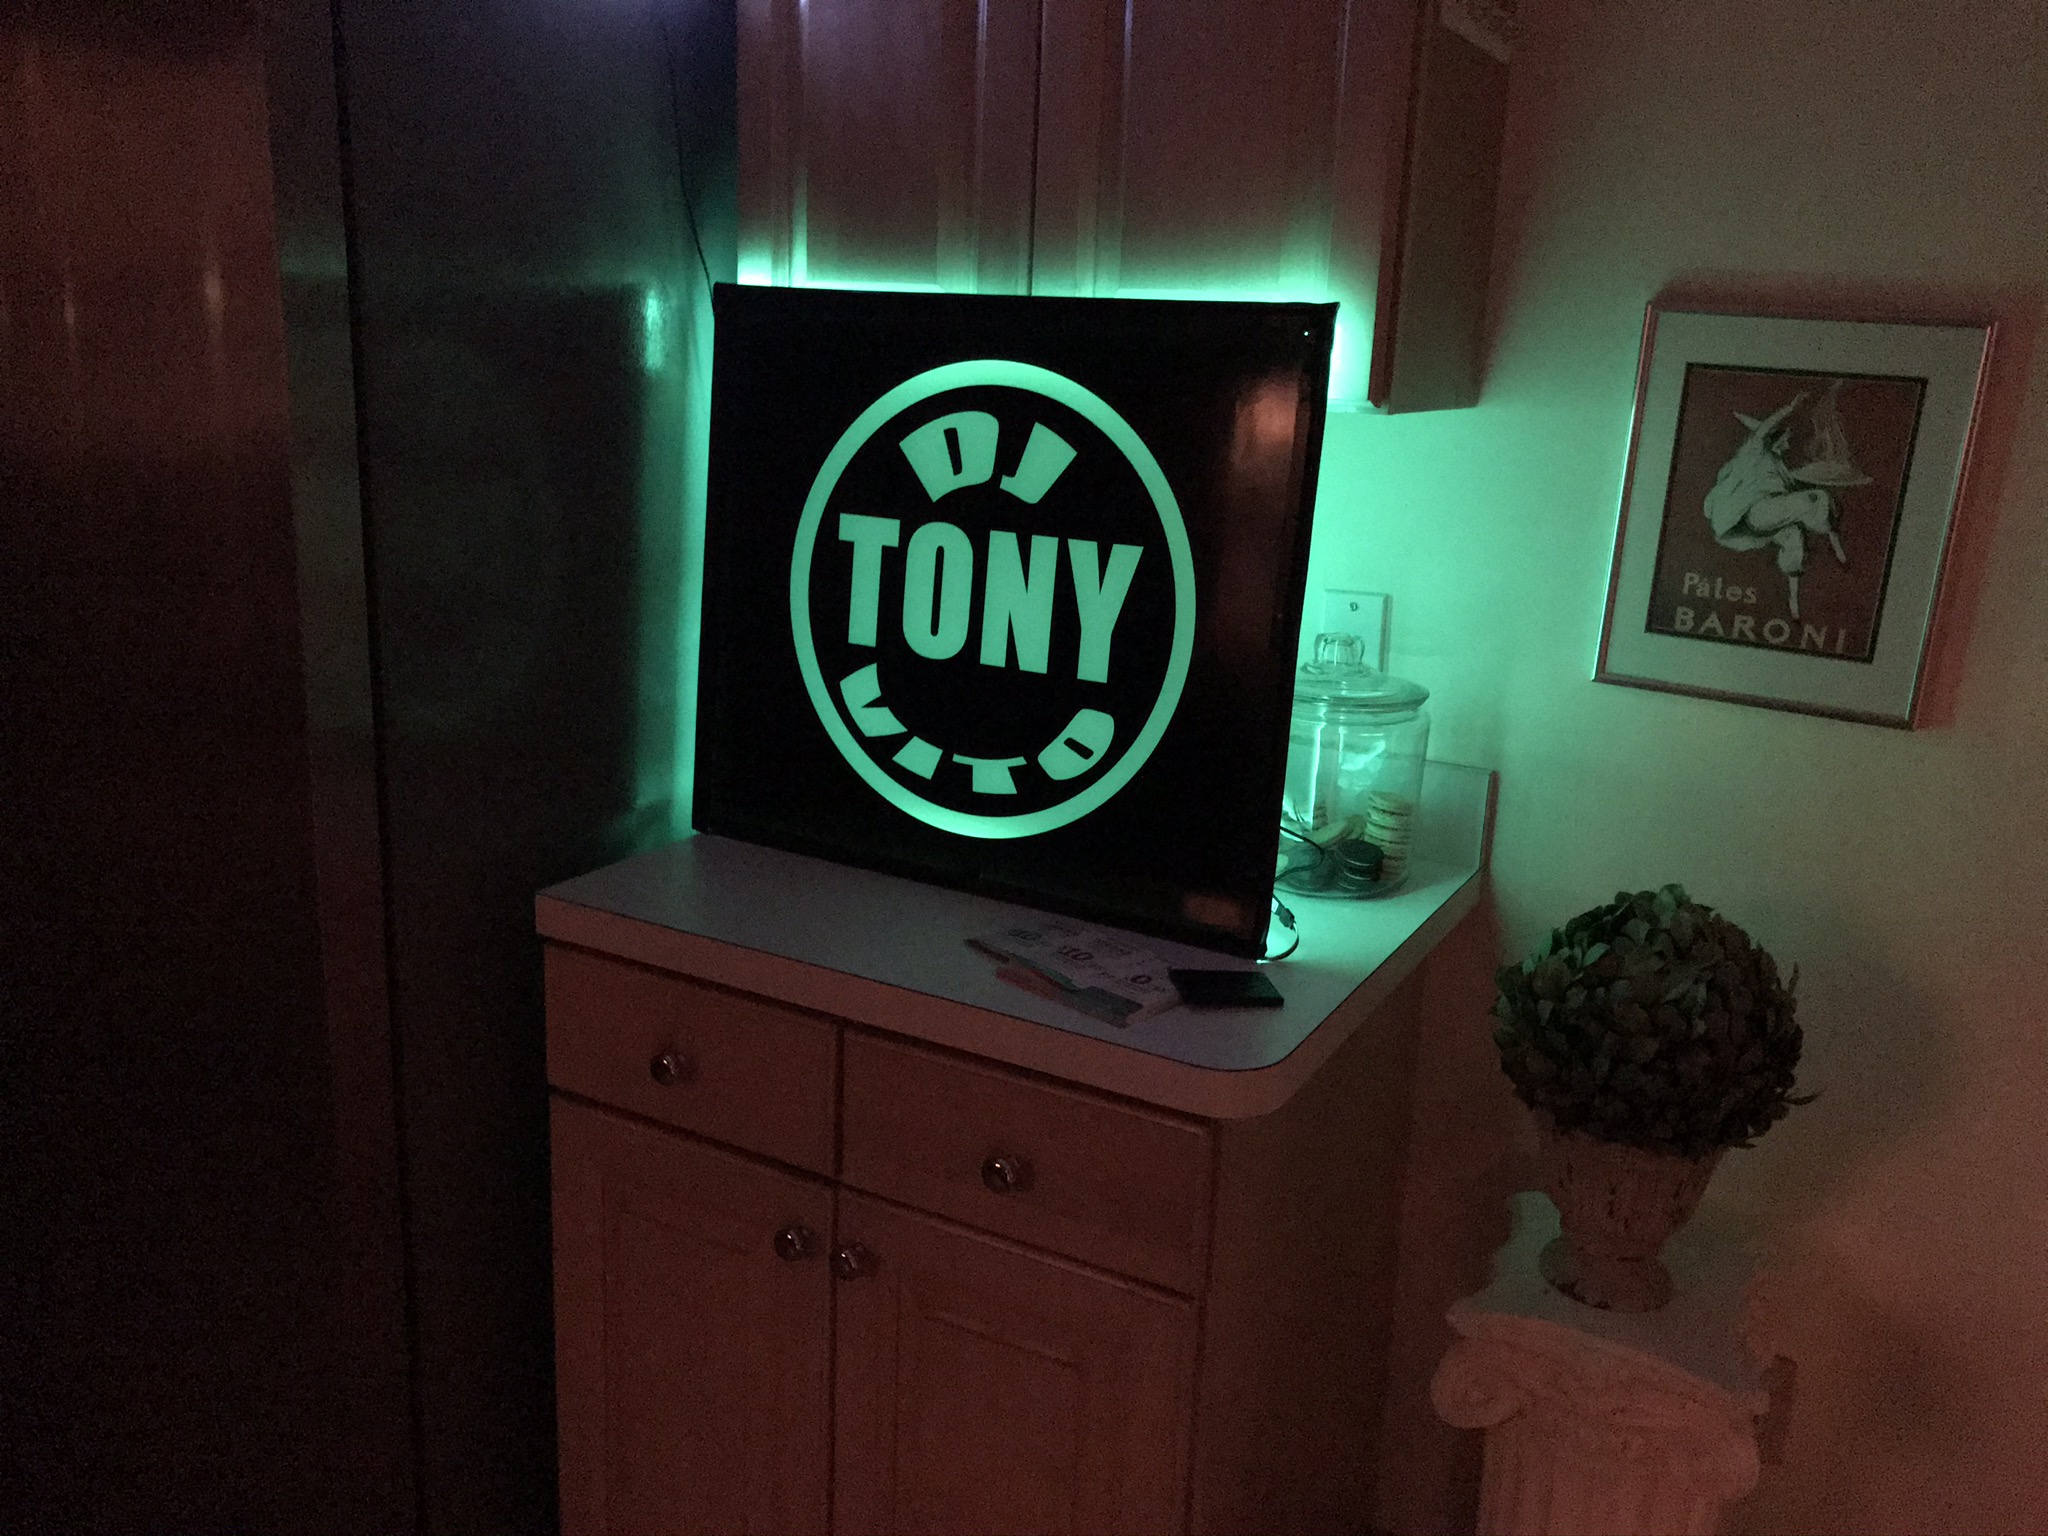
I have a 25"x25" (1/4 inch) sheet of translucent Plexiglass. I have lined the 4 edges with a RGB LED strip, remote controlled. The LED strip is covered with black duct tape at this moment, but will be covered with plastic U-Channel when completed. I’ve applied a vinyl “dropout” logo to the front of this Plexiglass sheet. Problem is, the LEDs are just not bright enough. The photo i’ve added “appears” bright but that may be a function of how the iPhone handles this light. I feel they should be brighter. Could it be because the Plexiglass is translucent and not transparent? If the Plexiglass was transparent, I would cover the back of the Plexiglass with white vinyl if needed. See photo/video attached. Any suggestions would be welcome. thanks. Tony
My only experience is with playing around with half inch and one inch acrylic for aquariums (really big aquariums for homes) really clear acrylic will just transmit the light through it from end to end not out the sides like you’re trying to do. Is the translucent acrylic (ive never used) giving you that color? Or is it the LEDs? Did you flame polish the edges for clarity to help transmit the light?
I had a friend who used to mess with plexiglass said if you sand the entire piece of plexiglass, except for the edges, then the light will be directed towards where it’s not sanded
For edge lit signs try using cast acrylic. It transmits light more efficiently than the regular type.
https://www.inventables.com/technologies/lucite-light-guide-acrylic-sheet?recommended=product
You might need to cut the design into the plexiglass. Take a look at a Monster energy cooler. They have the M machined into the plexiglass and edge lit. Used to be able to get motorcycle windshields done that way. They were only lit from the bottom.
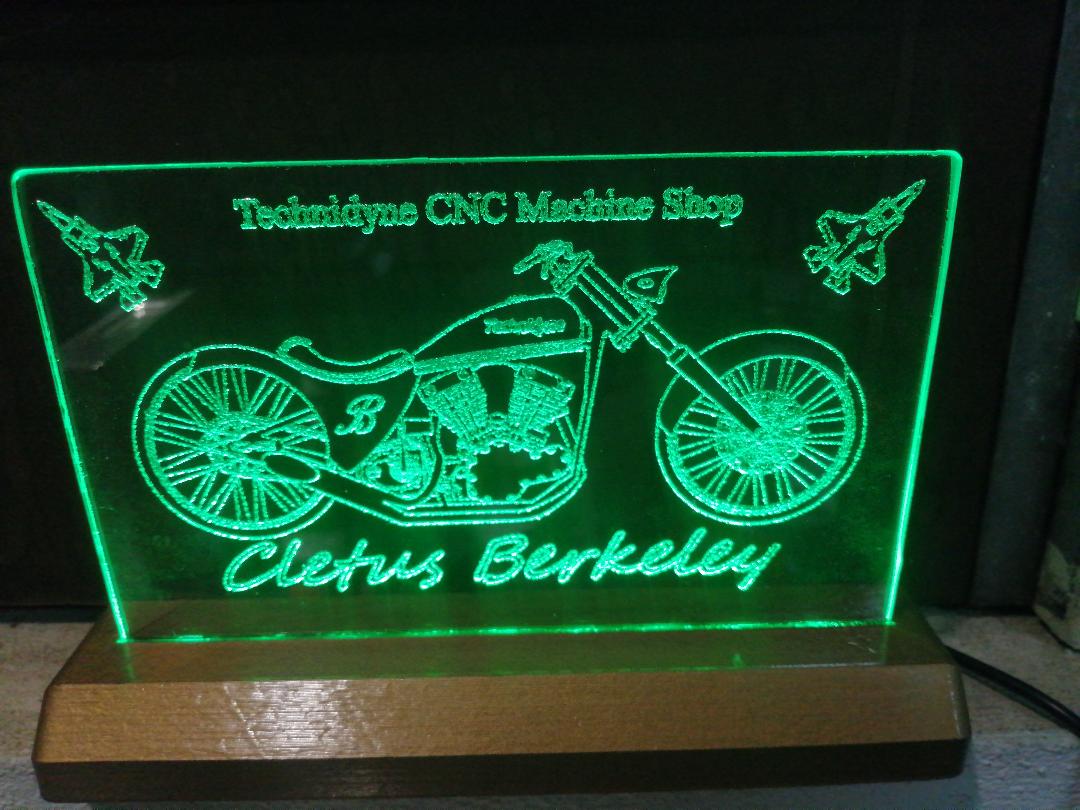
You really need to etch into the material so the light can be reflected perpendicular to the light-source. Here is my attempt with 1/8" window-pane sheet glass and an LED strip in the 3d printed base. I used my 5W CNC laser to do this, it took maybe 45 minutes to complete due to the vast detail of the CAD drawing.
Nice. Did you use a ‘speckle’ pattern on your etch? How deep do you think it’s etched?
Well, discovered the process by accident. I needed to cut some thin, tiny neoprene gaskets and used a piece of glass to keep the neoprene sheet flat on the bed. They cut just fine but the underside of the glass got nicely etched. Went out and bought another piece of glass, covered one side completely with masking tape, laid it tape side down and ran the bike gcode artwork. When done, pulled the tape off, scrubbed the tiny bits with scotchbrite and WD40 to remove the crud, washed and there was the artwork. The rest was equally easy with 3D printing and lighting.
No “speckle” or anything fancy, it’s probably jus a few microns deep
Ah, explains the uniformity of light. Cool discovery. Thanks for sharing.
I don’t want any LED light to come out the sides, thats why I have covered my LED strip with black duct tape (for now) it will ultimately be covered by a U-channel. The LED lights around the edges are giving the color, the front of the plexiglas is covered in black vinyl with the logo cut out. The edges have not been polished.