Can someone please help me write this to gcode so I can cut it out with my plasma cutter. I am trying to do this in 2 layers. The back layer being solid then the front containing the words. Im looking to make it 16 inches wide by 13inches tall.
Tell us a bit more about your setup: Table, cutter, metal type and thickness.
Also, attach the actual files to your post. After you have posted a few more times, you will have the ability to post a picture/image.
Having links to addresses give us pause.
What program do you intend to use to make your gcode in the future? There are two choices: SheetCAM and Fusion 360. Both have free intro versions that will allow you to practice.
When you say you need help “writing gcode”, are you meaning you don’t know how to use any software that does the gcode for you, or you are having trouble running a gcode file that you have created?
Fusion 360 and SheetCAM are the two most common programs most of the forum members here use to create gcode. F360 has a free version.
BTW, Jim is correct. I clicked on one of your links and it tried to open my Google acct/gmail. That made me very suspicious you are on a phishing trip.
Good morning Bret, no im not phishing I genuinely need help and my apologies im not sure why it sent the file that way. I am trying to make this halloween sign for my girlfriend. My brother has the cnc plasma table and both of us are very much begginers. I started by taking a jpeg and using a converter to convert it to DXF. Then I went through the steps on the Langmuir support videos for setting up my machine and then creating a cut path. That’s where I get stuck. I wanted to do this in 2 layers. The back layer is just the outer shape and that i was able to complete. The top layer would be about a 1/4 inch smaller and the words and top frilly design would be cut out. Then I would attach the 2 together.
Others much smarter than me will chime in as I’ve only made one layered sign ever.
What I would do is copy/paste the “outer” or second layer onto a new sketch in the same file. You do this by finishing your current sketch, then creating a new one.
Cool thing is, the layer will paste in the same coordinates as the drawing you copied so they will be applied on top of one another. This helps when you’re making holes or something and need them located in the same location for each layer.
Fusion allows you to “hide” and display each sketch at will which helps when you are drawing on one layer, and need to view the other.
As for the drawing you display, you’ll need to edit it quite a bit. Possibly have the letters themselves cut out (with bridging), or?
If you can upload the DXF, I would be willing to bridge them for you and generate the gcode since you are very new and it’s a gift with some time urgency.
I have one other concern: with the overall size you listed, some of the wording is going to be pretty small. Not sure howe small your Titanium can cut, but let’s take one step at a time.
Try to upload the DXF.
Edit: Looks like @Kwikfab and I were responding same time. Add my advice to his
looking at it the smaller font is going to be very tough to stencil at that size. Also the frilly scroll work at the top will likely have to be reduced to a single line stenciled cut. The 16 by 13 size constraint is tough for that smaller font.
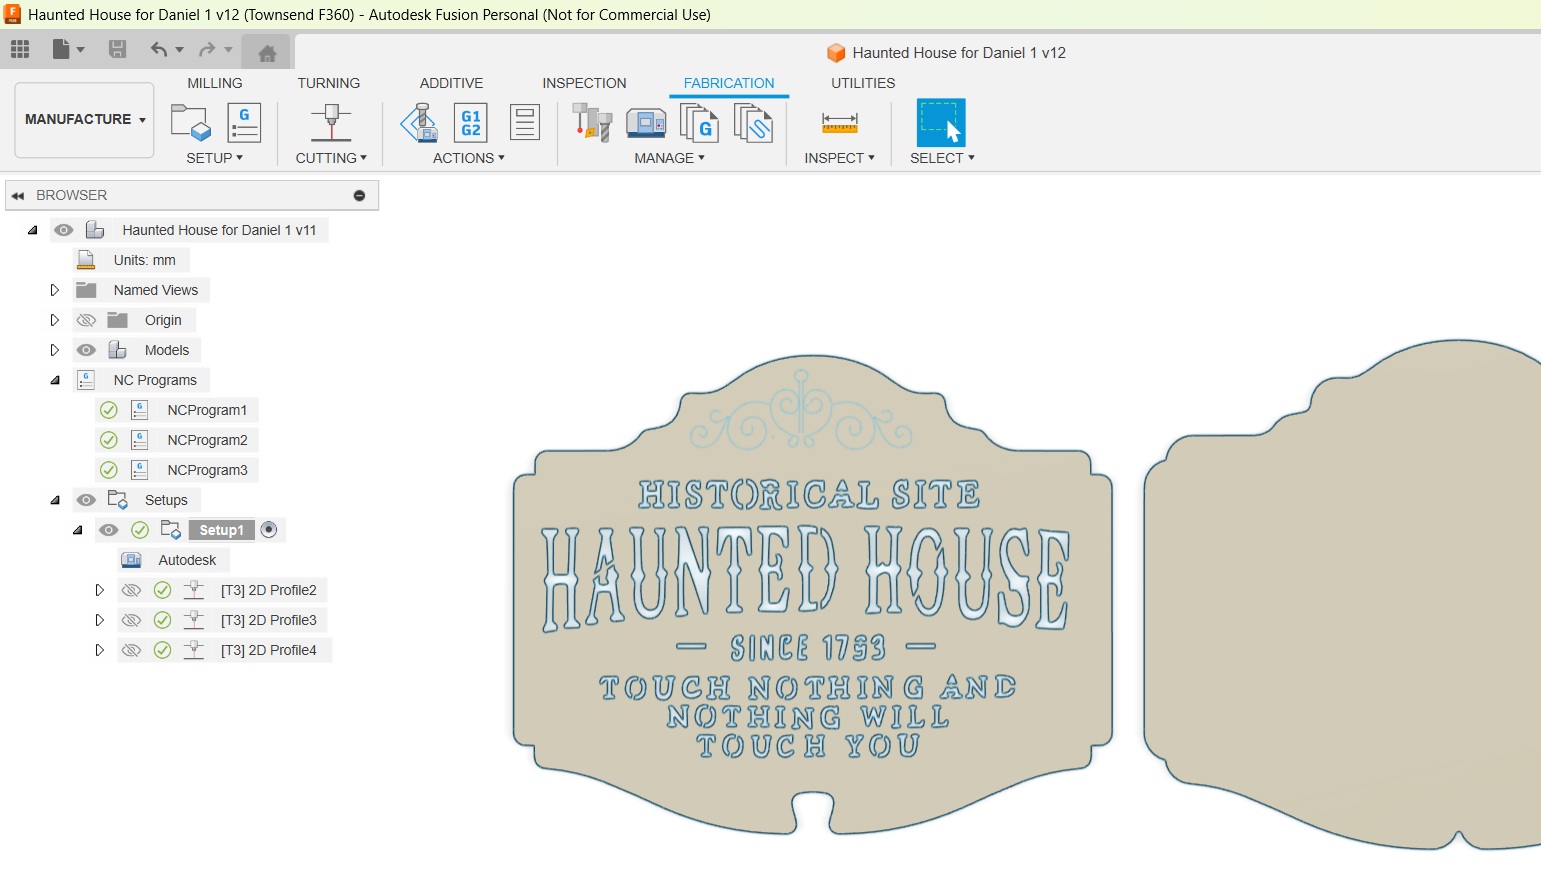
I bridged the letters and reduced the scroll work at the top to single lines. The distance between the section was too small to be cut at this scale. I also eliminate all the layers around the border.
The scroll work is single line so a separate tool path needs to be made with Center Compensation.
I also created a back layer that is 1/2" larger that will provide a border and a background color to make the letters stand out.
I think its much more manageable now. I am out of time. I gotta get off here. Maybe you or someone else can go ahead and generate tool paths/gcode.
Just so you’re clear, those are .NC files, meaning you can load them into FireControl and run them. If you want to trust the settings, they are ready to cut metal.