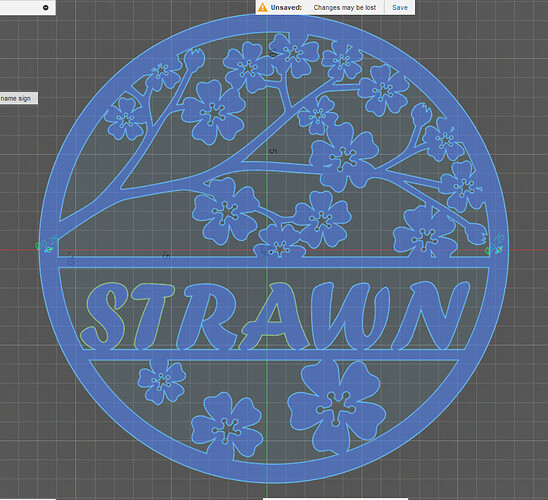
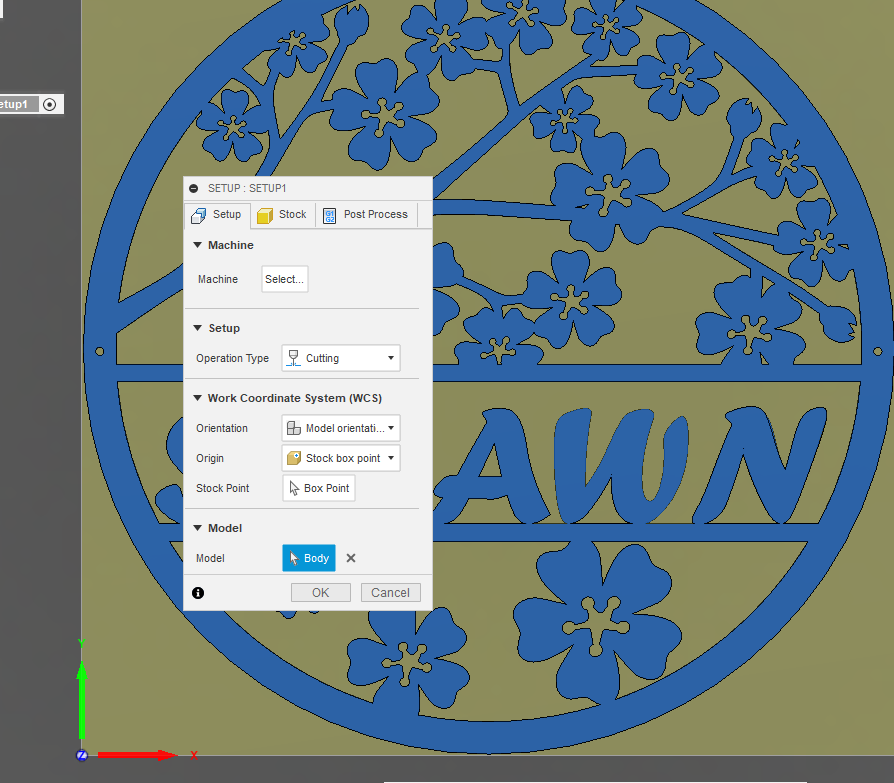
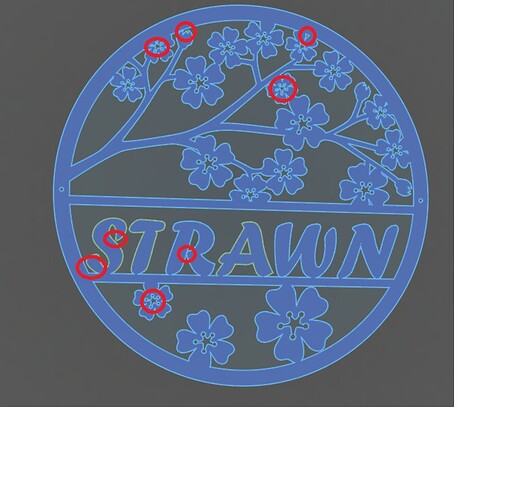
When I try to setup a 2D profile, I cannot figure out why the cut path isn’t generated for parts of my drawing. Any help would be appreciated. Things similar to this has happened before and I would give up on trying to figure it out. Now I want to know what I am doing wrong. Thanks for the assist.
Cherry Blossom1.f3d (2.6 MB)
I have got to look at this. The contours on the letters are not connecting right.
This should work better:
Cherry Blossom1Chelan.f3d (4.1 MB)
See if you can take this body to manufacturing. It should work.
Here is the CAM portion done with the body:
It appears to have grabbed most of the contours but there were a few it discarded.
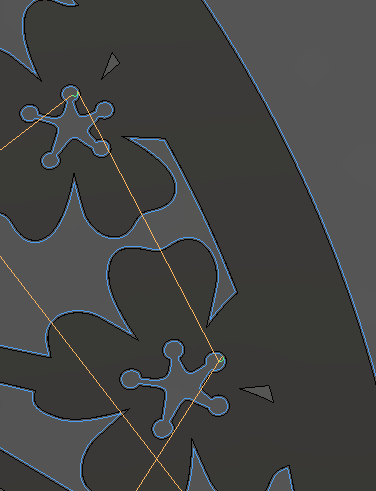
Discarded:
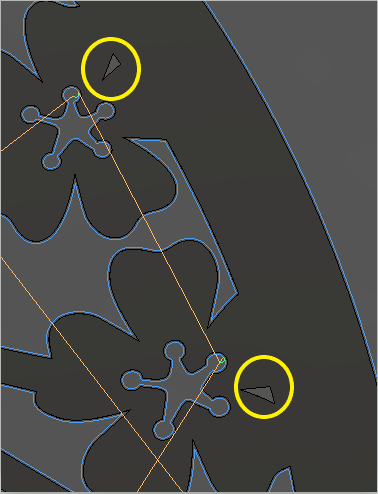
File:
Cherry Blossom1.f3d (4.0 MB)
What did I do? Well, my method is brutal. Others have methods that are perhaps better but I double click on a line and see how far it takes me with a contour. Where it stops, there might be an issue. I choose to delete and replace that line/contour segment. I keep doing this until the double click gets the entire contour to light up.
You only need to do that process explained above, when the profile does not show up.
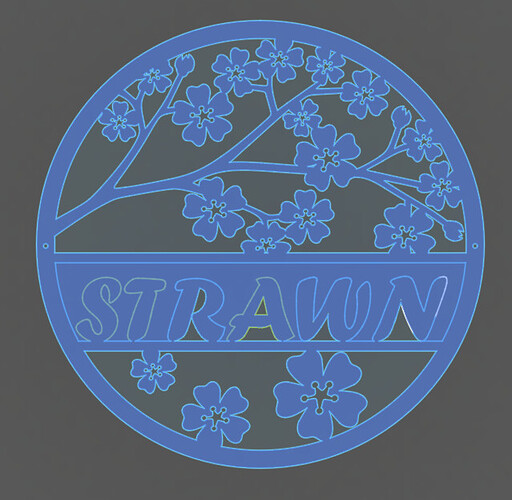
This is how your image looked for the profile before I touched it:
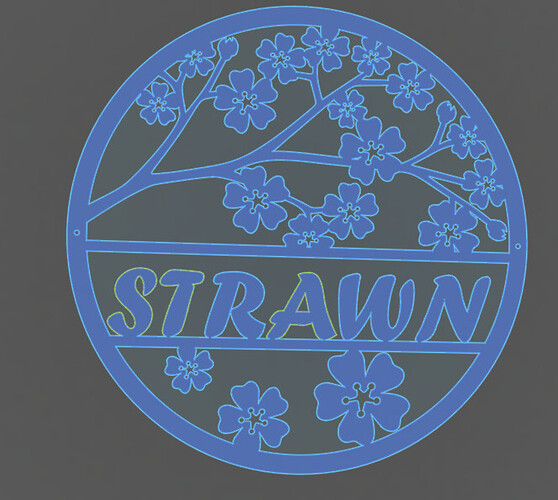
This was after:
Thanks @ChelanJim. It seems like you have a solution to all my issues in Fusion. I’ll try your method tomorrow.
A couple more points:
I tried to CAM this with the sketch and due to the fact that the original image has a double line (similar to what I usually see when inserting an SVG image) Fusion is getting confused. You can see how it switches where it cuts on the “R, W and N” and does an inside cut with that letter.
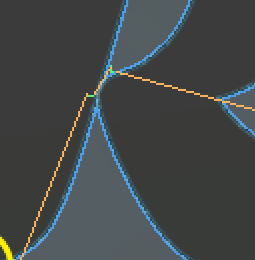
Also, if this were my sign, I would increase the connections of the letters to the main body at the points marked with yellow circles.
It may work out for most of them but the “W” and the “N” are highly suspect.
All-in-all, nice sign.
I didn’t open the sketch in F360, just looking at the image here so if I’m off base, apologies.
Not knowing the scale for the cut and what cutter you will use, I circled a few other areas that would make me nervous. I started marking some of the pedal centers but stopped when I realized all but the larger ones really seem like potential problems. Again, not knowing how large it will be cut, but they just look really tight.
The “R” has something odd looking there in the center.
Good points Bret.
Some of those tight areas like the “R” are simply going to stop short of the line and get back out of there, leaving more material. So it should be okay. This will also happen on the letters I noted small bridges (they may take care of themselves because the area is too small for the kerf width).
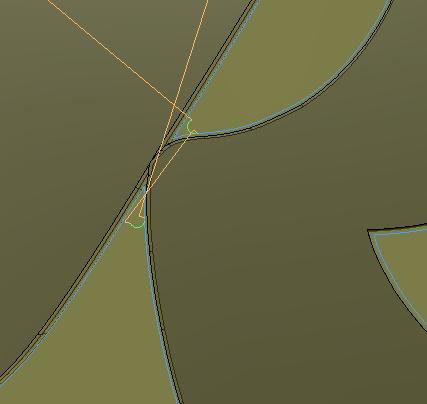
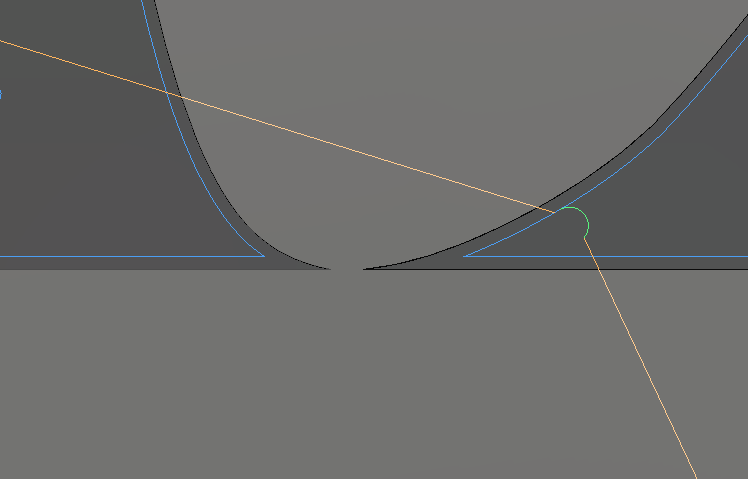
And here is that small area of the “W” that measured 0.05 inches but you can plainly see that the torch is not going to get close to carving all that material out of there:
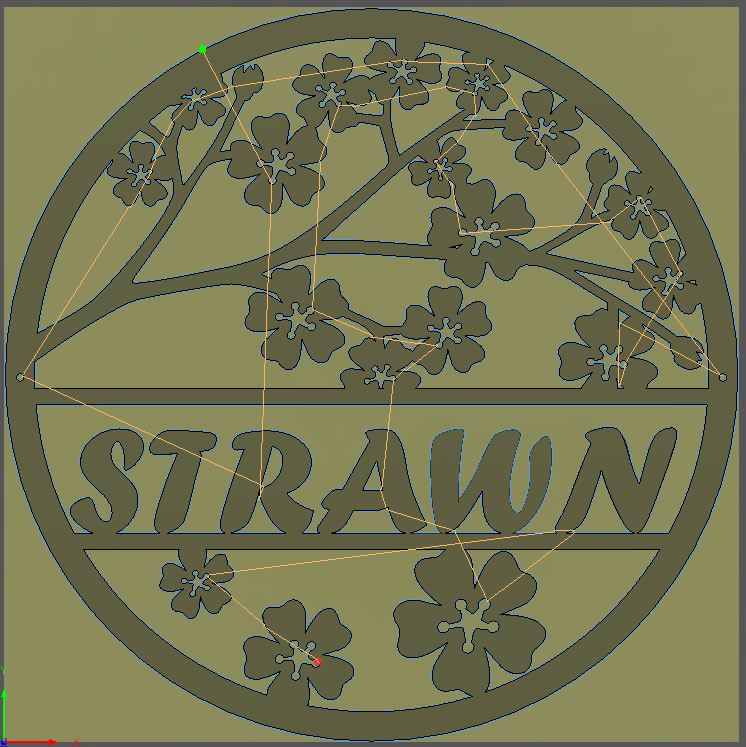
Here is the full CAM cut pattern from use of the body:
Nice Work you are giving Tin a run for his money!
