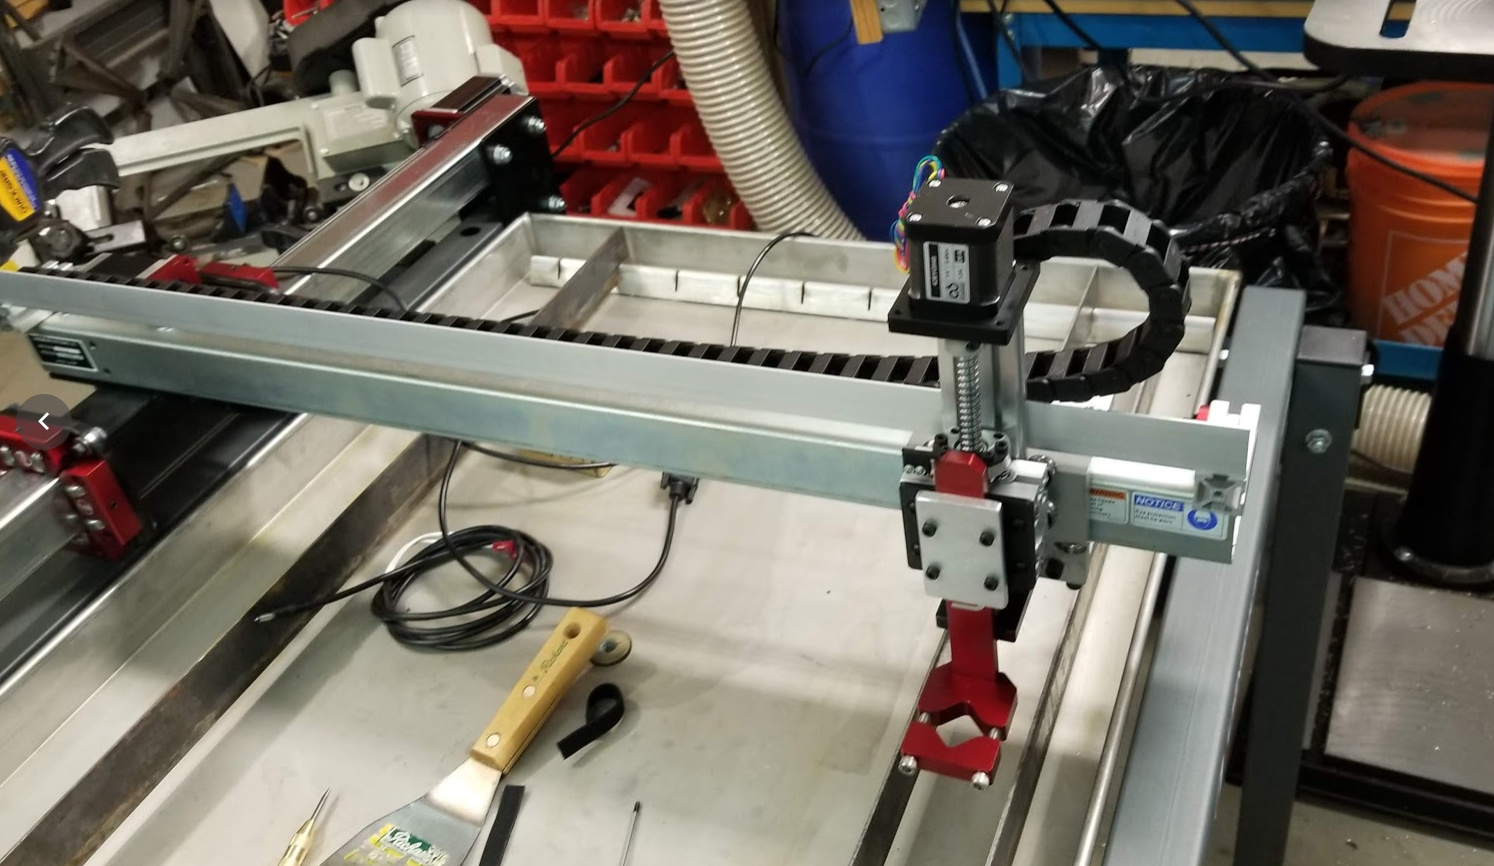
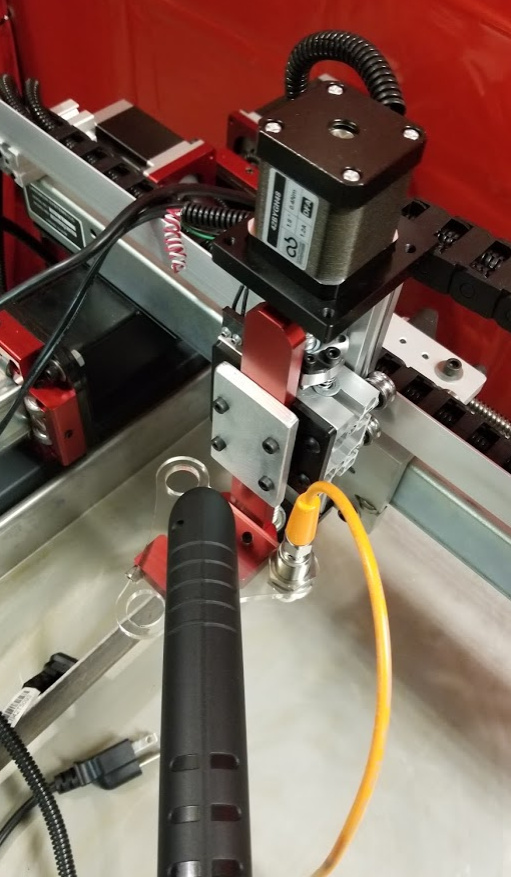
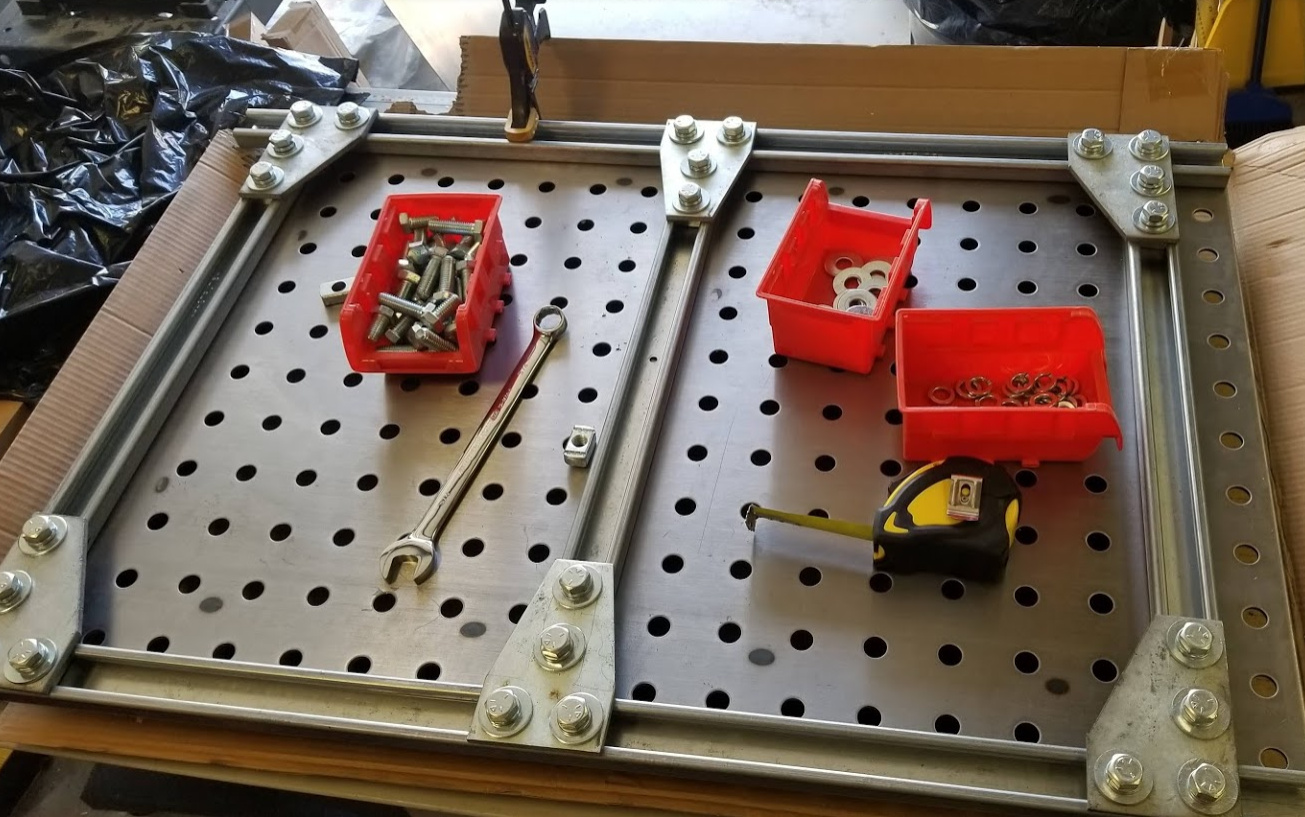
I wanted to make this as light weight as possible. Here is what I came up with.
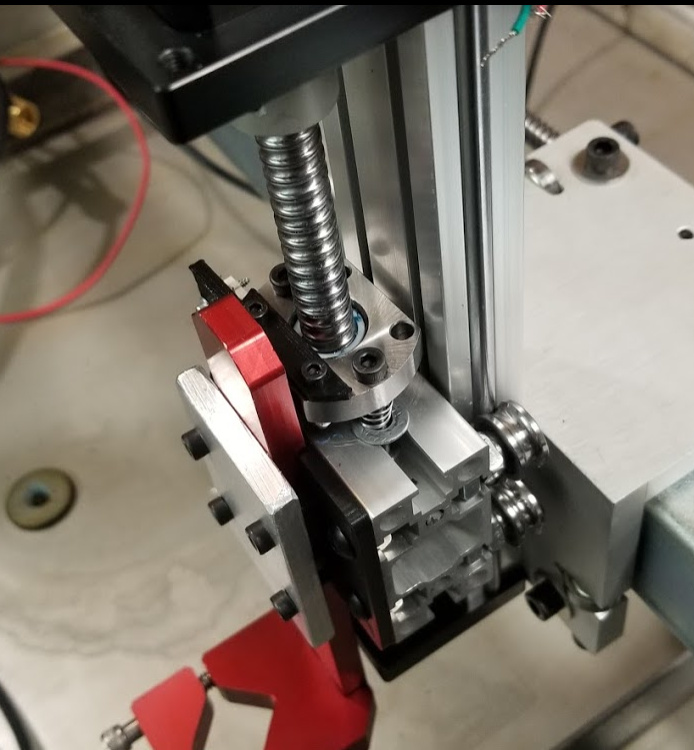
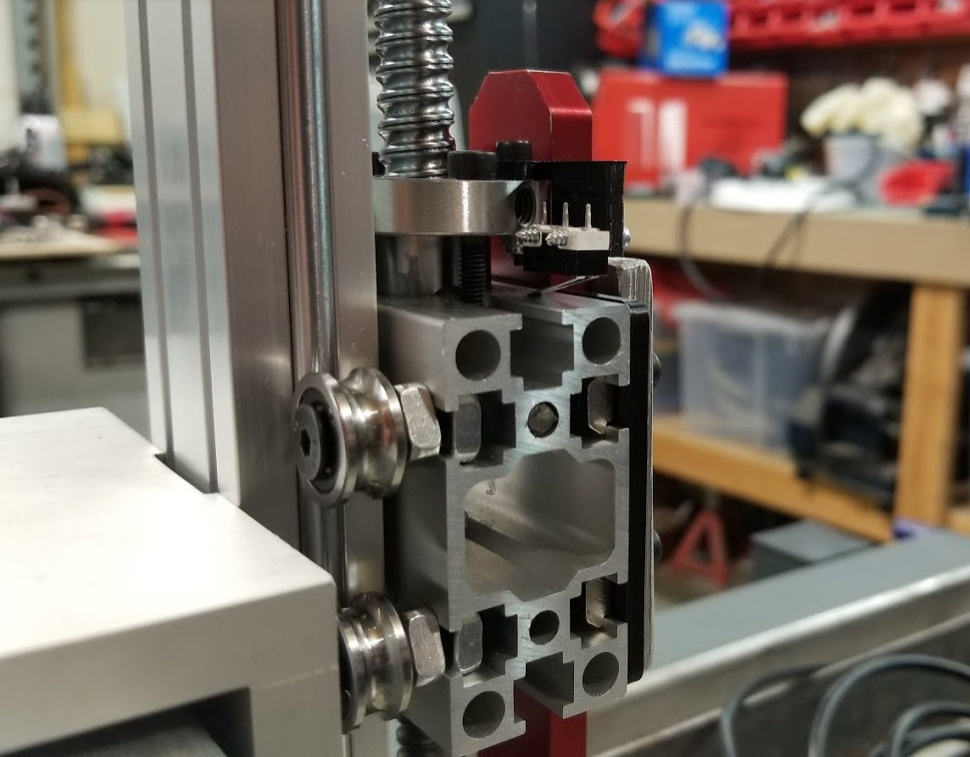
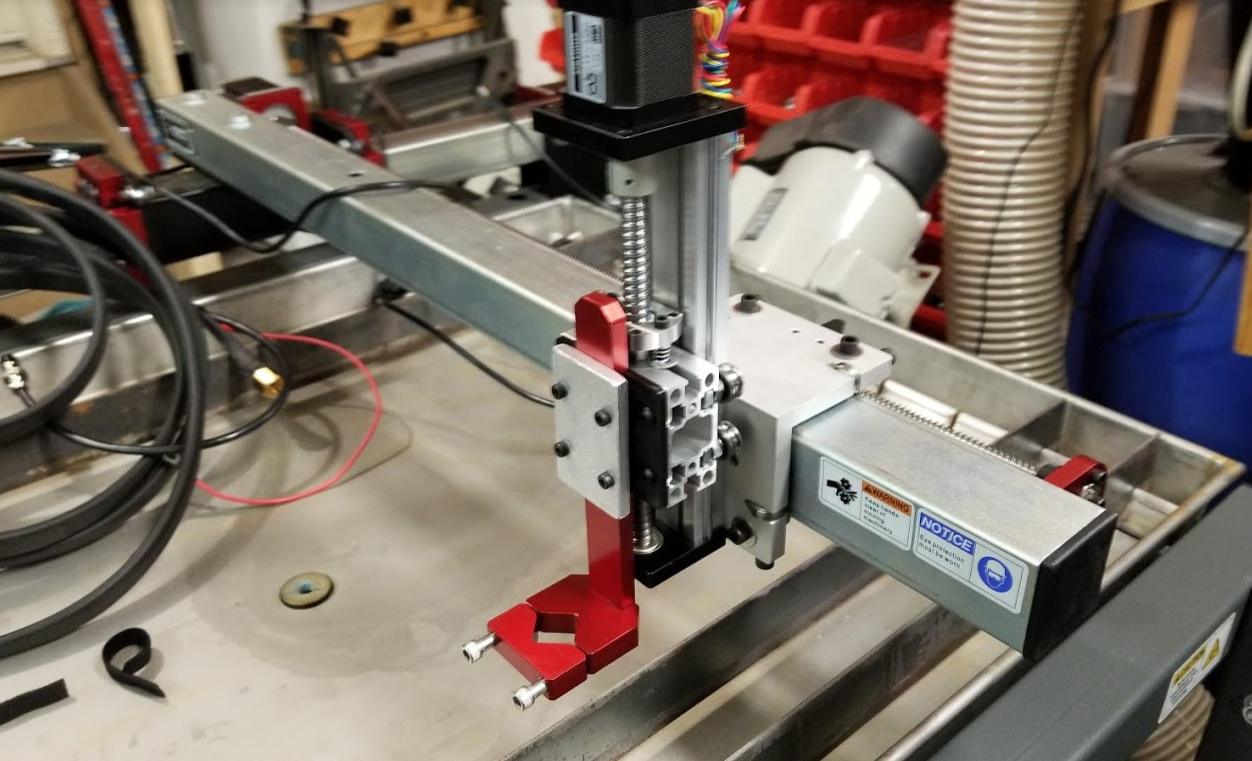
Here you can see the floating z in action. I have a spring on the ballnut and I’m not too sure home much preload it should have. The only thing that will be pushing up on the torch mount is the air pressure used in the plasma.
Modifications
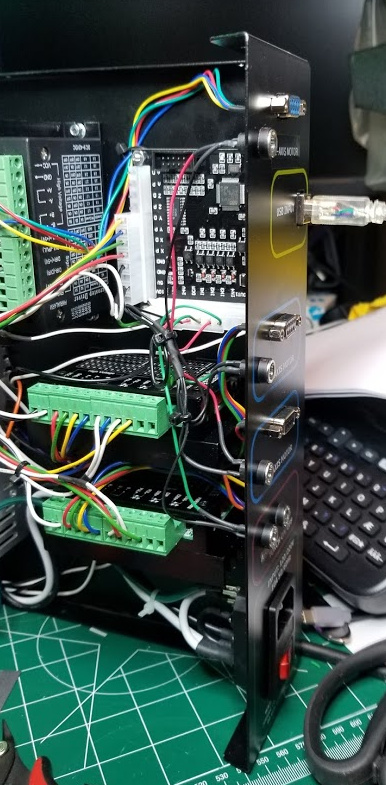
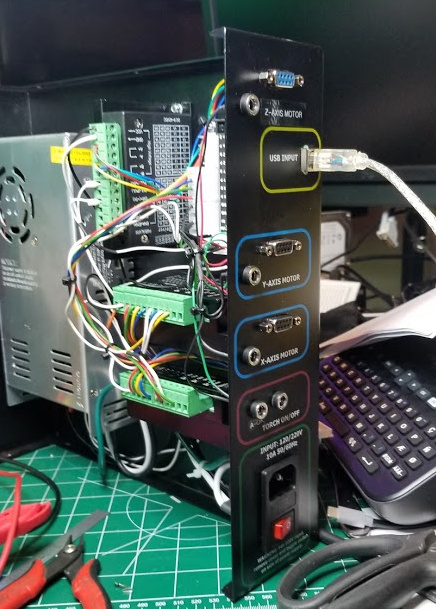
- Stepper driver added for Z
- 680 ohm surface mount resistors added on top of the existing input resistors on the control board. I did this so I can retain the 5V relay for the torch/on/off and not need another power supply.
- Inputs 1 through 4 will be X home, Y home, Z home (floating), Arc OK.
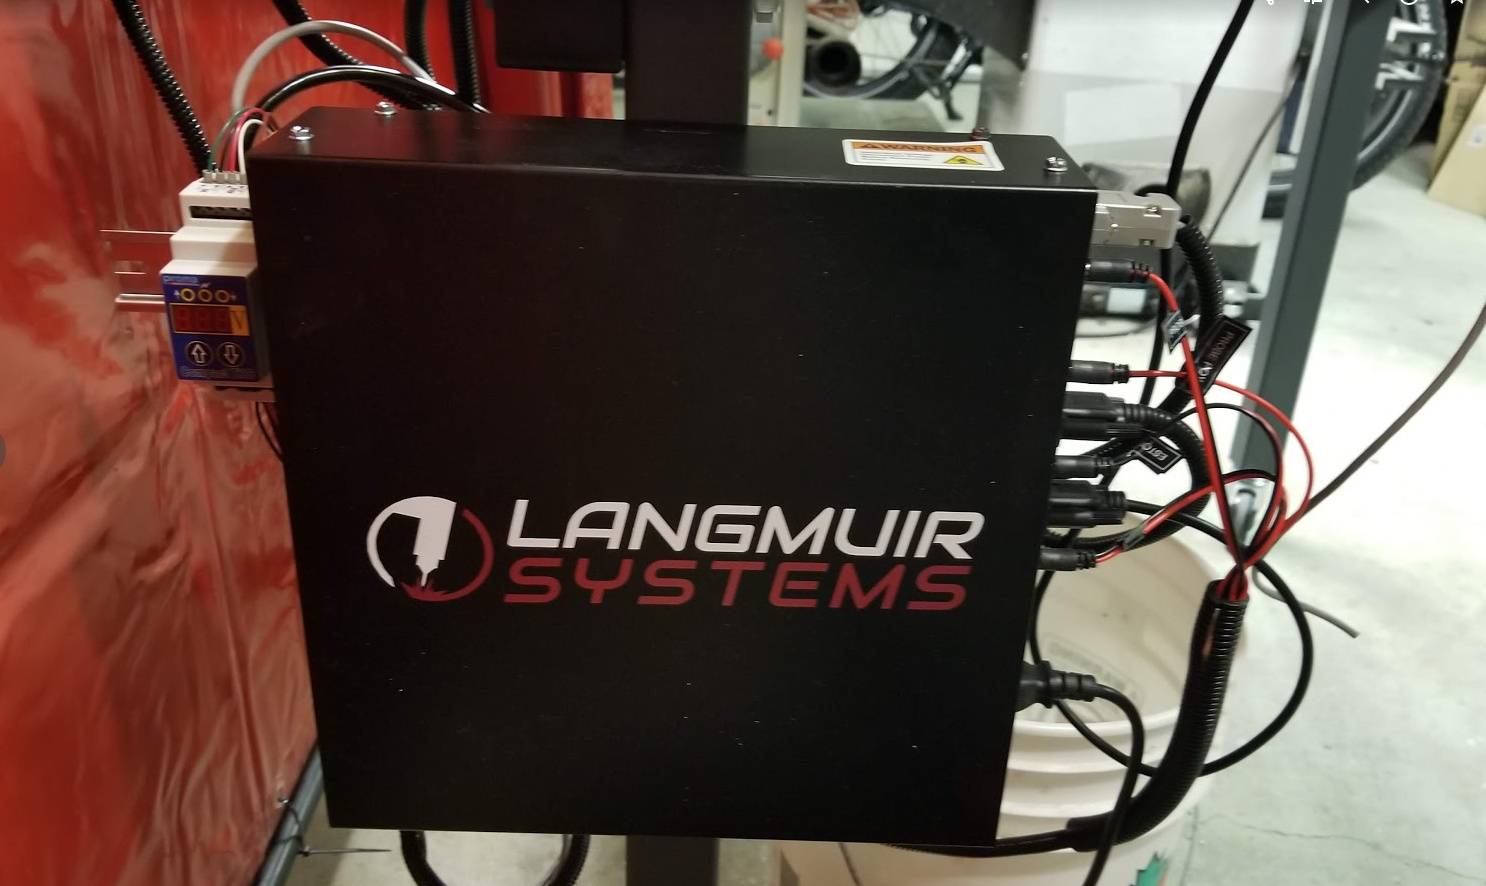
I used the same barrel type connectors for these that were already used on the controller. - Proma SD THC will be powered off the 36V supply using a 1N5931B Zener diode
I am using a Herocut plasma cutter that has Arc ok, Arc Voltage and Torch on/off connectors on the back of the unit. The plan is to locate the Proma SD to the left top side of the controller.
1 Like
Nice work! How much do you have into the upgrade?
I’m not sure yet. I haven’t bought everything yet and am scared to add it up. 
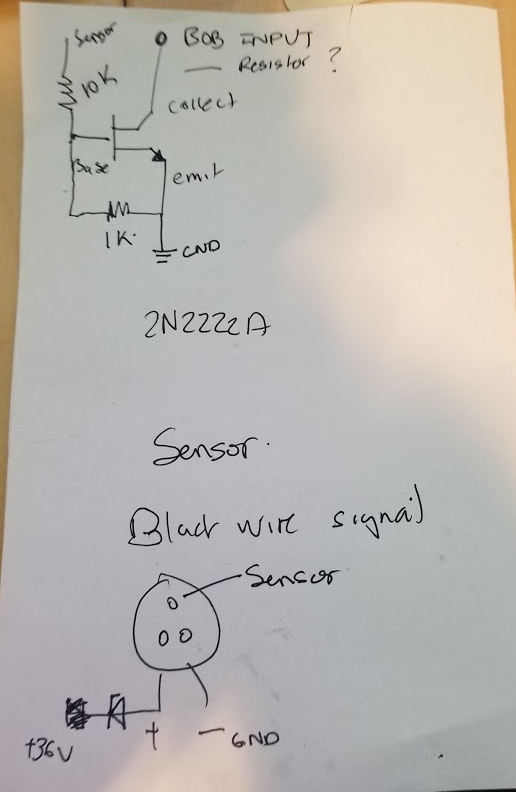
I also want to try the sensors the @ToolJunkie uses here:

I’ve drawn out what I think his schematic is from the comments in the video as he does not have one for these. They need to have the signal inverted so require a 2N2222A transistor.
I’ve kept the stock 5v inputs on the controller and have used 680 ohm resistors as suggested by others on the forum. To power the proma sd I am planning on using the stock 36V supply with the 1n5931b 18V 3W zener diode as suggested by proma to drop the voltage. That got me thinking that I could use a zener on each probe to drop the voltage for the sensors. The controller on the crossfire does not have the 5v usb ground tied to the ground on the 36v supply. This means to get this to work I would need to tie those 2 grounds together. I am trying to think of a reason why I wouldn’t want to do that. On my other cnc controllers I have tied the ground for the stepper supplies to the grounds for the signals in the BOB without issues. Perhaps with Plasma cutters there is some reason that I may not want to do this? Anyone have any insight on this?
1 Like
So I started setting up cable chains like @ToolJunkie did and I started thinking that these might just become a nightmare to keep clean. Maybe I am overthinking it? Running the stepper and probe wires along the plasma torch doesn’t sound ideal but it seems to work fine on the crossfire pro. Any opinions? Stick with the cable chain or just tie the wires to the plasma torch cable?

I decided to go with 24V on the inputs/outputs as using 5v just became a bit of a hassle. I am using a buck converter for now to step down 36V to 24V. I have a small 24V power supply on the way in case I have issues with the buck converter causing noise.
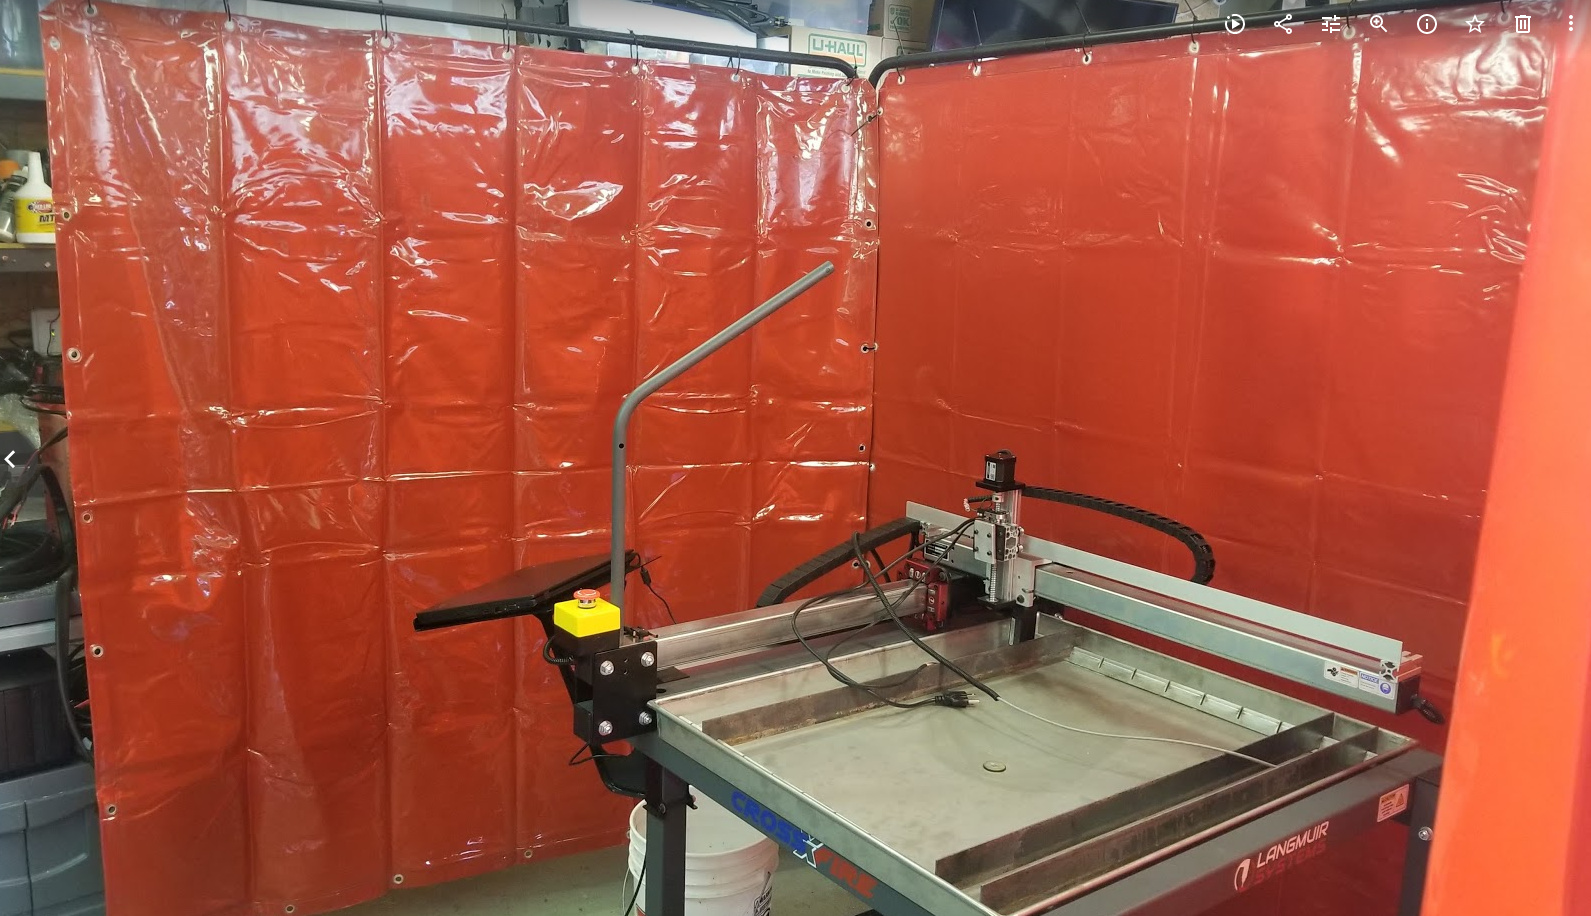
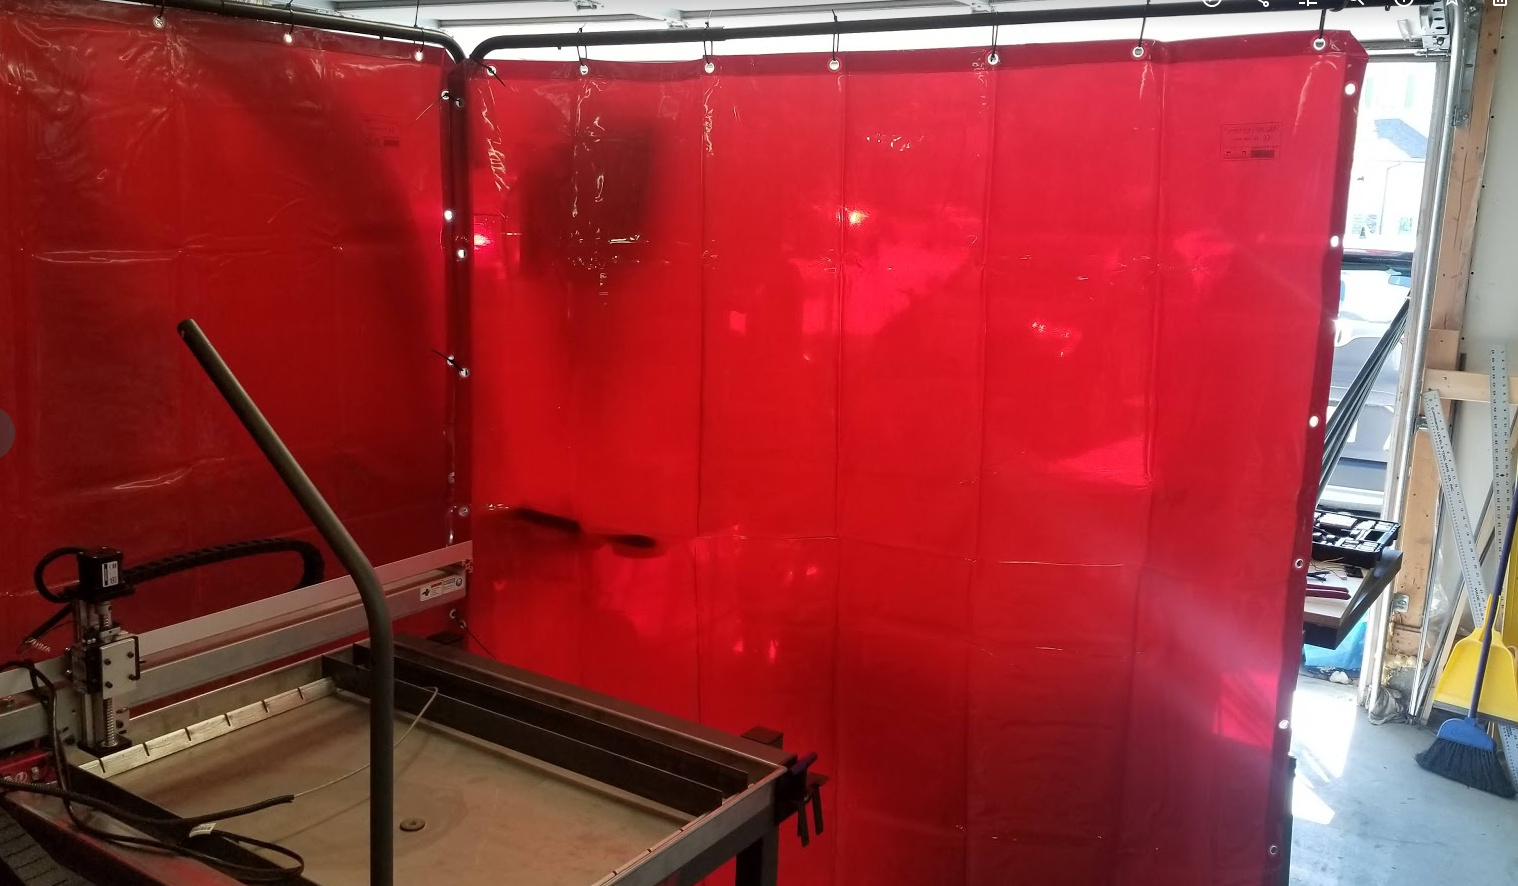
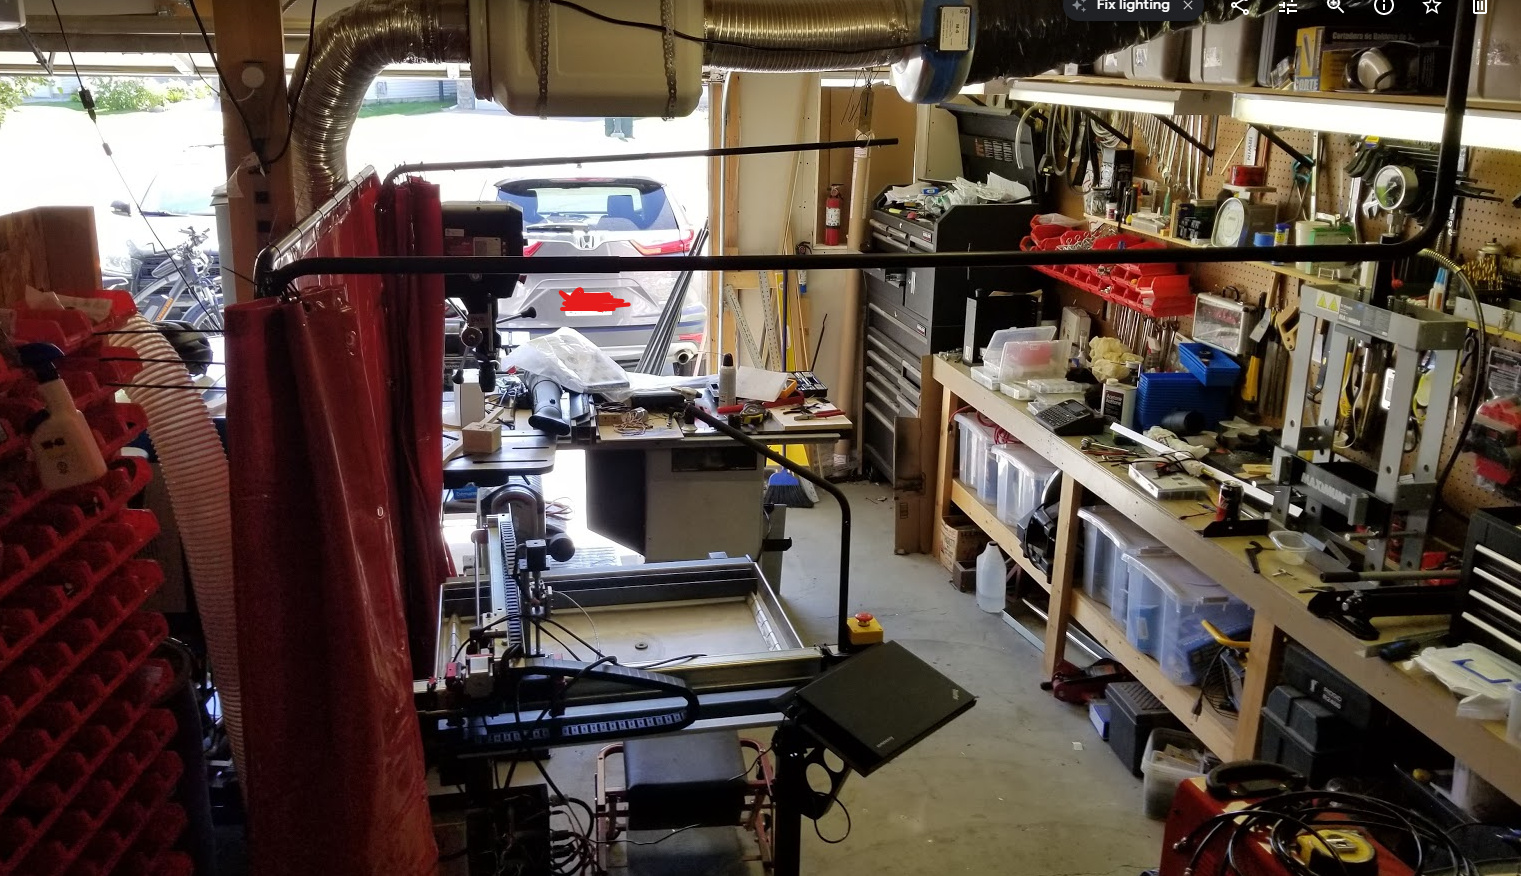
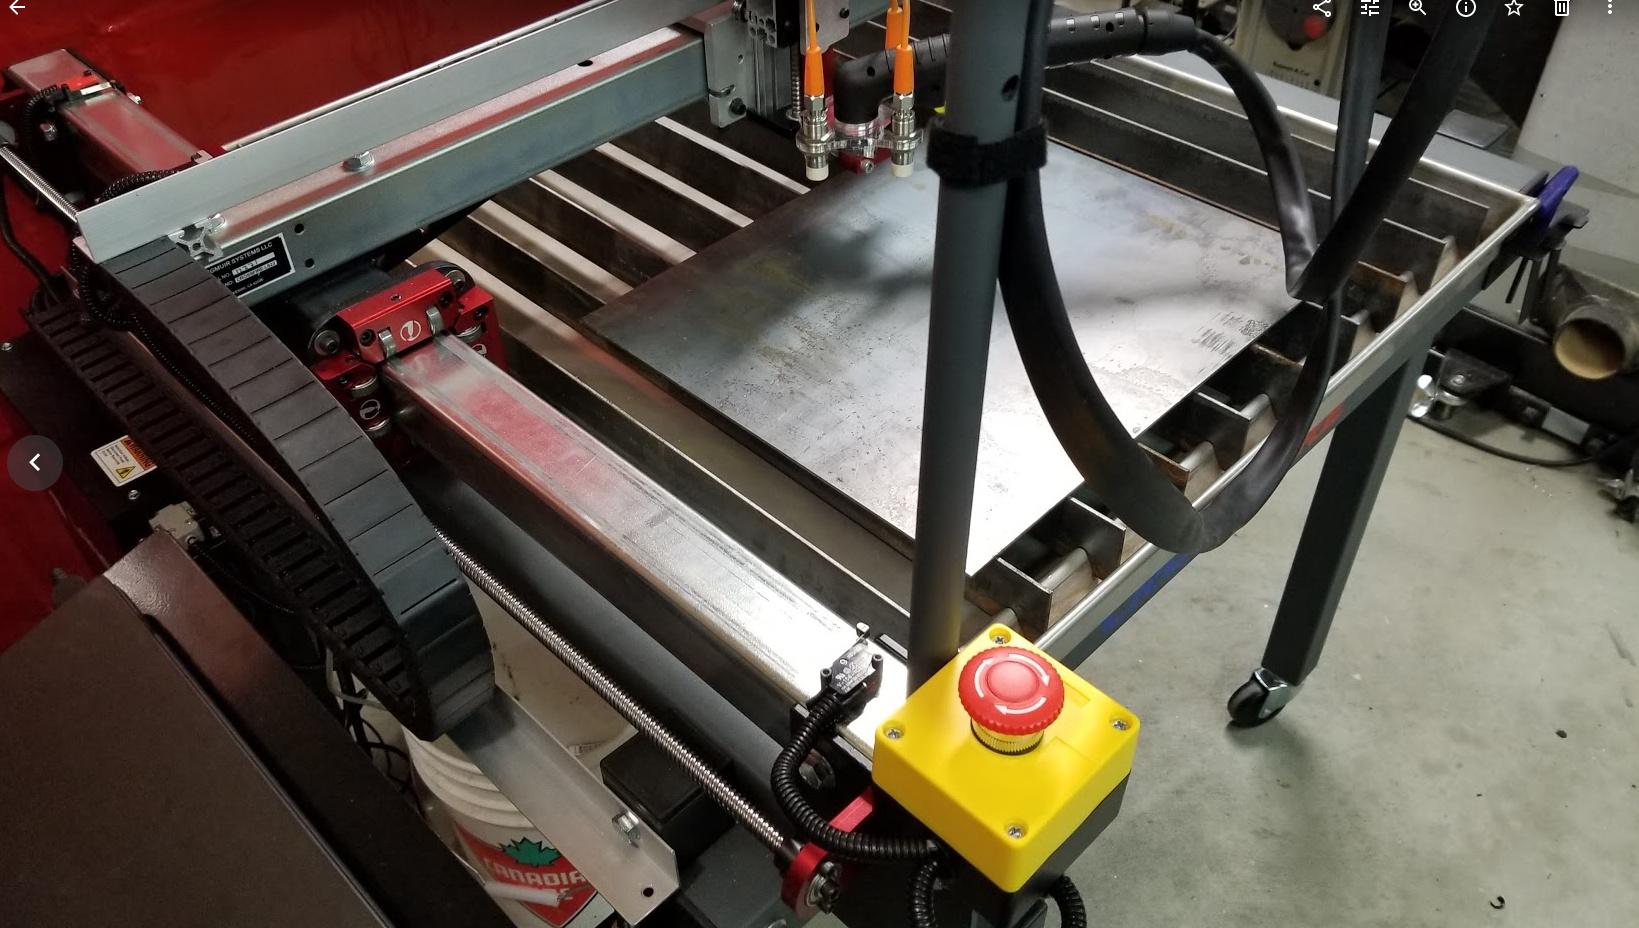
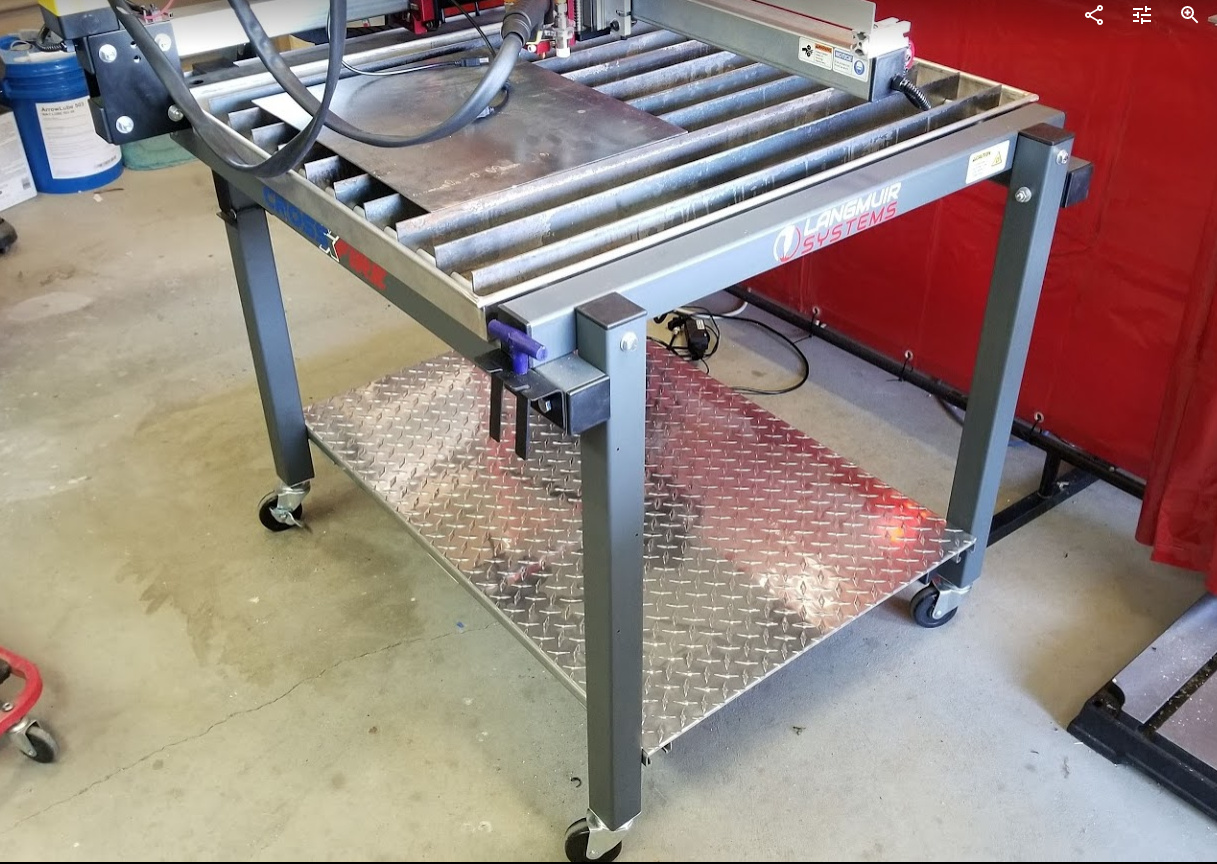
I’ve got everything wired now with limit switches on both ends of X and Y. I found a really good deal on some used welding curtain frames and used them to build and enclosure around the Crossfire. I can open and close the side curtains.
1 Like
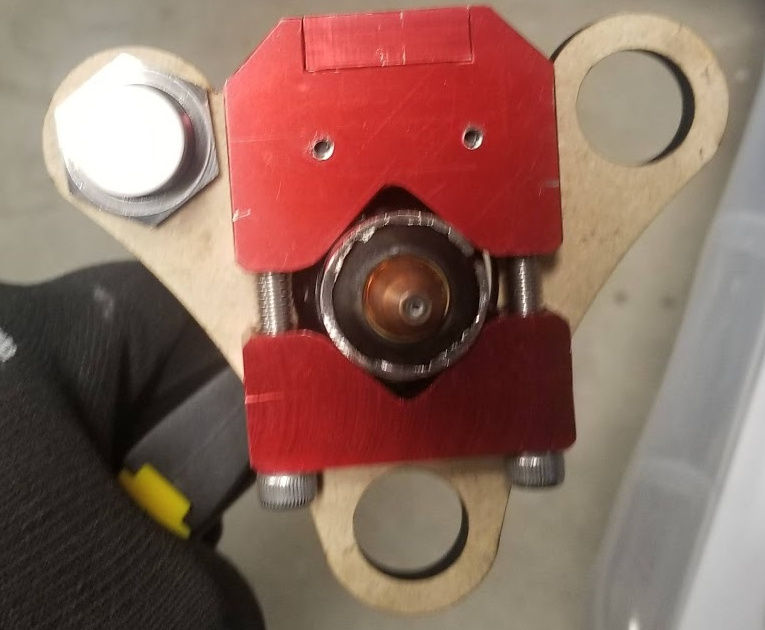
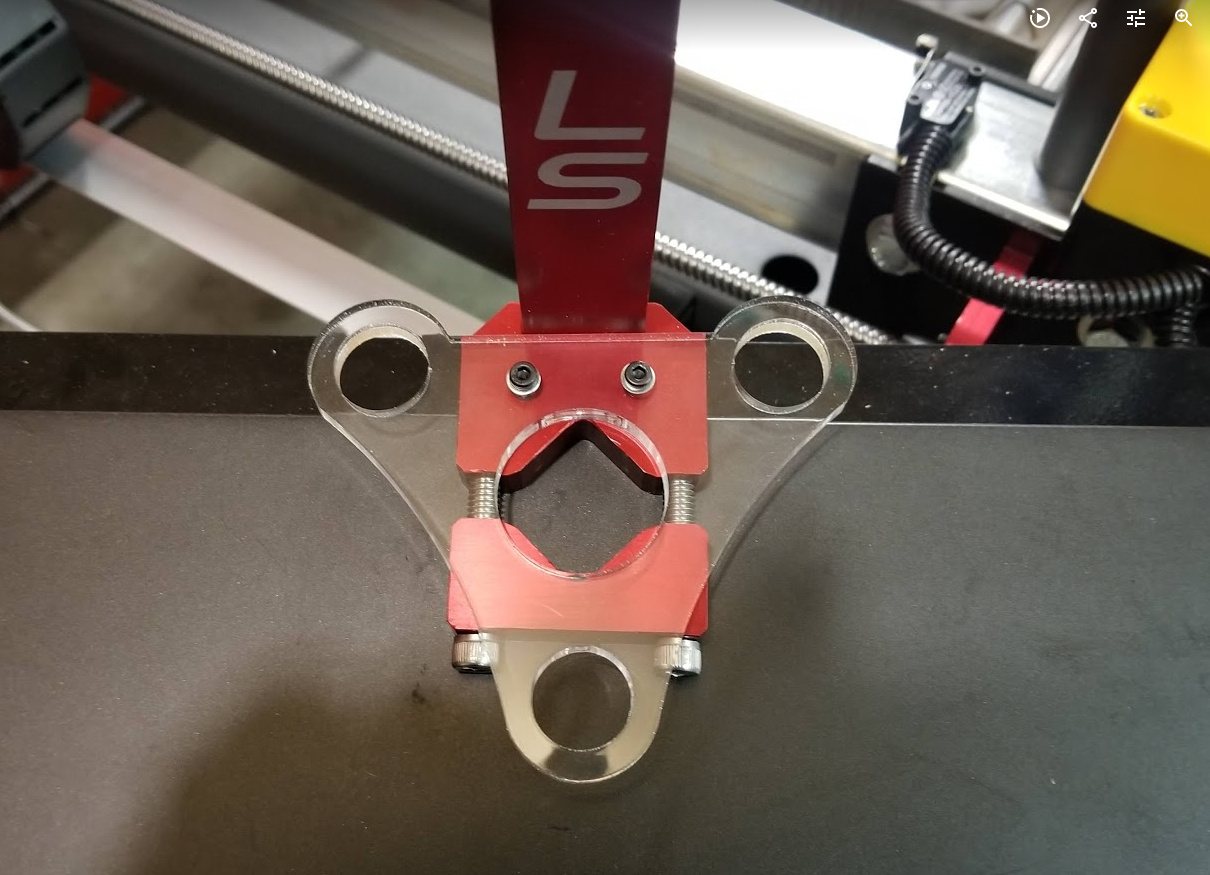
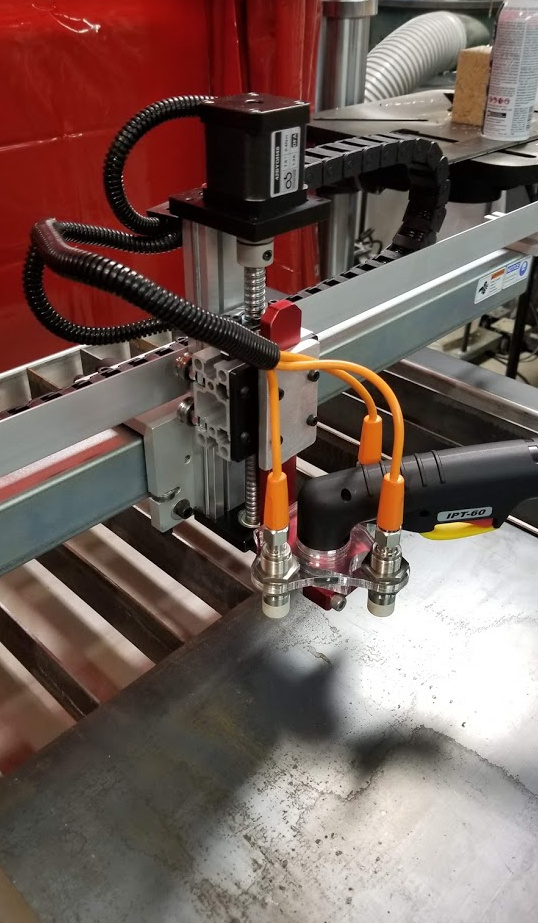
Here is the probe mount for 3 of the Automation Direct KSK-AP-4H proximity sensors. These ones are able to detect different metal types at the same distance. I have the power for these connected to a relay so they can be turned on and off and the mechanical floating z head can be used instead.
I designed the mount and laser cut it out of 1/4" acrylic. I used two 3mm screws to secure it to the crossfire mount. I am not sure if this is the most optimal orientation for the sensors but it is easy enough to adjust the design and cut another one.
1 Like
I am getting closer to making my first cuts. I need to make a bottom shelf and plumb the water tank. The software side is figured out but I need to do more research on speeds and amps for various metals.
1 Like
Wow! Very cool indeed!
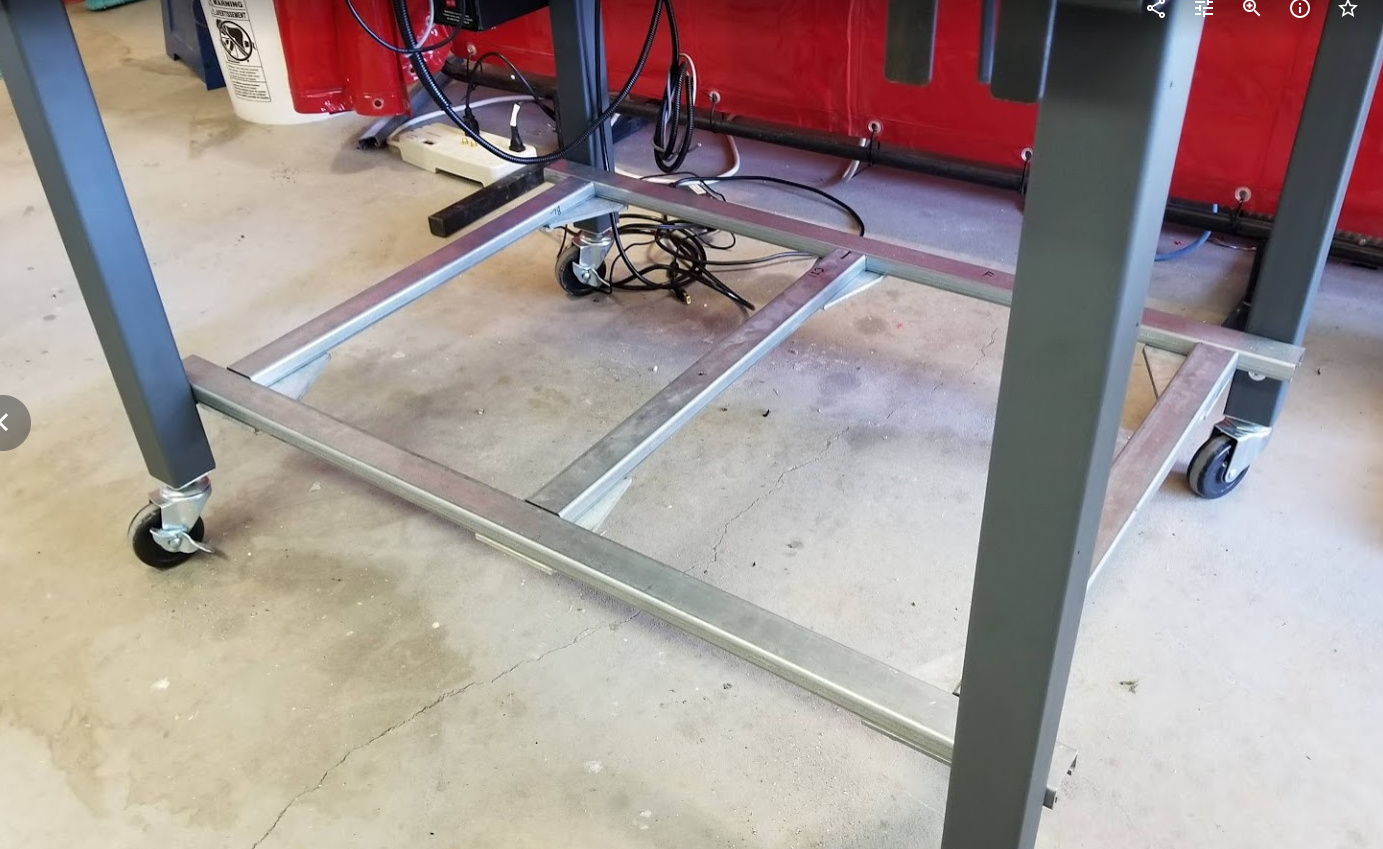
Got the shelf done. Made it floating. I used 6mm rivnuts for mounting the standoffs.
I had these plastic spacers from an old tv wallmount that I used to build a standoff to hold the frame. Used some old unistrut I had to make a frame and 3/6" aluminum diamond plate for the top.

1 Like
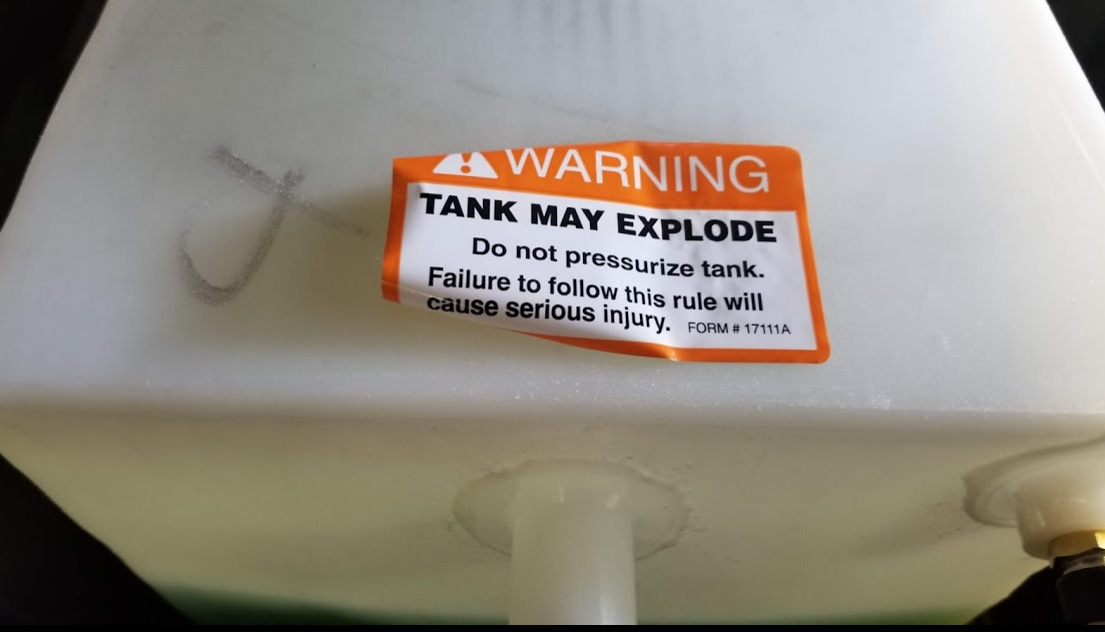
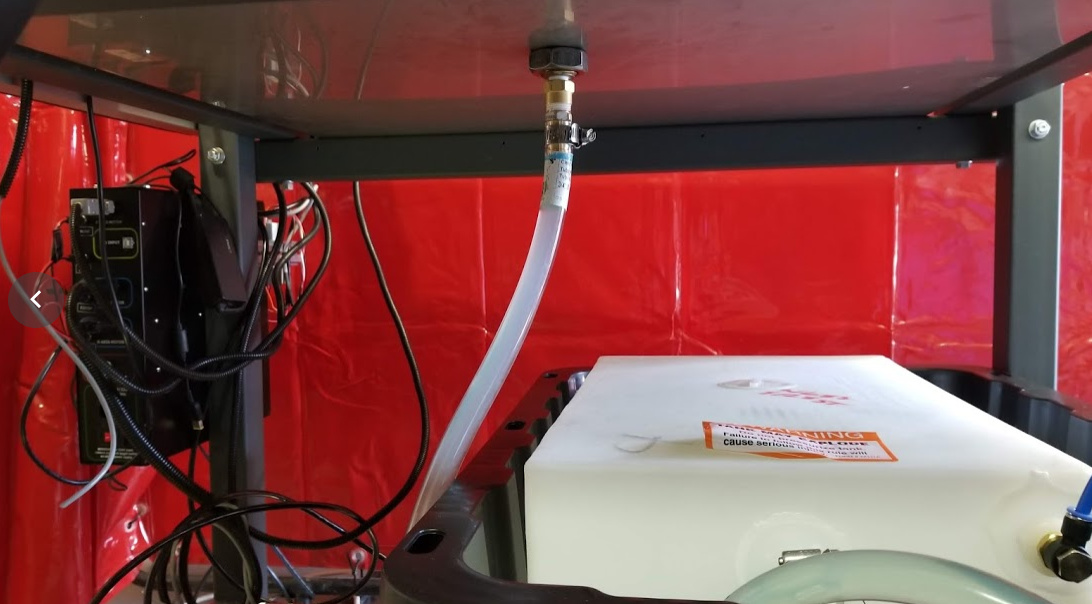
Well I know a lot of others have done it but that warning makes me a bit nervous.
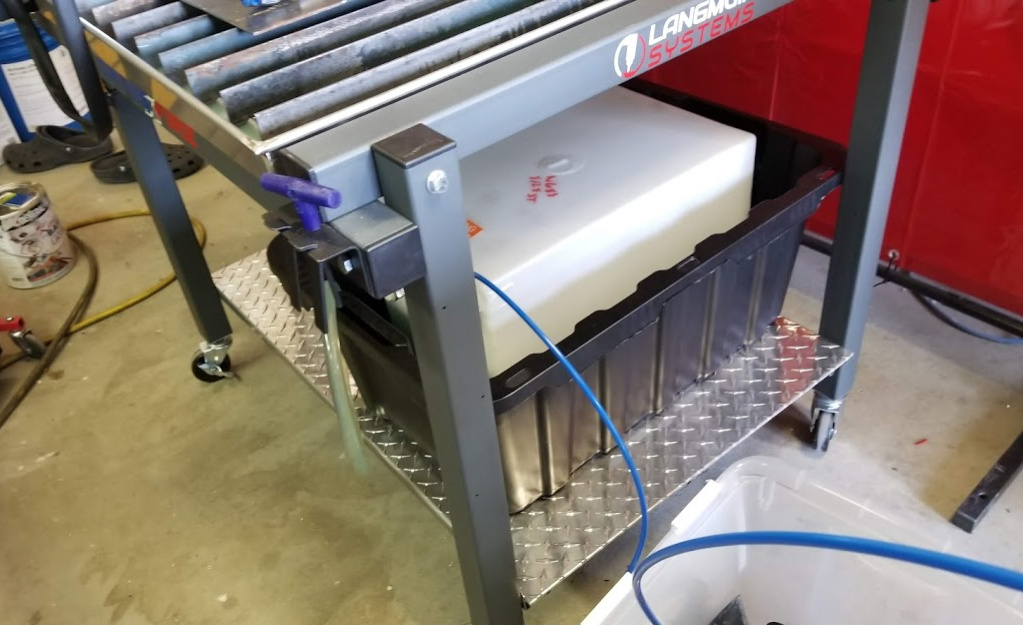
I put it inside a bin to contain the fluid if it does pop a fitting. I am using 5psi to pressurize the tank. You can see the sides bulging a fair bit on the tank. The tank fills fairly quickly. Once it is almost full I remove the air and plug it. Once I am done I unplug so it can drain.
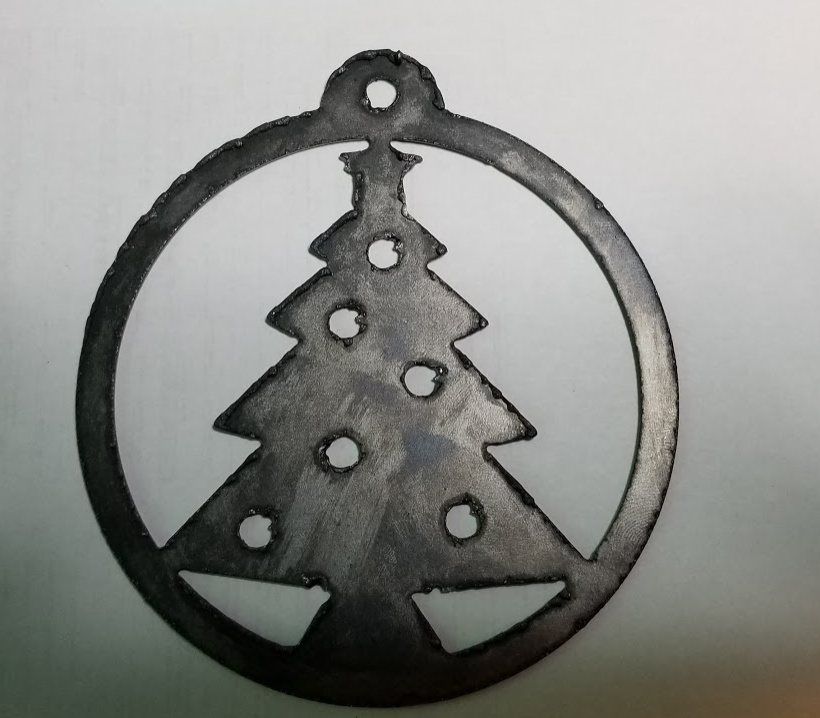
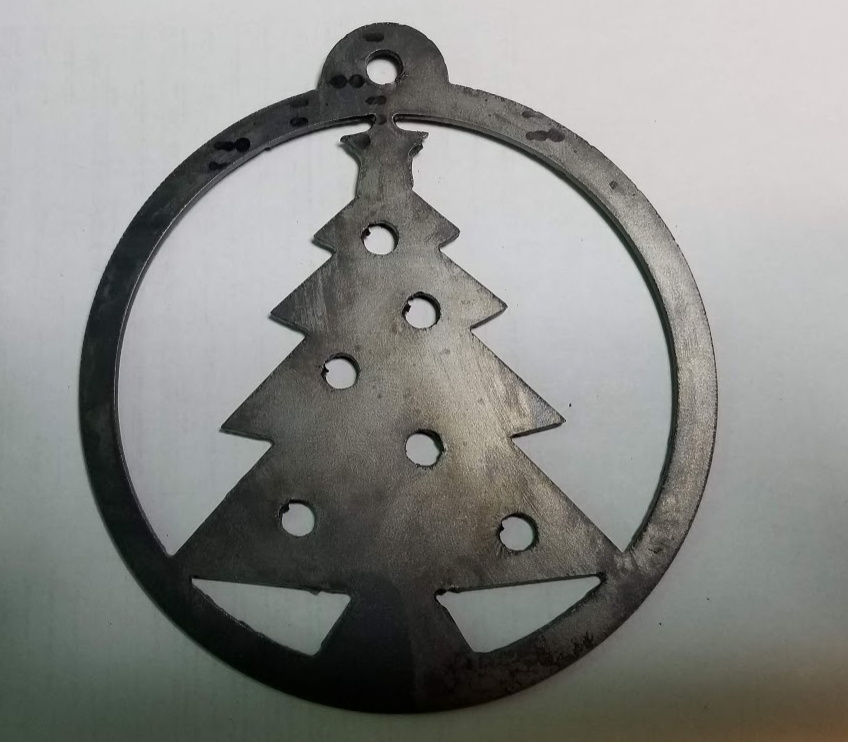
First cut
2 Likes
100 ipm at 45amps and 55psi. Did a 3" test cut with z stepper disconnected to grab the voltage of the THC which read about 69. I am open to suggestions on how to reduce the dross.
Loving the idea of torch height control, Think I will be heading in this direction also.
A lot of changes.
Upgraded to Hypertherm Powermax 65 with machine torch. Designed a magnetic breakaway collision detection system for the torch, implemented an ohmic probe, using sheetcam now and more!


1 Like
Holly Mollie! … Well done!
That is just awesome! 
Great job👌Can you share the break away printed STL files and the Ohmic sensor1?