Looking for help as I can’t move forward until I resolve this situation.
This is my configuration:
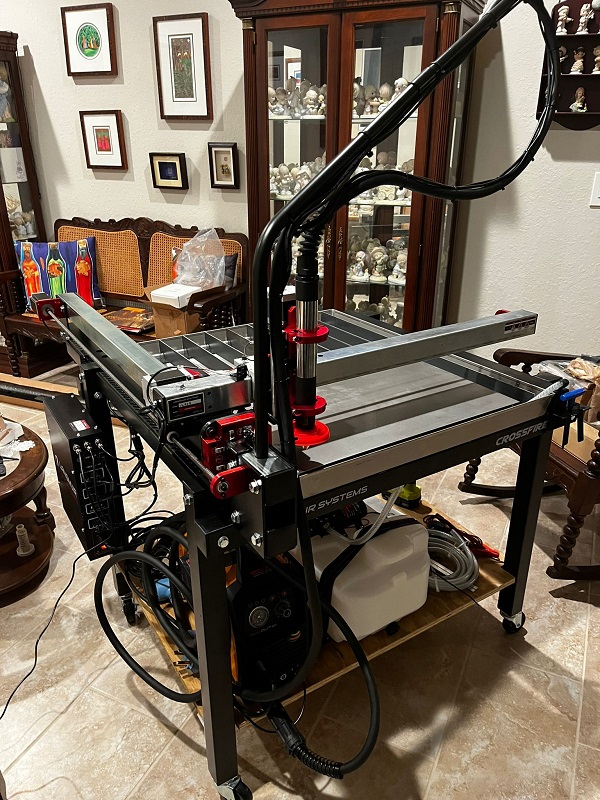
CrossFire CNC Plasma Table
CrossFire XL Expansion Kit
CrossFire Z-Axis + THC Upgrade Kit × 1
Limit Switch Kit for CrossFire
Razorweld Razorcut 45 CNC with Machine Torch for PRO, CrossFire
Machine Torch Mount for CrossFire
Software is the latest release for both the firmware and FireControl software.
None of the things I have tried have resolved the problem. I keep reading similar threads looking for a solution…
I have tried:
“Reset Machine Defaults” button, then command the machine to home, and made sure not to manually jog any axis until the homing sequence is complete.
Checked all connections.
I can manually jog all three axis without issues.
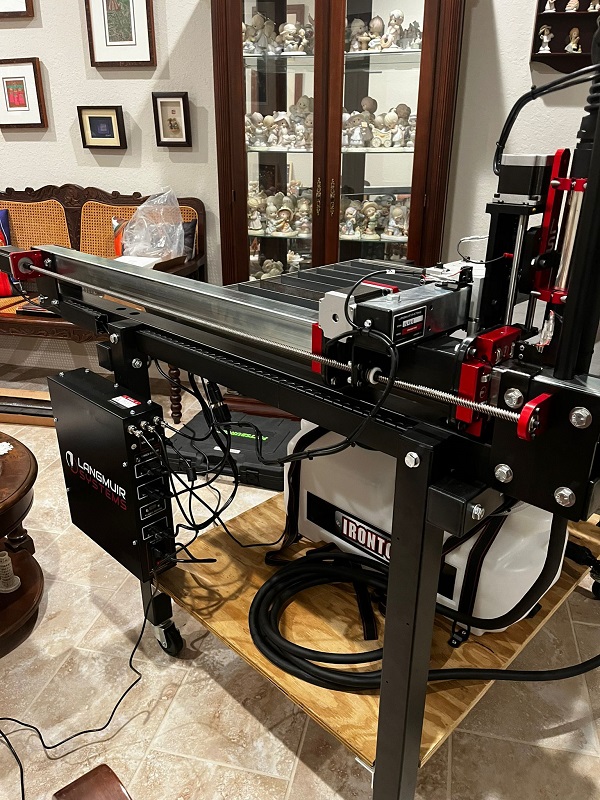
X-axis moves correctly and stops once it reaches limit switch on that axis. Video shows this clearly.
If manually activating the switches, I can see them lit up on the FireControl bottom panel. So they work… it is the direction of travel of the Y-axis that is the issue…
so before we get into what is wrong and how to fix it…before you cut anything…
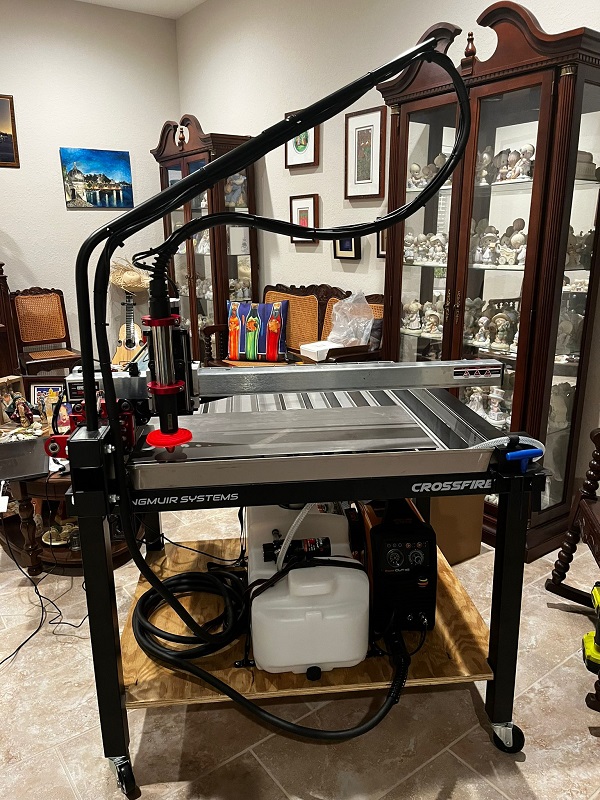
make sure your table has water in it…minimum water level need to be above the slat holders…preferrably about 1/4" below edge of water pan.
would not be cuttimng any metal inside or you will cover everything you own in black dust from HELL…not to mention the fire hazard
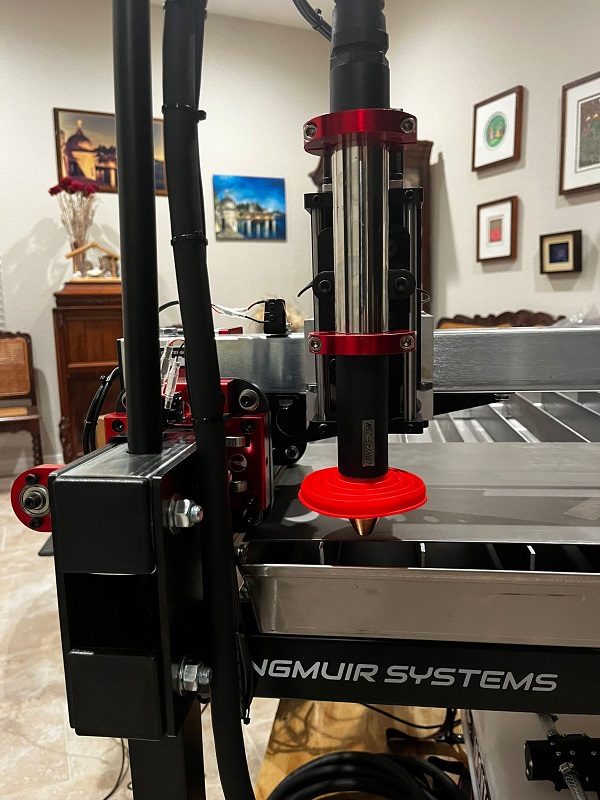
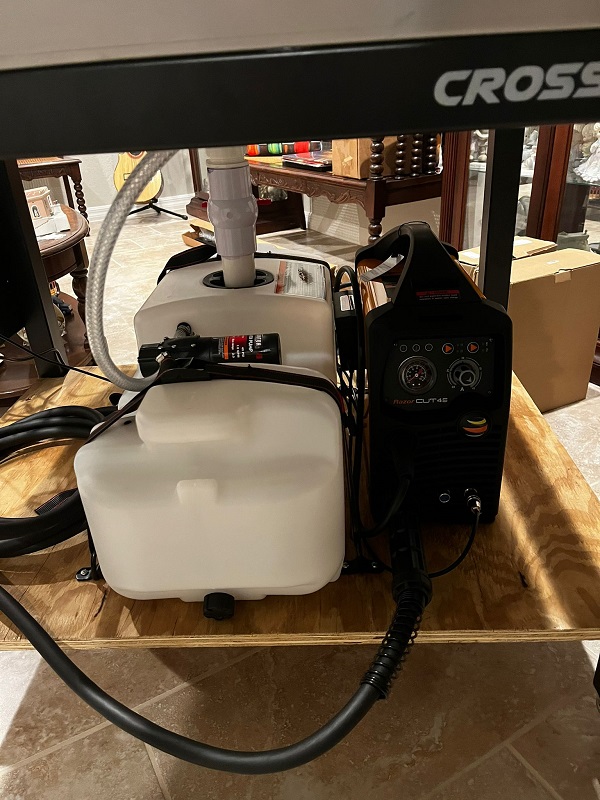
your machine torch is clamed incorrectly…both red clamps need to be on the silver part of the torch…you can flip over the holder if it helps…but clamping on the black part can compress and dammage the internals.
there is a chance that your plasma so close the control box and USB and control wires can become an electromagnetic issue.
do you really need the limit switches to cut…nope…
I have them and never installed them…so try turning them off and do some cutting…get back to them later…have some fun cutting and look at them later…
I should have said something before the photos … I am installing everything inside my house because it is hot as heck out in the garage… I wil not be filling with water (I have the plasma cutting fluid recommended by others) while inside the house. Once I have tested everything related to the CNC side, I will move it to the garage and then test whole setup with the plasma cutter machine…
Thank you for the comment on the torch. It is not tight at the moment. I will fix the location of the torch on the clamps. EDIT: Corrected the mounting of the torch and also moved the plasma machine to the other side…
Again, not firing the plasma cutter inside the house… but good point on the location of the plasma machine. I will move it to the other side of the bottom shelf.
I do want the limit switch… and even if I do not use them, the Y-axis is traveling in the incorrect direction… So I need to fix that… if I fix that, I fix the issue with the limit switch on that axis.
I may be wrong, but it looks like you have the limit switch installed at the wrong end of the Y axis. It should be at the end where the stepper motor is located. The “machine home” position is in the rear left of the machine. Movement away from the switches will be X+ and Y-.
you are a great communicator…thatnks for clearing this all up…plasma cutting fluid is 20 parts water to 1 part fluid…
IAs I said I have the limits but did not install them yet…not sure if I will…
one thing you might want to have on that Beautiful set-up is a set of laser pointers…they really help laying out parts…
here is my basic system…dirty and old…ahahahaha
Was able to watch not only the video on the laser, but also the other ones you shared.
Lasers - looking in Amazon for those and the holders
I added a larger drain… but did not provide for a filter… I will need to redo my setup before using. Makes sense to have a filter inline with the drain to capture all the fine carp that will come down. I did not think that gravity alone would work with those filters when reducing the drain to 3/4". I have a spare one with a cartridge that I can use…
Dry air - oh goodness… that is one heck of a setup that you did. I only got starter kit for drying the air… got this one from Amazon for now… Three Stage Air Drying System. This machine will have very little use as this is just for some hobby use… Some had suggested also adding a Hayden 1299 cooler with an automatic water drain to help with the dry air… So planning to do that as well.
I need to come up with a ventilation exhaust system… great ideas from your video on that as well. Waiting until the detached garage space is finished to tackle that one…
I use gravity and it works just fine…feeding the filter with 3/4" line slows things down and catches a lot of fines…and who cares how long it takes to drain…mine drains in around 5 minutes…
as a hobby the air dryer system you picked should be good…depending on your compressor size…small compressor hot moist air…if you do not want to get a bigger compressor…think about adding a spare tank after your main compressor before your drying system to help cool down the air and keep reserve air…
But yes, I have the sliding door on the back and double doors on the front. We are between houses. Moving from Orlando, FL to Ocala, FL… So I get some leeway from my wife to do this while we finish the move.
They are also building me a small workshop in the backyard (should be done by the end of the month). So the plan is to move the table directly to the new workshop when the building is finished.
We will not finish moving to Ocala until some time in December…