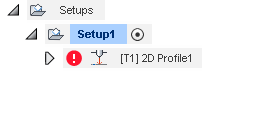
followed the same protocol that i always do, and now that im doing 2 pieces that a bit more complex in design, the toolpath never makes it to 100 percent and i get the error mark.
not sure whats different this time as ive made many pieces, so any help is greatly appreciated

I have nothing off hand to help but I find your error “Interesting”
Can you share the project?
try breaking the toolpath into multiple ones for different objects/lines. Toolpathing does seem somewhat slower this week (they did push an update recently I noticed). Breaking them up may either isolate the offending portion of the design or get you through successfully.
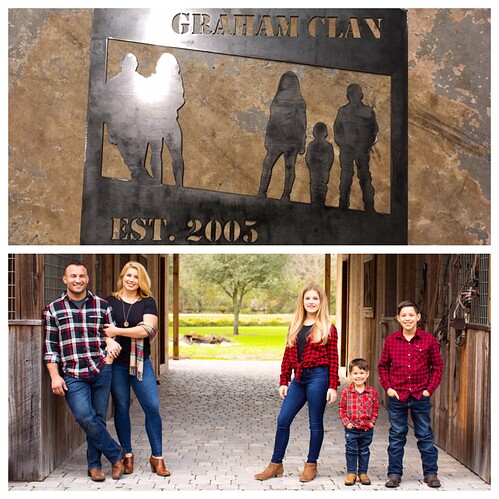
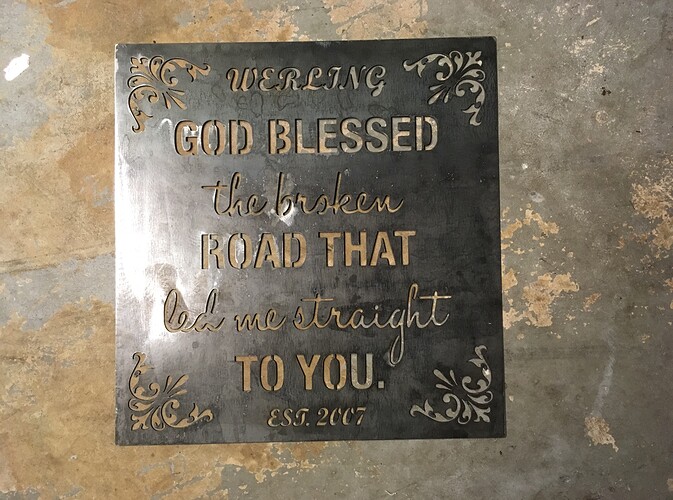
and this one. two different projects same error
Basic troubleshooting technique would be to start with defining a simple toolpath - the outline cut for instance and then adding one object/path at a time to the toolpath setup until it dies again. Then you’ll know what’s doing it and can try doing that object/line separately.
If you can isolate it you can also report it to Autodesk’s Support desk and they’ll have a fair amount of information to work with.
I did some far more complex ones this weekend so there must be something other than complexity at work here.
the final 3 parts of the 5 are where it fails in the second project. if i select any of the the toolpath fails.
but if i create a different toolpath for those parts, it does fine
1 Like
I’ve been having the same problem, what I did was in the setting where you I put the tool. Change the kerf to something smaller and see if it generates the entire tool path. I had to change mine to .030 for a detailed project and it generated normal and cut great. Idk what’s going on with fusion 360
looks like that did the trick for one. about to try it on the other
2 Likes
will not work for the other, even tried adjusting it down more with no luck…
How big is the 5? (Height/width)
Approx 23”x23” playing with the kerf width I was able to get a tool path created except on 2 little pieces of the drawing, gonna try a separate tool path today and see if that helps.
As this is my first time using two tool paths, is there anything different that I need to do for post processing on the 2 separate tool paths or is it the same as using a single tool path
Sorry, I just realized you meant in the family photo, the 5 is approx 1.5” not sure exactly but I did get that entire project created with playing with kerf widths.
It’s the “god blessed” project I’m having a hard time finishing out now
Nope. Create the 2 toolpaths under the same Setup. Then make sure the Setup is selected and click on the Generate button.
BTW, I usually tweak the lead-in/out values before messing with the kerf. That’s going to be what it is and by telling Fusion it’s smaller than it is, the offset calculations will be wrong and the actual cut out will be slightly undersized.
1 Like
Gotcha! I usually do play with lead ins/outs if the toolpath doesn’t show up on all of the part I’m working on, but this narrowing down of which cut is causing the error is for the birds.
Previously I would generate the toolpath, and if the path wouldn’t show up everywhere I would adjust lead ins/outs and it would fix it.
All you guys are awesome and I’d be lost if everyone here wasn’t out to help each other
For simple cases where you get that yellow triangle and message that some parts were dropped it’s easy enough to find by looking to see which ones don’t show the cut path (or no green lead-in arc). It’s the ones that cause it to time out or crash that are hard - you have break it up in chunks & it becomes a trial & error exercise. Tedious at best. That’s part of why you end up spending more time at the computer than you do actually cutting steel 
Finally got them done…
I will say after making a few Toolpaths to get it done, I almost kind of prefer it that way
1 Like

