Like Dicky did, I put an inline regulator on it and limited it to 20lbs (thats a lot without diffusing the geyser heh. I can make it drip from the ceiling. I want to have it fill and empty by switch but haven’t decided to use a time, float or what to shut off the fill pressure or just use a valve and baby sit while it’s filling…
I recommend the KISS principle, use a float switch, NC contacts.
“KISS principle”
oh sure … spoil all the fun
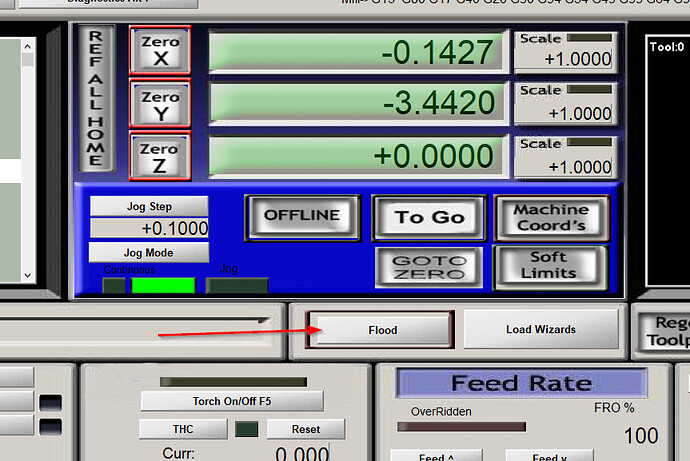
Oh, I have one on there… I just forgot it was wide open, I open it when I’m draining it, it drains faster, I don’t have a dedicated hose for it… I’m actually gonna be changing it up eventually to a electric pump and electric ball valve system. I have the buttons on my mach 3 screen already, just no time to get it all set up mechanically…
Mine looks just like this, actually never really drained it, so much cutting I wind up filling more than draining …
I did mine this way and was surprise how quickly it filled and drained.
It self cleans the fluid when it’s drained and let it sit a day or two and
the fluid looks like it was never used.

It looks like you’re using a similar tank. Where did you get it?
What pressure do you use to refill the table?
Just look on ebay for RV fresh water tanks.
What do you mean that its self cleaning, are you talking about the sediment just settling to the bottom?
Thanks
Not right away it needs to sit a day or two, the fluid you see
in the tank now was dark gray to black when I drained back
the last time I used it.
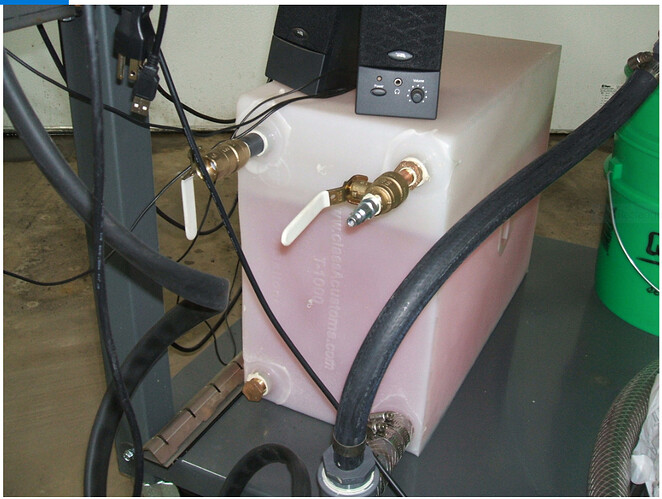
I got it off Amazon it a 10 gallon RV water tank, it’s not classified as a pressure vessel so I don’t run more than 1-2 lbs air in it, I watch the sides flex as I fill it to stay safe, I’ve got a ball valve on the top left and right one with an air line fitting, I close the left one and slowly open the right one and watch the table fill, then shut it off, when I drain it I just open the left and or right valve(s) and let drain by it’s self.
Have you tried placing any scotch bright pad over the drain as someone else said that they do?
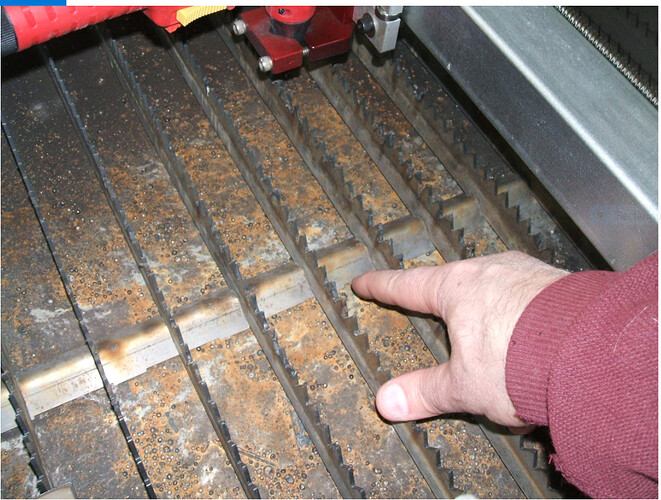
That’s an idea to try, may reduce trash, but I’ve not run into that problem yet, need to use it more first. The one thing I did was bend a few 12ga SS angles and cut slits in them to hold the slats up and the center one I laid over the drain so that keeps anything large from returning to the tank.
@bigfoot584 Would like to see some more pictures of that tank setup at different angles if you wouldn’t mind. Thanks!
Yes, I would also like to see some more photos of your drain tank setup.
Thank you
Here you go, 1st one is the tank view.
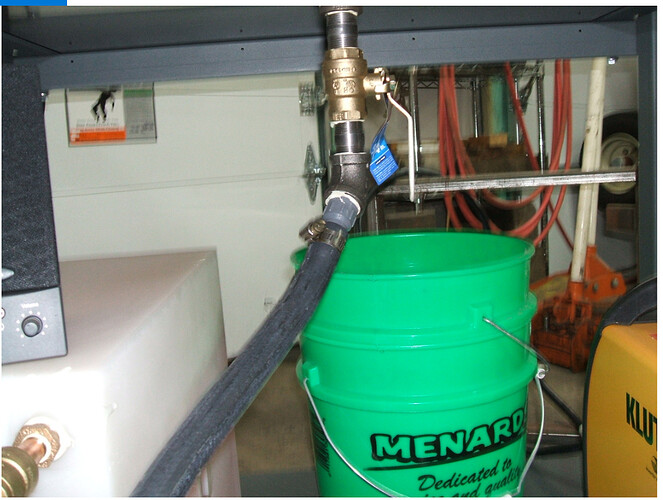
2nd one show valve under the drain pan.
3rd one show the center slat stand covering the drain to prevent some trash from enter the system.
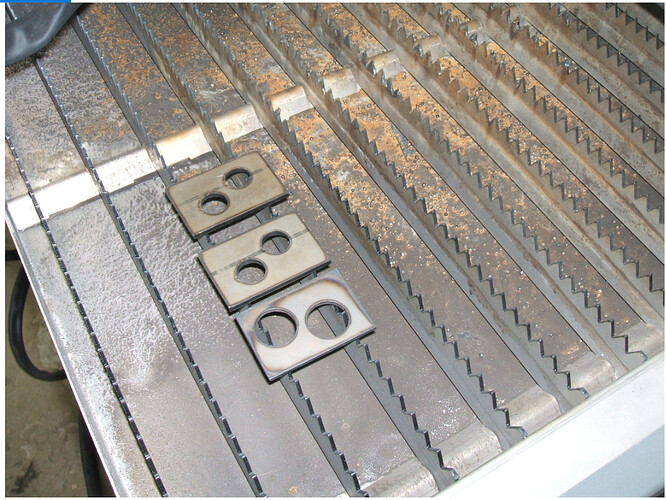
4th just shows some cut parts and the slats.
If I did it again, I wouldn’t use the left ball valve I’d just plug it knowing now it drains fast enough with just the right one and the ball valve under the drain pan you wouldn’t need that either, just closing off the drain ball valves in the tank work good enough for preventing the fluid from returning to the tank.
Hope this helps.
Thank you for posting the pictures, I will have to add this to my upgrade list.
I can’t tell from the photo, are you using 1/2" fittings for the drain or are they 3/4"? If 3/4" what are you using for the drain flange?
3/4", I use a 3/4" pipe coupler and used silicon bronze on it, using a tig welder, you could use SS wire or stick weld would work.
I’ve got a couple of these that I’ll be plumbing into the water trays. Standard plumbing fittings for the Y pipe and ball valve.
I used a bung drain (like used on brewery tanks) on my first Crossfire but I’ve found the thickness of the inside portion prevents draining of all of the water. With this set I’m hoping it’s enough thinner that I won’t get too much left. Otherwise I’ll just make a dimple set and dimple the tray so once installed it’s flush with the rest of the water tray.
https://www.amazon.com/PROPLUS-GIDDS-122352-Sink-Drain-Brass/dp/B00PM8STM6
