Please, read entirely before suggesting a solution! Will provide as much detail as possible.
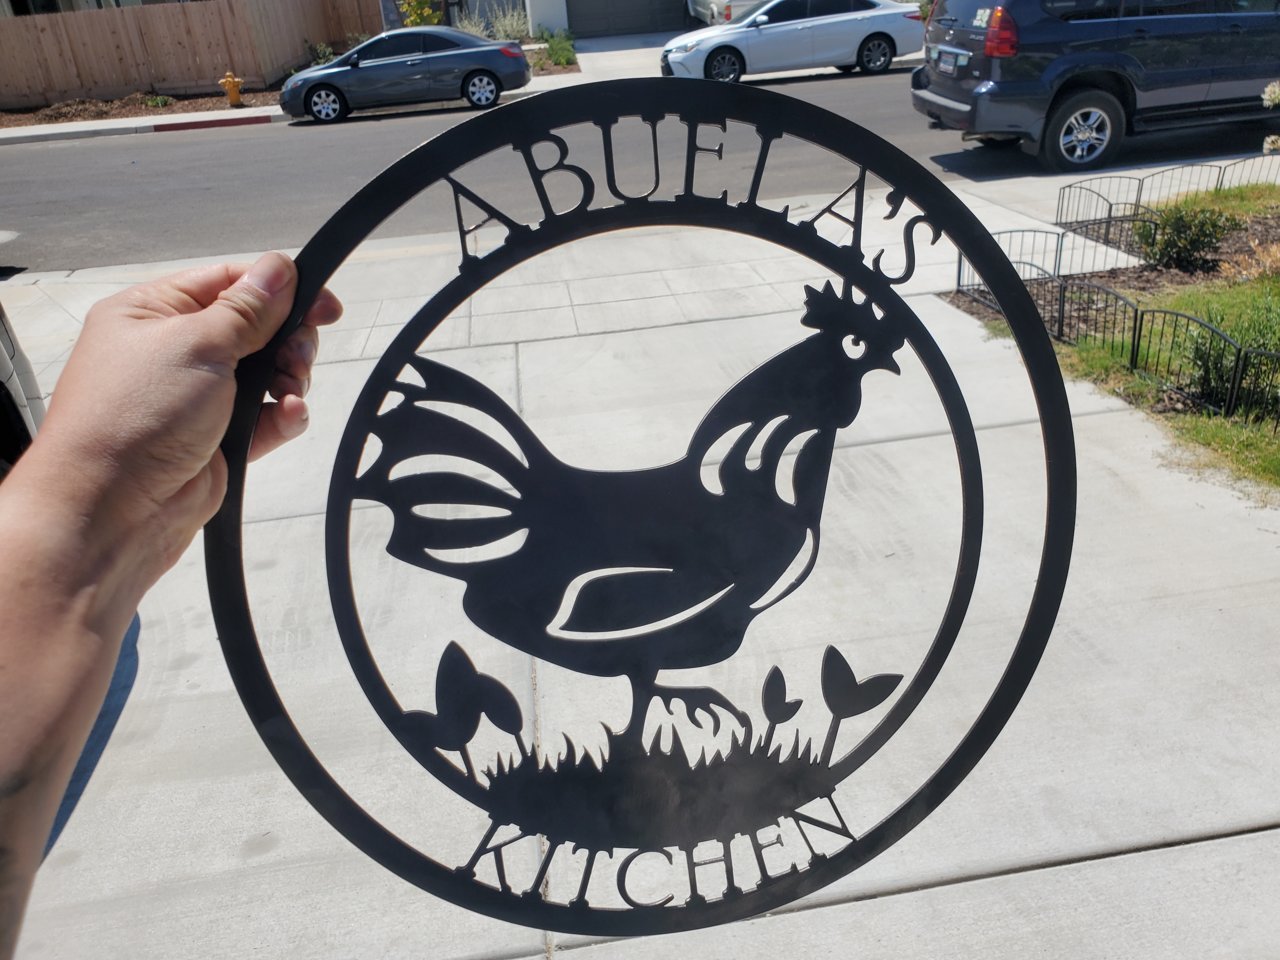
Crossfire XL with PrimeWeld CUT60 and PTM-60
Whenever I start a paid project, I use a new electrode and tip. I use previously successfully used settings. I also fully jog my machine at the start of the day and do my zero.
16 gauge cold rolled, 0.8mm tip, 100ipm, 55psi, 30 amp, 0.8 second pierce delay. Work clamp always on the work piece being cut. Arbor plates always used to ensure steel remains flat.
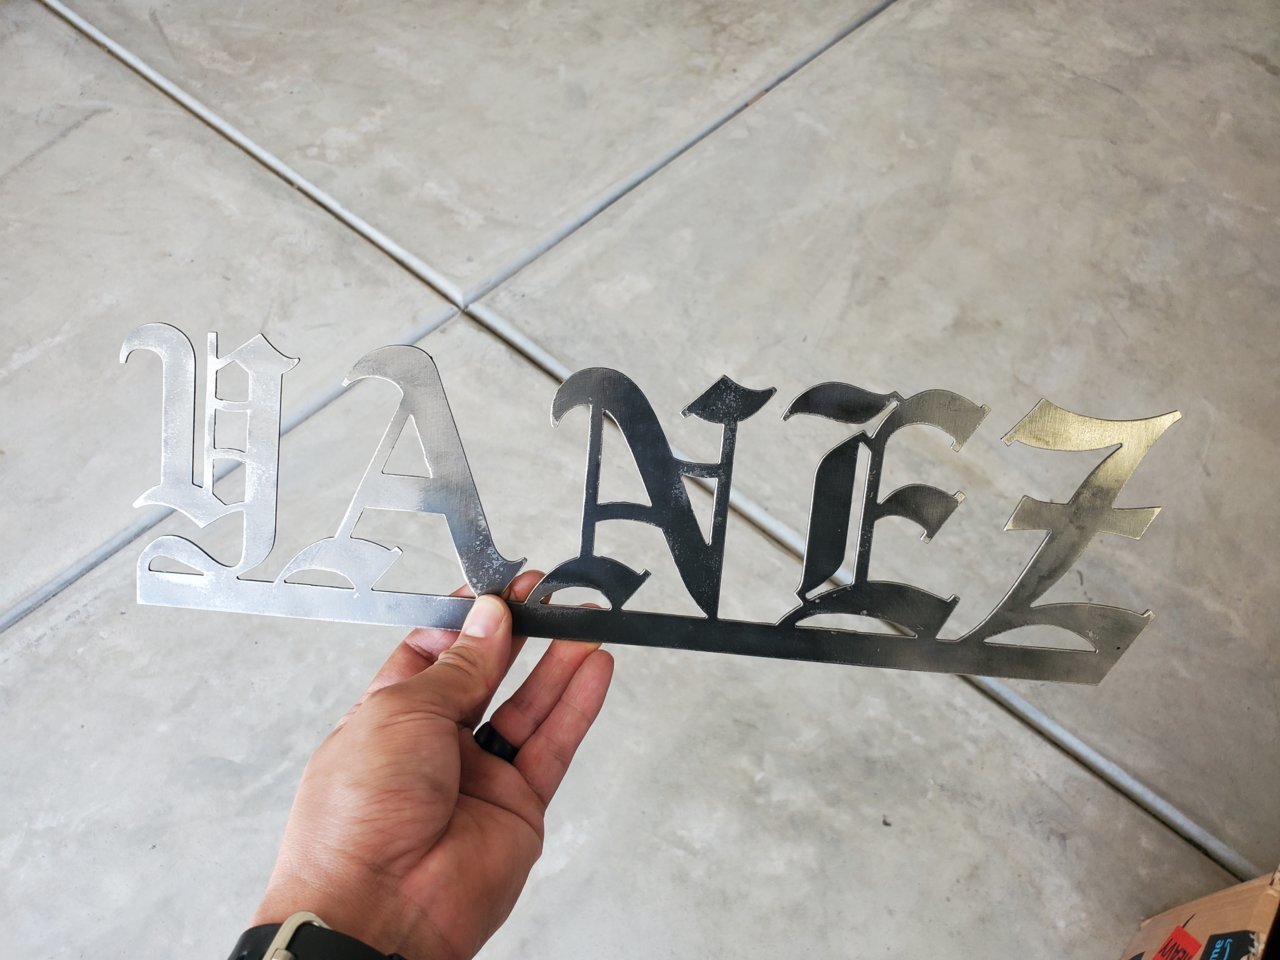
Jagged edges occurred immediately when I started cutting. Since it started right away, this would indicate that there is no issue with new consumables nor air as the tank is full. Also would remove the thought of moisture being an issue.
Unscrewed the shield cup, and everything was tight, proceed with cutting.
Jaggedness occurred throughout but was not consistent in any one particular area either.
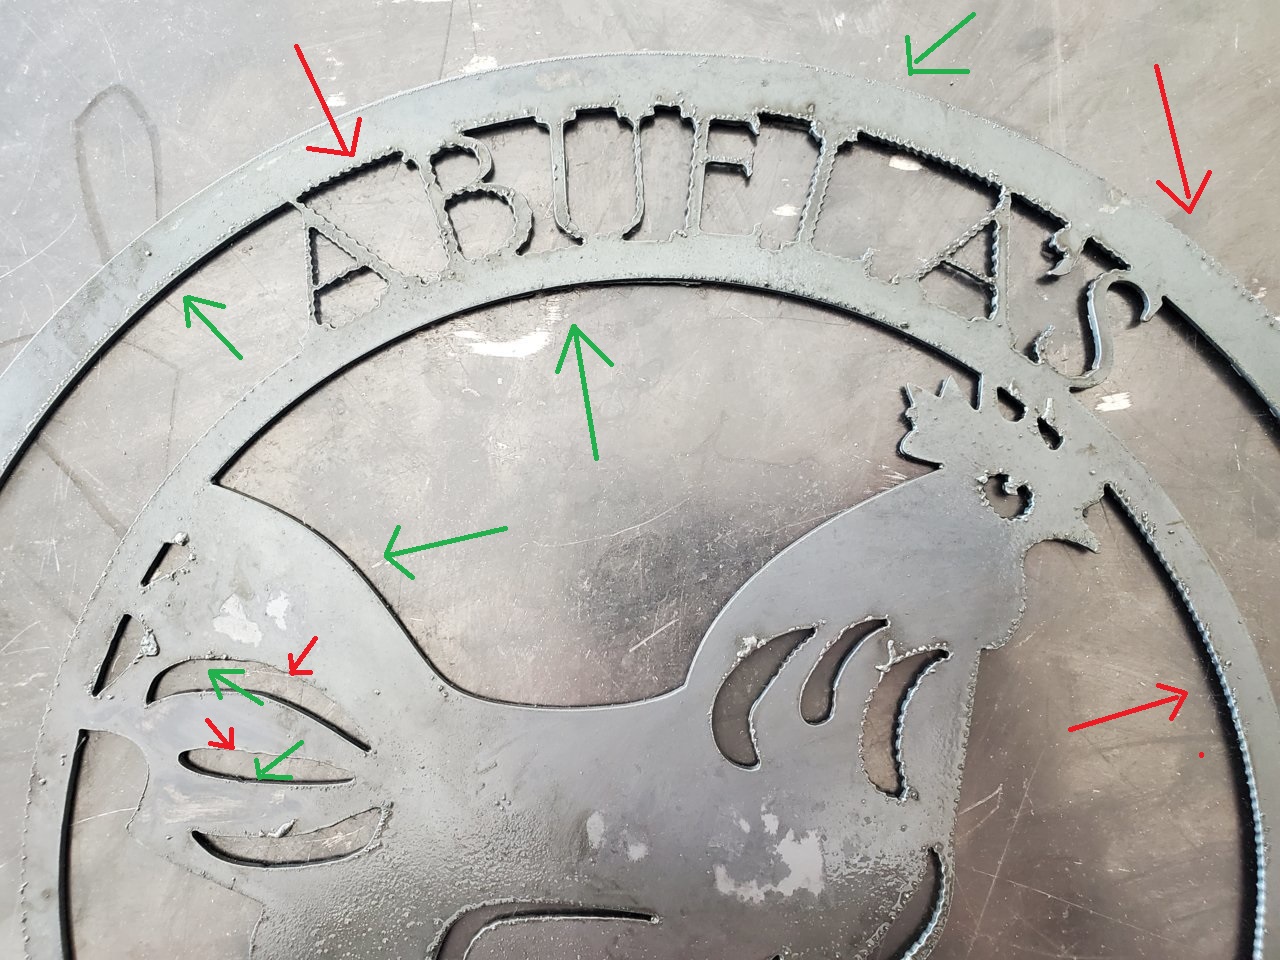
Red arrows point at the jagged edges, and green to the smooth edges.

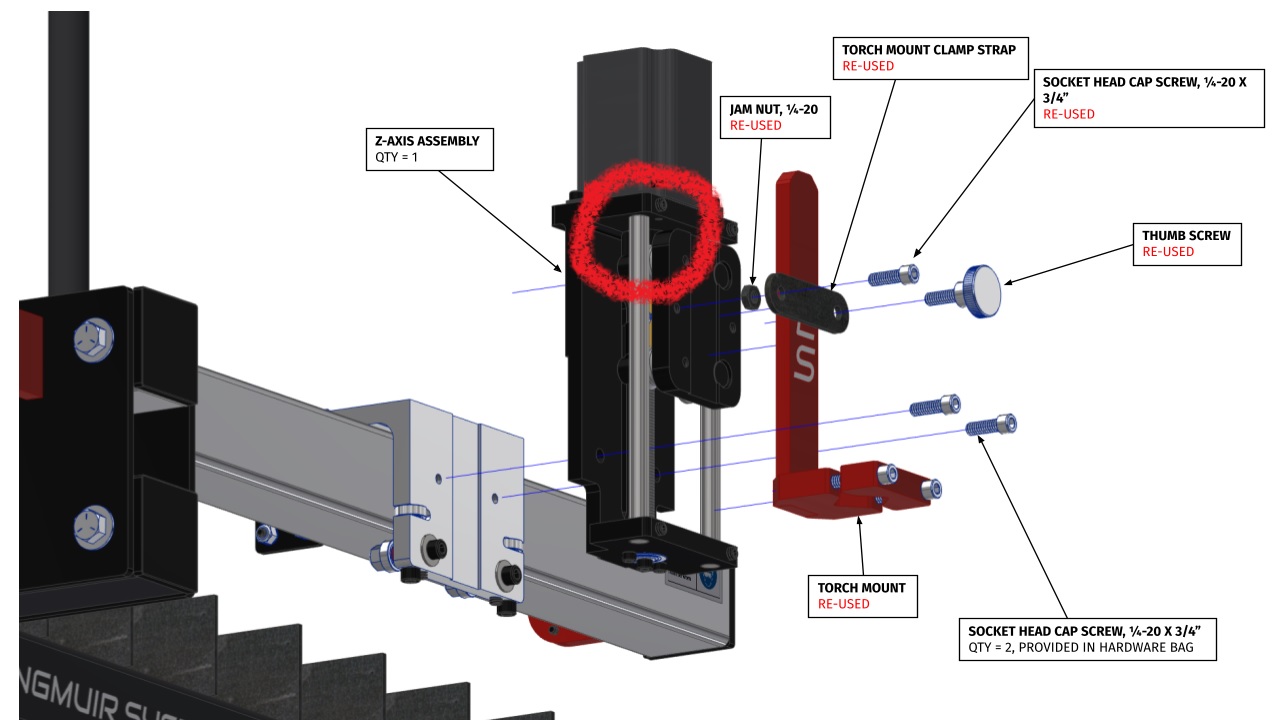
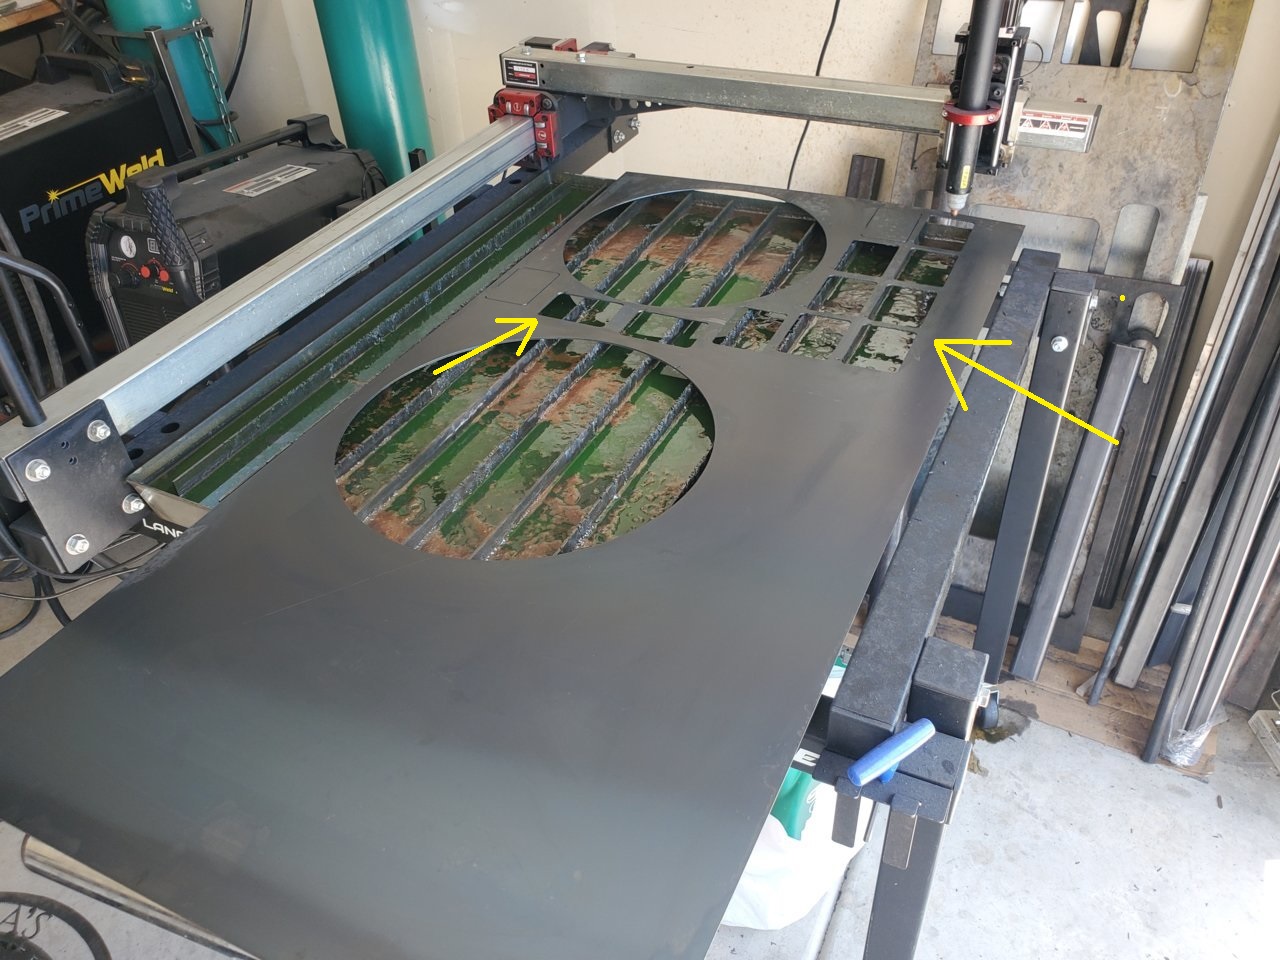
Here is how I’m set up in case anyone is questioning the layout.

Did my own trouble shooting which included -
-
Checking tolerance on my Z axis (does not move a single bit, tight)
-
Checked couplers on X and Y axis; there was never any binding nor slipping before cutting and after cutting. Tightened two total but still same issues as you read below
-
Cut 12 test pieces each with one variable changed to narrow down my possible issue (as pointed out by the yellow arrow showing each piece cut).
Keep in mind, this test cut piece is from a previously successful cut meaning the drawing of the sign is not the issue.
-
New 0.8mm tip, same jagged edge
-
New electrode, same jagged edge
-
Move regulator on machine up and down to ensure proper psi, same jagged edge
-
Flipped swirl ring, slightly worse jagged edge meaning it was right to begin with
-
Switched to a new 1.1mm tip, slightly less jagged edge but possibly because of a larger kerf it just burns it off?
-
Drastically increased cut speed with the 0.8mm new tip, jagged edge but slightly elongated
-
Drastically decreased cut speed with the 0.8mm new tip, jagged edge but same as before
-
Replaced the cup shield and swirl ring with new parts and back to a 1.1mm tip, so now everything is brand new, produced best results but had that elongated jagged edge now
-
Beads in my dessicant filter still blue as they were replaced yesterday, and electrode removed earlier had no swirl marks indicating no moisture; remember, the jagged cut started at the beginning of my first cut
So, I was able to get the sign cut with new cup shield and larger tip but still had the tiniest bit of jaggedness on a letter or two.
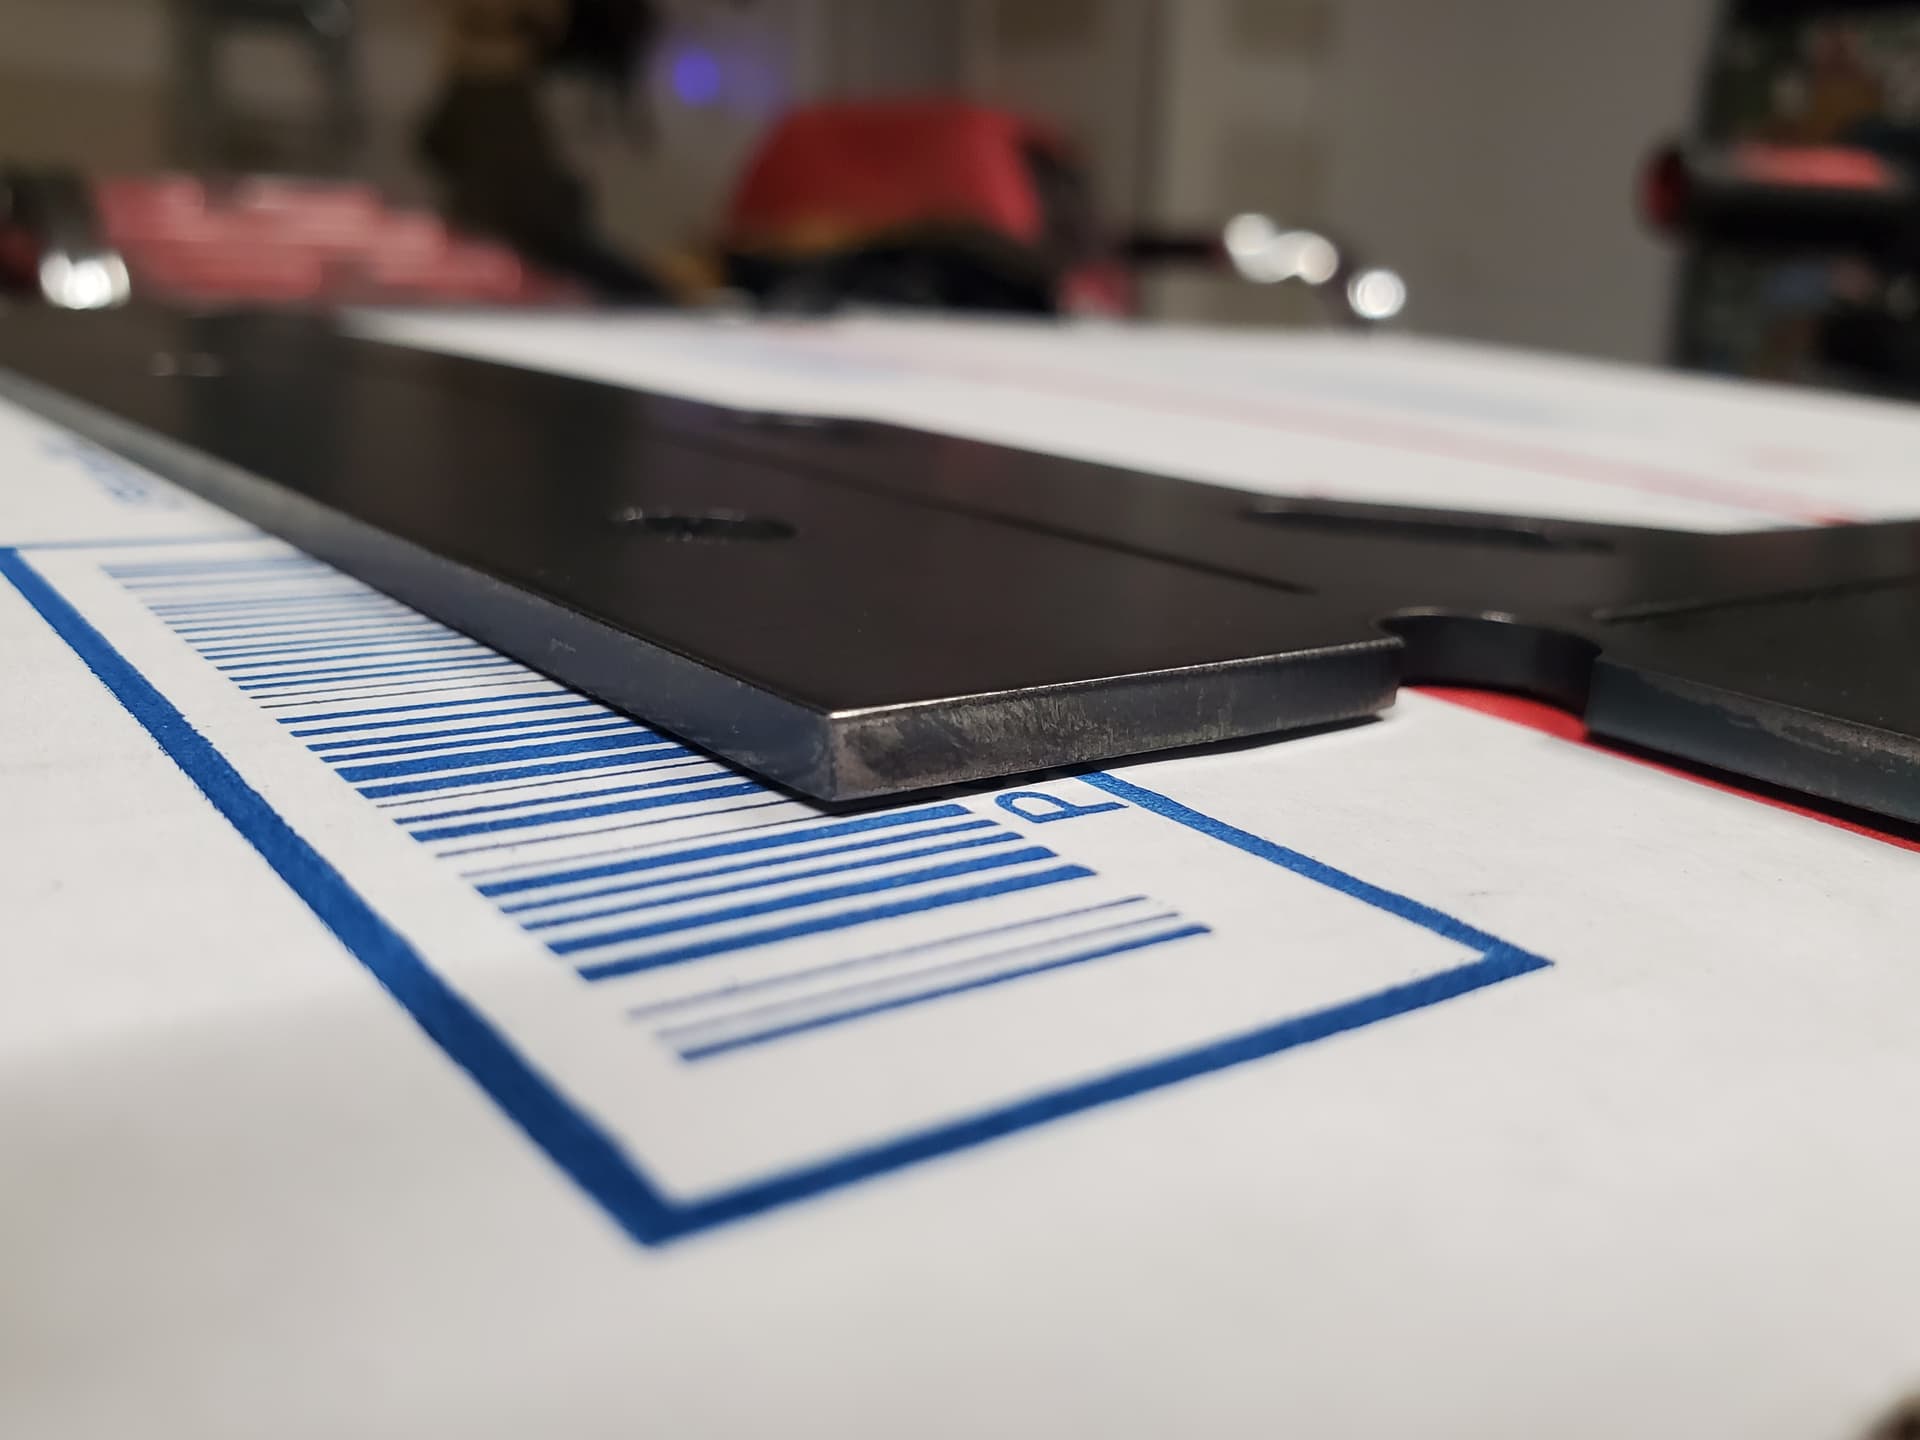
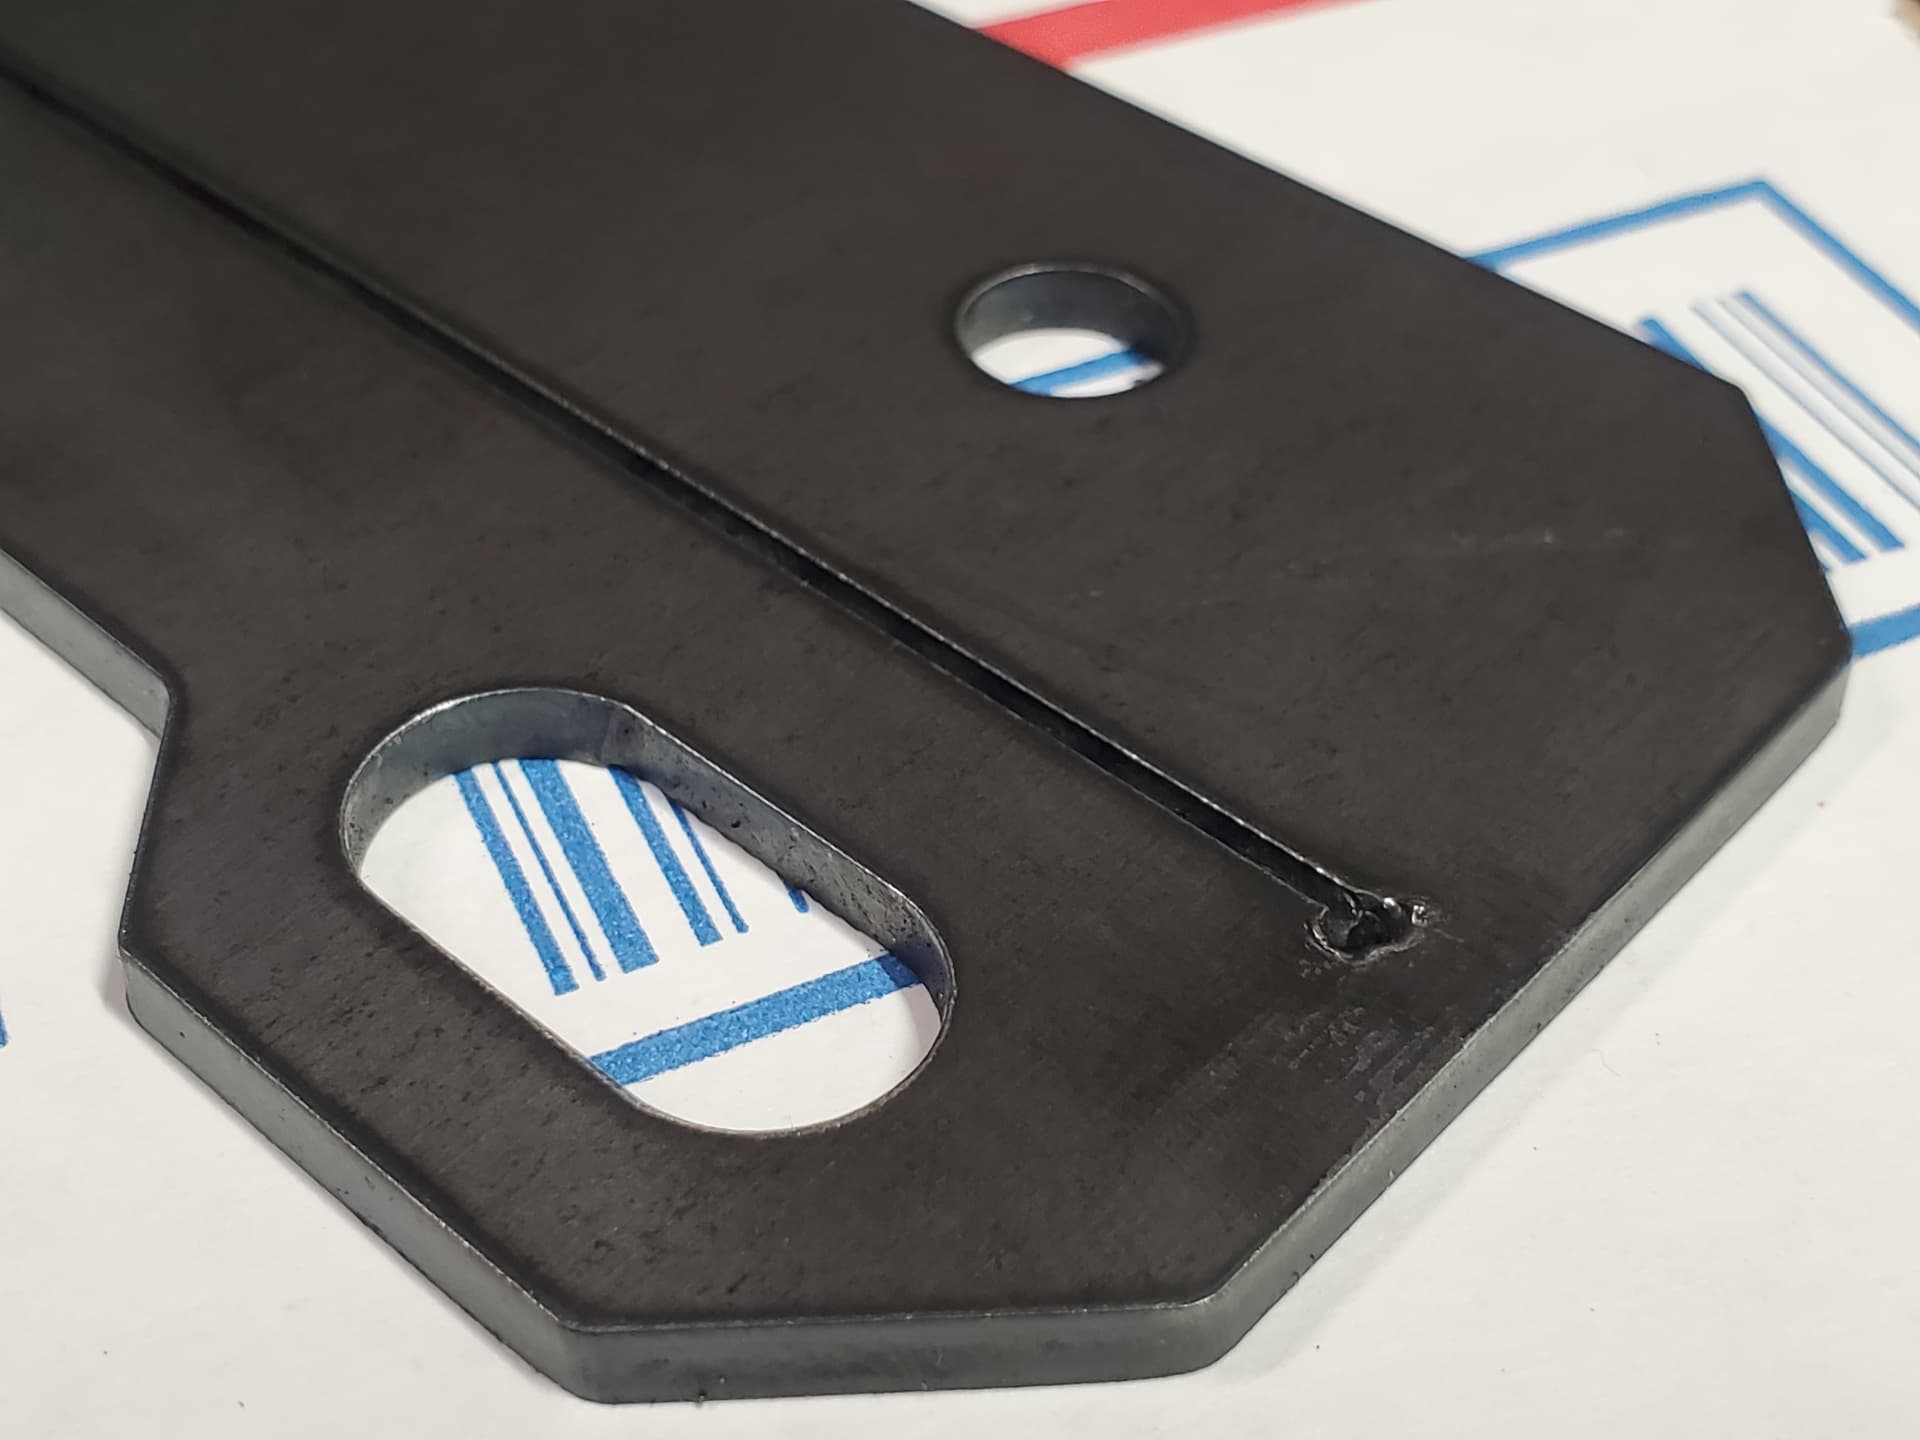
Proceed to cut some 1/4" some 15 minutes later.
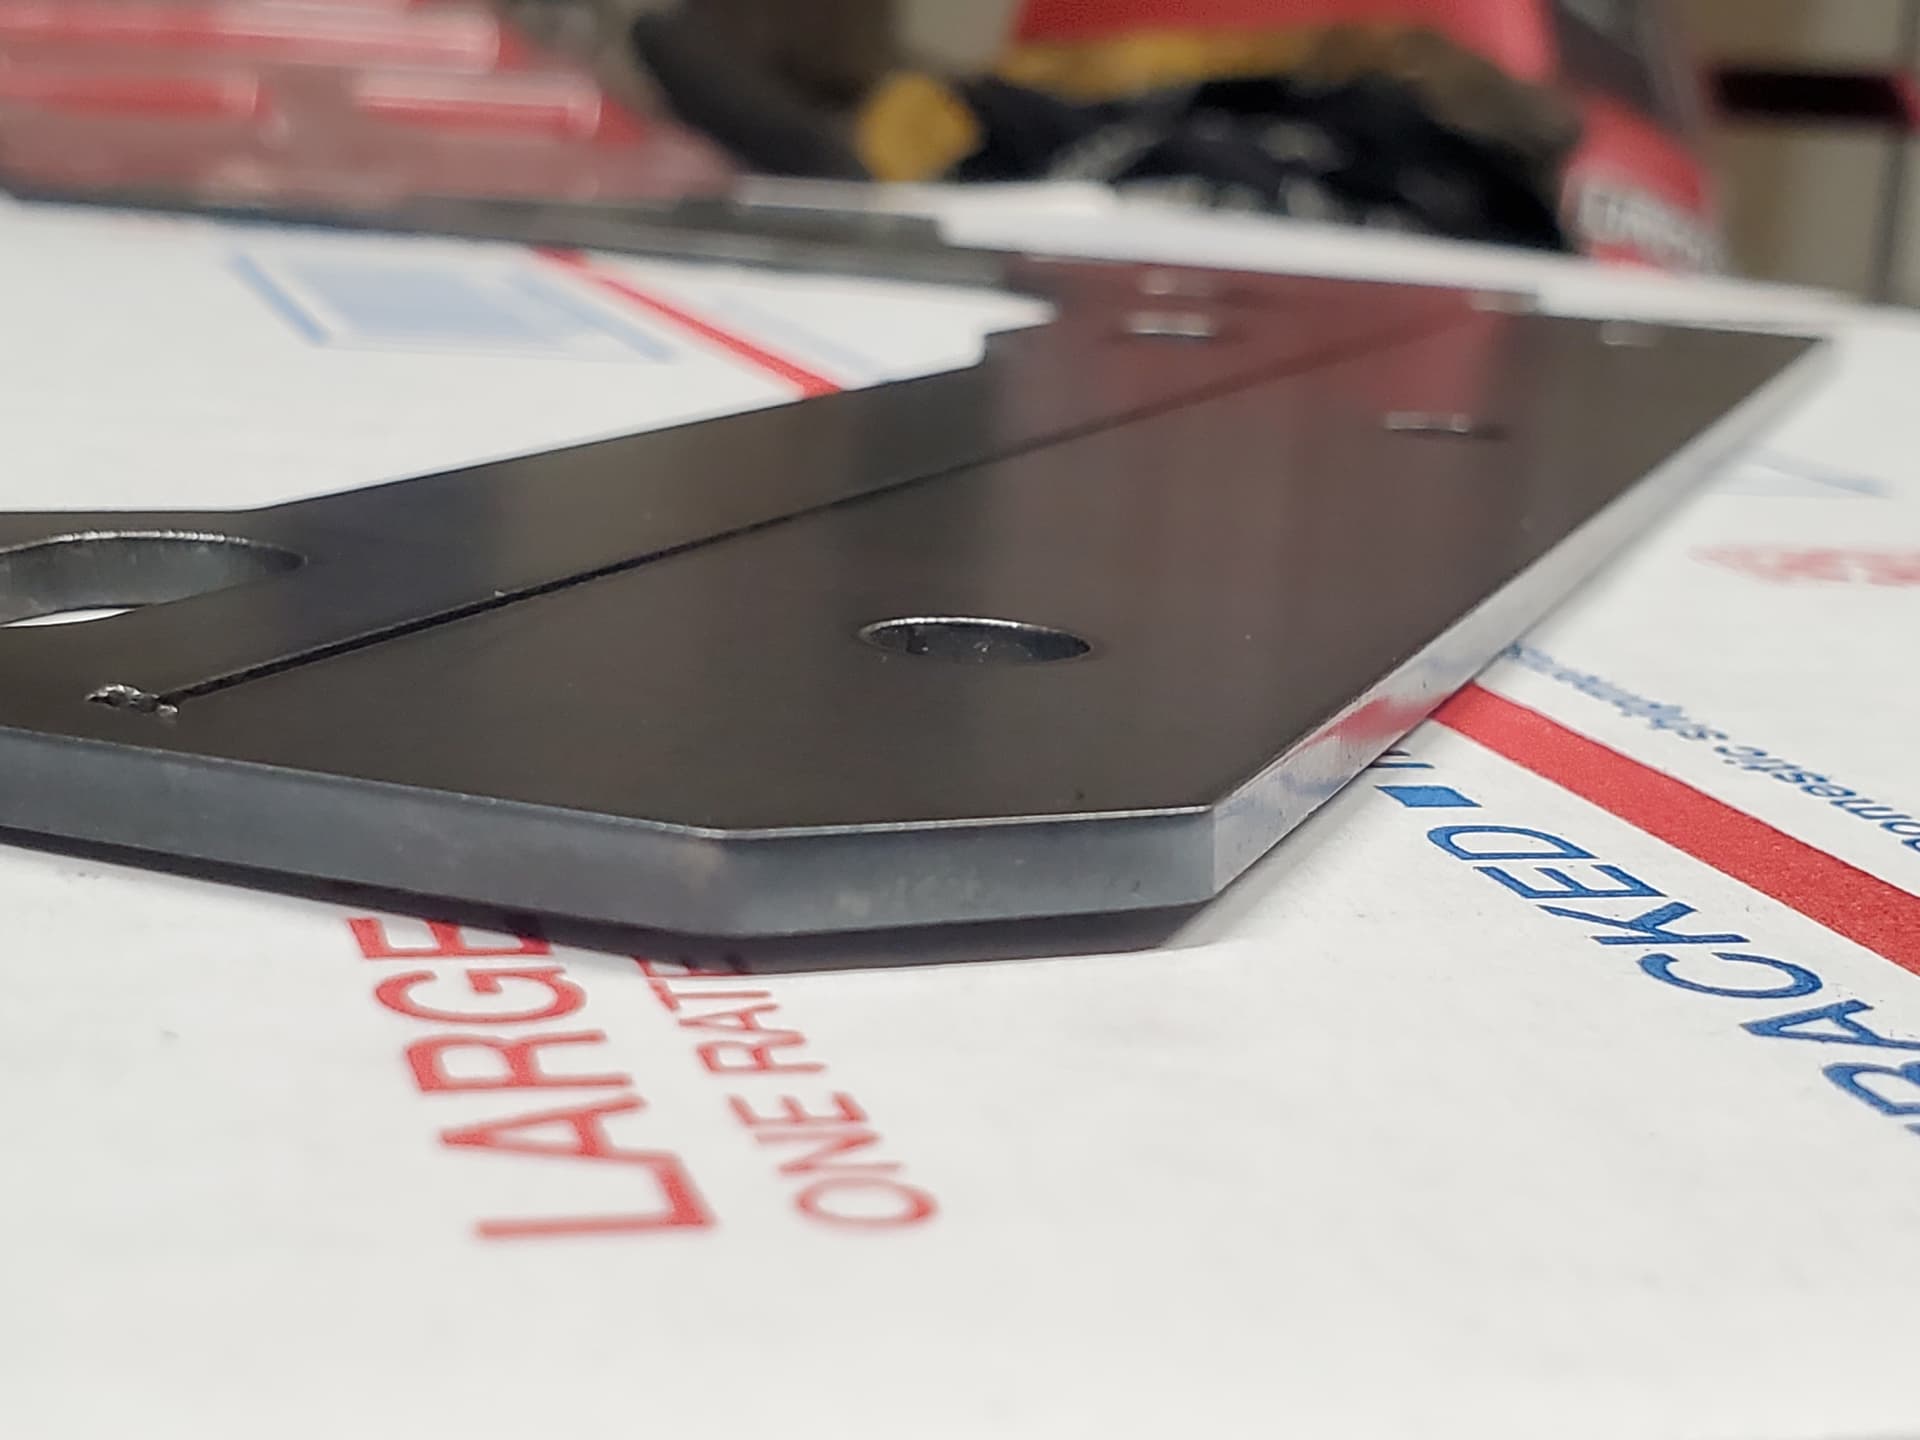
My thoughts confirmed that due to the lack of beveling, everything is straight as it needs to be. Not to mention square due to proper and circular holes.

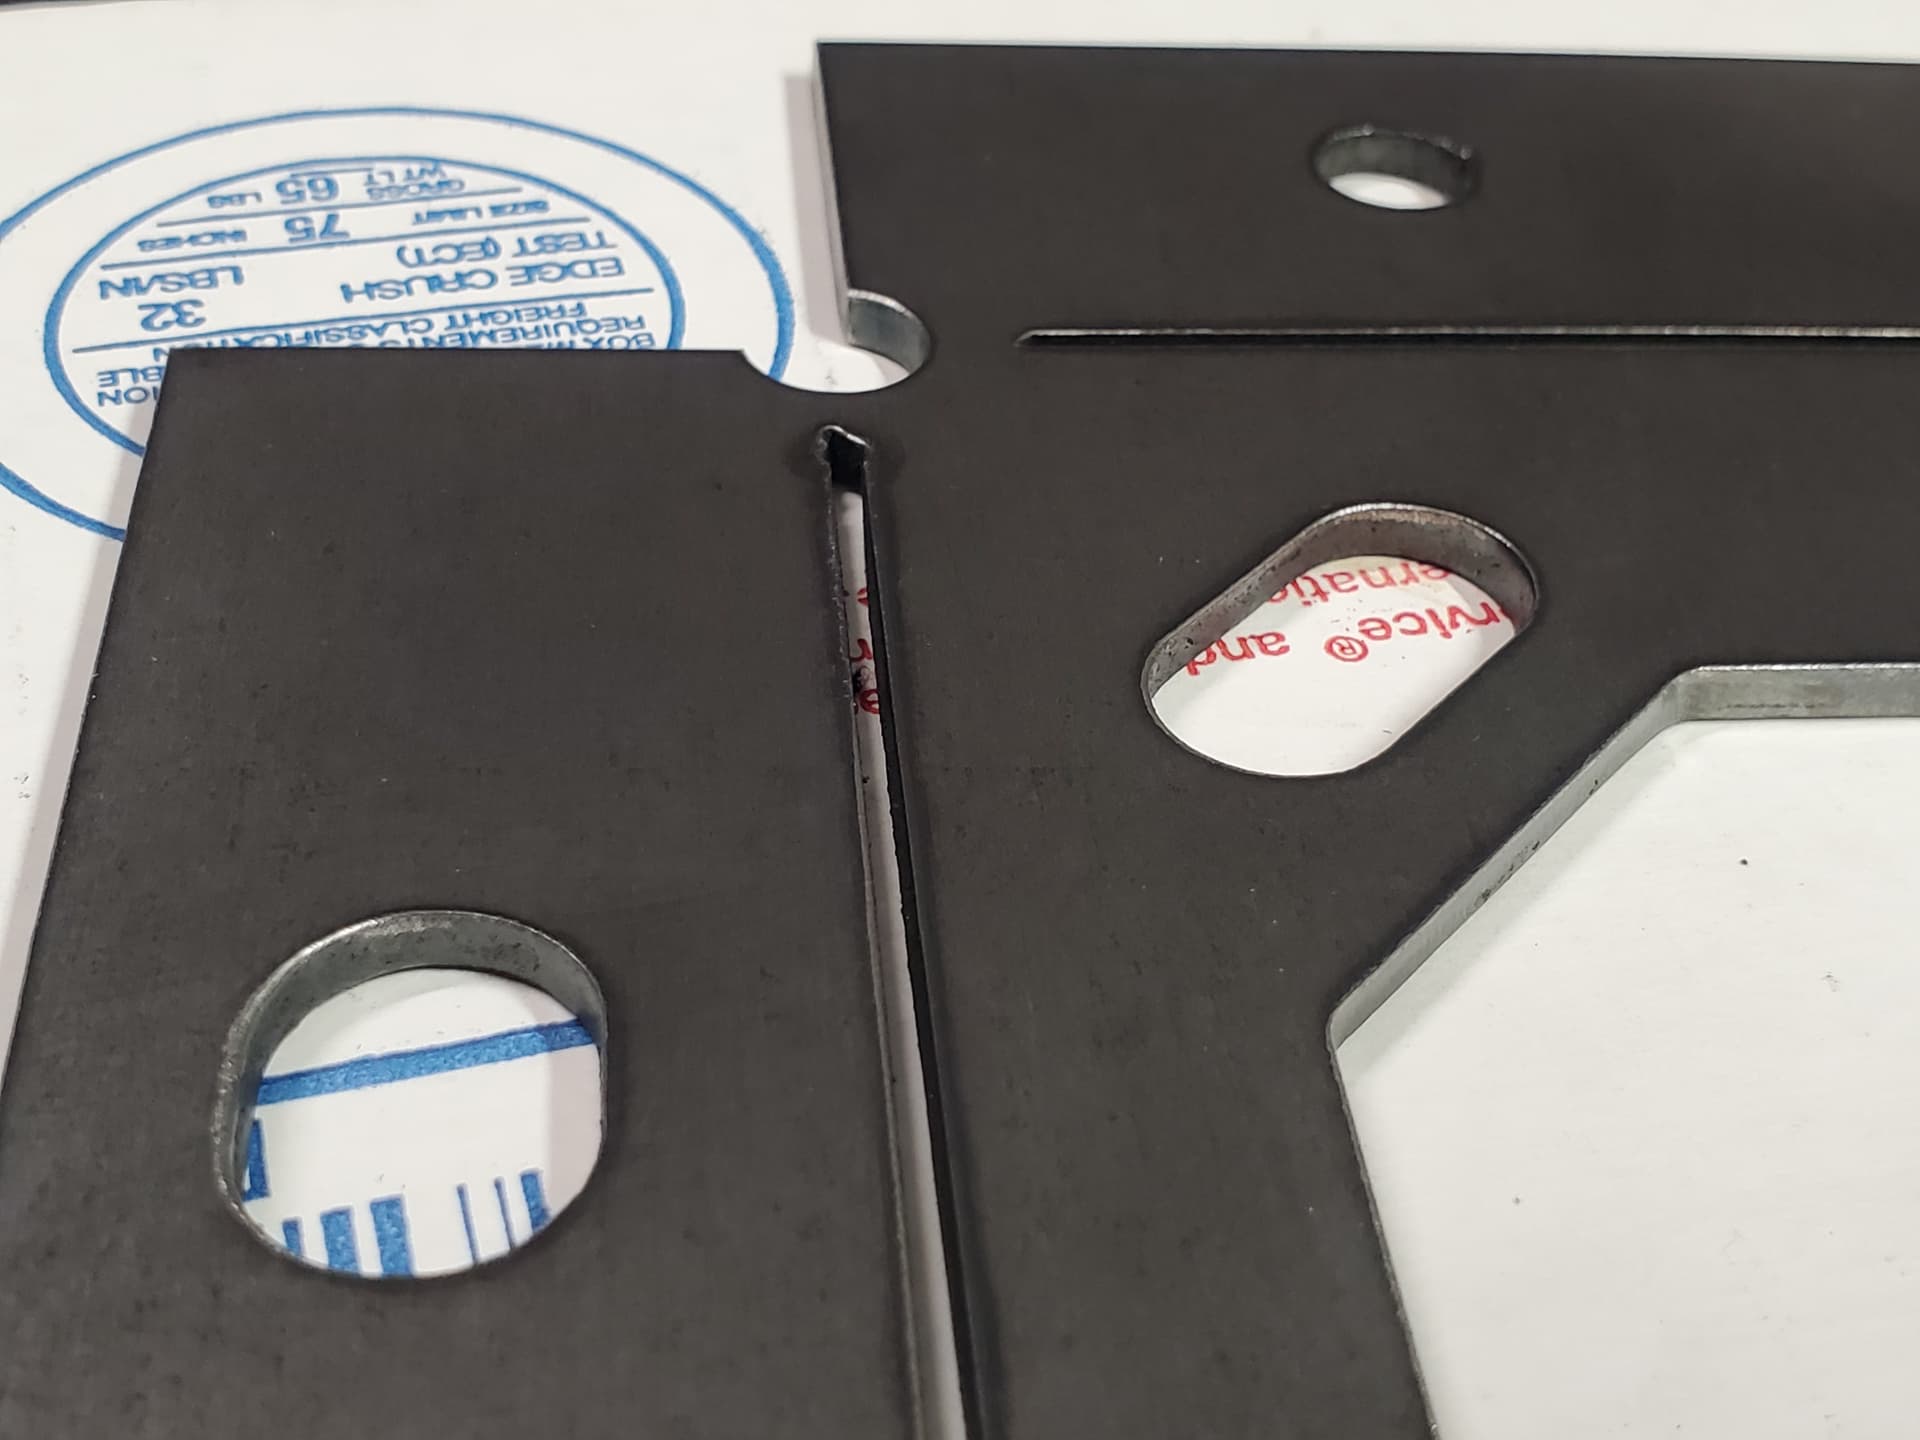
Out of these 8 brackets, my 7th bracket hole cut slightly jagged (circled in red again) and the 8th larger bracket as well but slightly less of a jagged edge.

Now here’s the kicker; I cut a sign yesterday out of the same steel, with a slightly used tip and electrode, using the same exact settings as above and had successful results as shown below which proves my combination posted already works.