Does the upgrade require the electronics package? Or can I get it without it. Thanks
.
Does the upgrade require the electronics package? Or can I get it without it. Thanks
.
Yes, you can purchase the upgrade without the electronics kit.
https://store.langmuirsystems.com/products/crossfire-pro-to-pro-max-upgrade-kit
Yeah. The upgrade kit doesn’t include any electronics. Those are add ons.
You will need an extension for the X axis motor cable, unless they are including them now. Mine was a couple of inches too short.
Has anyone changed out the y axis stepper motors to higher torque versions? With the MAX upgrade kit, I think the lead nuts have higher friction than my original Pro. One of my steppers has failed and I need to replace it. I ordered a replacement from Langmuir but I’ve also found higher torque versions on line…Thoughts?
I’ve been considering it. I’m not sure if the stock drivers will support the higher torque motor, though. I’m sure someone here has more knowledge on that subject.
I’ve got mine working ok, but it still struggles at the far ends of the travel on Y. Higher torque motors would probably fix that.
Doug is correct, to upgrade the motor to higher torque, you’ll need more current which means larger power supply and driver. However, the existing drivers are not the ‘best’ and replacing the drivers with DM542s will help a lot, you could probably get a bit more current out of those as well.
I would try that first because it would be mostly a swap out of the driver. You will need to swap the wires on the driver connector as the DM542 is a different order than the TB6600 drivers.
I would just try the Y drivers first since that’s where your problem lies.
David? 
LOL! I’m sure Doug is correct most of the time too! 
I received the higher torque motors and wired one up same as the original motors and it operates as expected, albeit not connected to anything. It’s shaft is 10mm. I ordered machinable couplers from McMaster with one side 10mm, the other machinable from 6mm to 10mm. The lead screw is 1/4 inch, 6.34mm. I have a mill and lathe, so no problem with this task.
The driver current is of course a concern, as you’ve noted. The DM542 is rated (per amazon listing) at 4.2 amps, The TB6600 (amazon again) is rated at 4A.
The larger motor is rated at 4.2A, and 425 oz/in of torque. here’s the amazon link to what I bought: Amazon.com
I’m assuming the OEM steppers have a 2A to 3A rating, based on the various versions available on amazon. I guess I risk over loading the driver if I run the larger stepper due to little head room on current draw. I see the TB6600 has overcurrent protection…the DB542 presumably doesn’t?
I think I’m going to just give it a shot with the existing drivers as the table is non functional right now. The Langmuir provided motors won’t drive the x axis gantry reliably. I never had any issue like this with the Pro setup during 5 years of hobbyist use.
My guide rails are parallel, the table is level, the y axis bearing carriers are adjusted, the x and z axes work fine (as they always have). I can get the x axis gantry to move, at least partially, through some of it’s travel, but it jerks and stops as one motor or the other stalls. So it not usable as is.
The larger diameter lead screws would have more friction (surface area) in contact with the drive nut, just enough to overload the smaller steppers? I find it hard to believe I’m the only one having this problem–unless, of course there haven’t been enough folks upgrading to discover this yet?
Open to any other ideas…
I ordered some dm542t drivers to try on my Y axis motors. It seems like that will get some more power out of the stock motors.
I had problems with mine binding badly on one side after the Max upgrade. It improved a lot after I loosened all of the bolts holding the weldment to the bearing blocks and the X rail to allow it to square itself to the lead screw. I think the lead nut was not square to the lead screw and that was causing most of the binding. The old 3/8 lead screw was more flexible and probably didn’t cause as much friction, so it was never an issue before. It still binds at 300 IPM at the far ends of the travel.
‘presumably’? Why do you say that? EVERY Stepper driver controls the motor current and limits it.
The difference between the two drivers is not the current drive, it’s the motor waveform. The TB6600 creates a crude waveform where the DM542 is closer to a true sine wave. Listen to a motor driven by the TB6600, you’ll hear a ‘hiss’ - that is the crappy waveform. You won’t hear this with a proper driver.
I’m just beginning to learn about this stuff. My comment about overcurrent protection was based on the descriptions in the product listings. The TB6600 was listed with it, the DB542 didn’t mention it.
I’ll try your lead screw re-alignment suggestion. Thanks for that. Where did you order your dm542 drivers from? Why do you expect more power from the stock motors? I see them on amazon but…
From what I read, it won’t provide more torque, but it can retain more of the available torque that is lost to vibration with the TB6600. The DM542t is also less prone to stalling during quick directional changes.
OK, thanks. I’ve wired both of the new high torque motors and successfully tested them with the existing drivers, but not attached to the lead screws–so would be little current draw. I ordered a couple dm542 drivers. I won’t get the needed shaft couplers until tomorrow, the drivers come Sunday. I’ll let you know how things work out. Again, appreciate the responses. Reassuring to know I’m not the only one with this issue.
I installed my new DM542t drivers this afternoon and they seem to be working well. I didn’t do extensive testing, but I ran the Y axis back and forth a few times with no stalling.
A few notes:
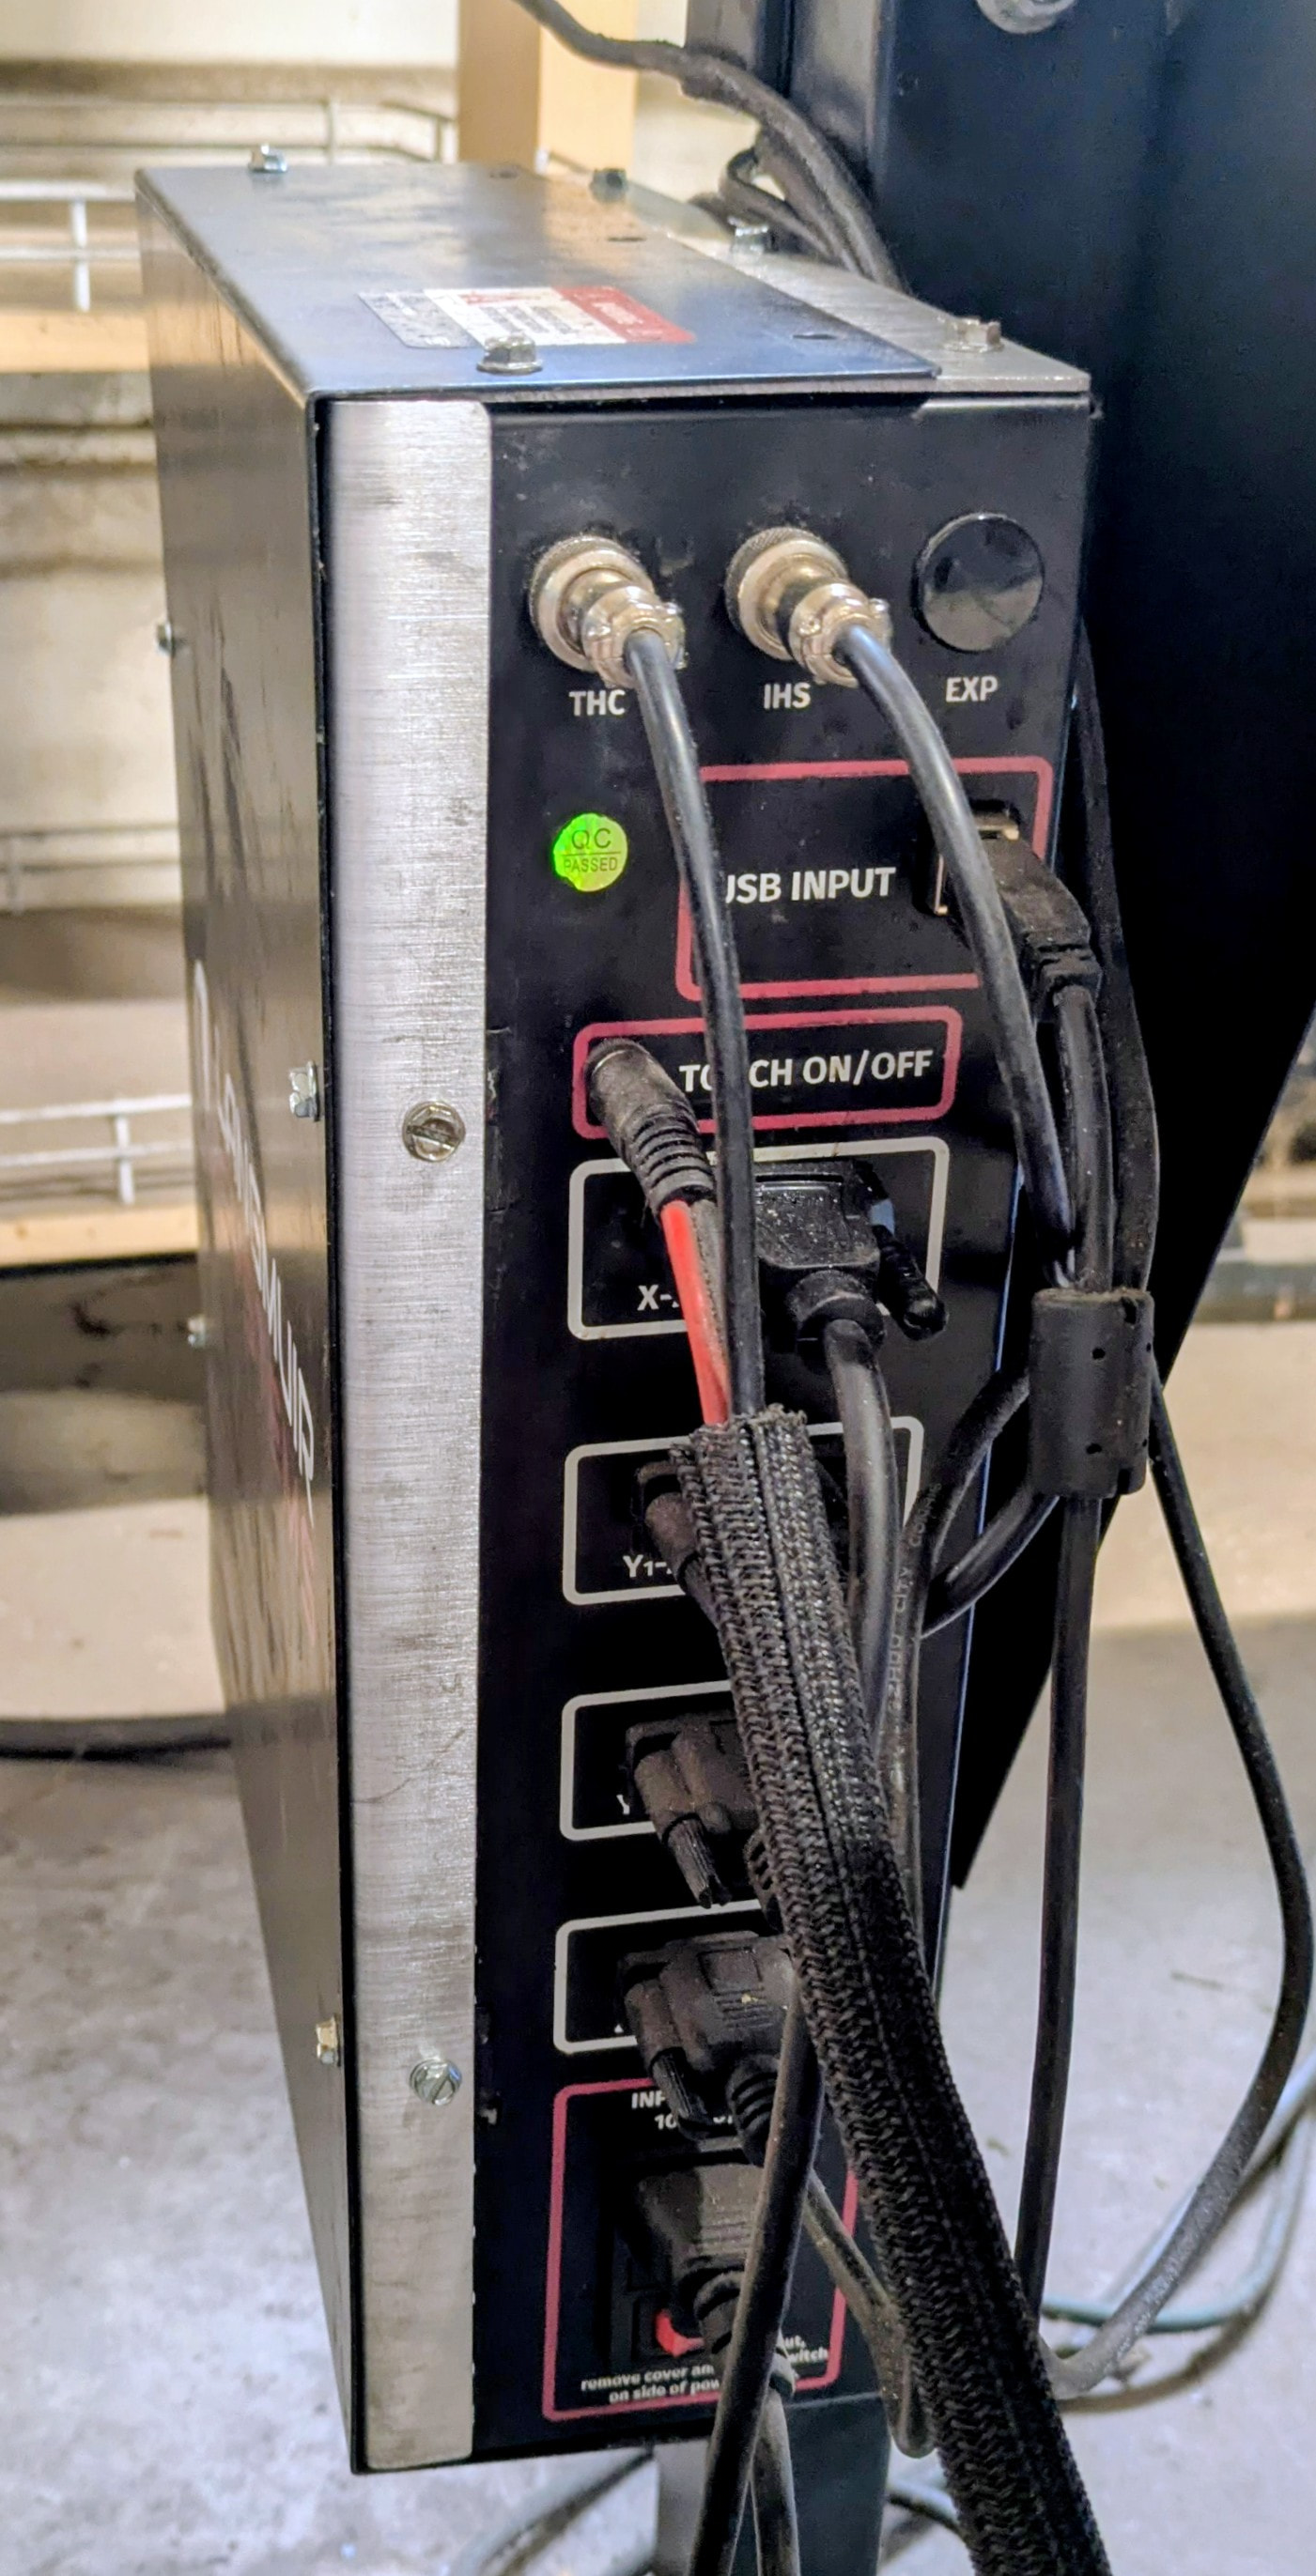
The drivers are bigger than the originals and the cover doesn’t fit back on the control box. I duct taped it back on until I can fabricate a new one.
I also had to put them in at an angle with only one screw. I was going to drill new holes, but the new holes interfered with the mounting screws for the box to the table leg.
It ran backwards with the wires transferred directly to the same terminals as the original drivers. I switched the B+ and B- wires to get it to run the correct direction.
I just came back in the house after installing the same drivers, with the same cover interference situation. I drilled new holes without any issues.
I quickly checked operation and the drivers were working, but I didn’t confirm direction as my larger stepper motors are not connected to the lead screws yet and I didn’t do a close inspection of the shafts at the time, only saw they moved.
I’m still waiting for the 10mm to 6mm (which I will ream to 1/4 inch) shaft couplers to arrive from McMaster.
What did you set the DIP switches for max current considering you are using the original stepper motors? I set the new drivers to max amps (4.2A IIRC). My larger stepper motors are also rated 4.2A.
I set the step rate to 1600 which is what the original drivers were set to.
I have switches 1,2,3,7,8 on and the others off.