Copycat: Dimple die thread

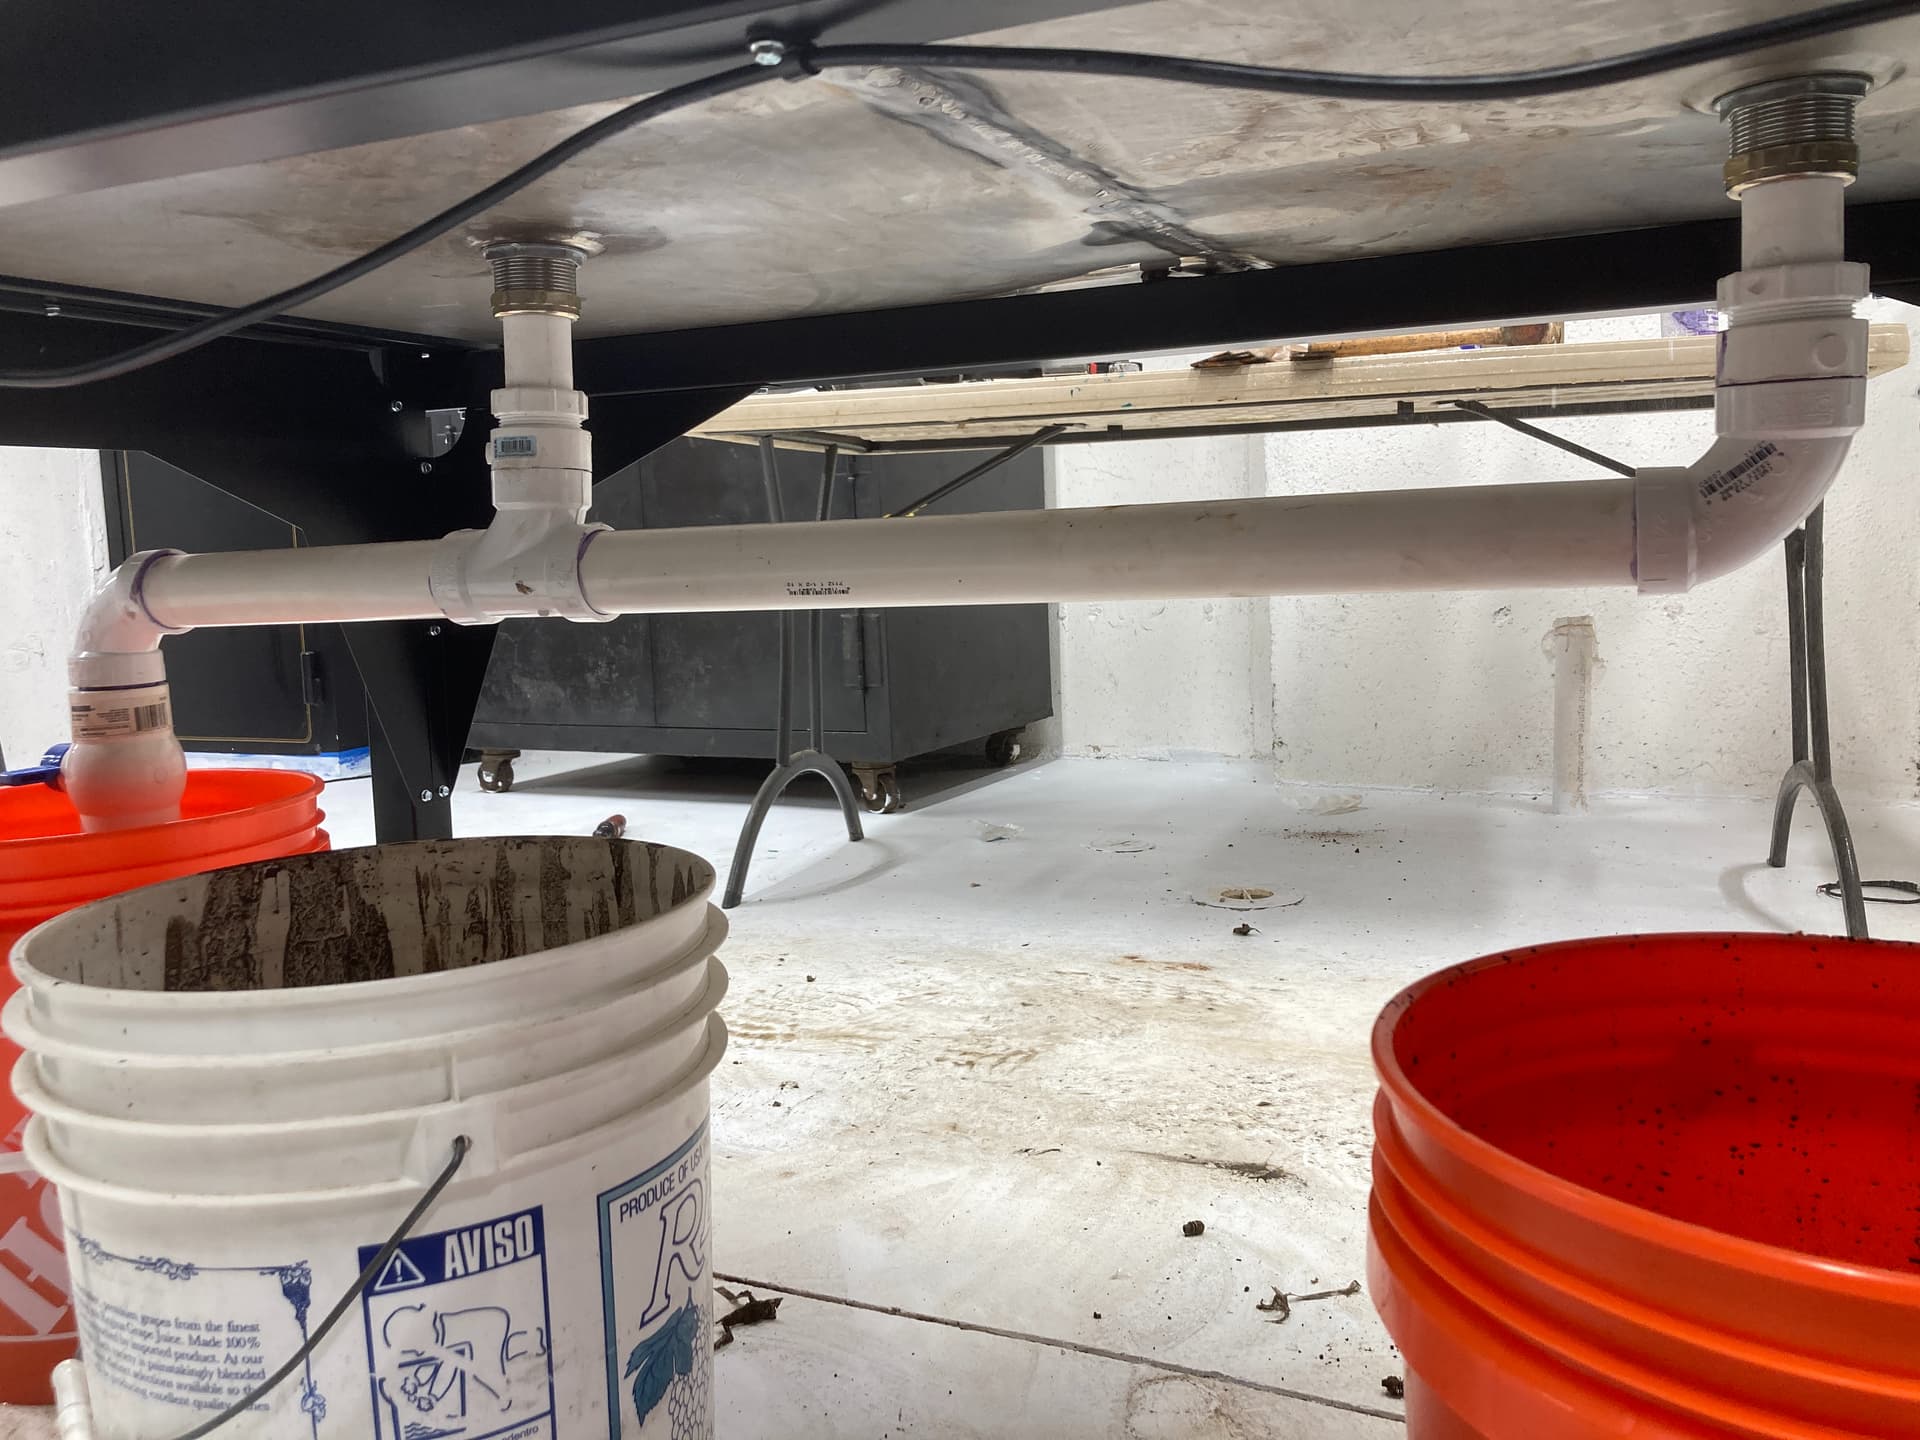
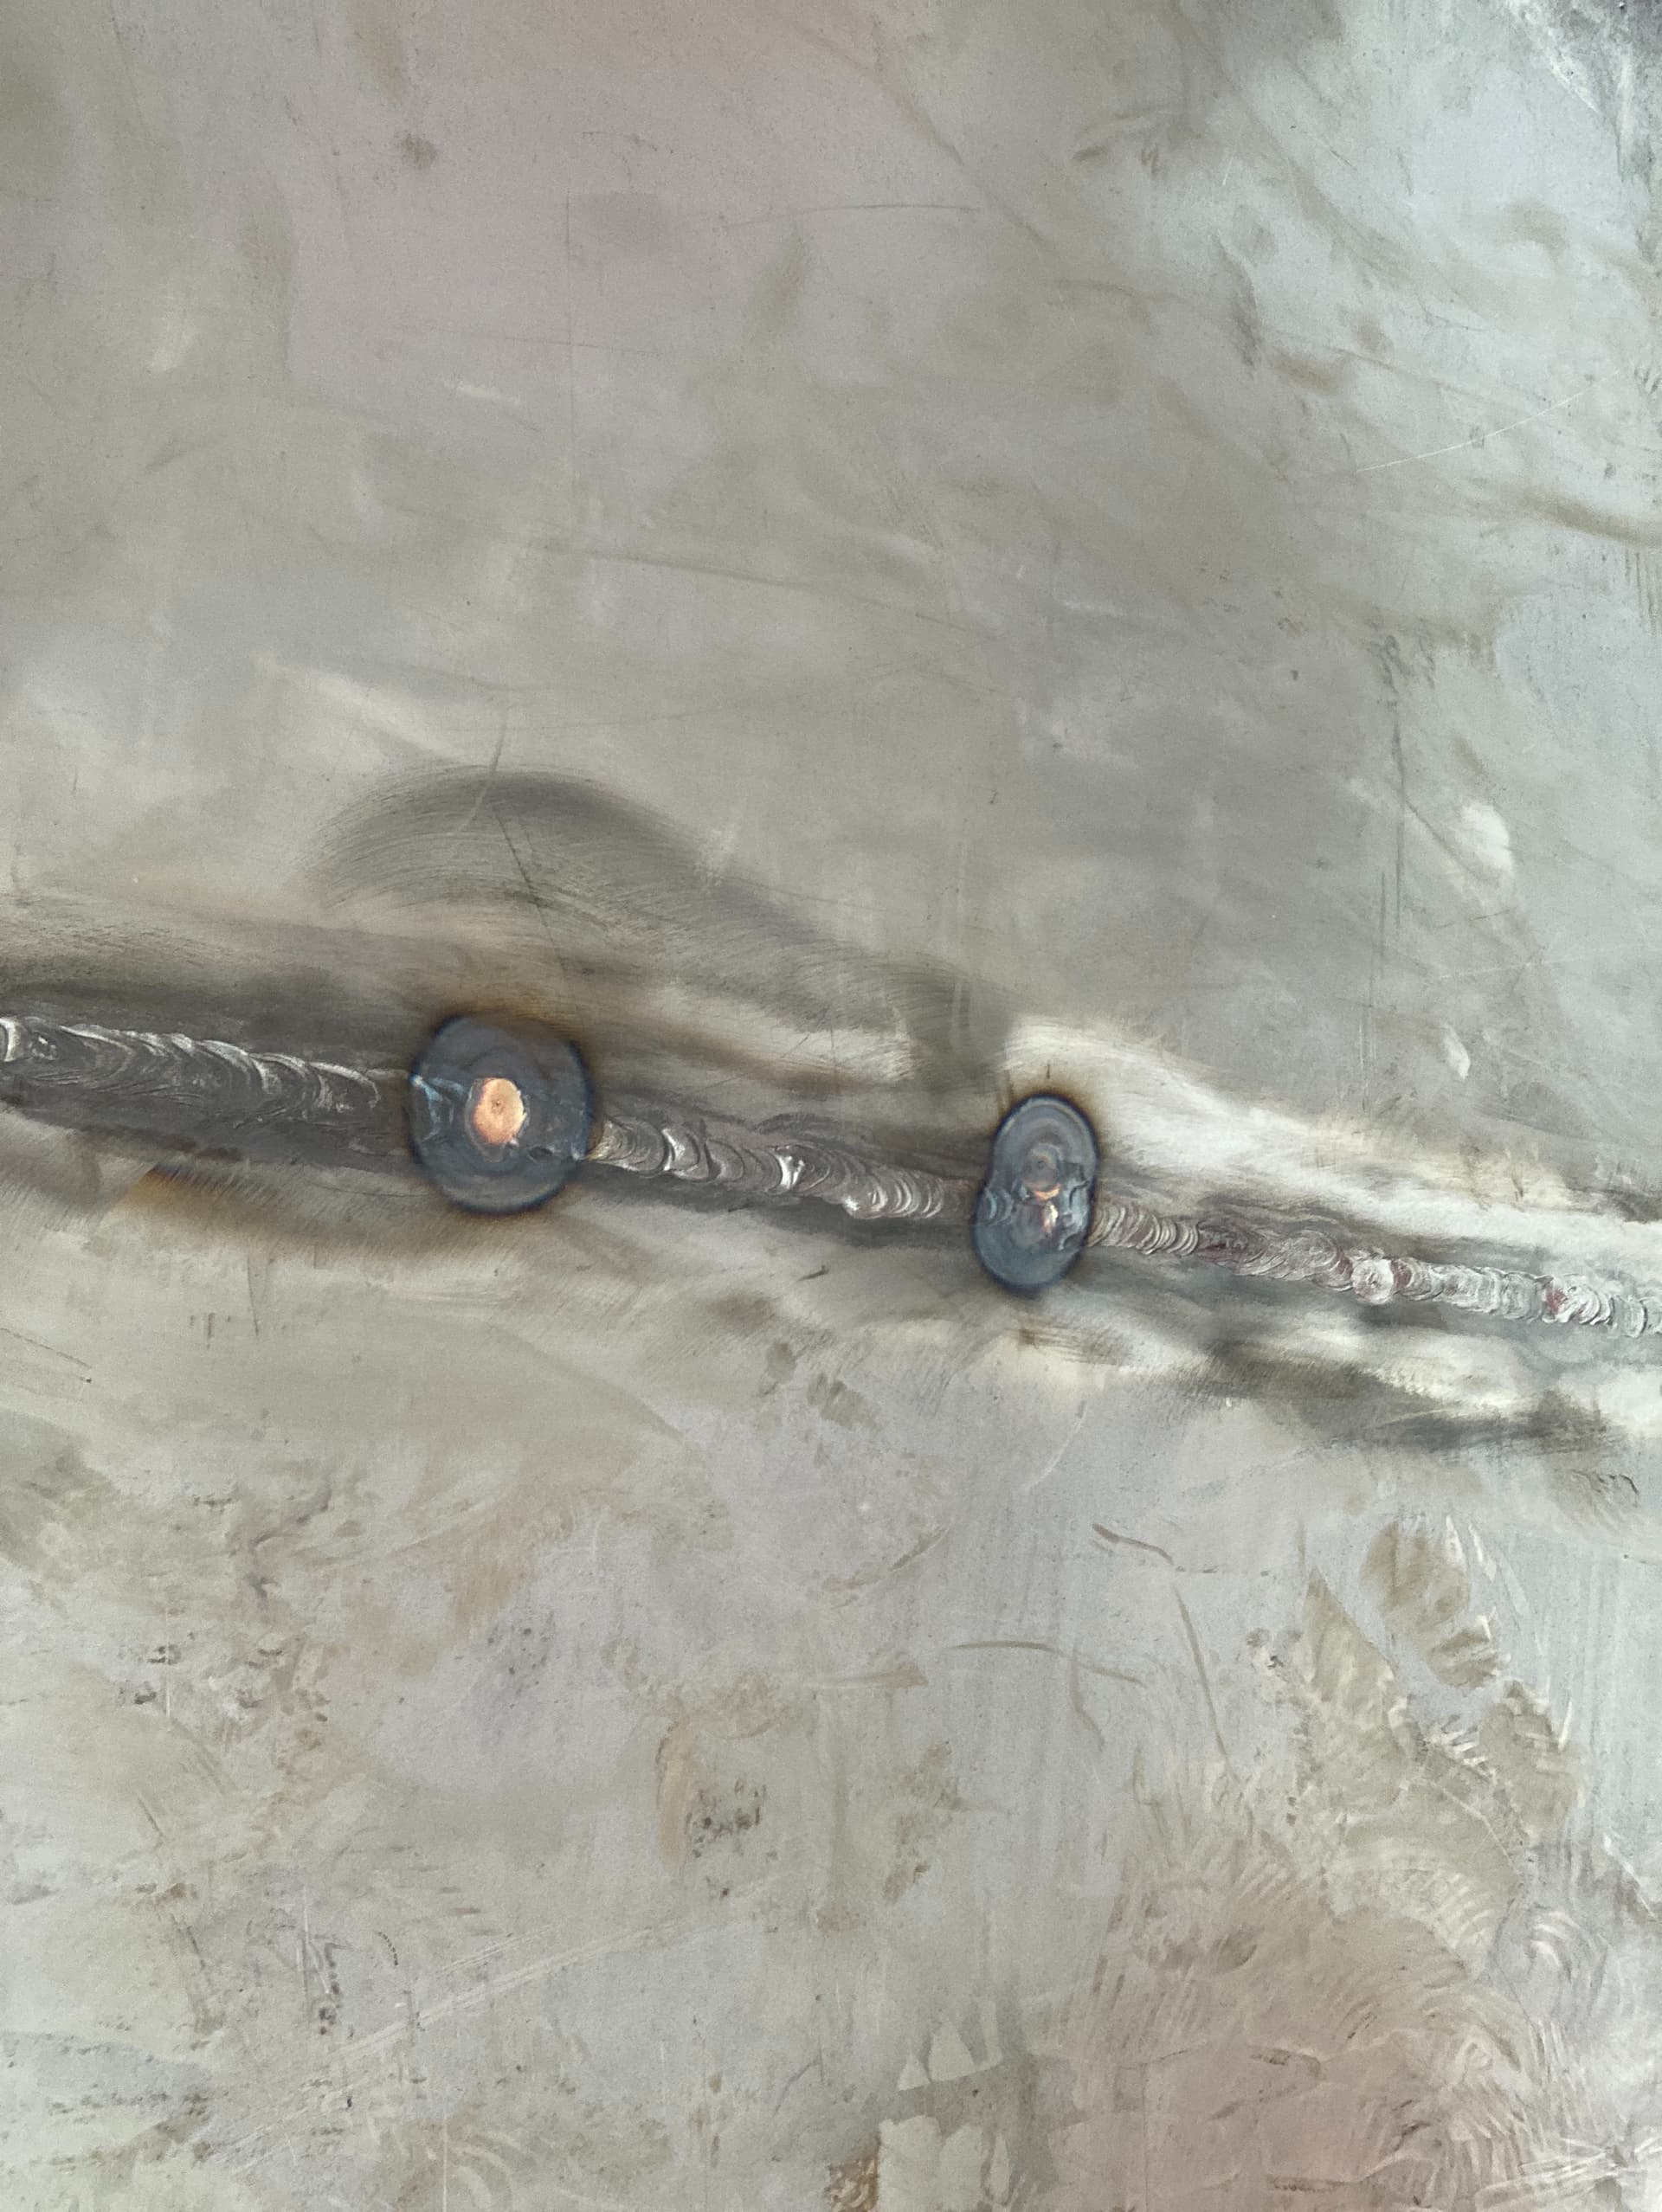
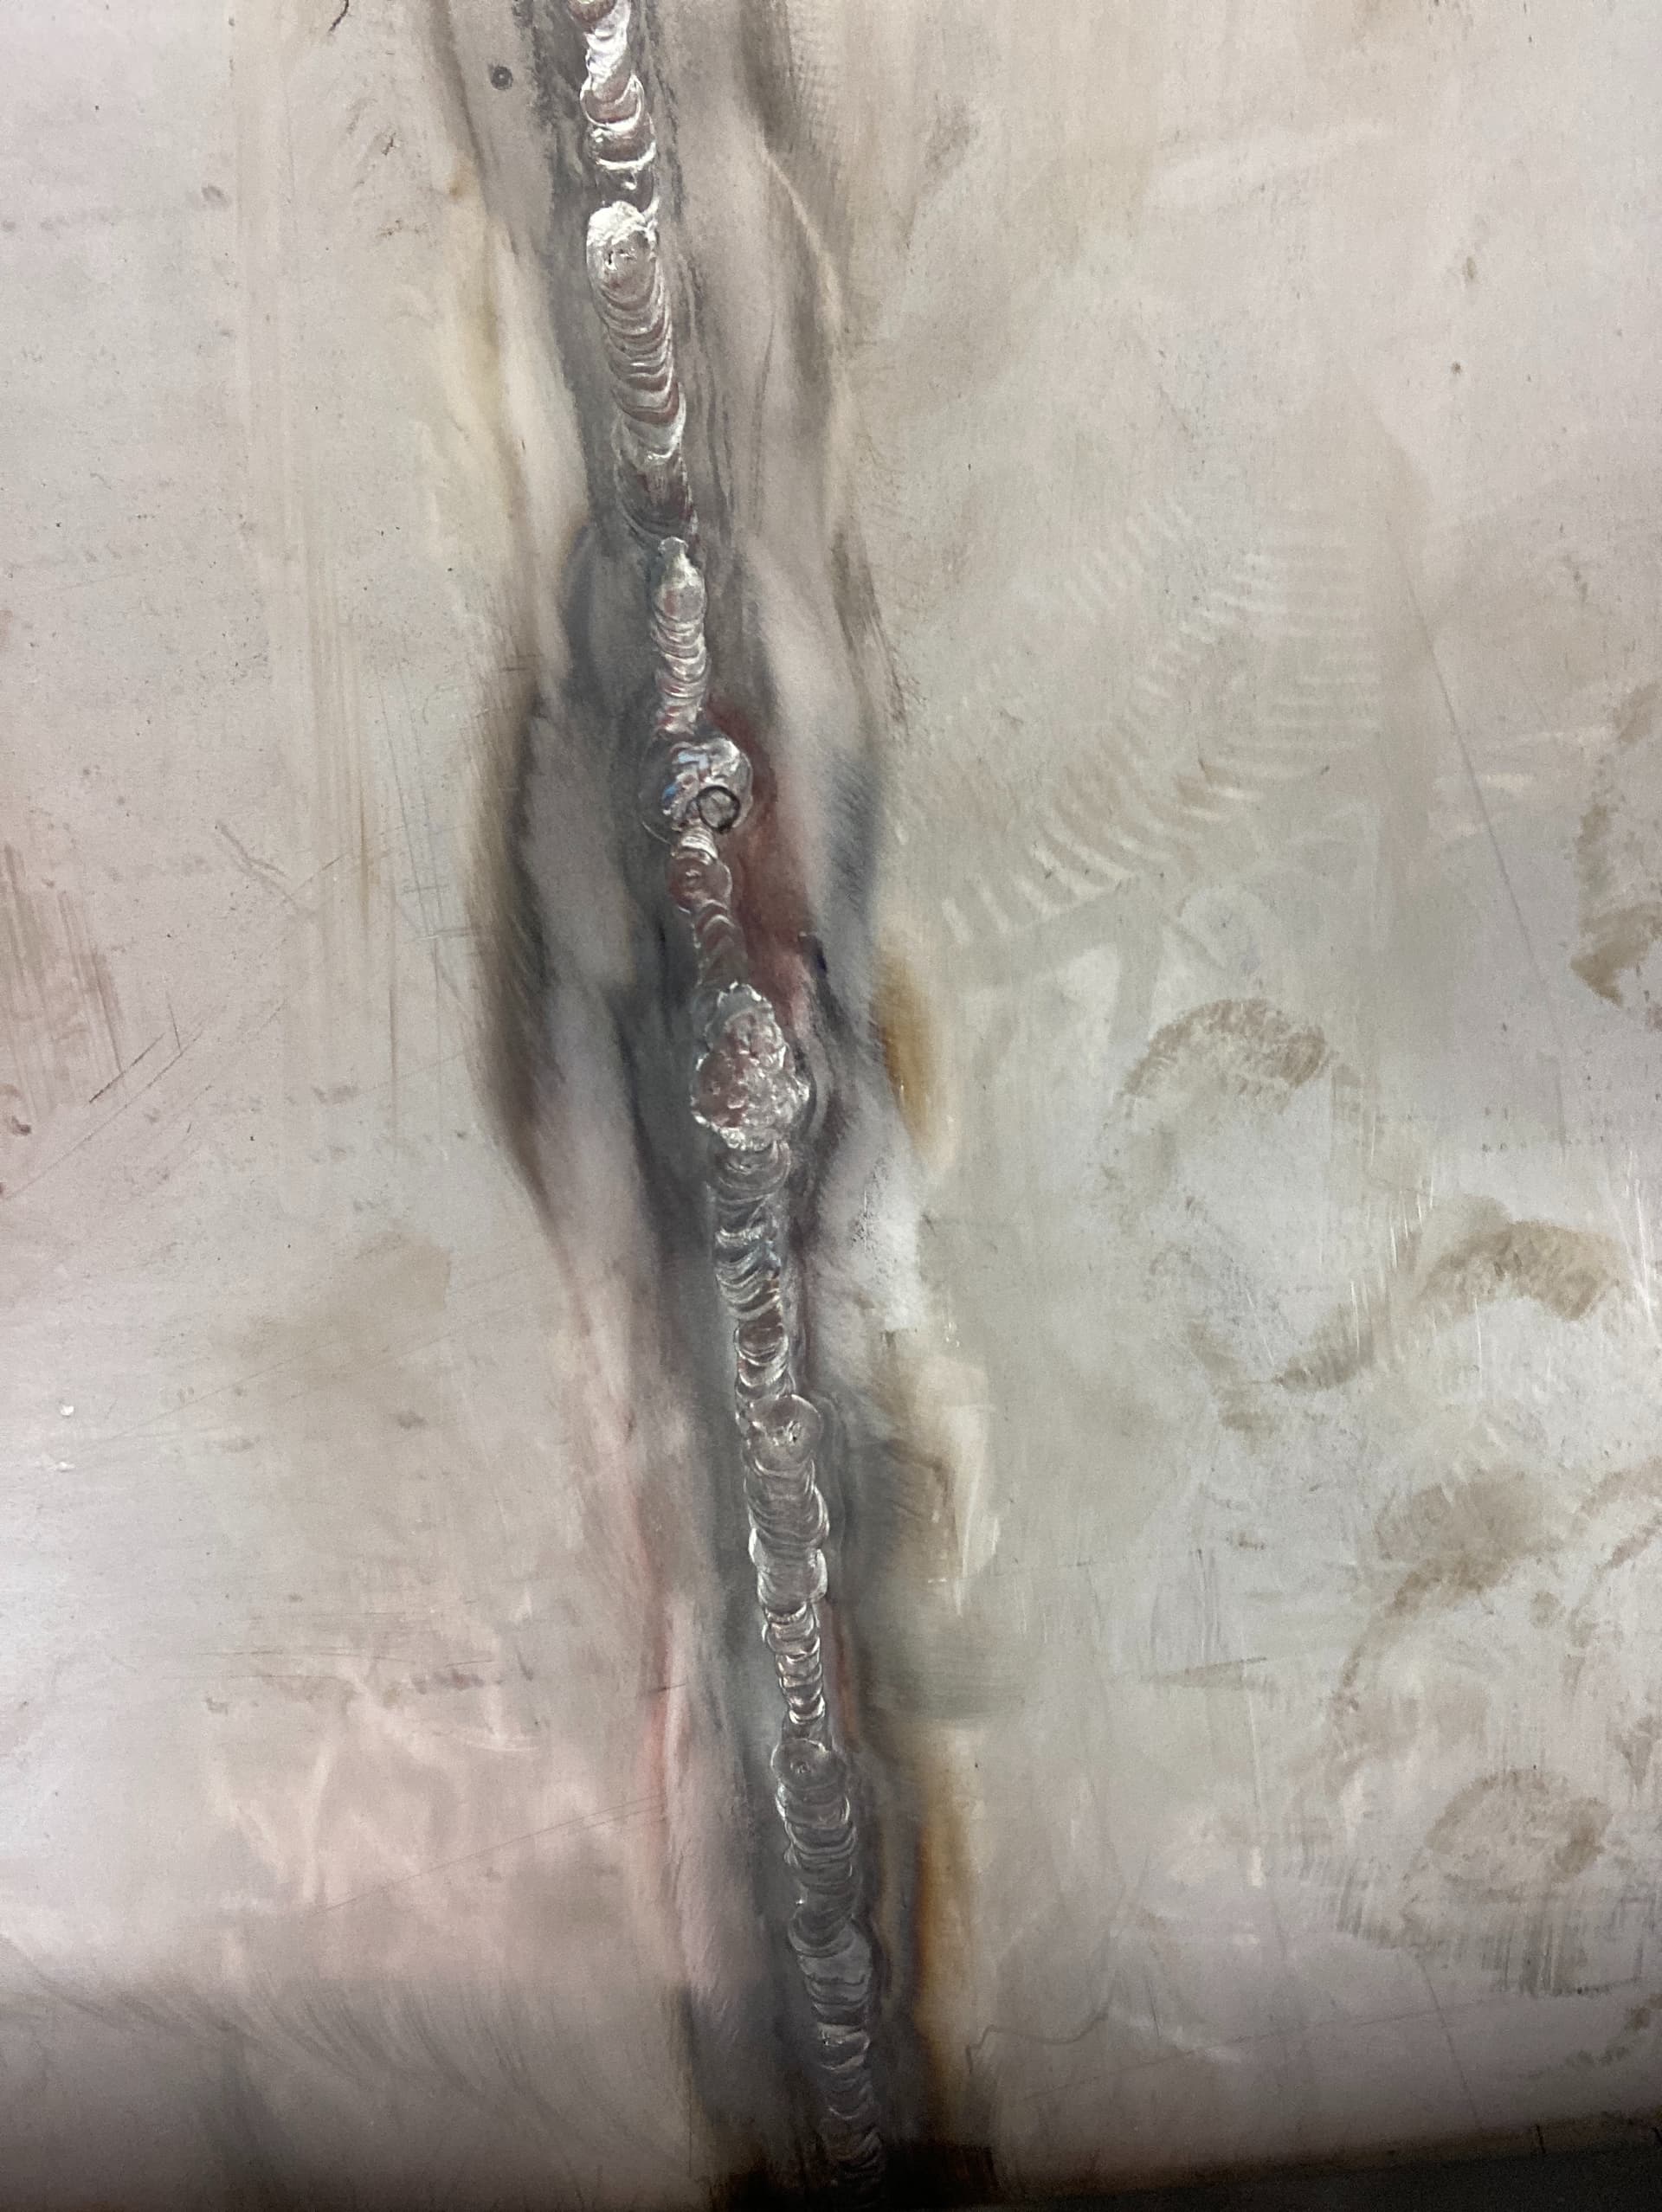
Well my table finally started leaking this weekend, so it is time do something about it.

It wasn’t too bad, but I figure that it ain’t gonna get better, so I figure I may as well try to TIG her up.

So first I have to drain the table…but the factory plugs are frozen in place and I end up ripping the gaskets during removal.

Well F’it I guess, I will just have to convert my table to a new drain system, just Ilike I planned to do 4 months ago…But ya’ll know how it is, projects start to stack up as priorities change…blah…blah…blah…

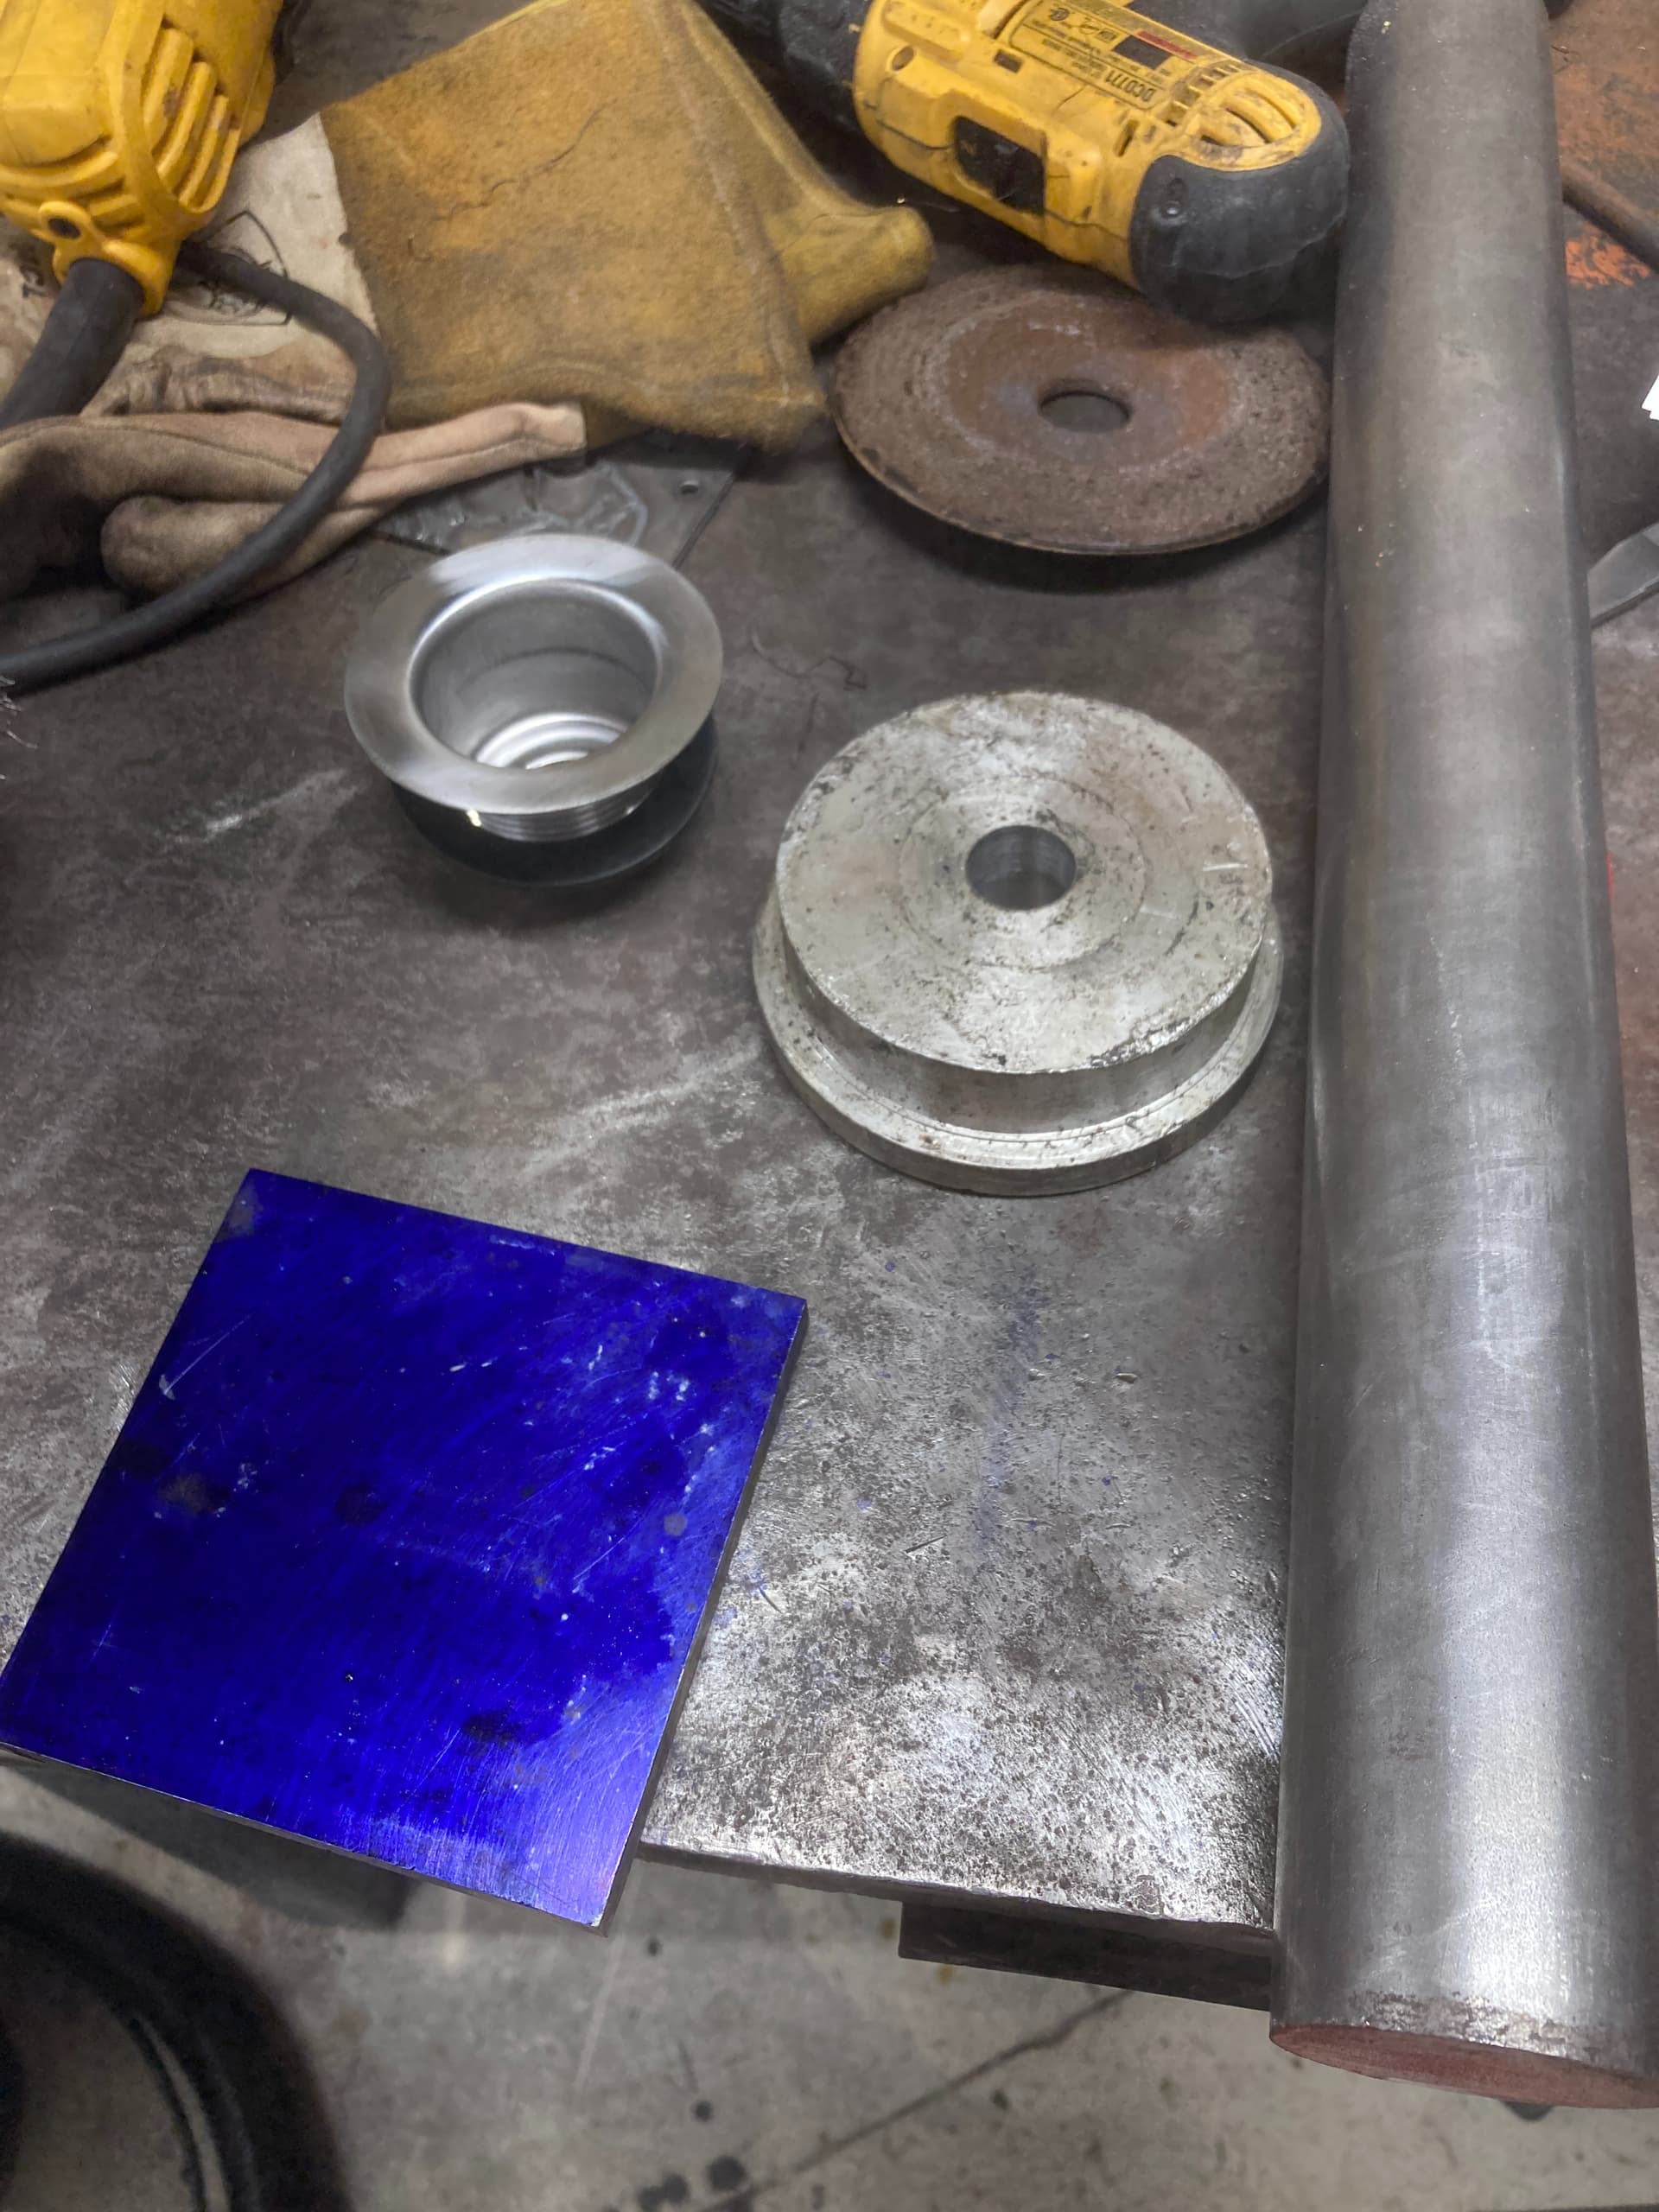
I decide to copy @nortonscustoms idea but I am kinda short of the proper material, so I start scrounging through the scrap pile and I find a few possible candidates.

I first find this square piece of “mystery metal” and some A36 round stock that might work.

I am worried that the pressure from the squeezing action will bend/warp the square piece, but that is the biggest/thickest piece of scrap steel I have laying around, so I find this “roached out” circular scrap of aluminum as a candidate for a “backer”.

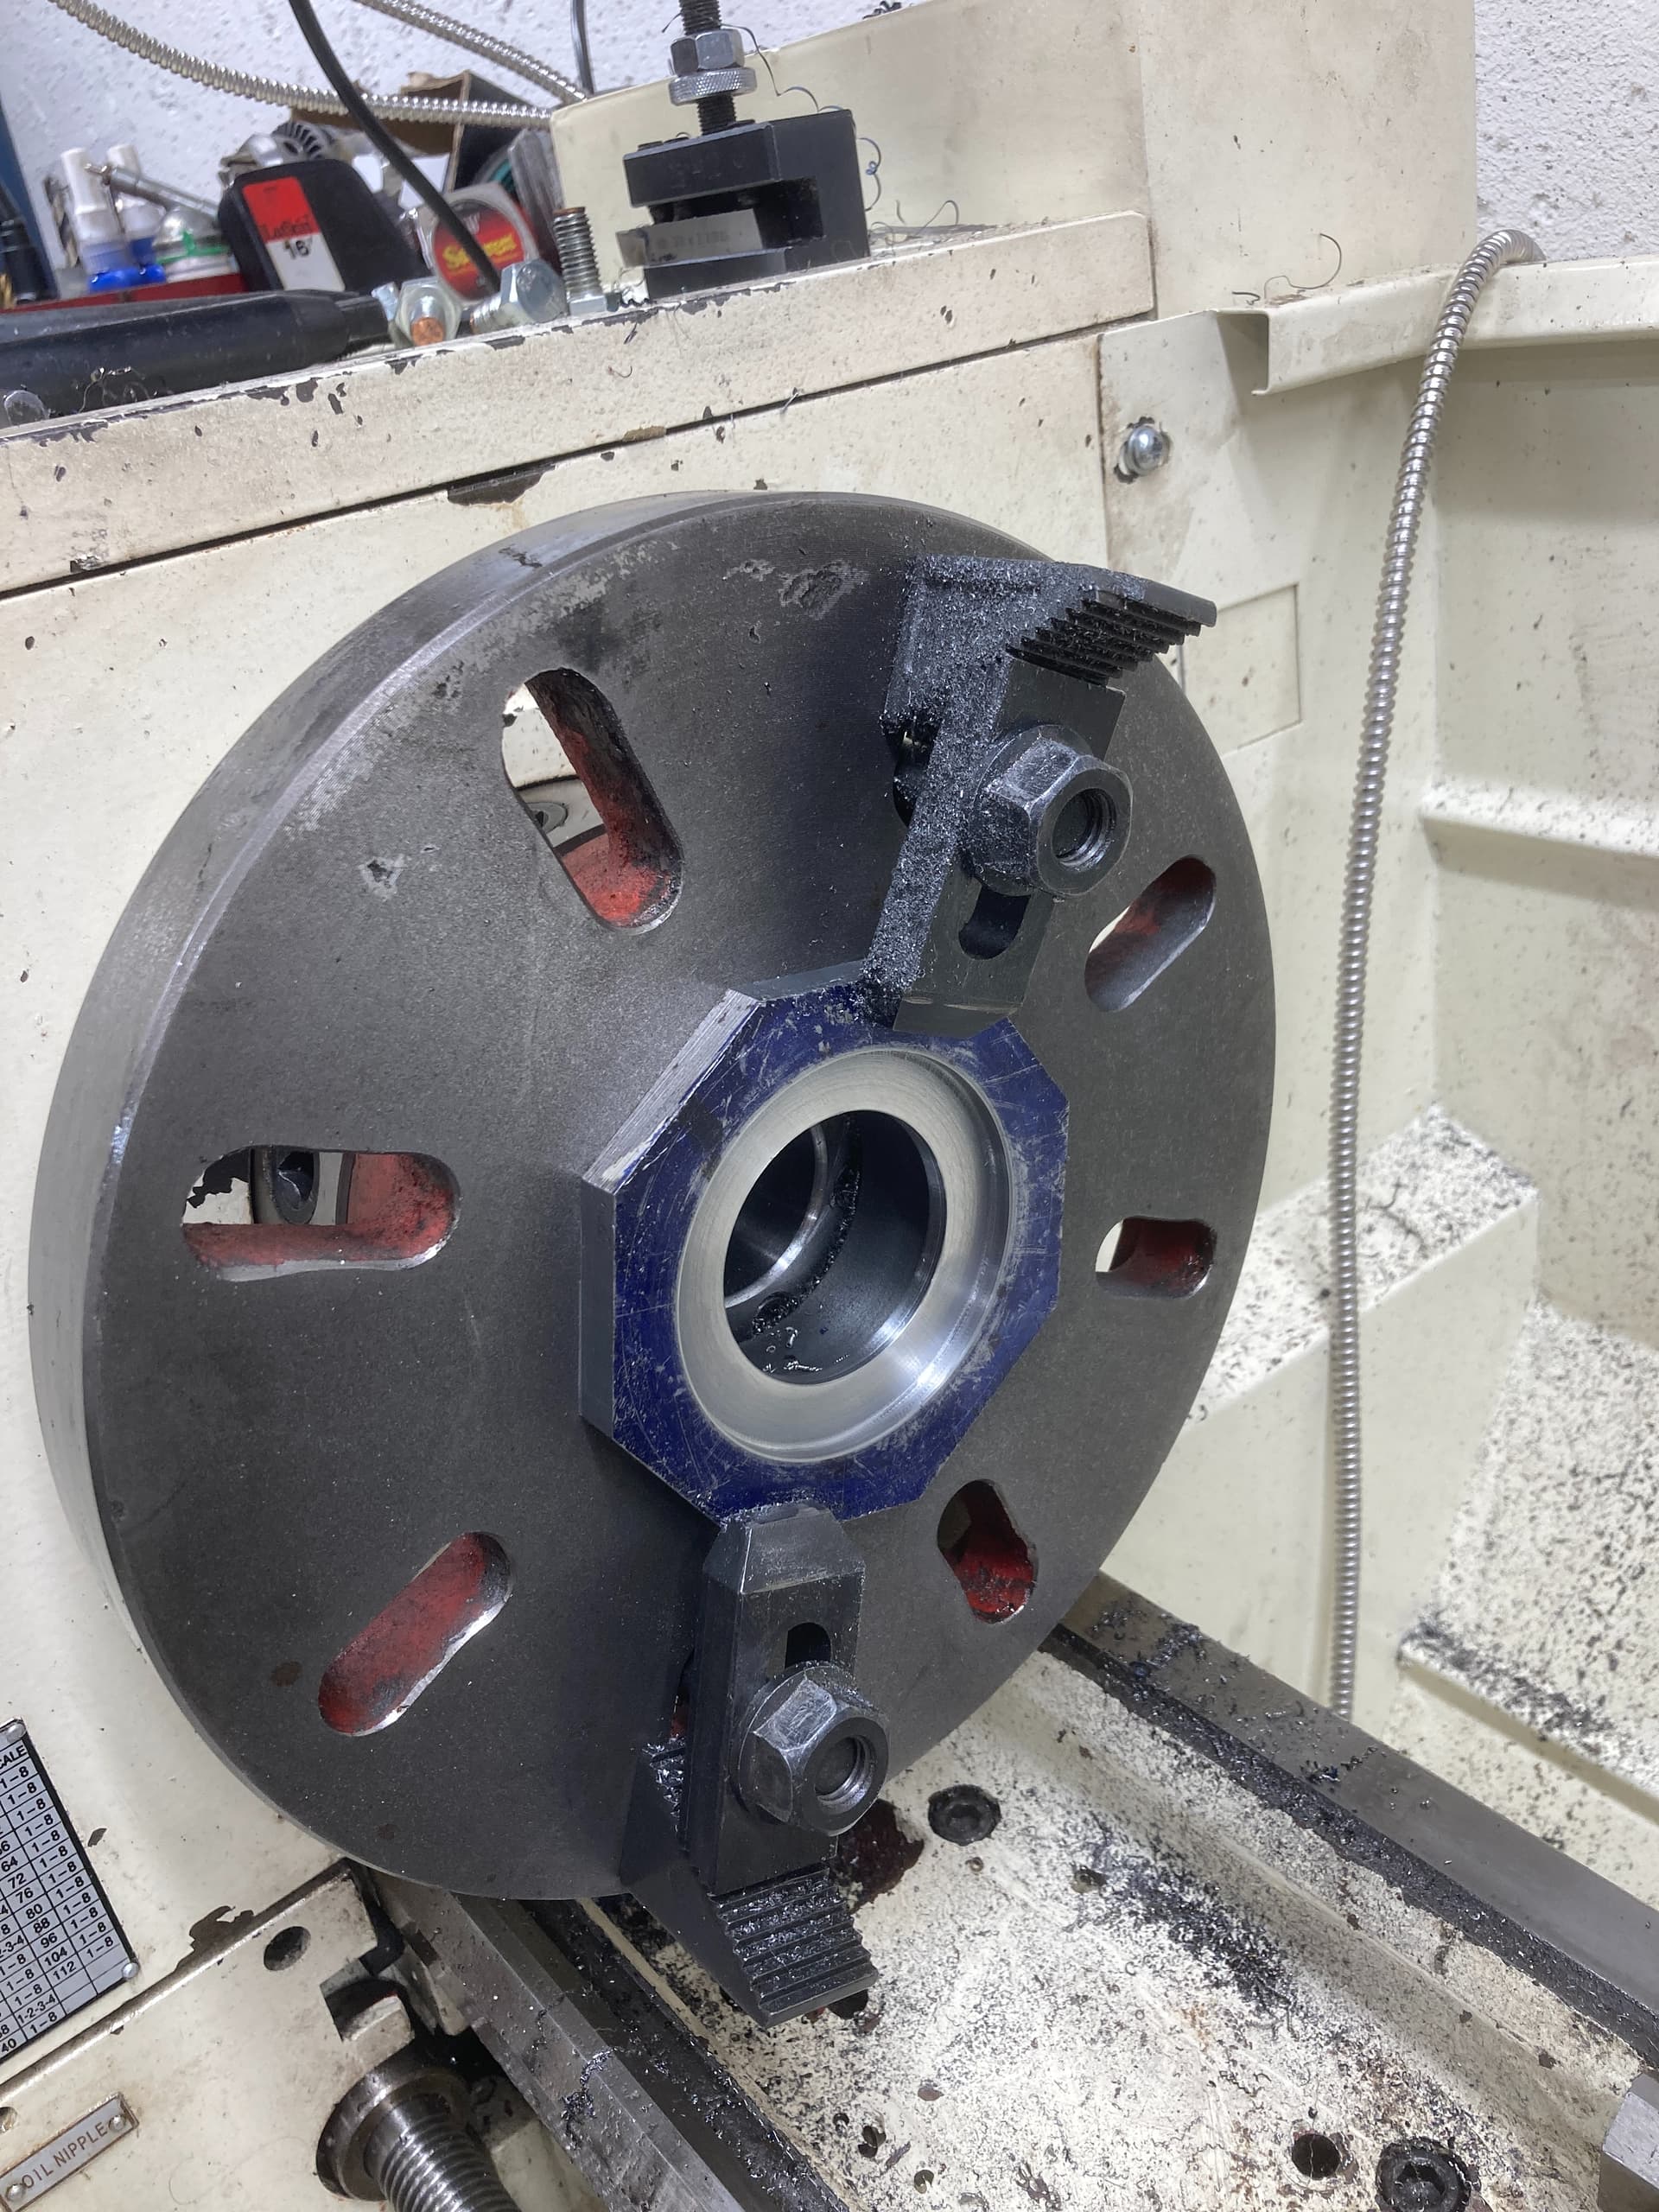
Off to the lathe we go.

I decide to cut off the corners on the band saw to get a “round’ish” shape and will try to make it round on the lathe after I get it to what I consider the proper depth.

Now keep in mind, I am doing this off a “bar napkin” drawing and I have no idea if it will work.

Then I start “whittling away” at the A36 with my new “carbide inserts” that I am trying out.

They work pretty good so far.

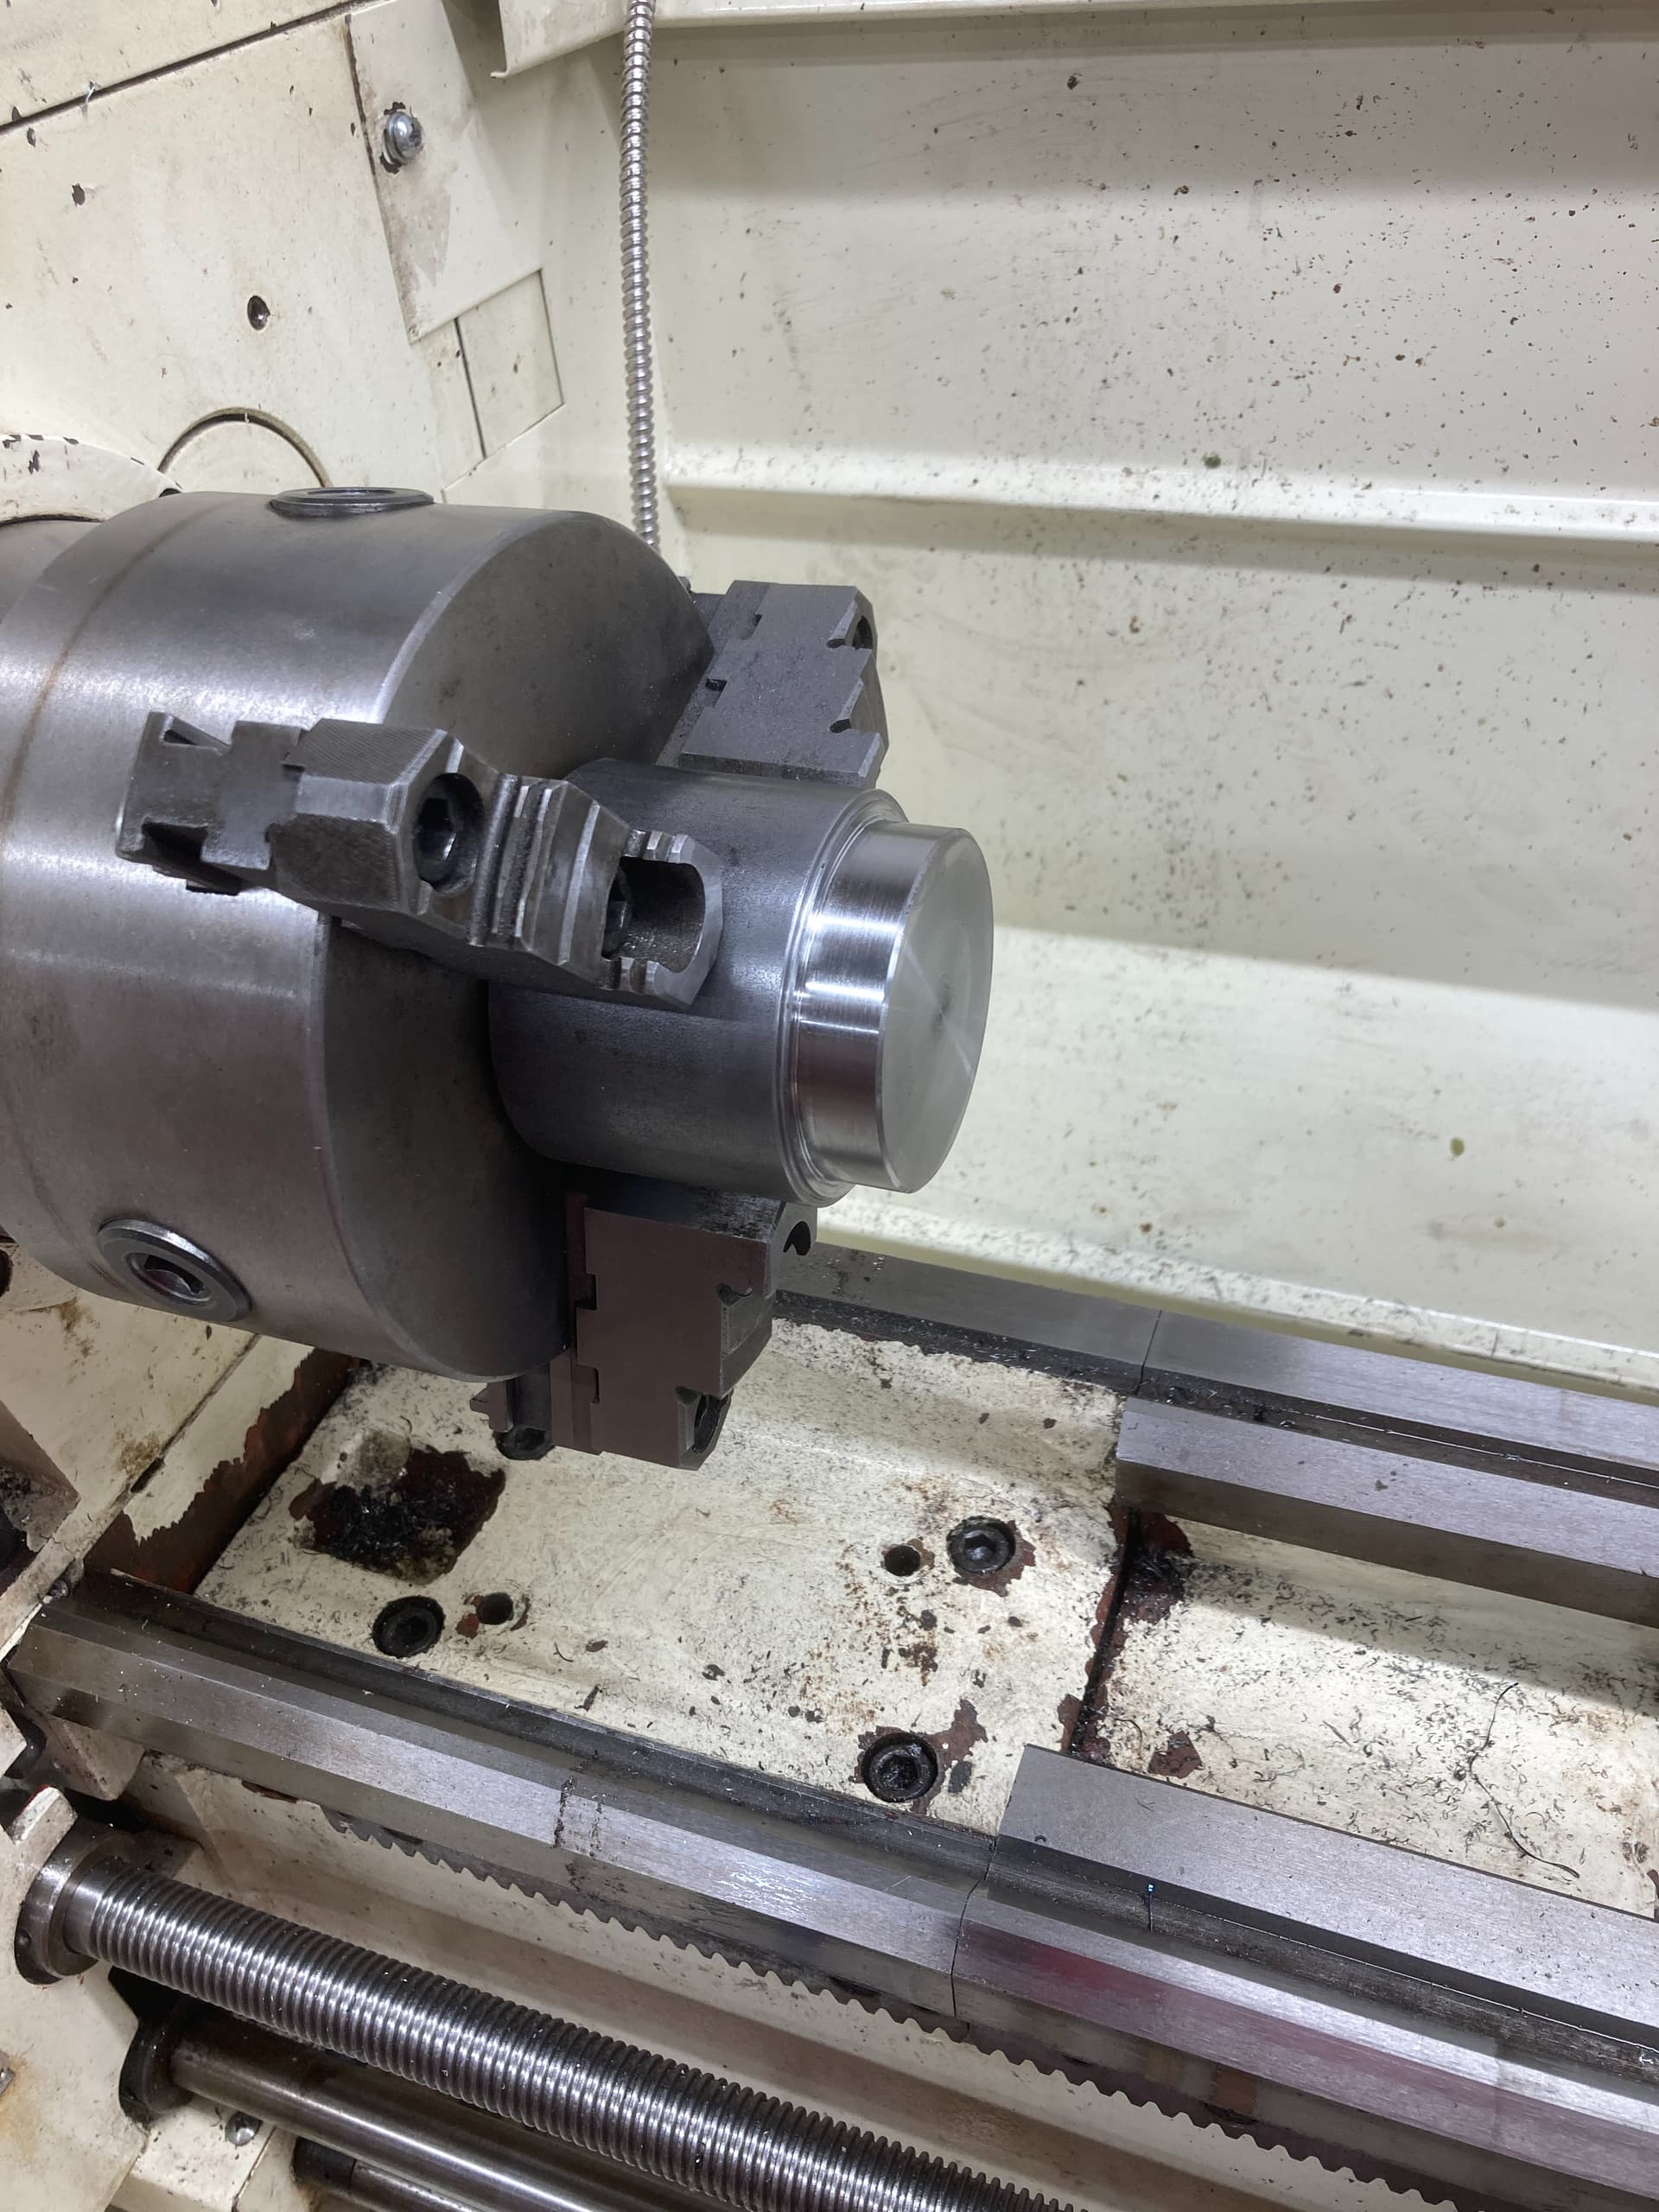
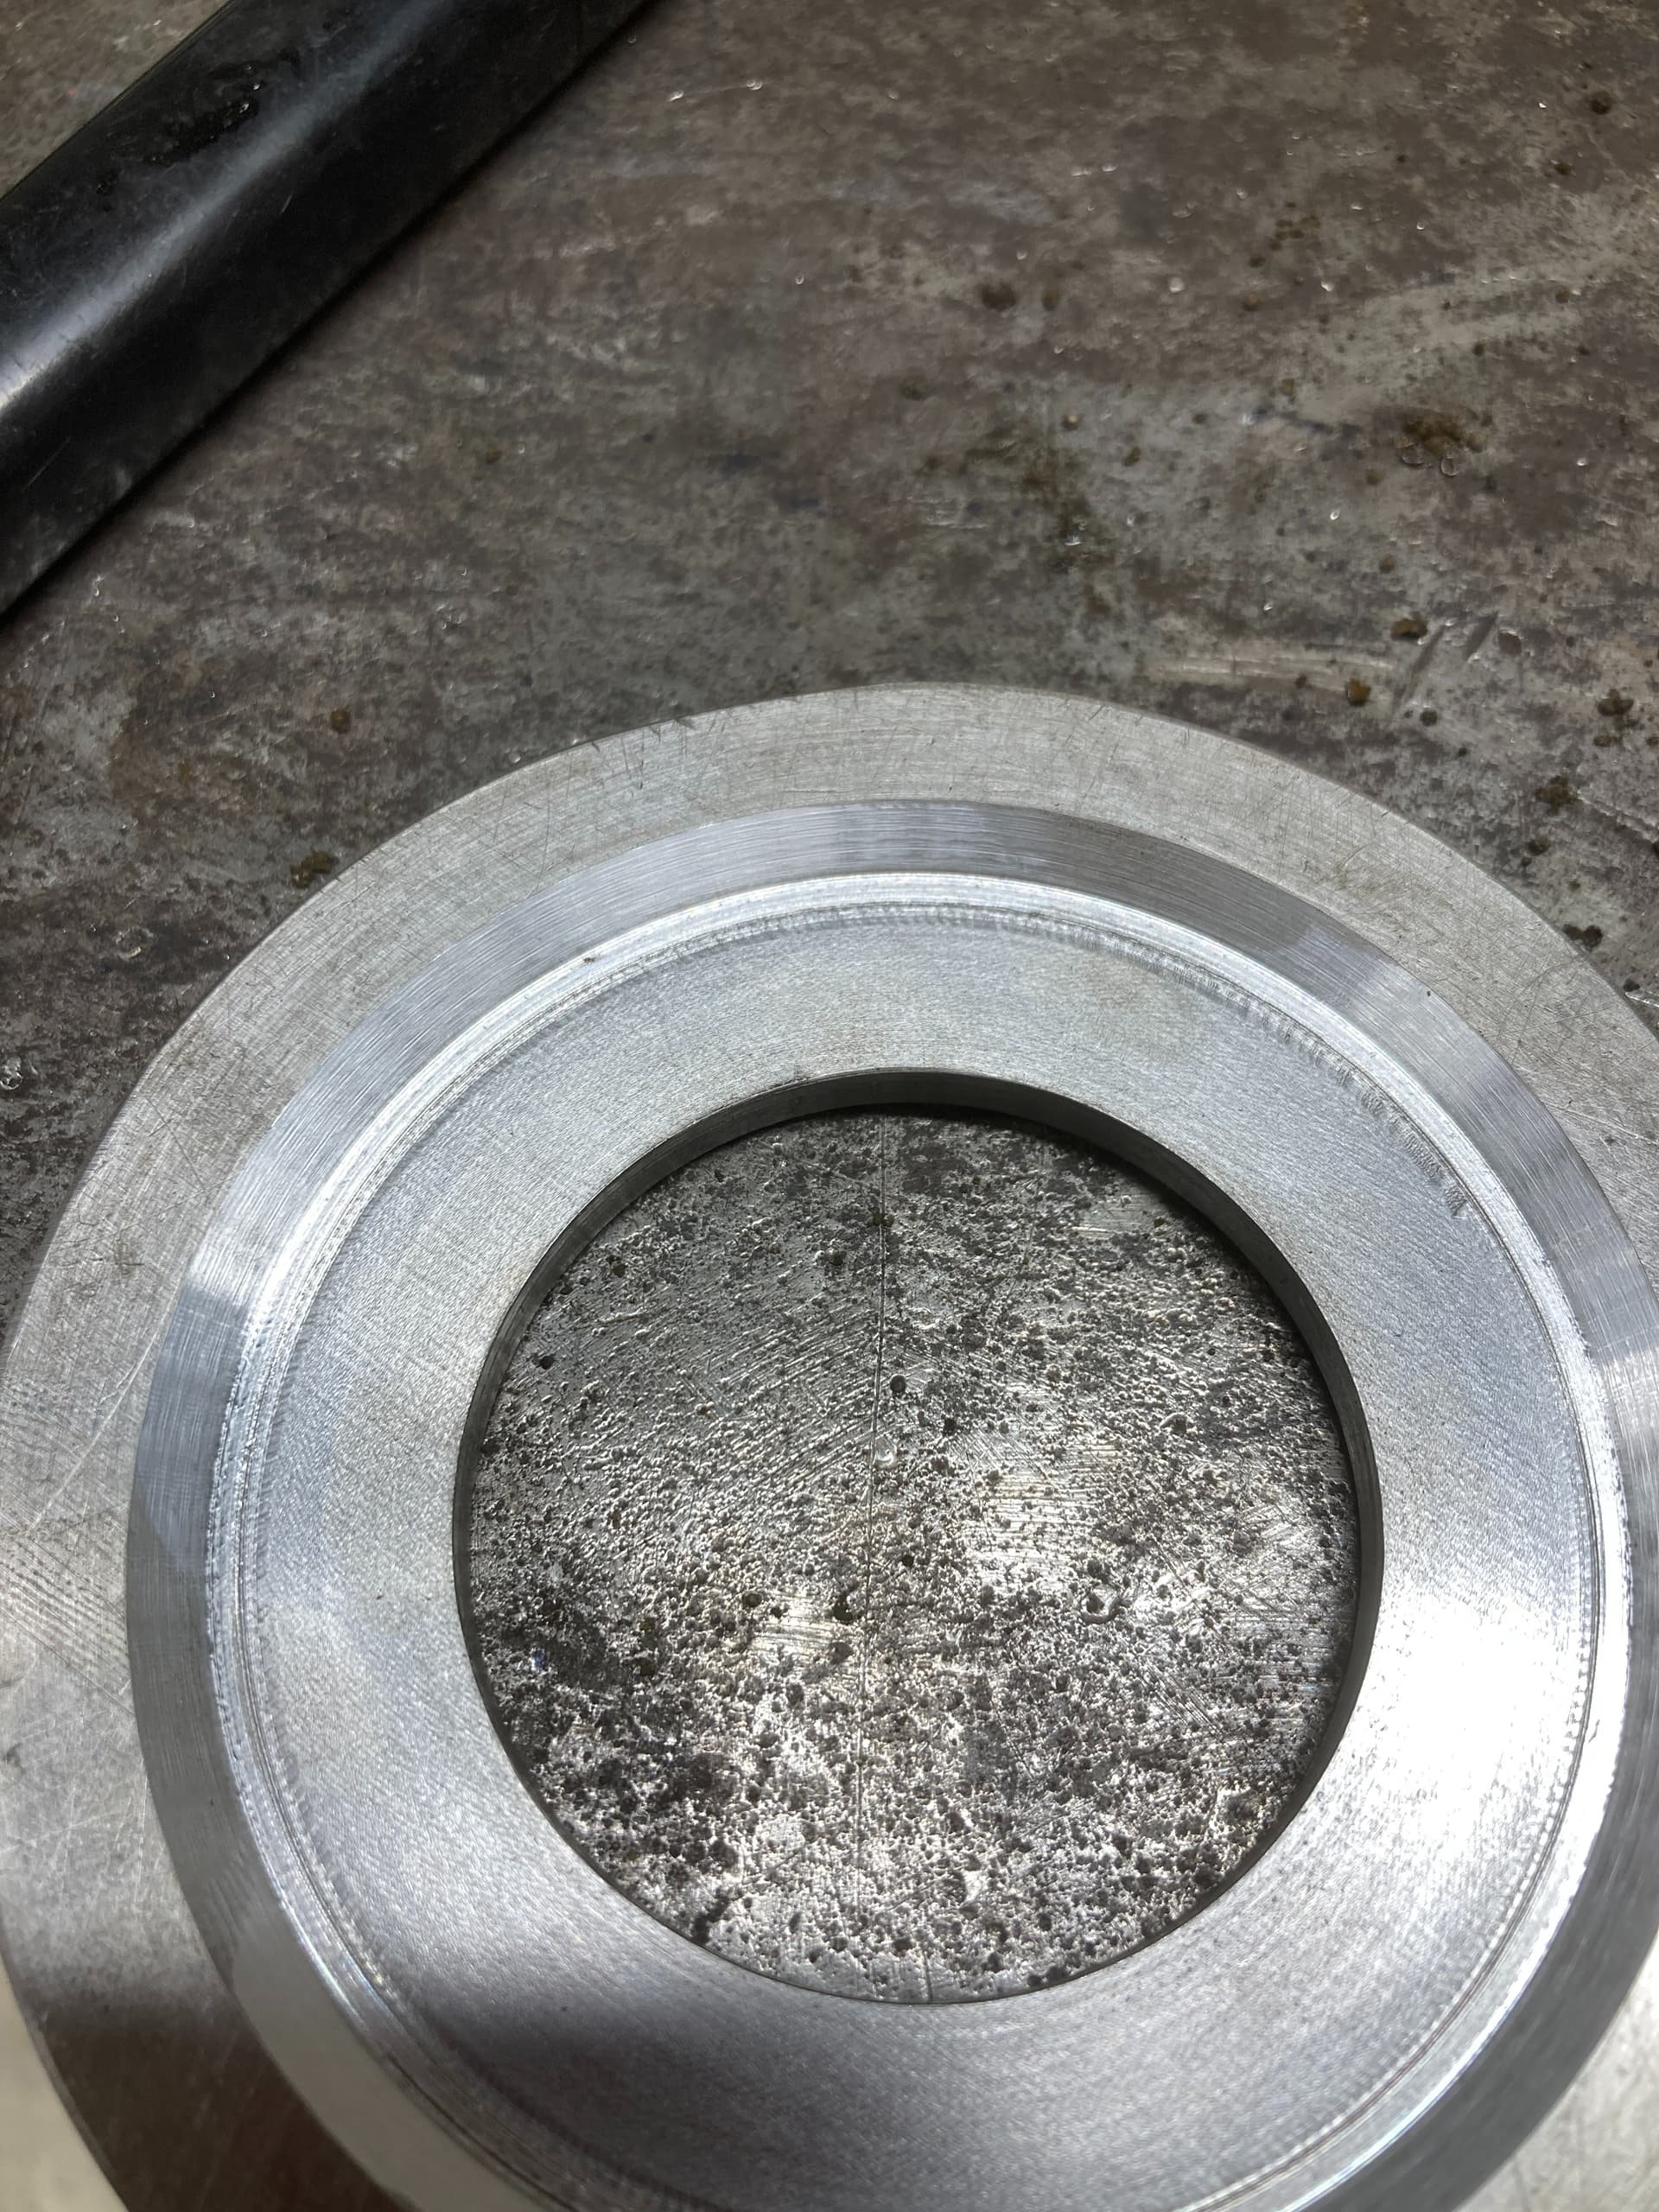
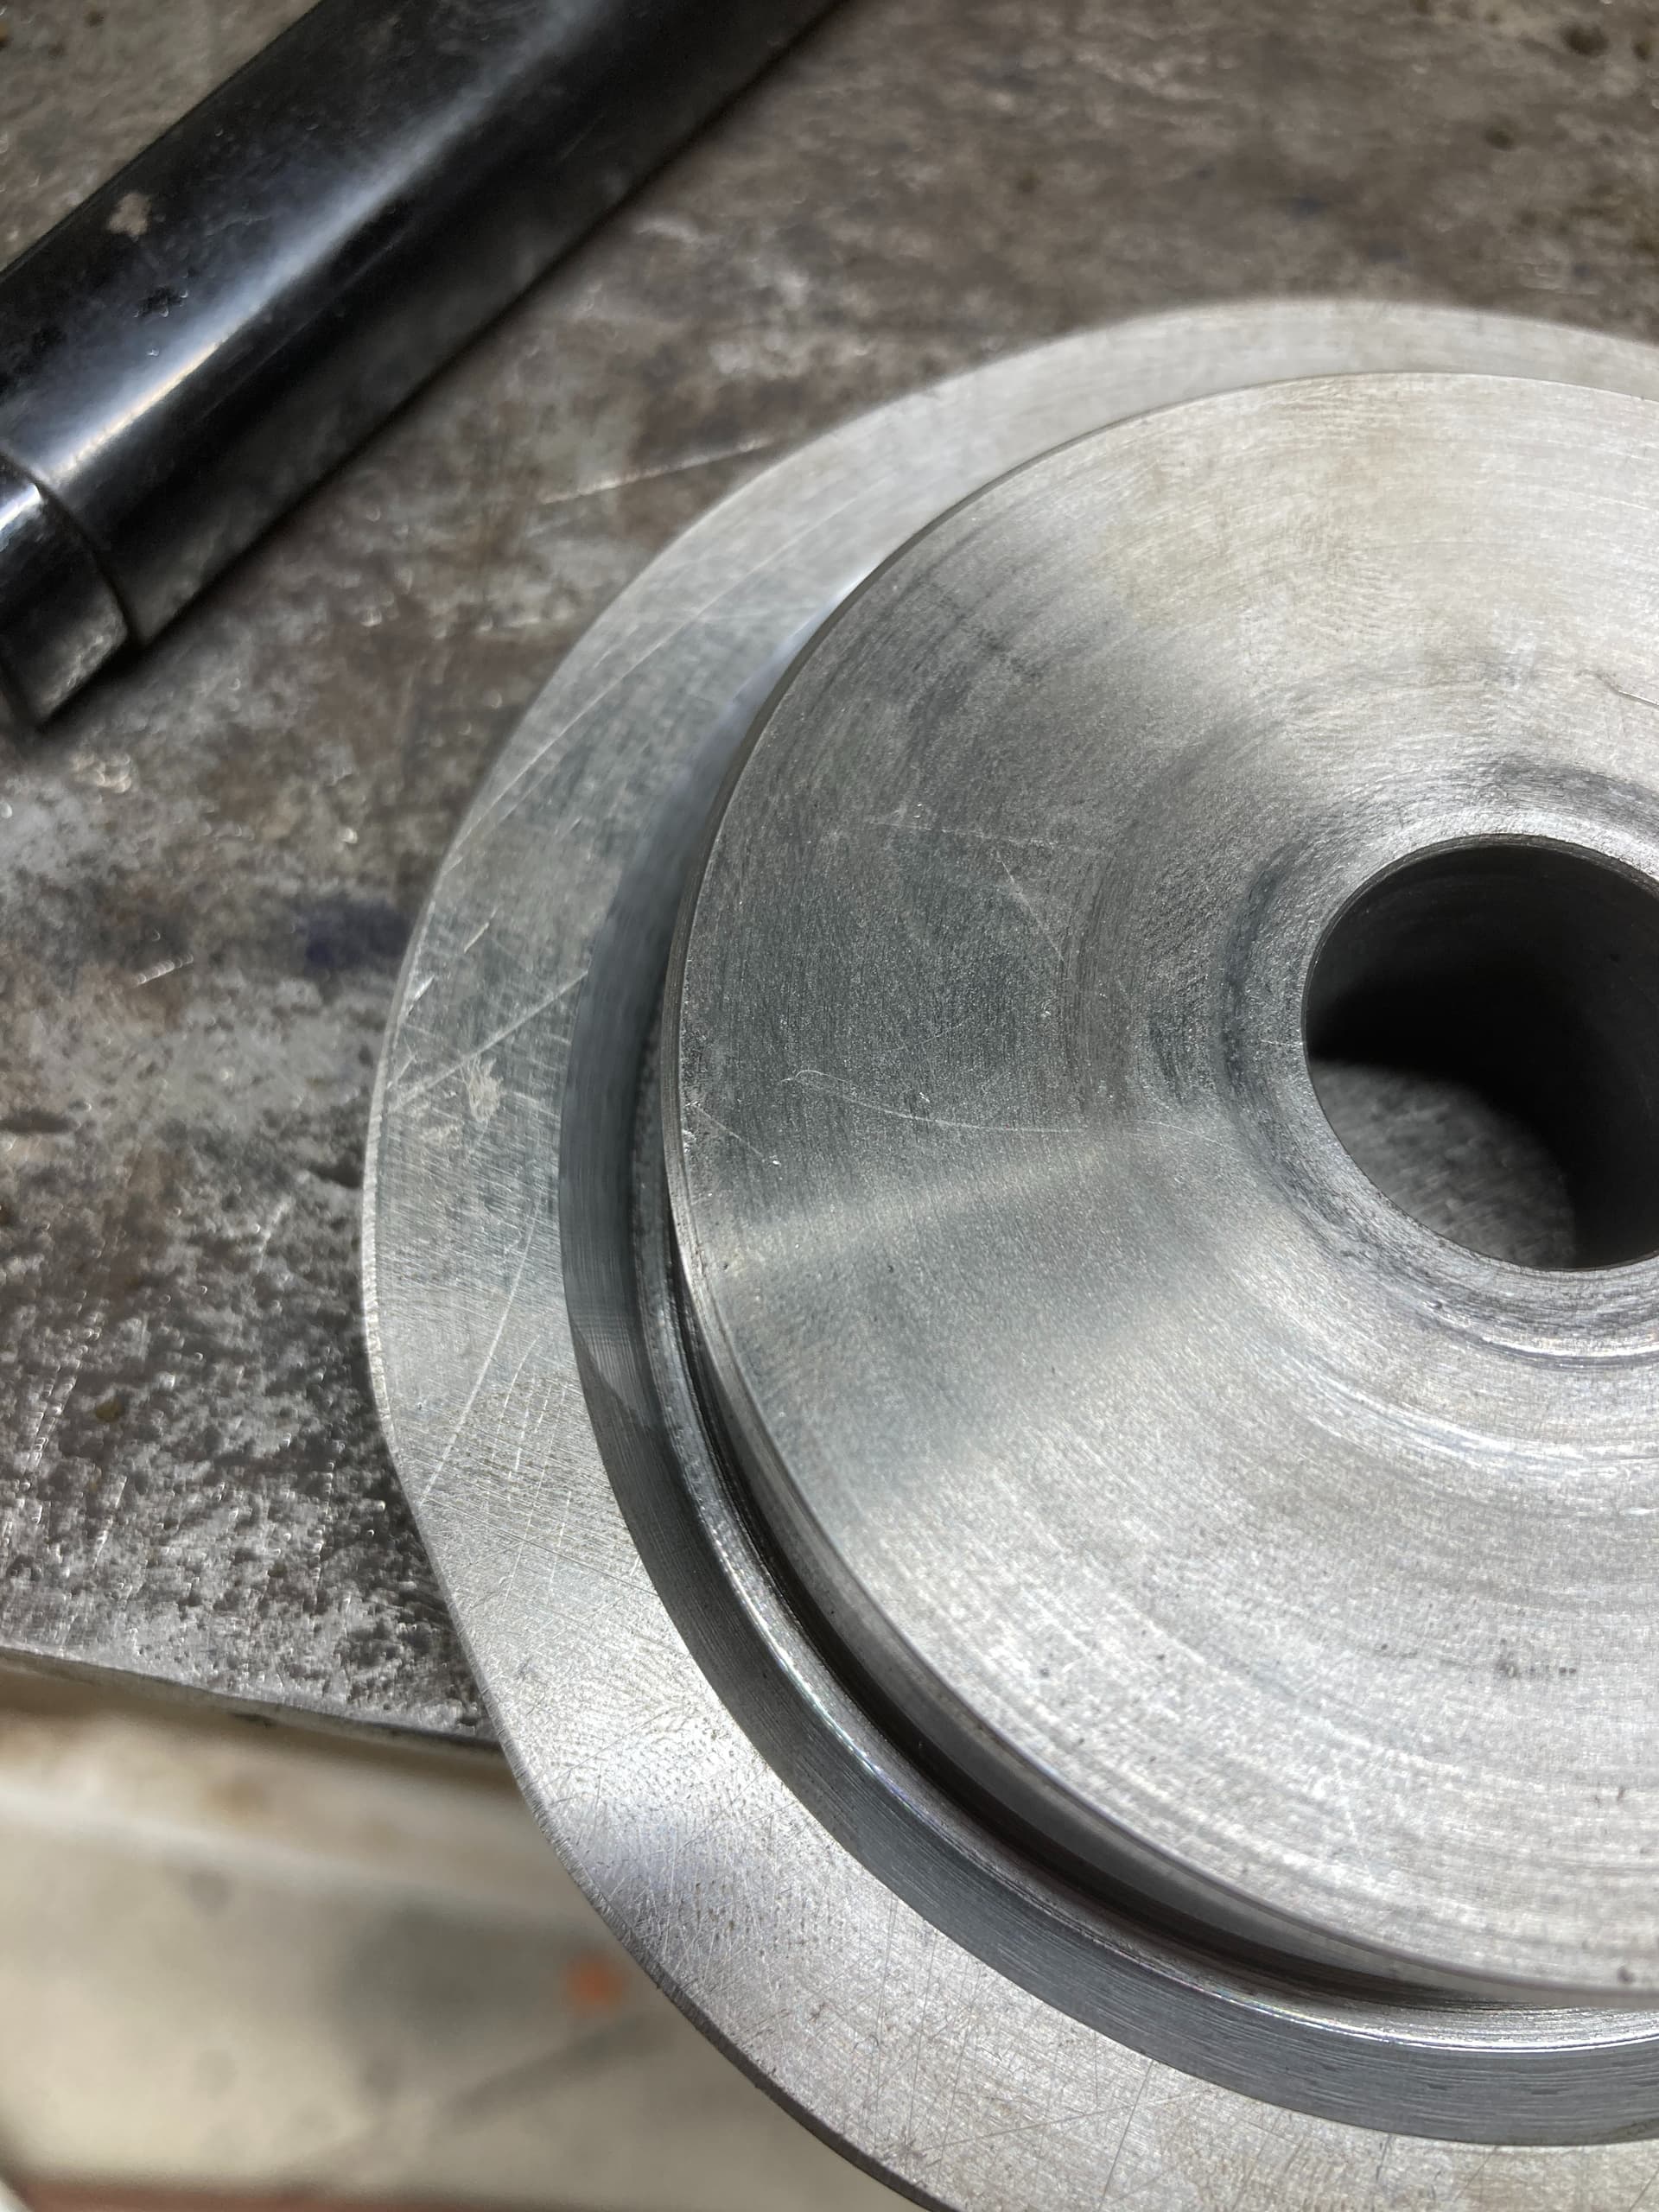
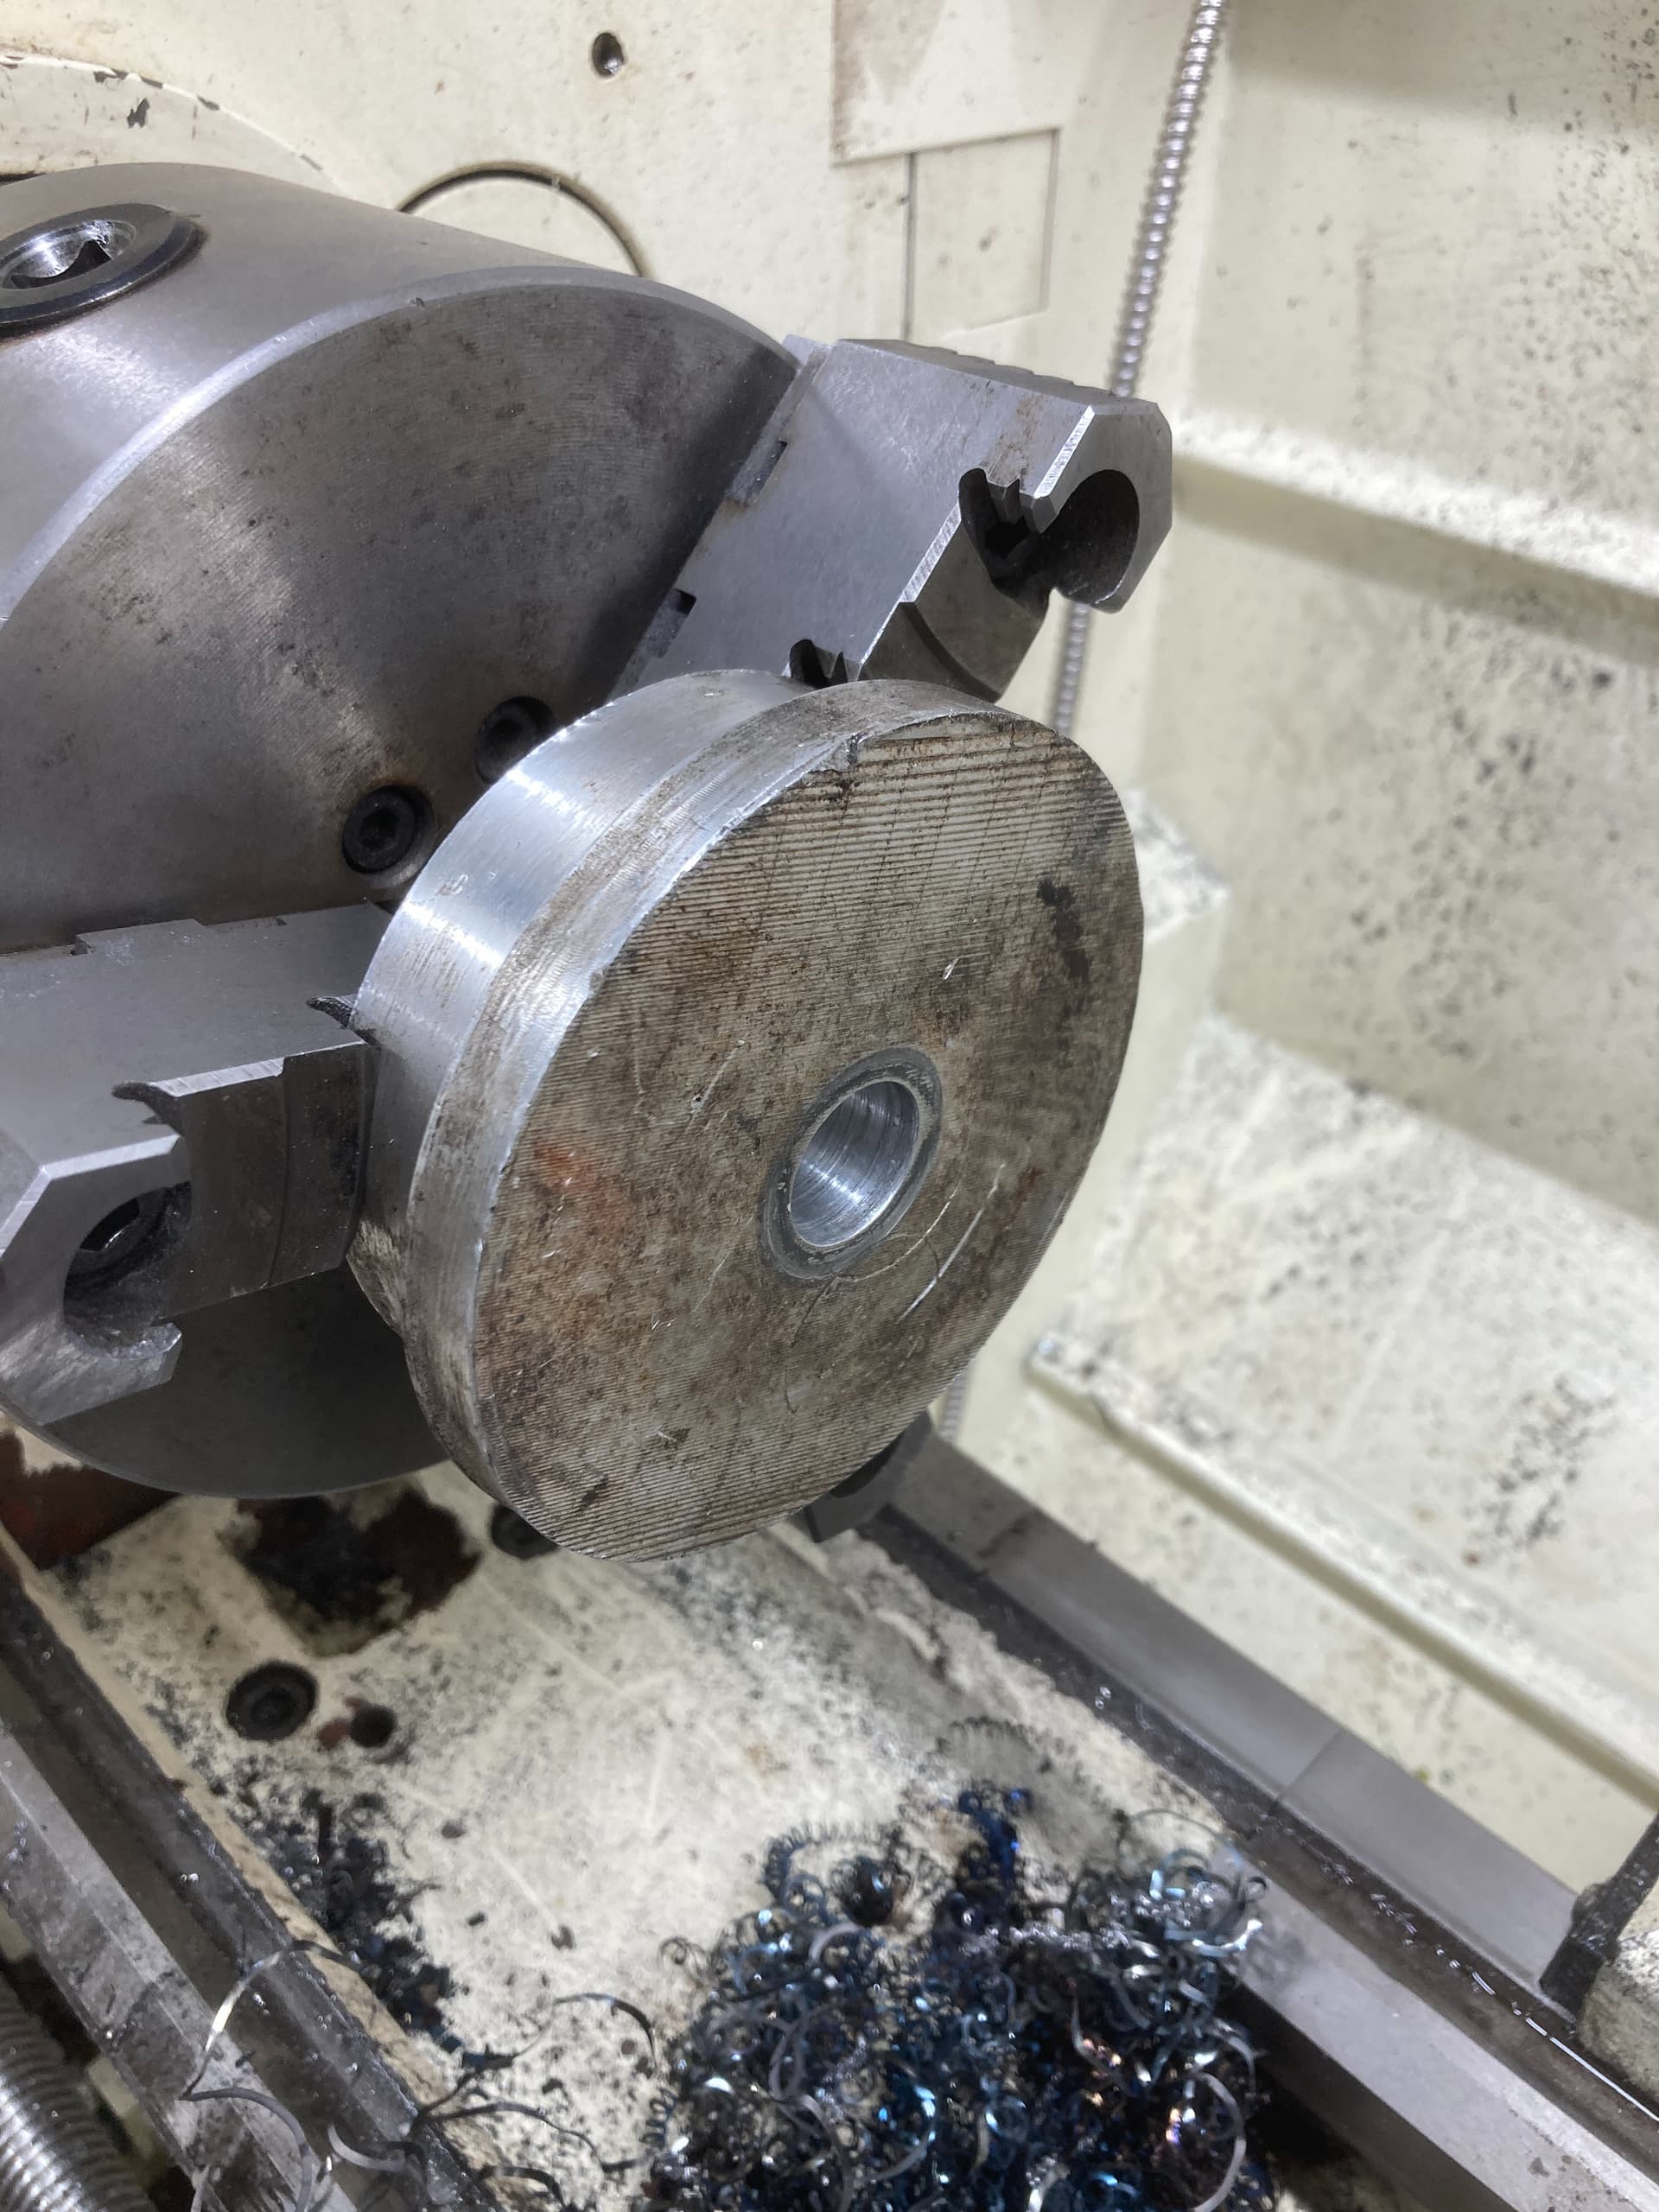
Now it’s time to chuck up the “backer piece” to clean it up and carve out a “recess” to make enough room for the die.

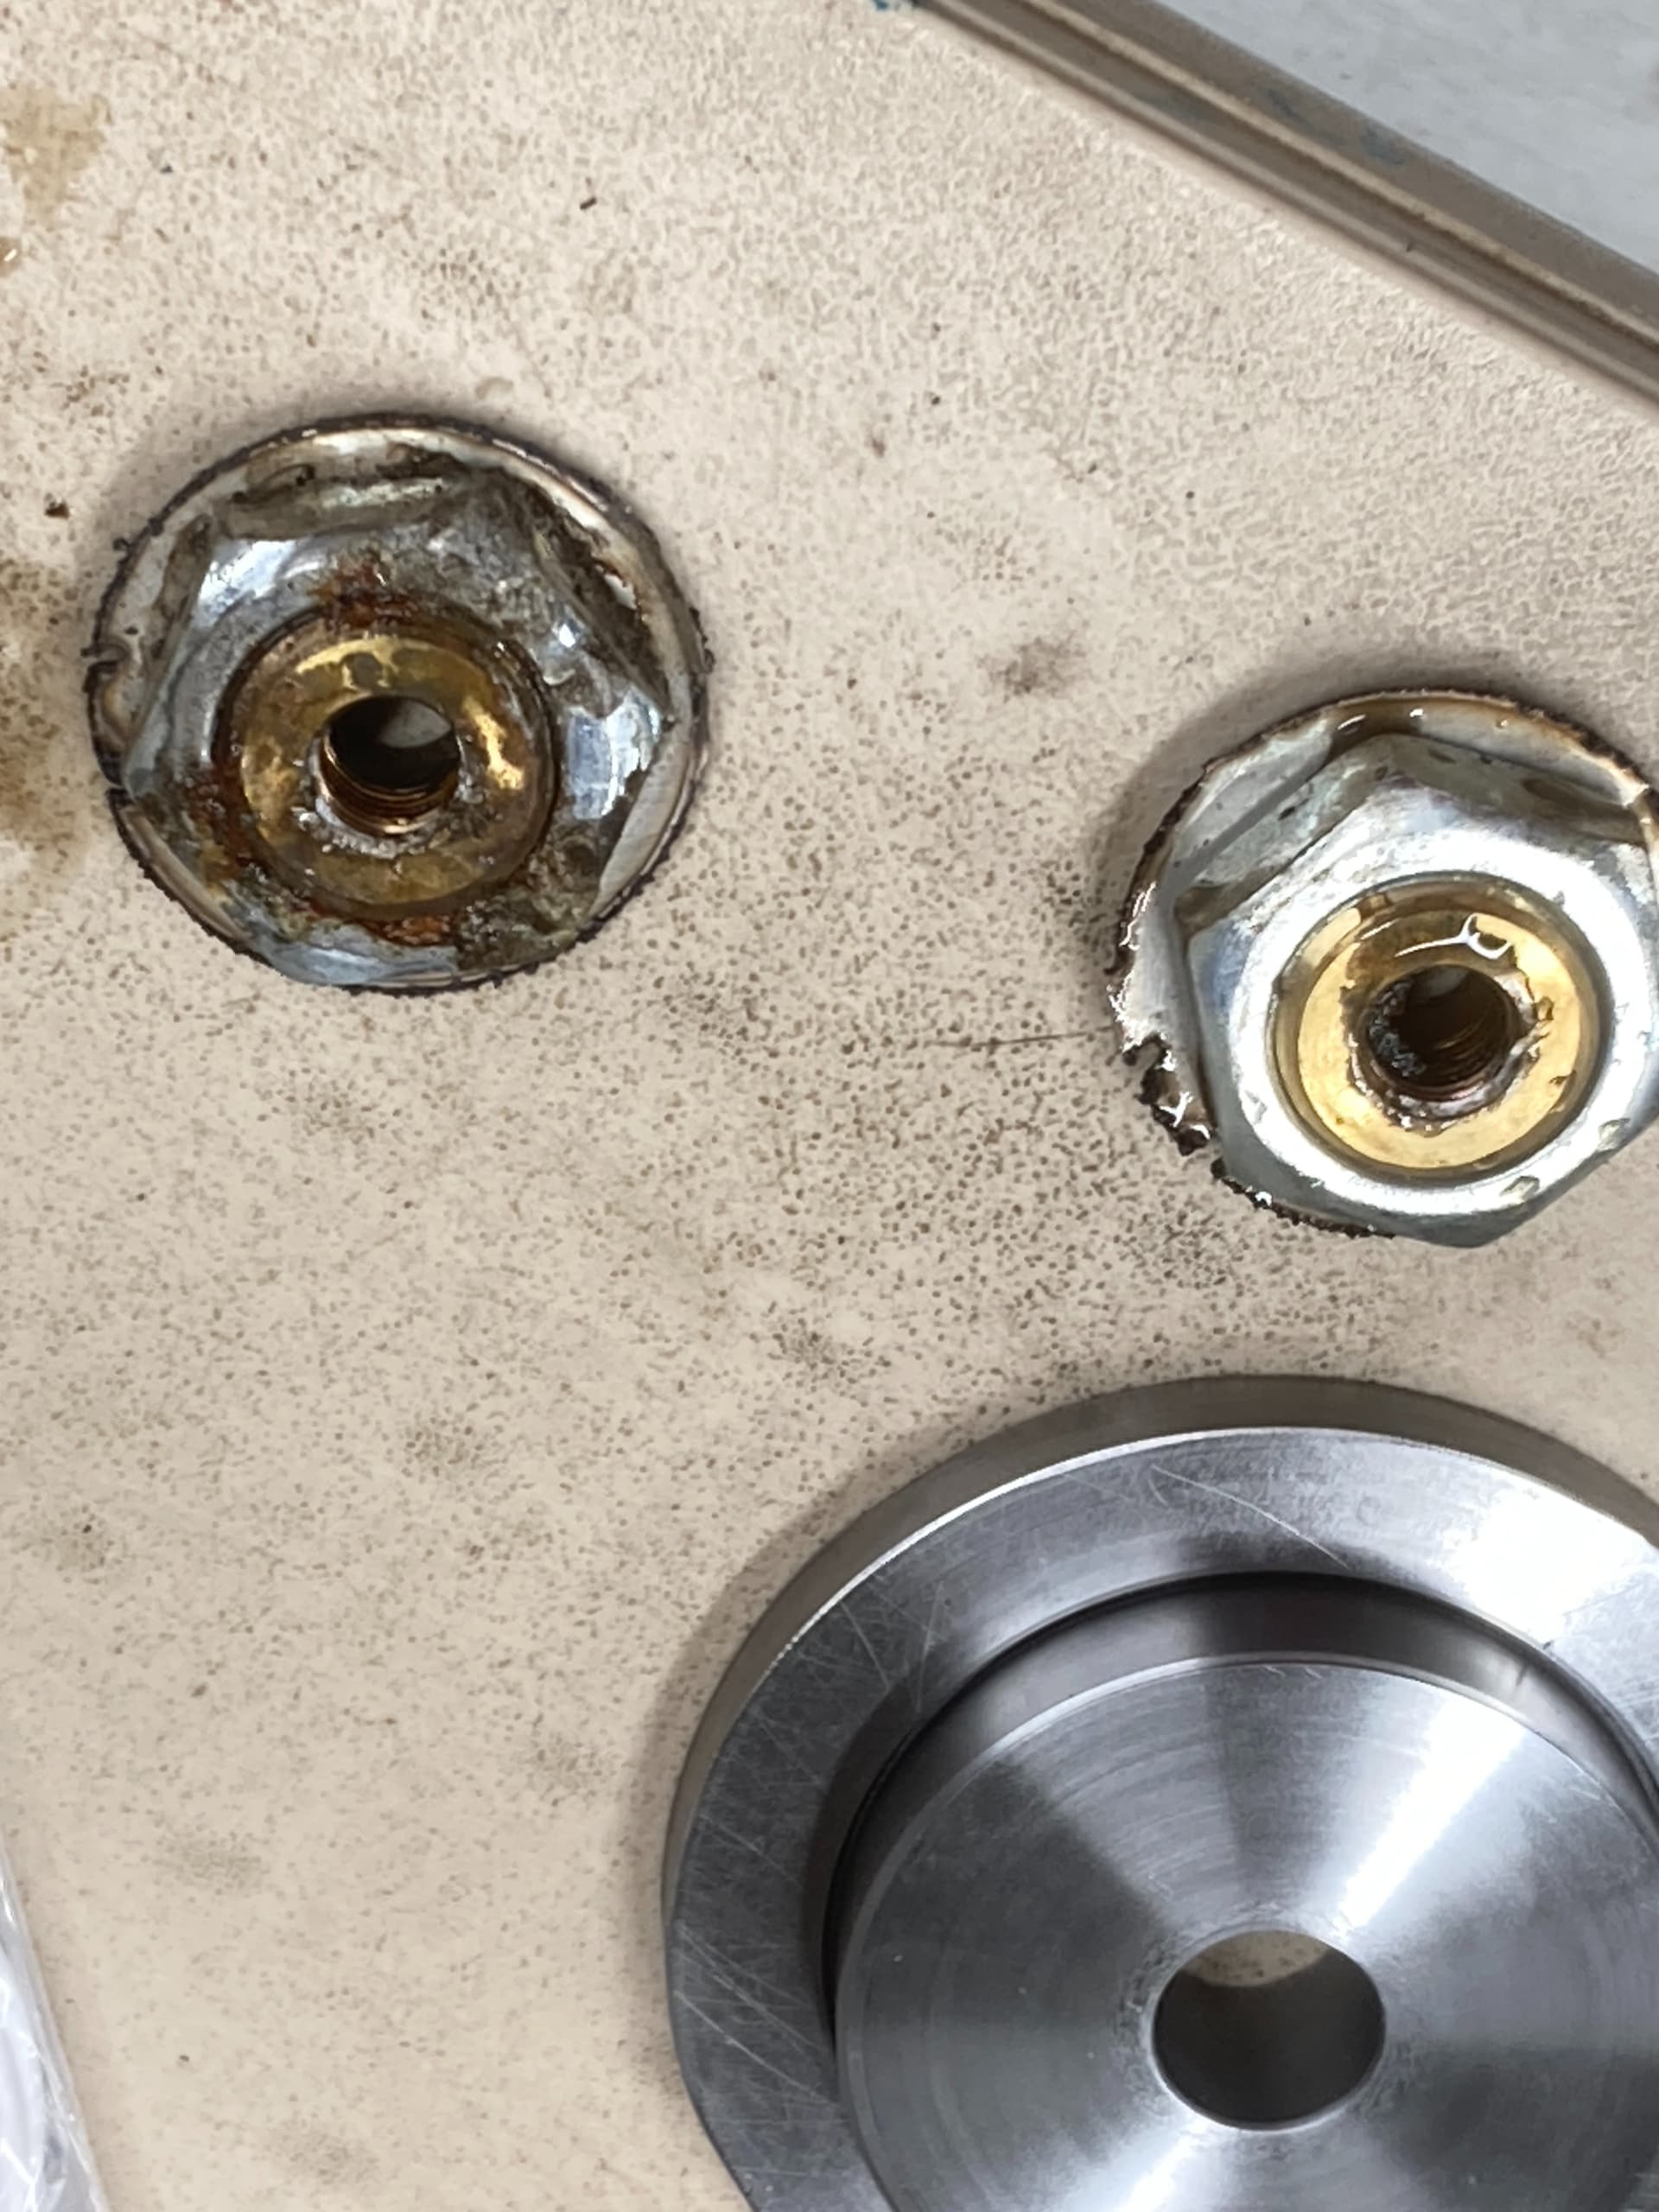
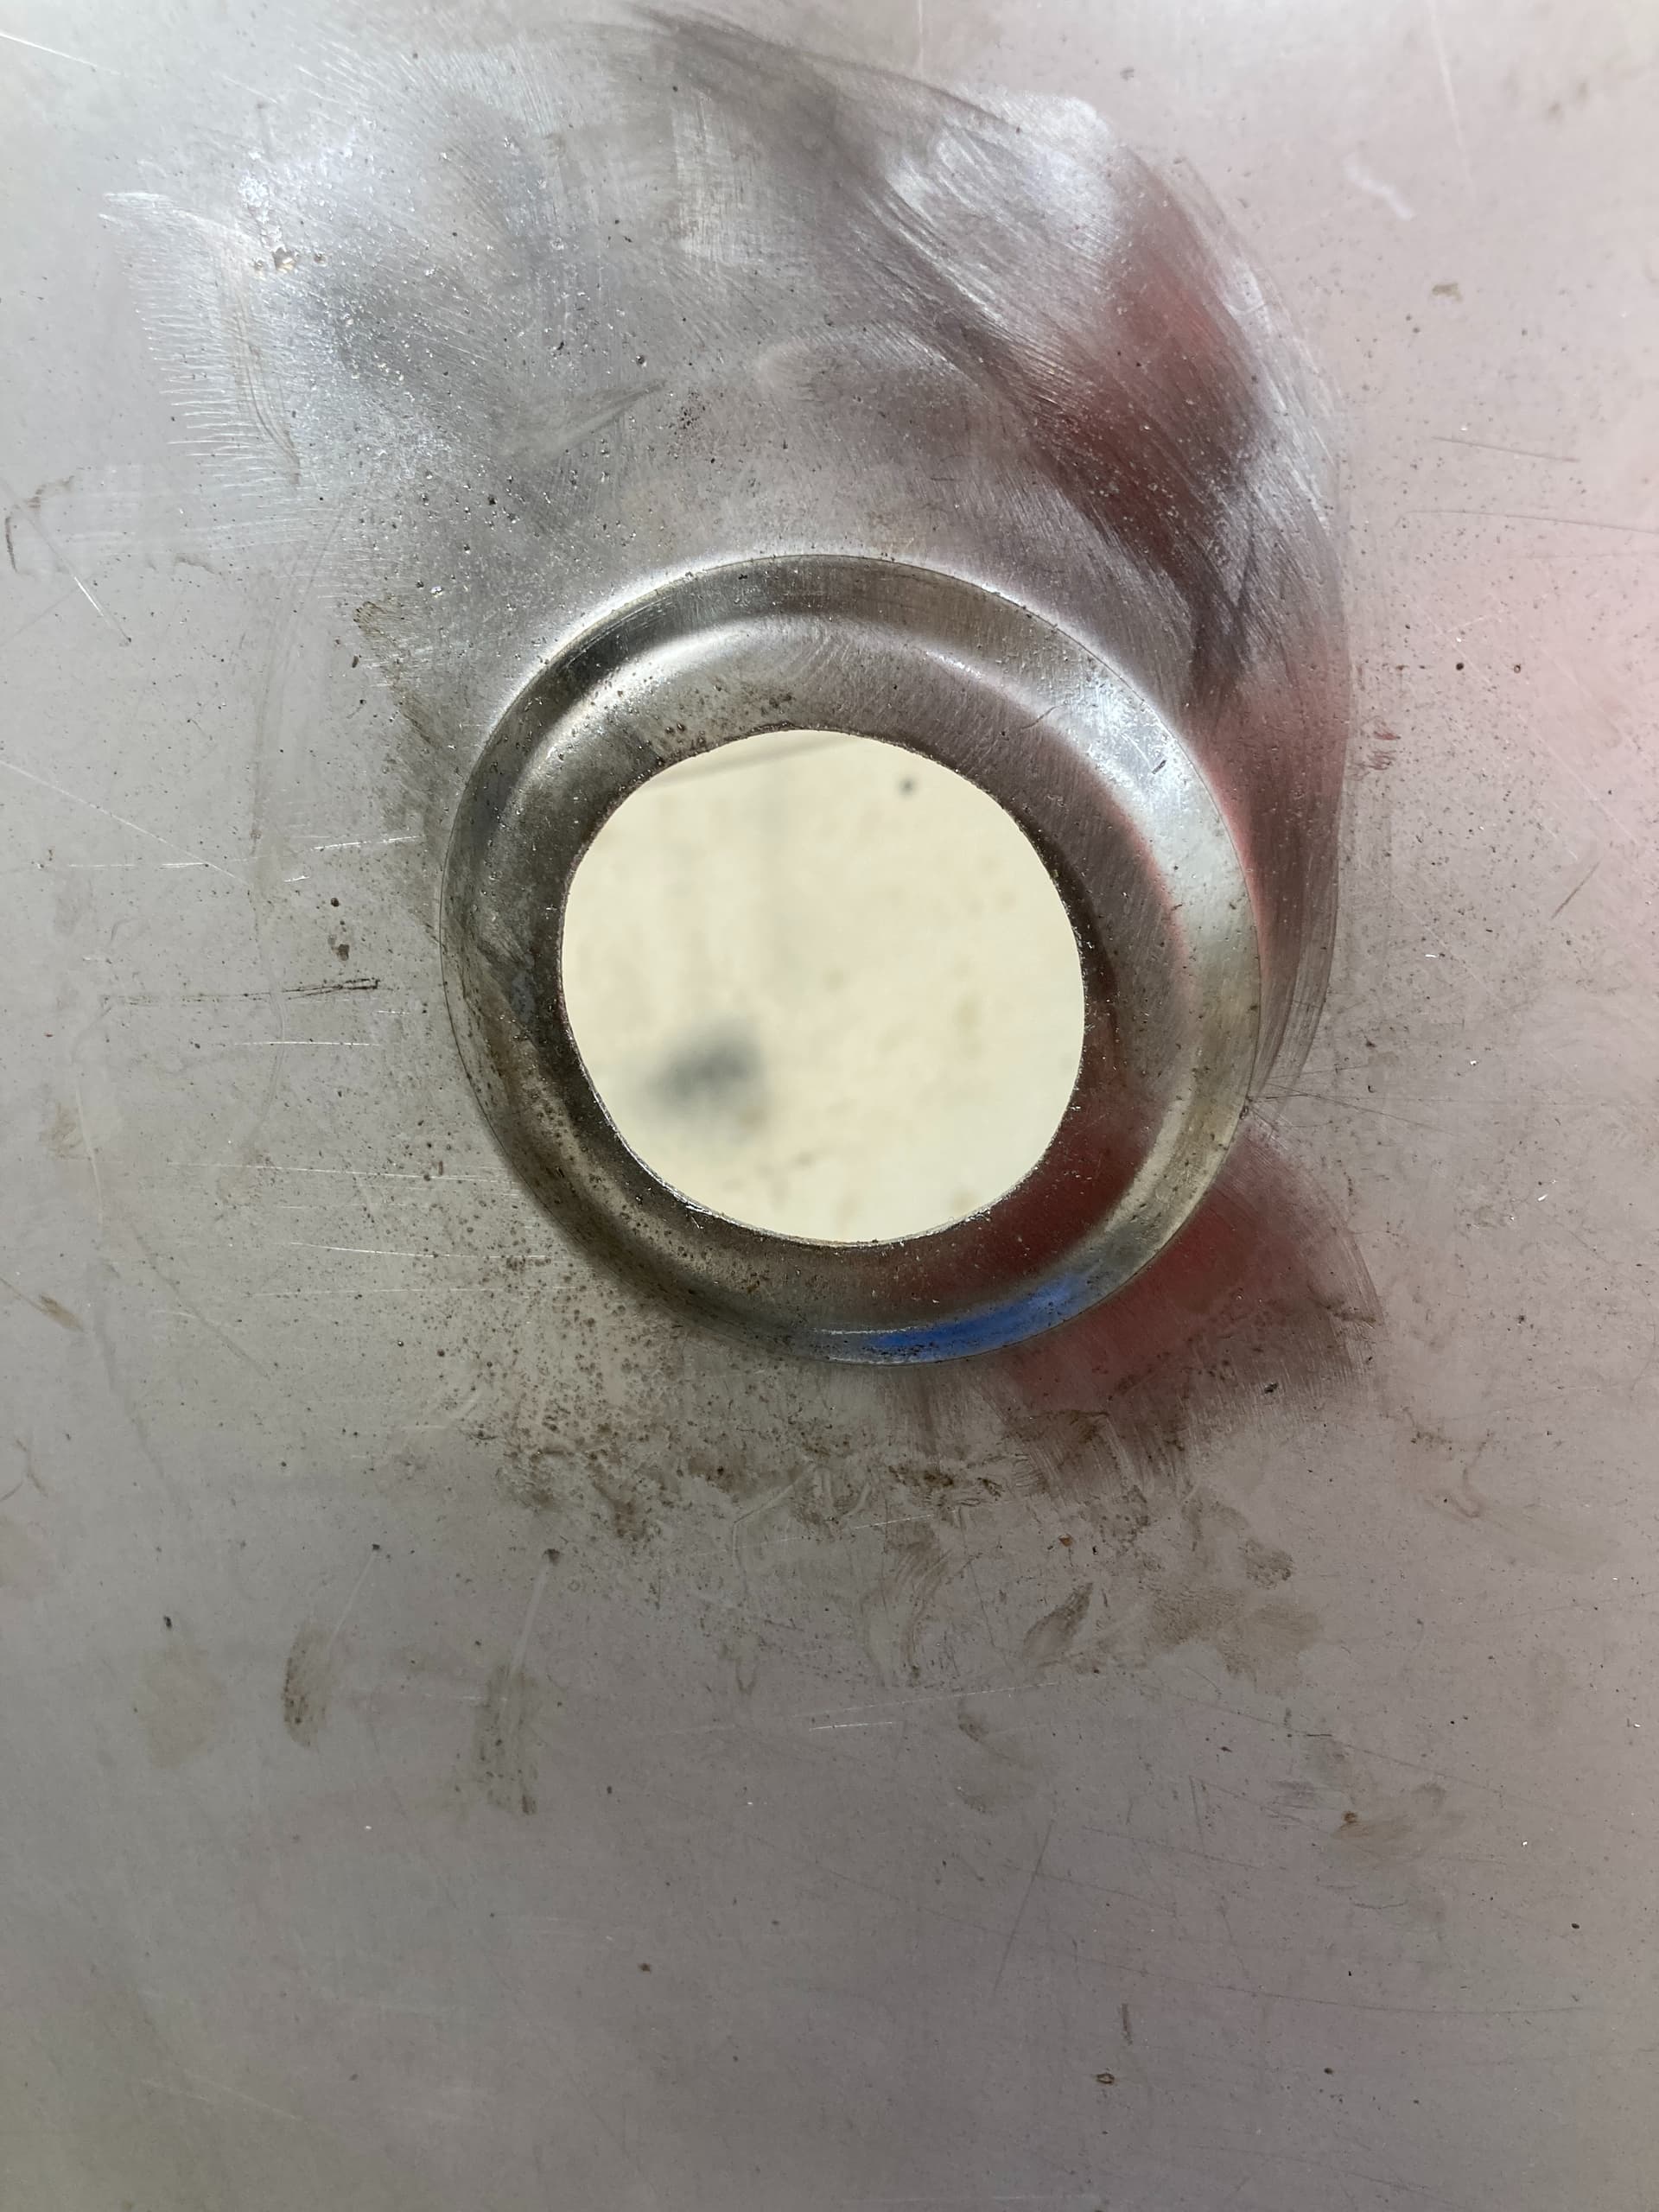
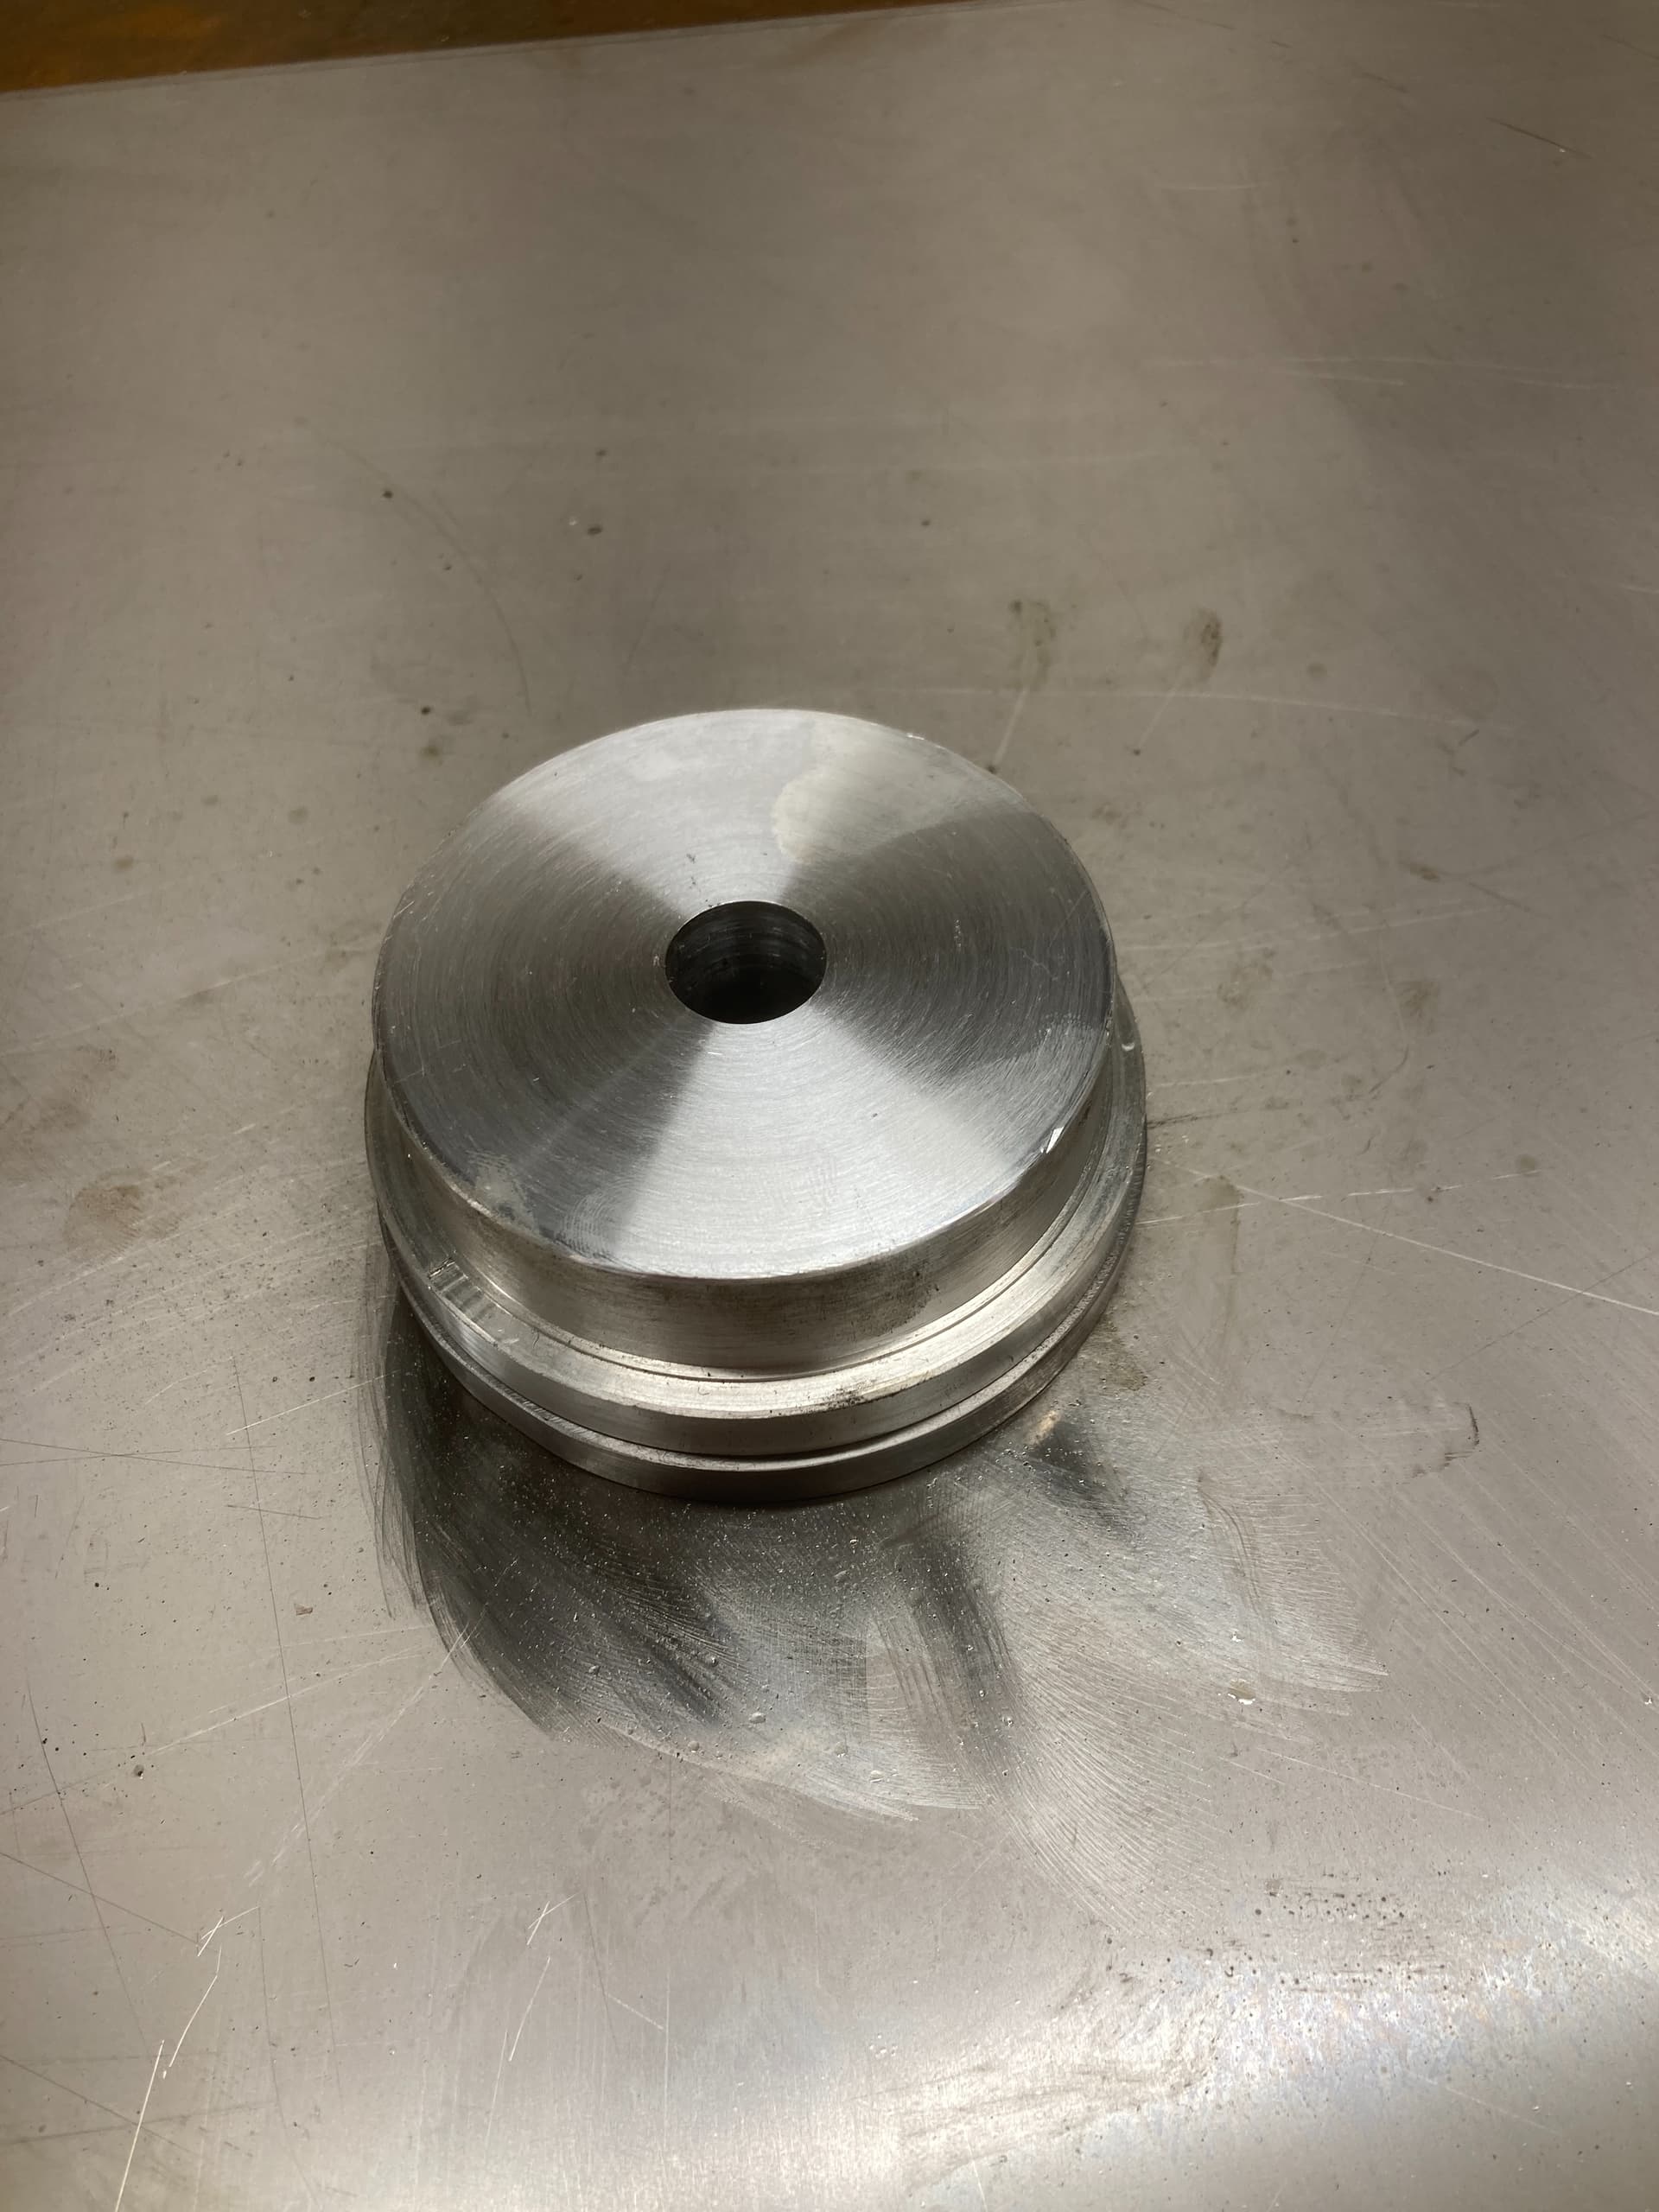
In the end, I end up with the “finished product”

Now to cut the holes in the table.

I can’t find my “hole saw” set, so I think they must be up at the cabin. Hmmmmm…

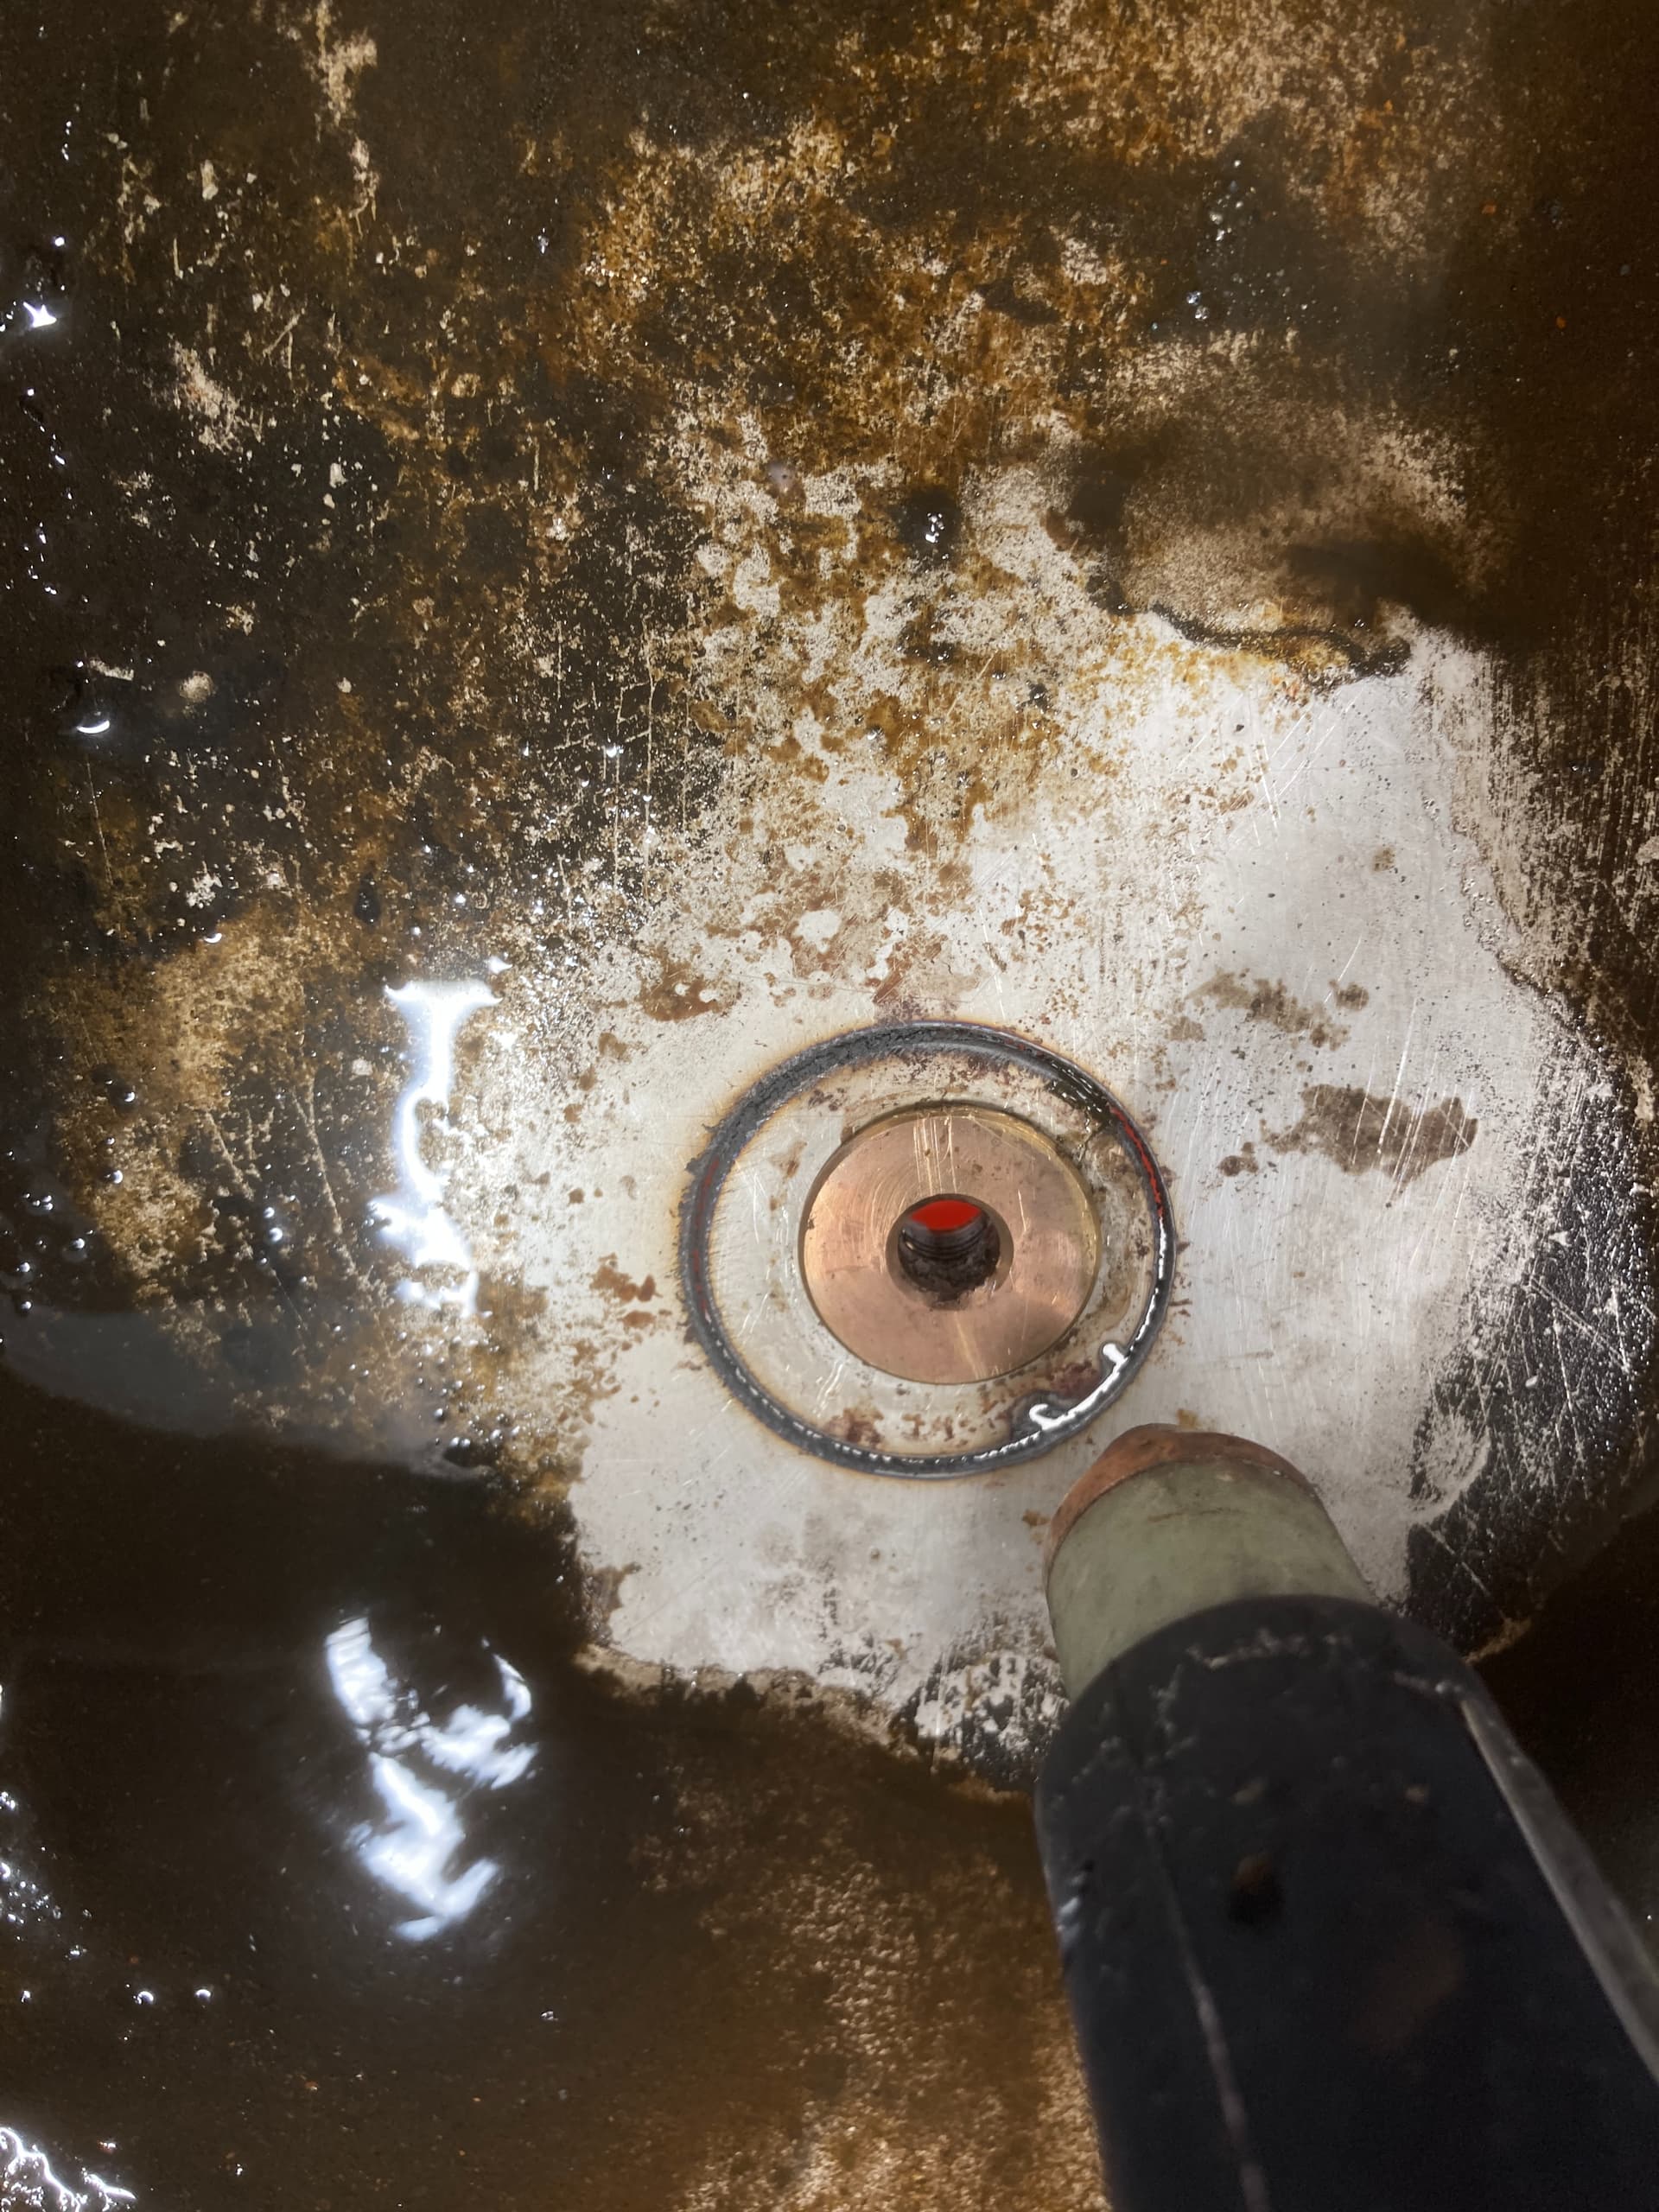
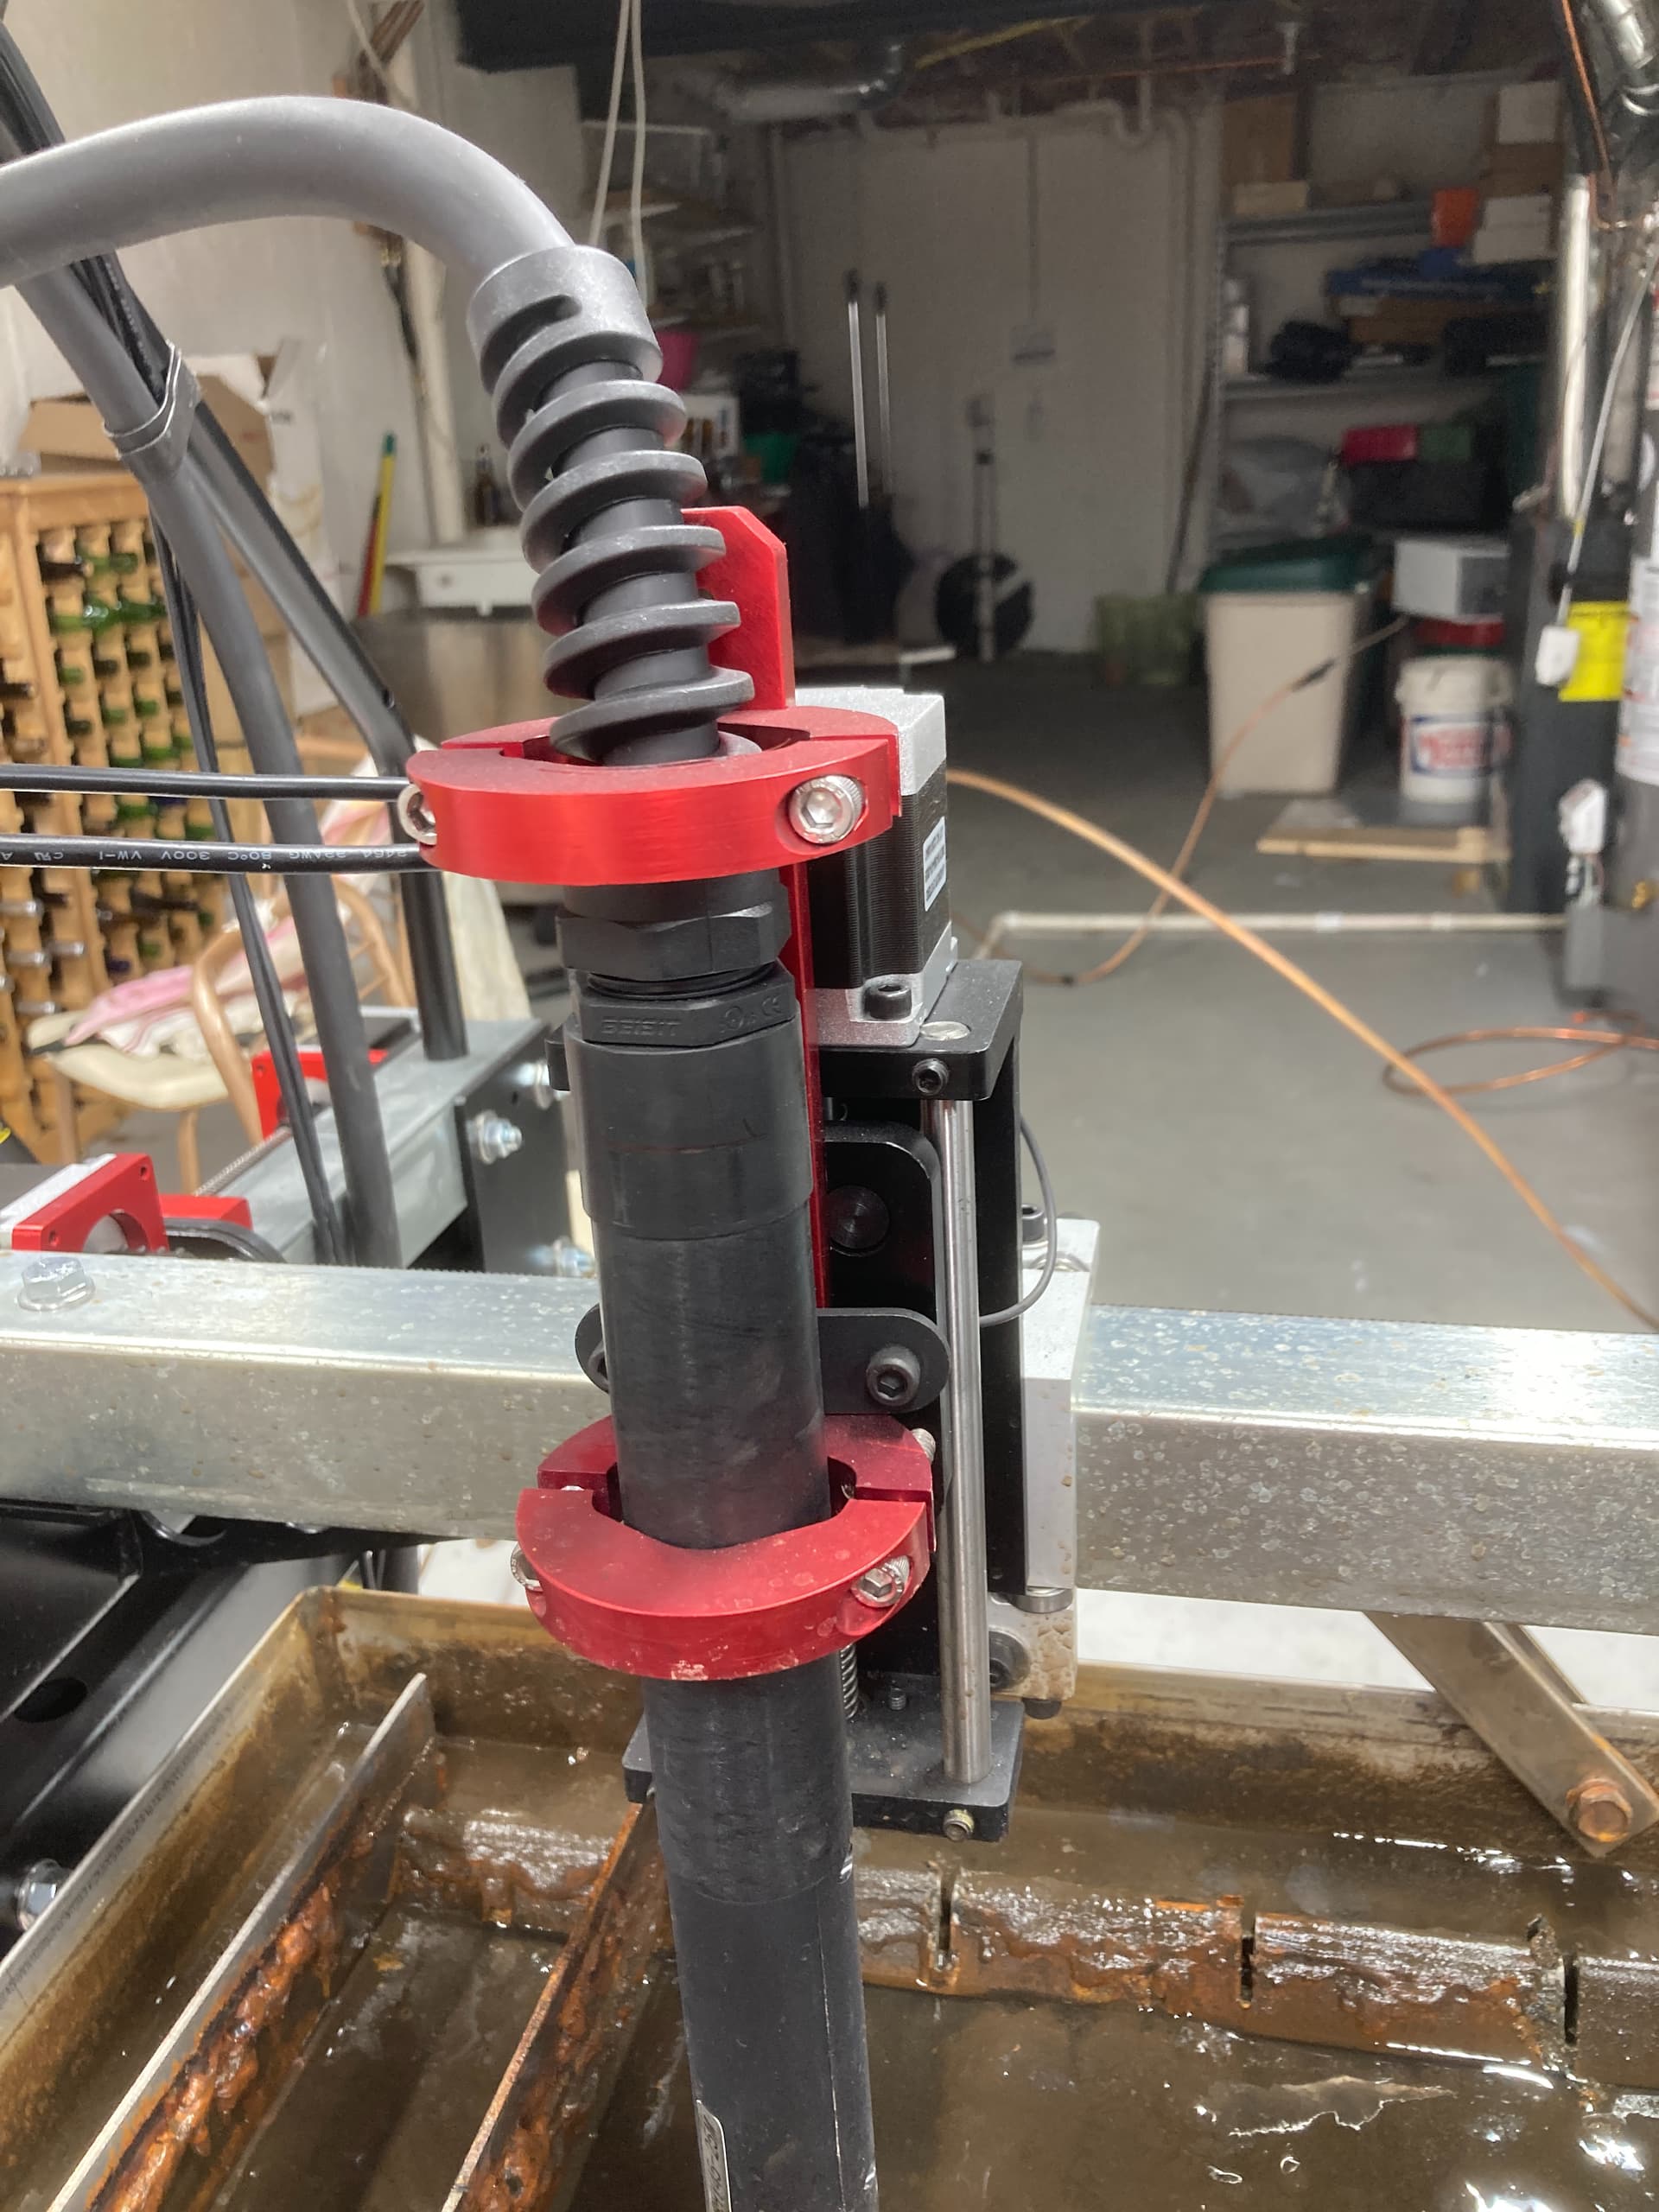
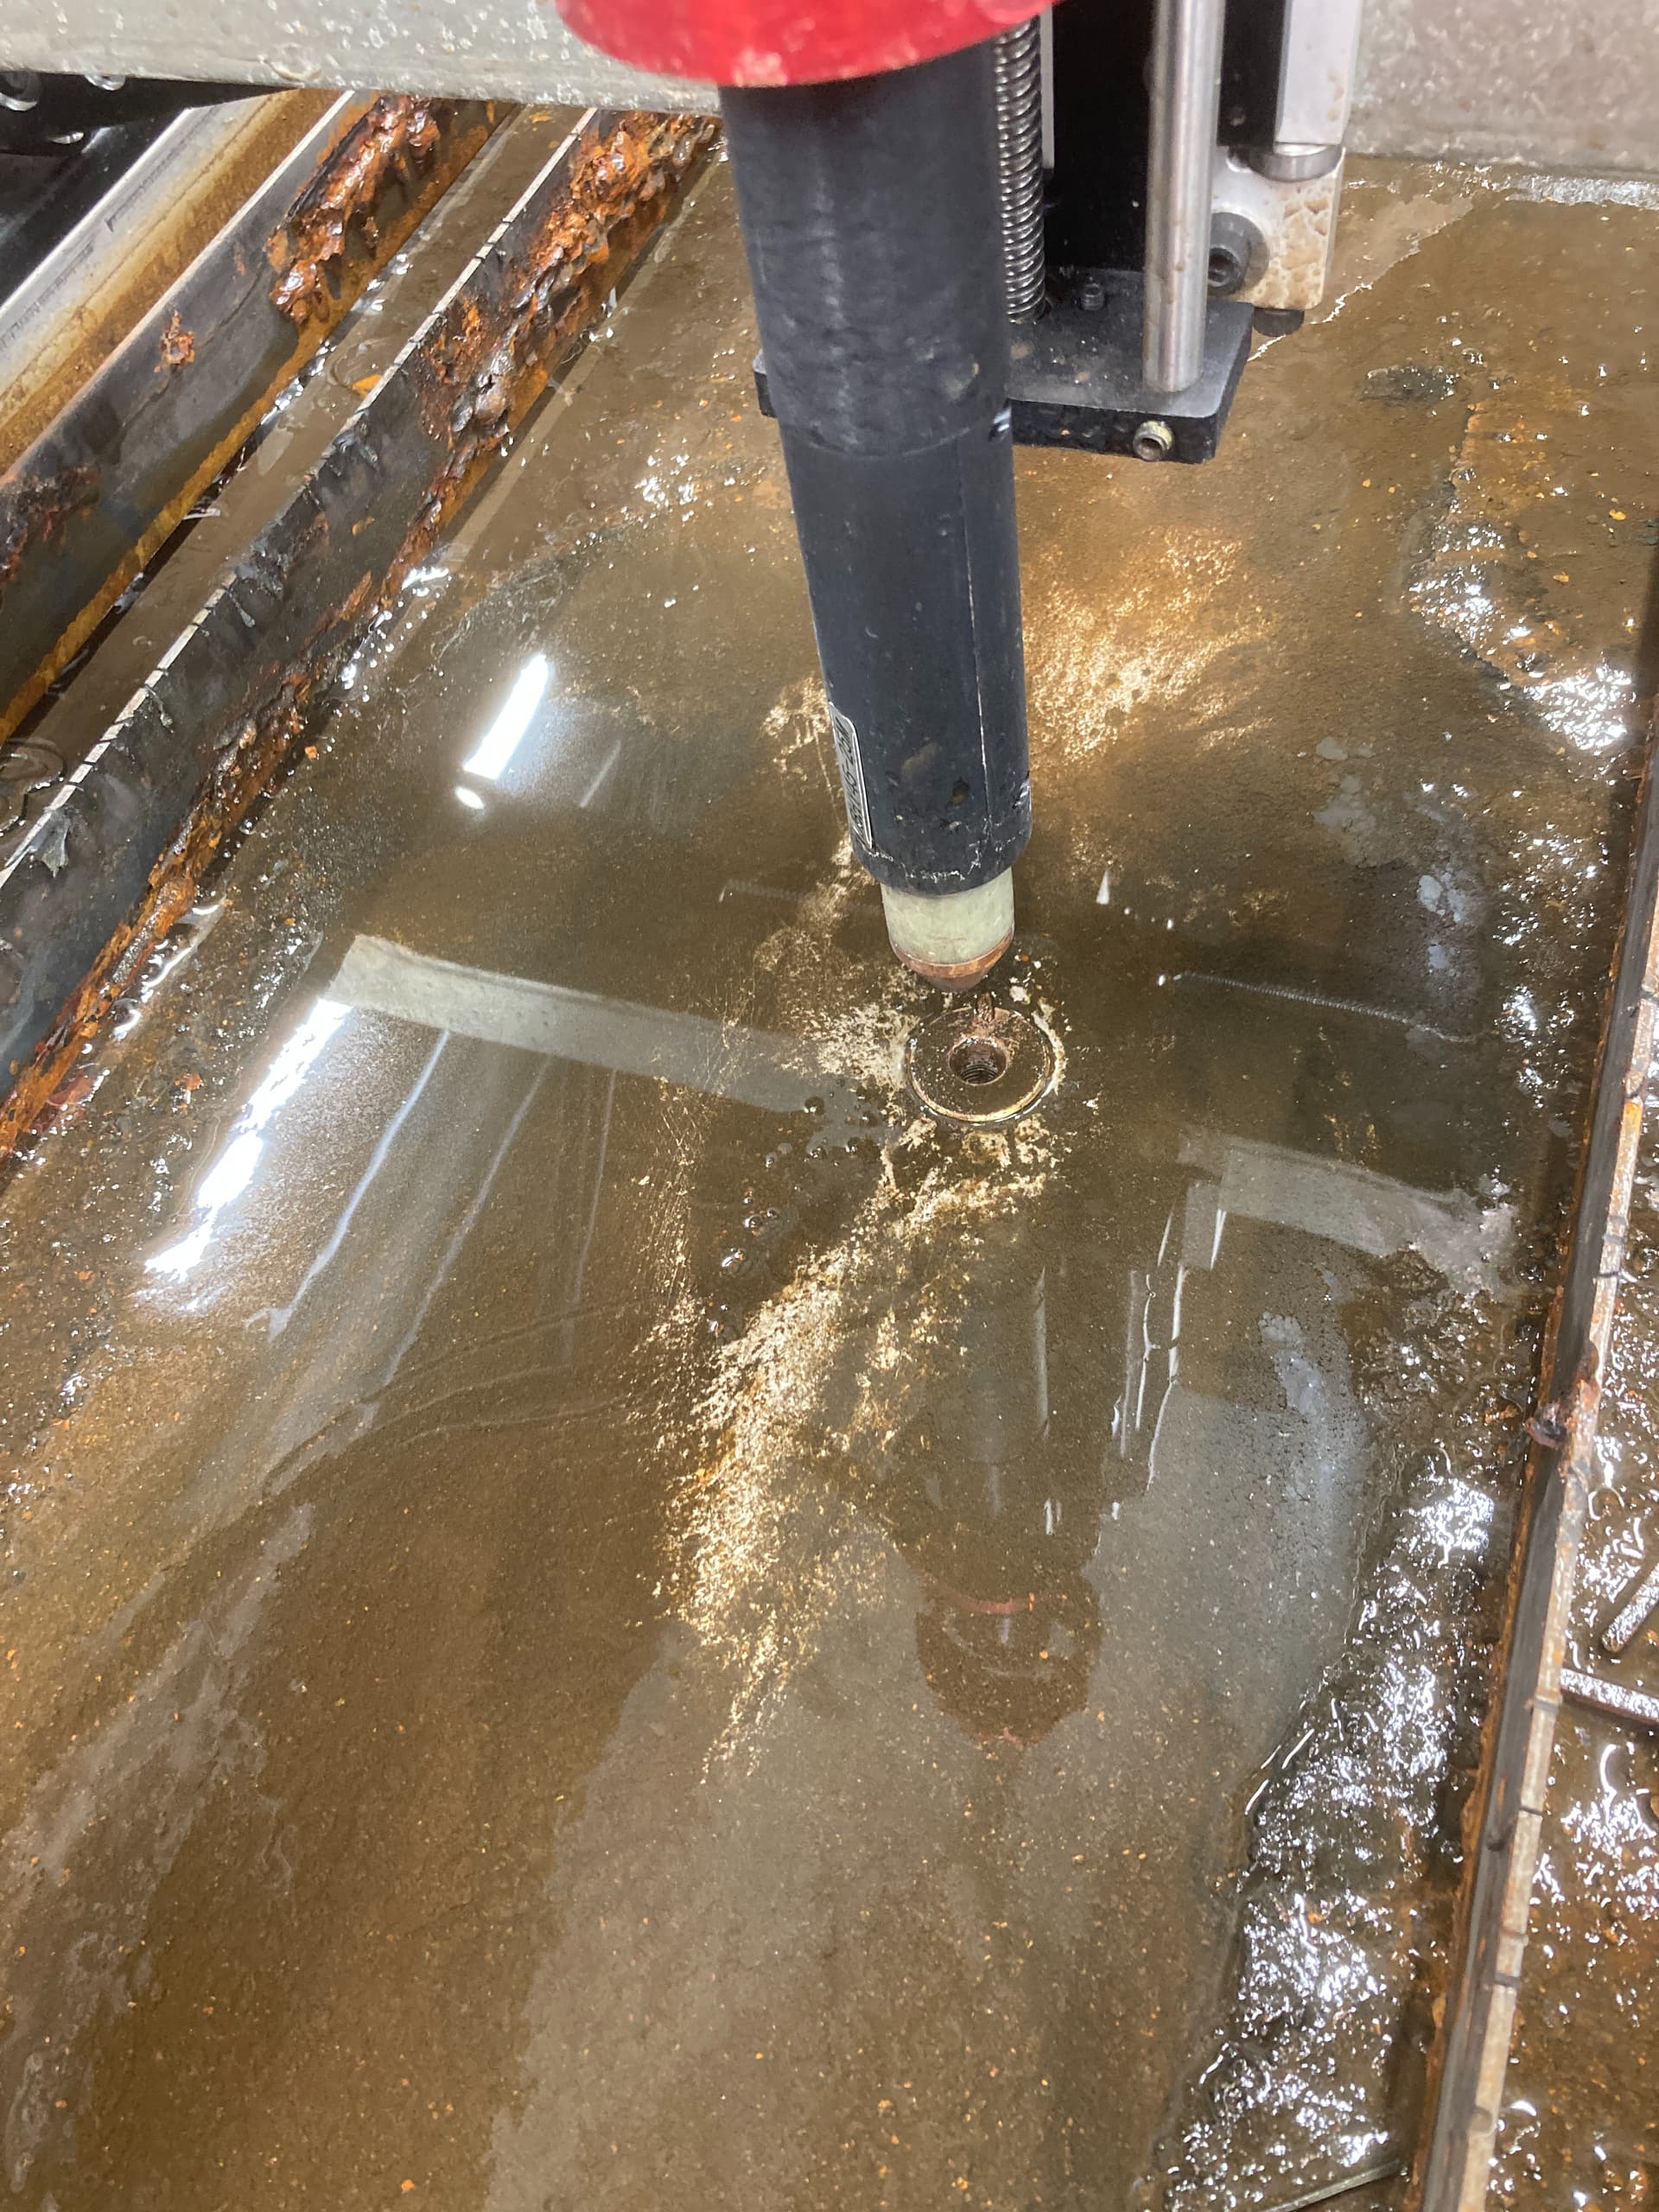
I decide to use the Langmiur to perform surgery on itself.

After removing the “slats” I lowered the torch head to and only used the bottom clamp to secure it.

I figure 2 quick cuts and it should be fine.

So I mark the original height first with a marker, and lower the torch and only use the lower bracket to hold it for these 2 cuts.

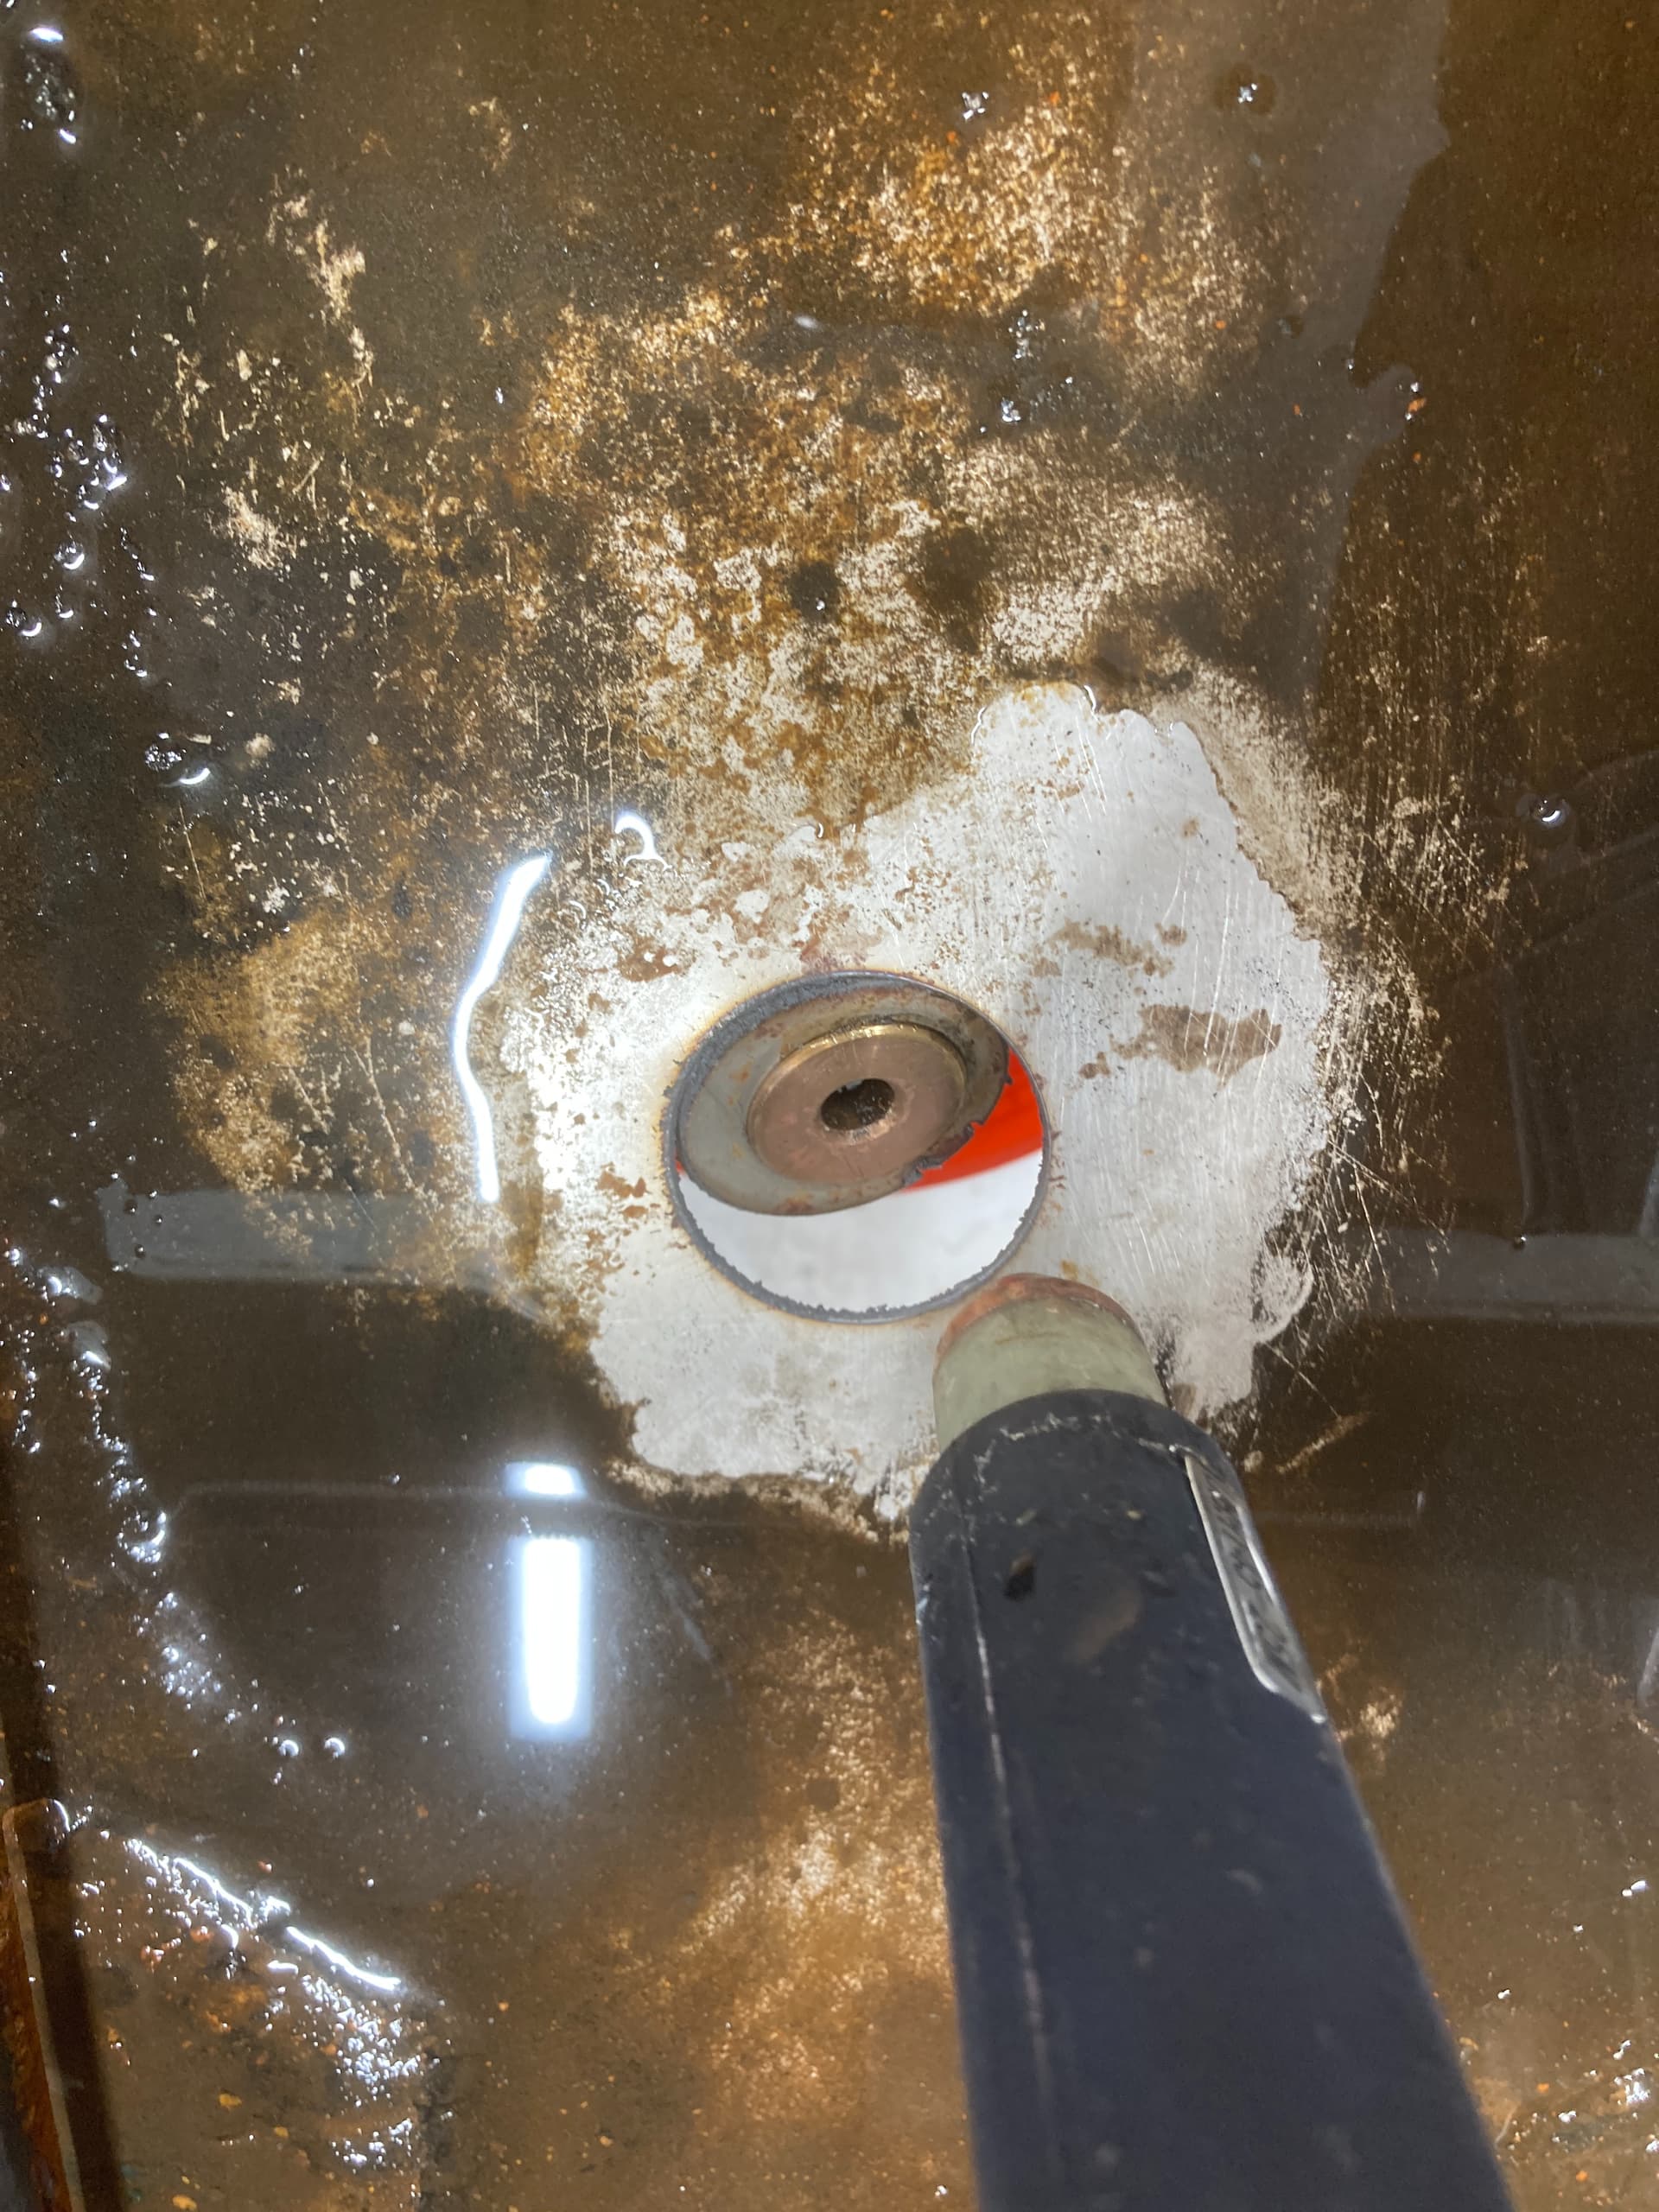
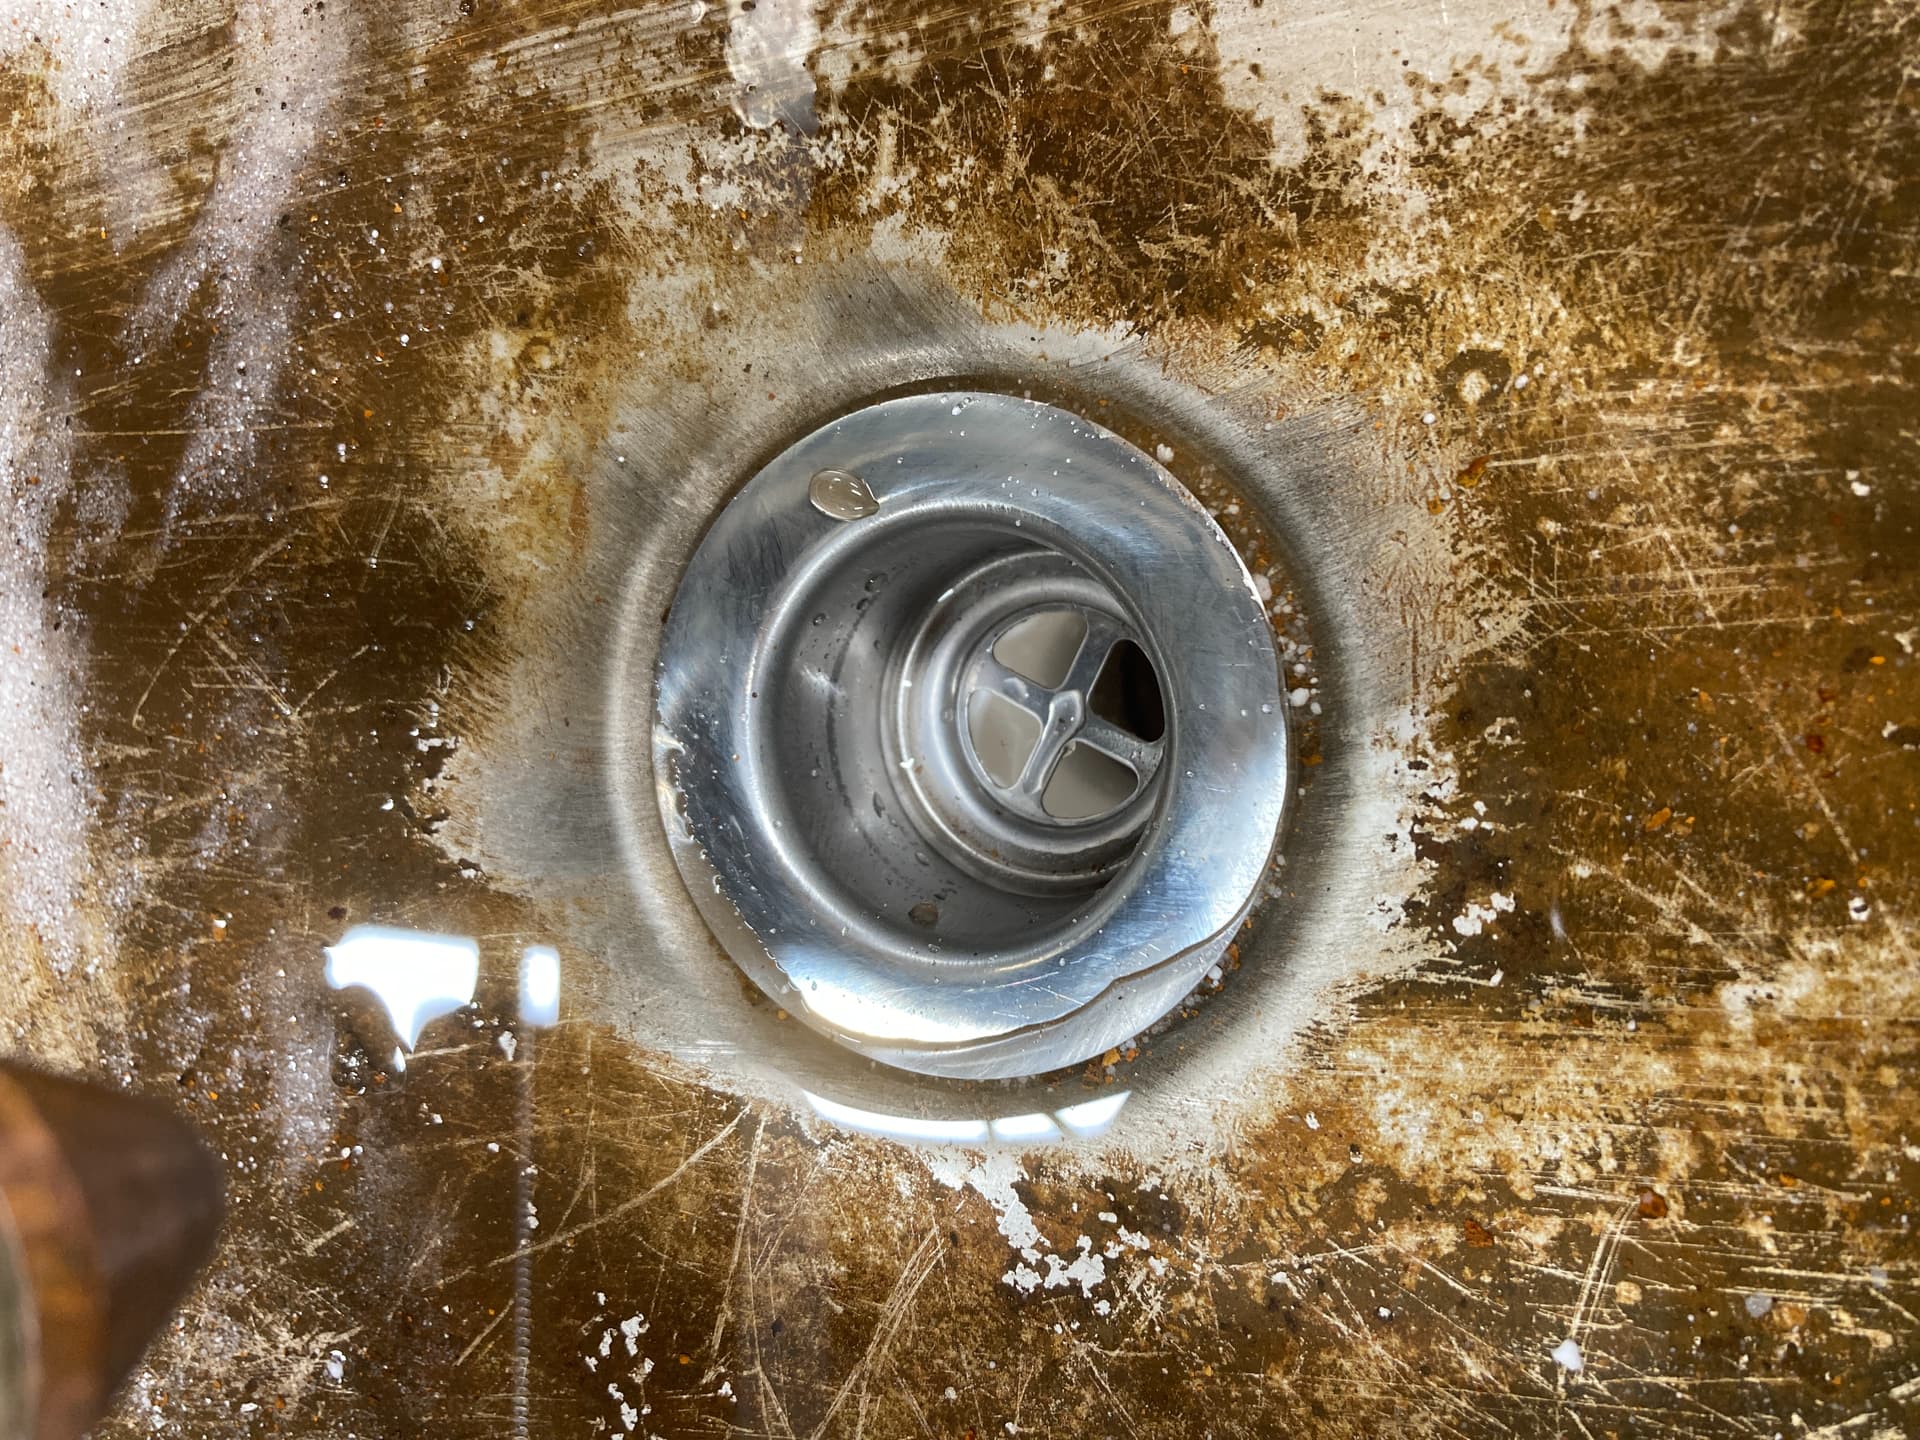
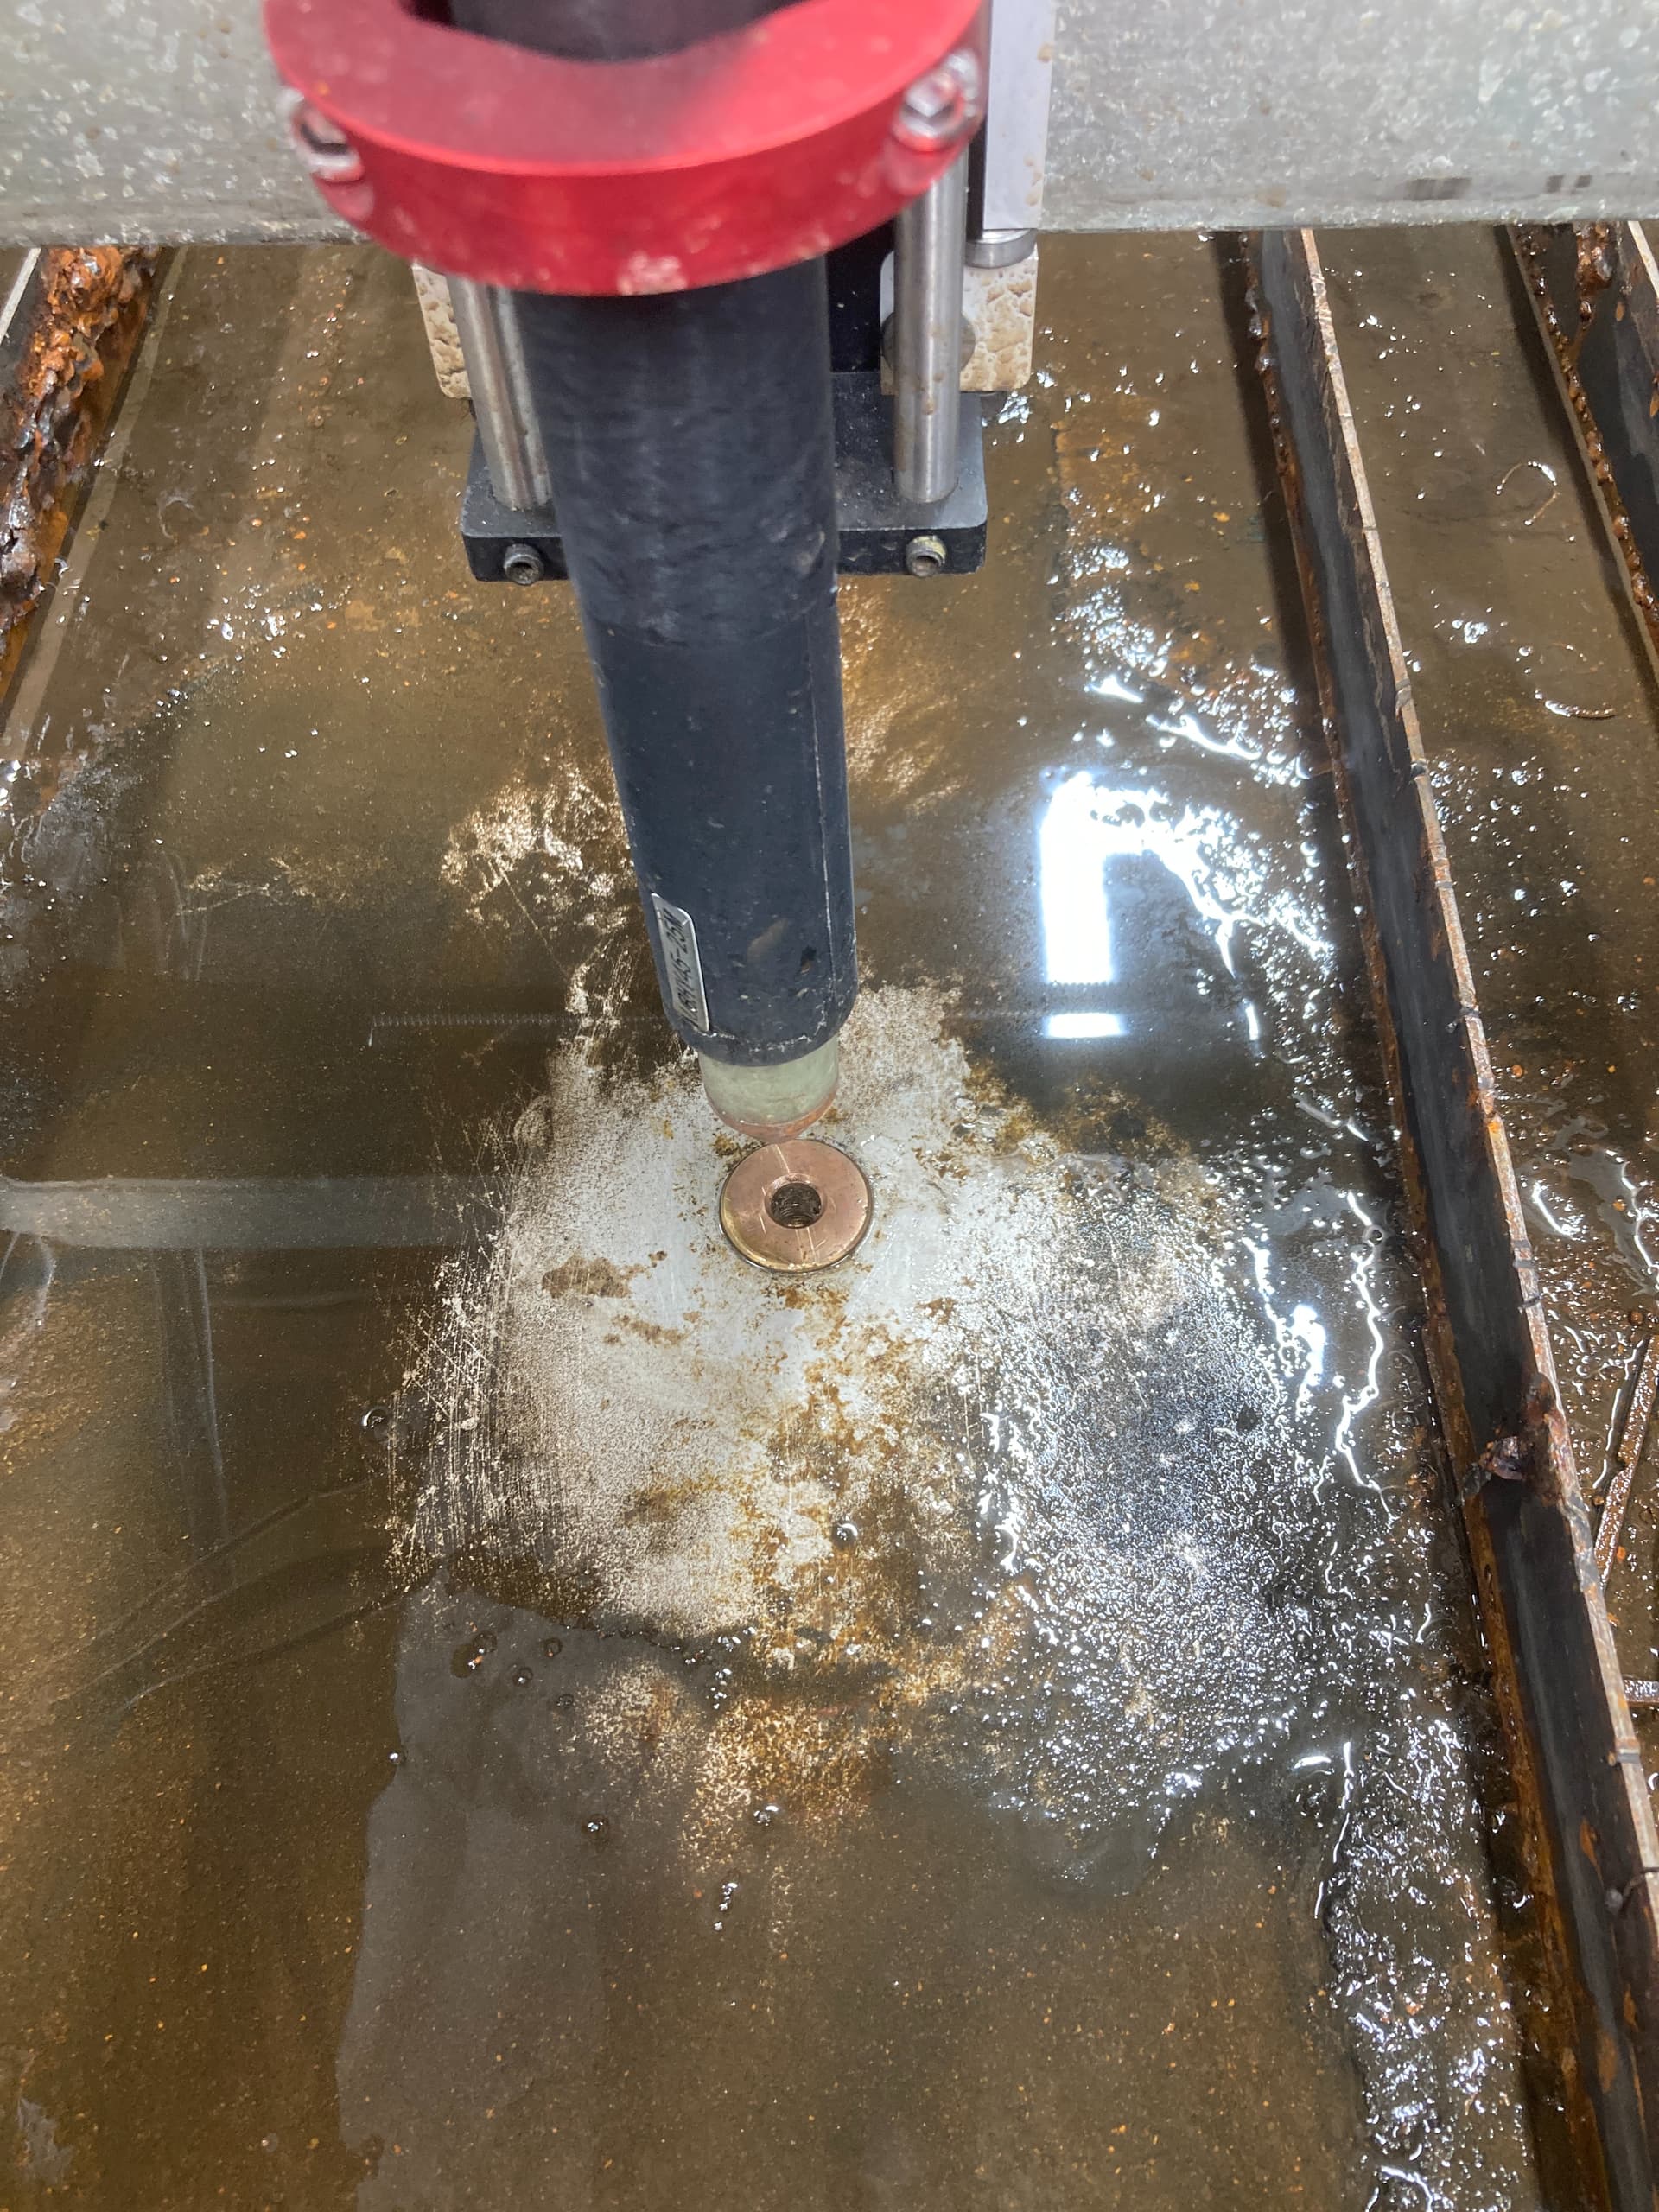
The tables is “nastier” than I expected,

Then I decide that I should clean the area off to maximize my chance for a “successful first cut in SS”. I am also not sure how that water will effect the cut quality, so I spend some time with about a “Sherwood Forrest” worth of paper towel and a scraper, to try and “sop up” some of the slop.

To be continued…

2 Likes

Well my “guesstimate” settings were not perfect, but it did a “good nuff” job.

A few taps with a hammer and bingo.

Now off to the TIG machine to try and weld up this table without warping the hell out of it.

In the past my success rate of welding “sheet metal” without warping has not been good, but sometime you just gotta keep trying. So I decide to just “stitch it together” with a series of 1 to 2 inch welds, trying to keep it “cool” as I go.

Well I must have forgot to take pics as I went along, but I “stitched it together” with “mild success” (?).

I did have to “beat it into shape” a little but I am hoping it will work.

So now I start to use the die set.

As I am cranking on it, this “bad feeling” overcomes me…I think that the tolerance of my die could be too tight, and it might end up accidently being a “punch out die” instead.

So I throw it back on the lathe and make it tapered a “wee bit”.

Ahhhhhh…that makes me feel better.

Well I am clearly not nearly as strong as i used to be, I have to enlist the help of my impact gun to squeeze them together, but it seems to have worked.

Gotta get to work, I will update this soon guys.

8 Likes

You know I love your picture-book-stories-for-adults!

Kwikfab just messaged and asked if you considered JB-Weld? I guess his “comms” are down, otherwise why didn’t he just tell the group! :face_with_hand_over_mouth:

2 Likes

Thanks for the kind words Jim.

To answer Kwikfab,

I really enjoy welding. If I could go back and do it all over, I would have become either a welder or a machinist.

So just about any chance I get to practice my welding, I do…even if it seems unnecessary/overkill/dumb.

I could have just waited in line like everyone else for the die too, but using my new lathe to make one was just too tempting. :+1:

As soon as I get everything "leak free’, and make sure it works, I am going to further copy @nortonscustoms and offer them up to the community as a token of my appreciation for the help I have received.

Oooo…Boss is coming, gotta go and look busy… :smile:

3 Likes

You must not have seen all the posts from KwikFab!!! He has NEVER used JB Weld. He has been advocating other people to quit doing work-arounds with the pan and just weld them. I was just trying to get a rise out of him, just in case he lands on this thread. :rofl:

1 Like

Ahhhh…hahahah

Yes, I missed that totally. :smile: :+1:

1 Like

OK, just a quick update.

It appears as though my welds and the drains were a success!

I filled the table ~48 hours ago and they are leak free.

Here is the finished product and some close ups of the finished drain install/

The welds are not “professional quality”, however for a layman, I can say that at least they hold water.

The stopping and starting of a weld has always been my Achilles Heel, and warping was a real problem for sure.

It appears that my die set up leaves a slightly larger “circle” and wider impression than the original “dimple die does”, but it worked very well.

So with that project done, I am officially offering to send my die set out to anyone that wants to try it, free of charge. Just promise to “pay it forward” and mail it to someone else that would like to use it.

I will post the name of the drain I used later today, but I imagine that there are many manufacturers that will work.

:beers:

As per normal, I warranty NOTHING

another shot of my crappy welding.

6 Likes

As promised, here is the name of the drains I used.

Moen 22174 Sink Basket Strainer with Drain Assembly, 2", Stainless Steel

and here is a link.

https://www.amazon.com/gp/product/B000TFDY0E/ref=ppx_yo_dt_b_search_asin_title?ie=UTF8&th=1

Just for future reference, I programmed a 2 inch hole to be cut in the table.

I did have to use a file a “wee-bit”, (like for 10 seconds) but after that, the die fit very nicely.

I also ‘dabbed’ a little wheel bearing grease on the threads of the die to prevent galling while using the "impact gun’ to tighten it down.

On a side note: Holy sh!t this thing drains fast now!!! That 1 1/2" PVC made short work of draining the table.

I filled a 5 gallon bucket in less than 10 seconds :+1:

3 Likes

Nice work for sure. I welded my pan when putting it together new. I welded mine only on the top side no filler rod just fused. Did you weld top and bottom?

1 Like

@RunsWithScissors Nice work!

2 Likes

@Phillipw @beartooth

Thank you both for the kind words.

I only did the bottom though.

I used ER308L filler rod Phillip. I keep that rod around because it seems to be a pretty decent 'general purpose" filler for SS.

1 Like