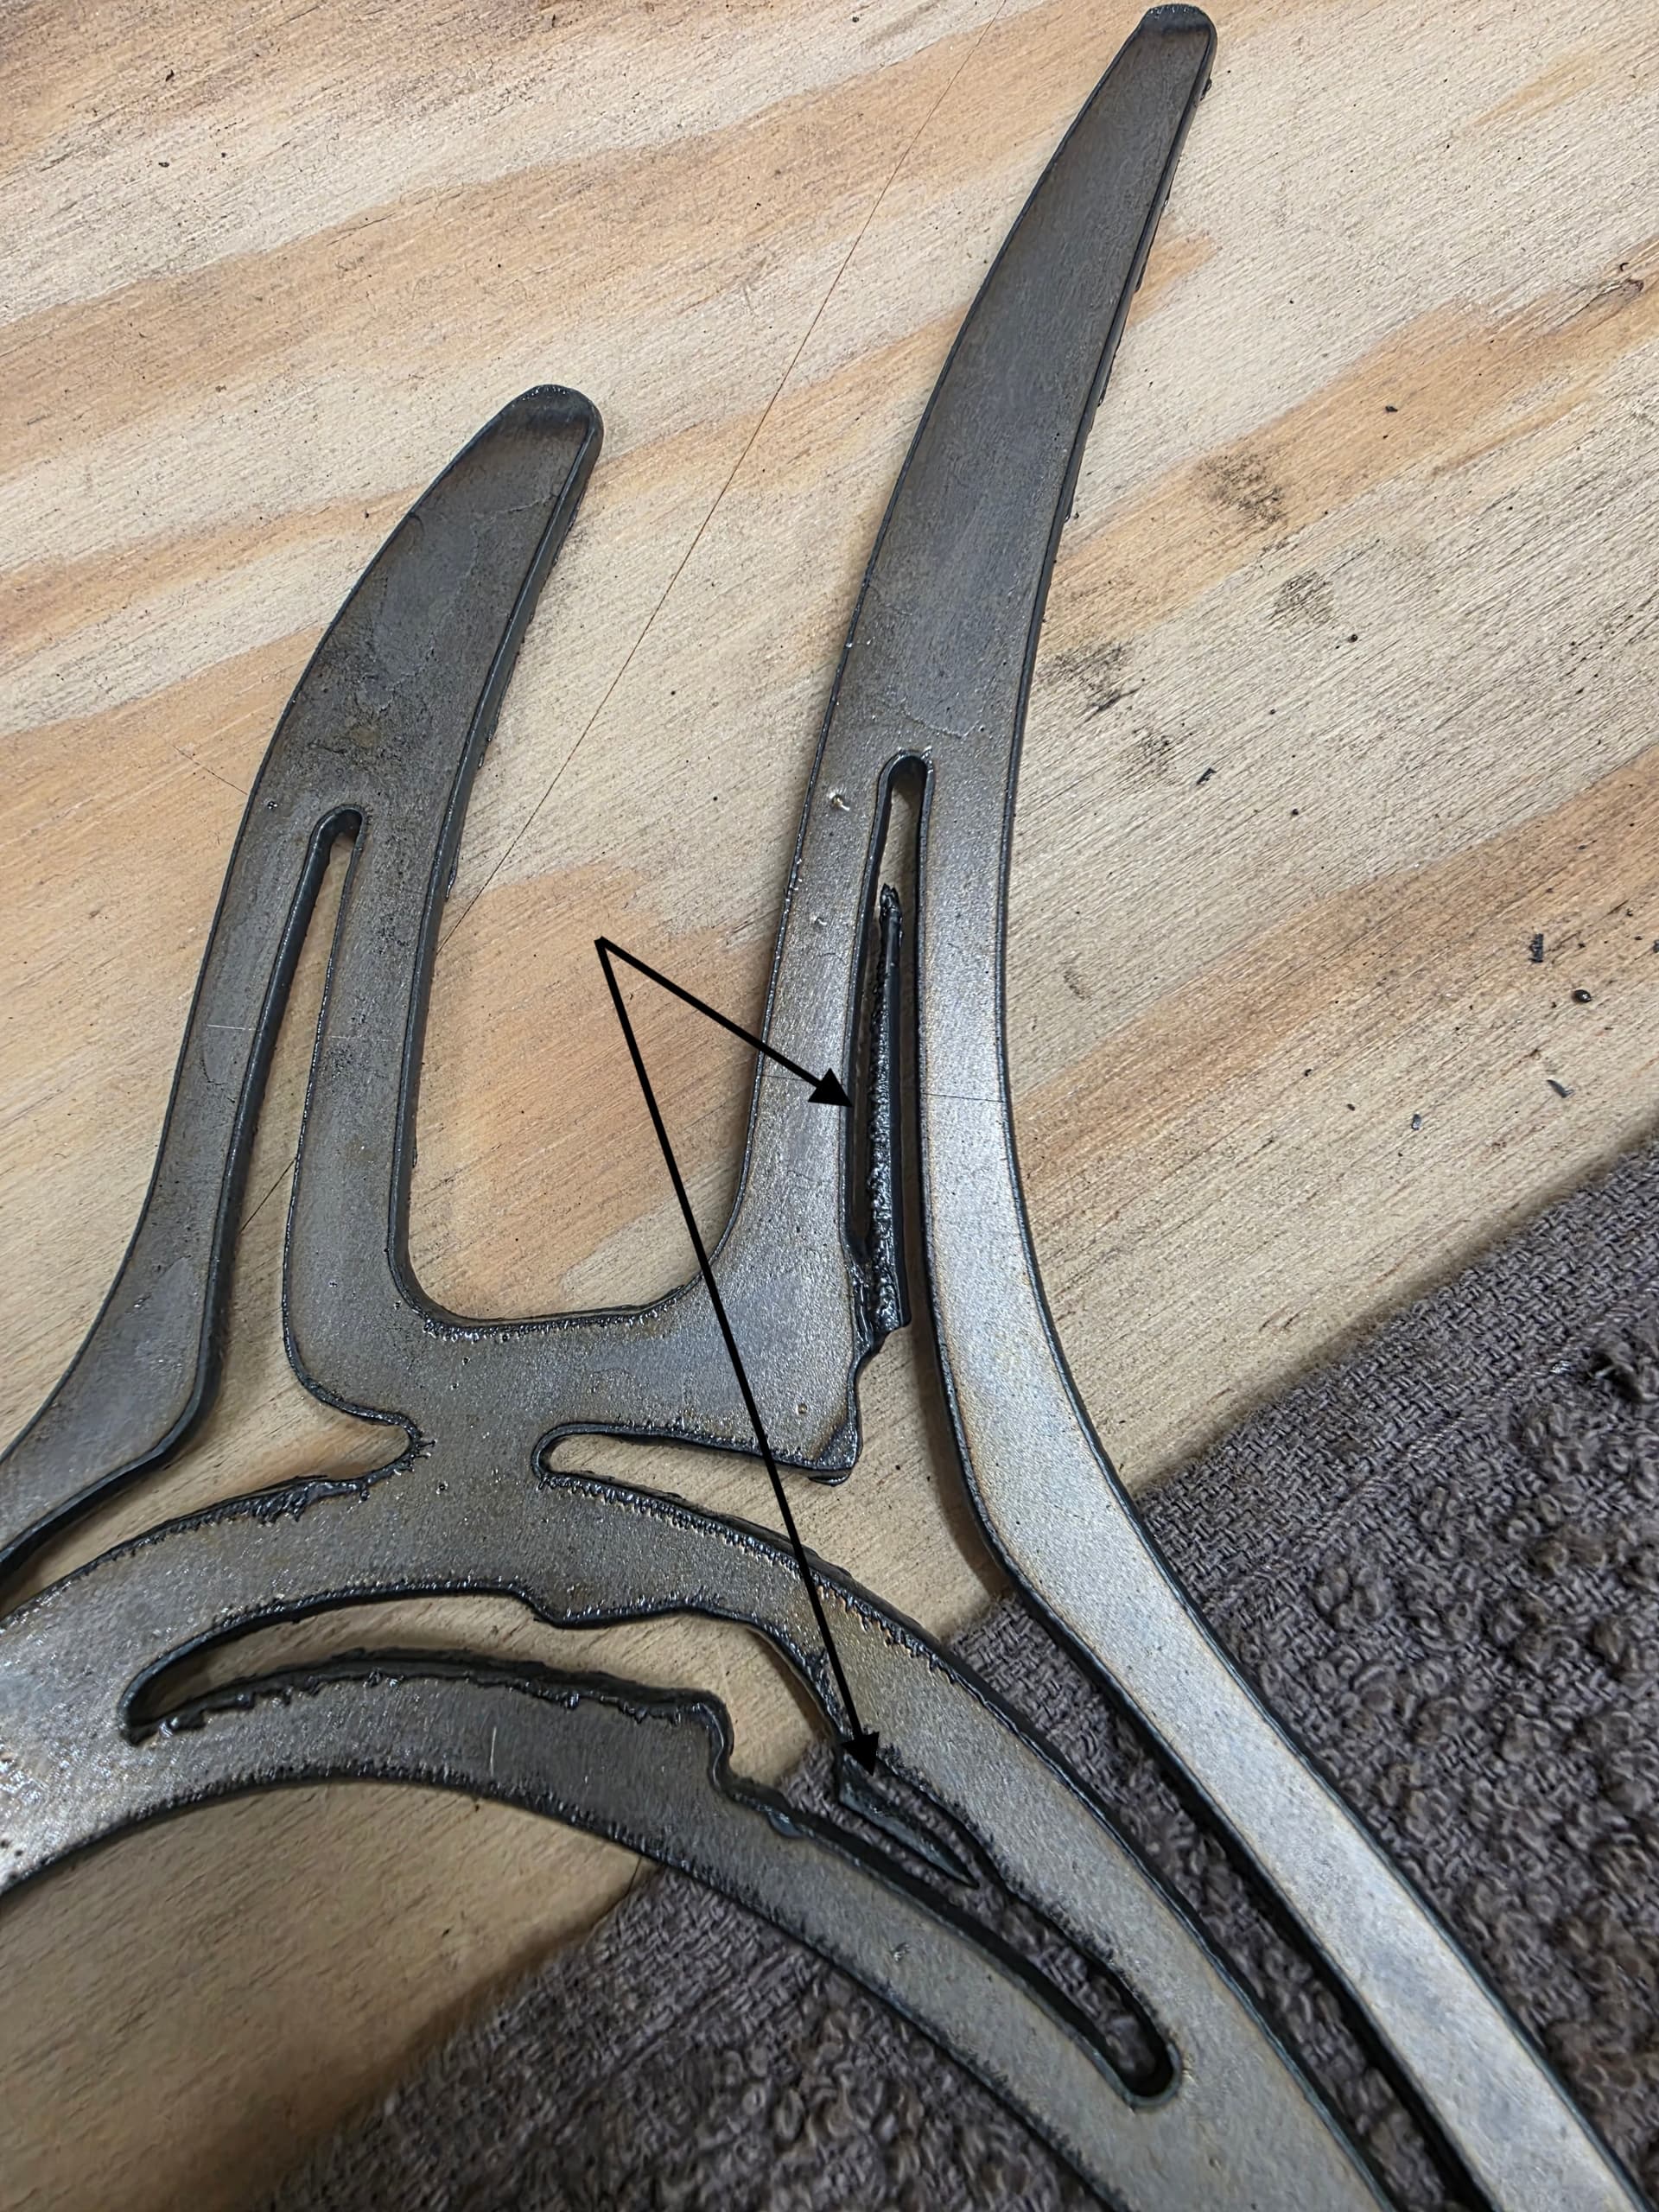
What are you using to clean up those areas that occasionally fail to cut through? I’ve been using my hand held plasma cutter, but it’s often too much and I can’t really use it for tight areas.

Care to share all of your settings and anything relating to this cut out?
Maybe even pictures of your consumables?
I ask because maybe one of us can see something you’re missing - I don’t often do ‘signage’ but when I do, it’s pretty intricate and nothing gets stuck like shown.

1 Like
I agree with Kwikfab. I do a fair amount of sign cutting, while it can be challenging you should not have to do that kind cleanup after the cutting. Either consumables, insufficient air, moisture, feed rate, list goes on… How does your torch work cutting non intricate designs?
I believe it has to do with lead in lead out and overcut settings. I’m cutting 14g mild steel, 170 Ipm, overcut .10, lead in/out .10. Razorweld Cut 45 @ 100%. Kobalt 80 gal compressor, dry dessicant filter. I often get the error in Sheetcam “Could not fit lead in lead out on some paths” when I’m cutting those thinner lines. My consumables also just hit 850 pierces. The three signs I cut just before this were nice, except for a couple tight areas in some letters. Seems sporadic at times.

I never use overcut, never found a need to on any of my 3 last tables.
At 170ipm, I’d say that’s pretty fast but if you found that to be the best then by all means.
Here’s 14 gauge all done at 120ipm at 45 amps.
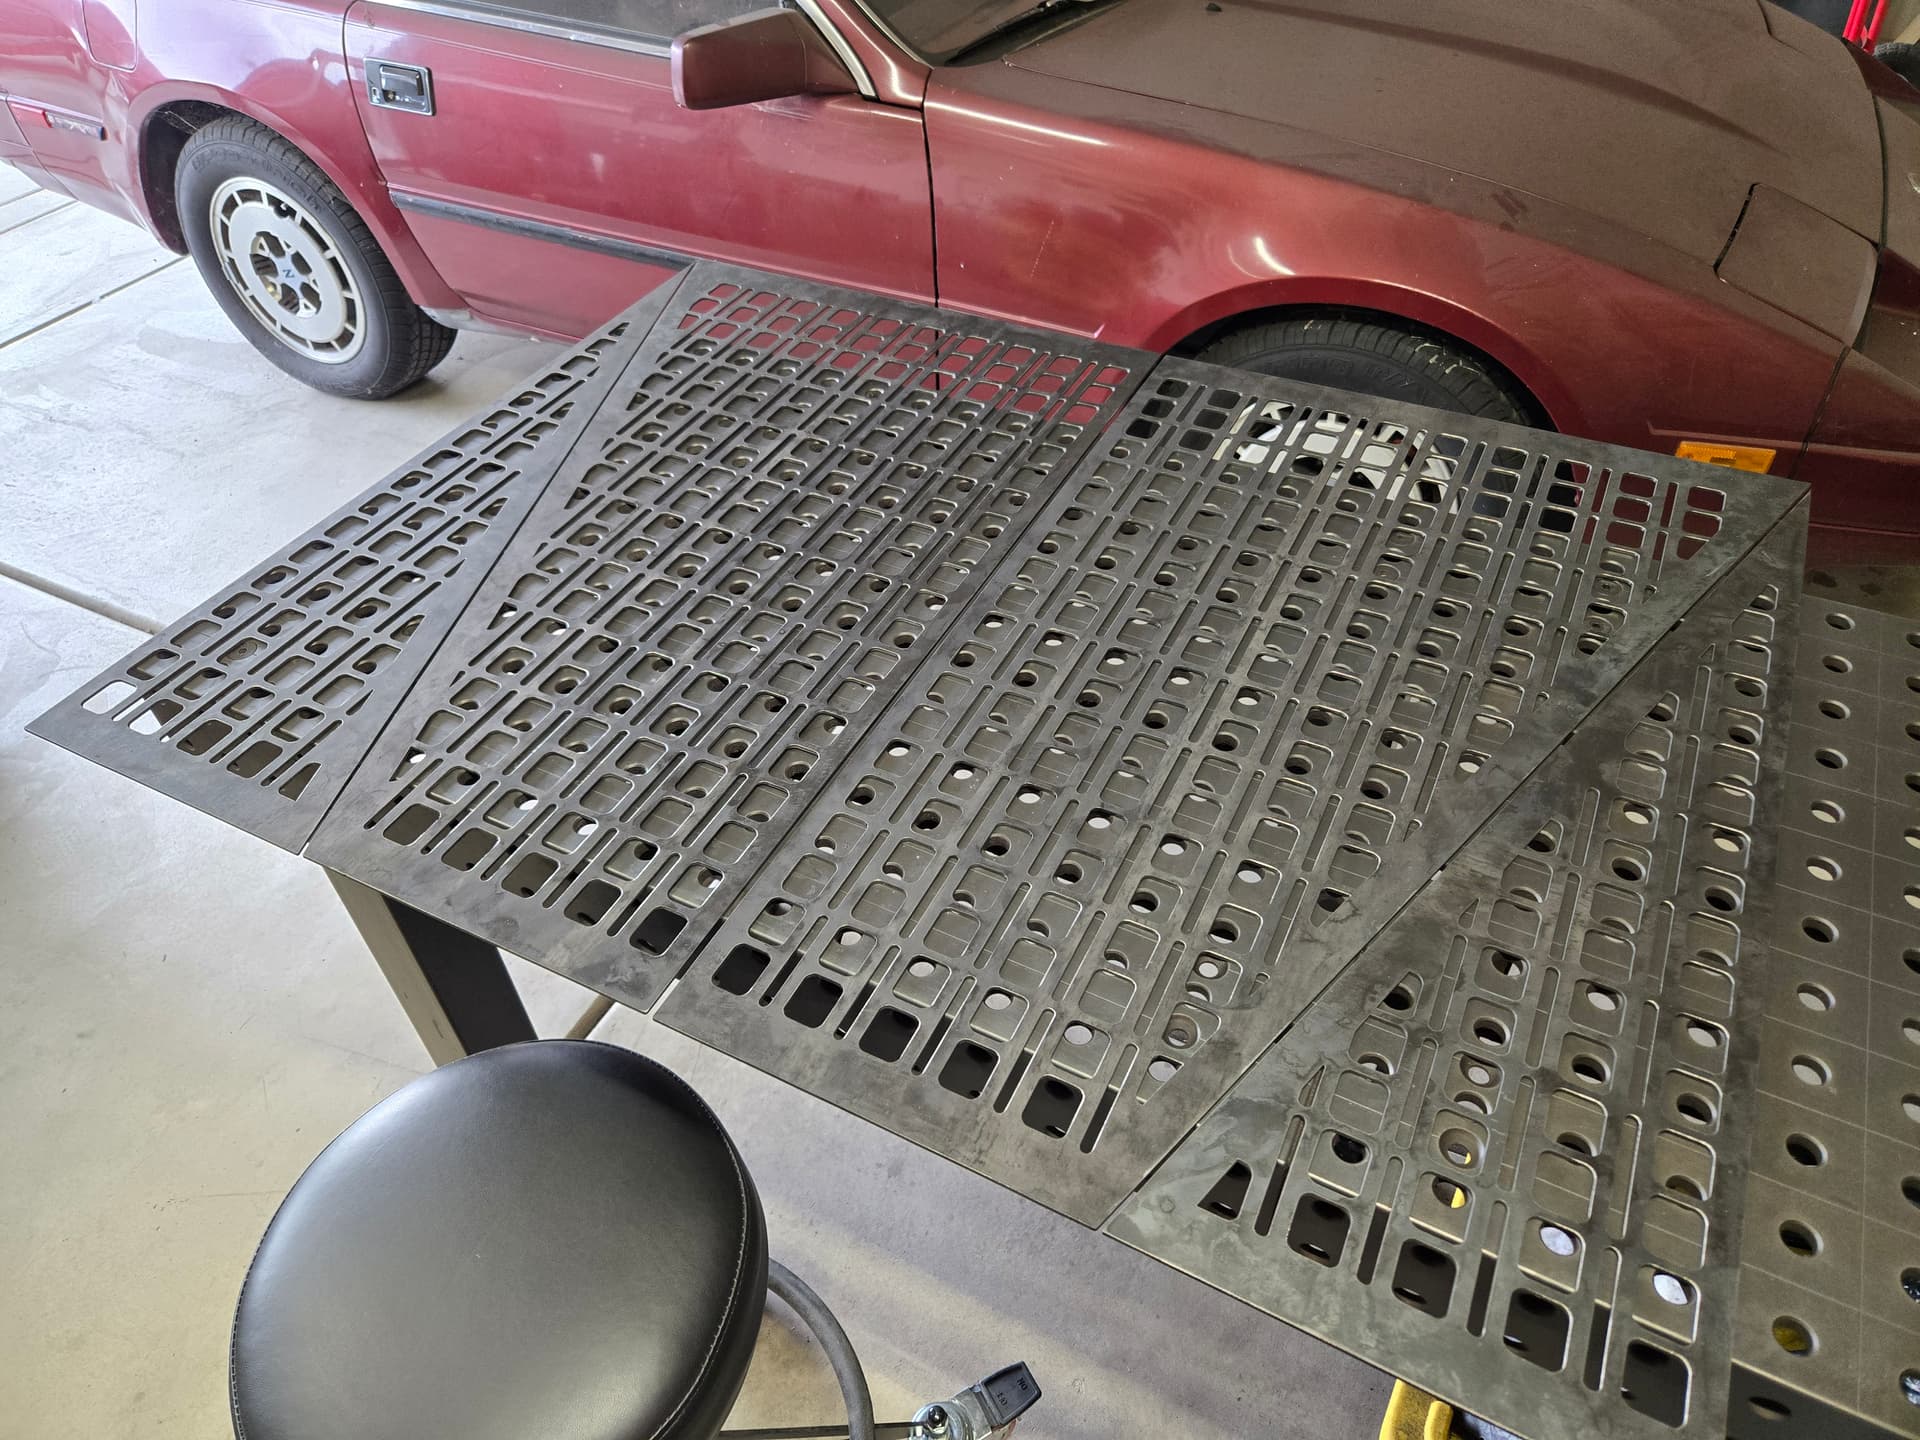
You also mentioned “thinner lines” which naturally results in heat soak, but that letter A and R look way too big for that to be an issue and especially at your speed. I say this because none of your letters and other contours have signs of excess heat (lack of blue/purple discoloration).
I’m going to side more with moisture, possibly worn consumables, and possibly too fast of a cut speed. But more with the first two.
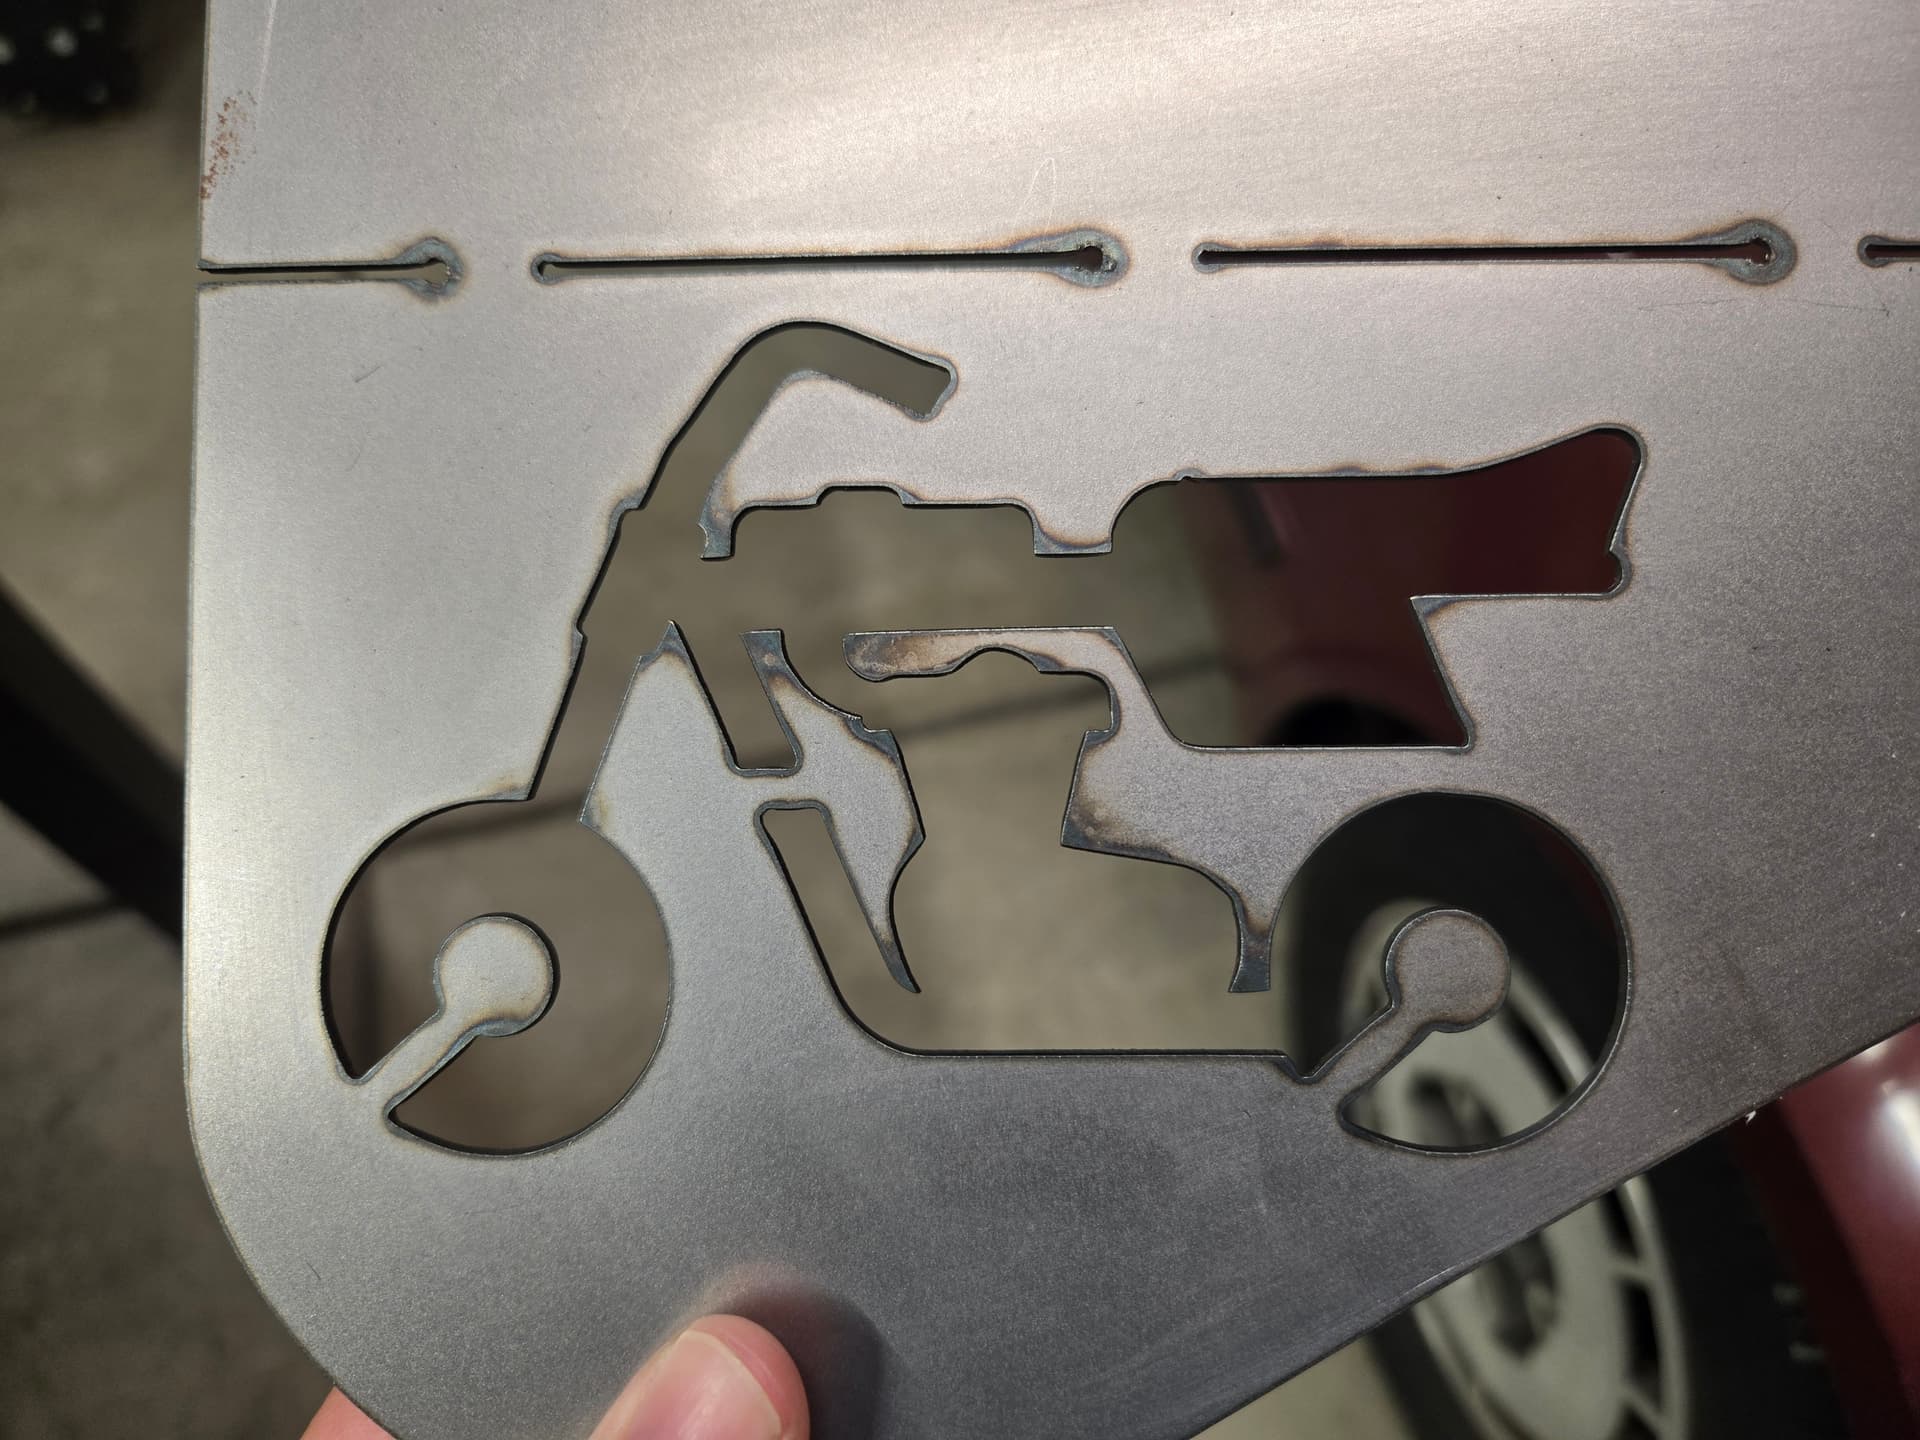
Also, you should add a lead in close to center for those circles flanking the U and the S so you don’t have those large pierces outside of the contour.
Try slowing that down to 130 ipm 35 amps with new consumables
Next time you cut you should take note whether these defects coincide with your compressor kicking on.
You’ve already gotten better advice than I could give, but I did notice a small thing: looks like on the hole you added for hanging, the pierce is on the outside of the circle, instead of the inside. I don’t use SheetCAM so I don’t know which parameter to suggest you confirm.
Also, if you get remnants that don’t drop out, sometimes they are just held in by dross. Of course, correcting the cutting to eliminate is priority one. But on something you’ve already cut I’ve found that I can hold it parallel and at a height of about 24" above concrete garage floor and drop it so it hits still parallel and very often dross pops off and the piece(s) drop out. Again, just a temp countermeasure until you get the cutting parameters and air qty/quality dialed in.
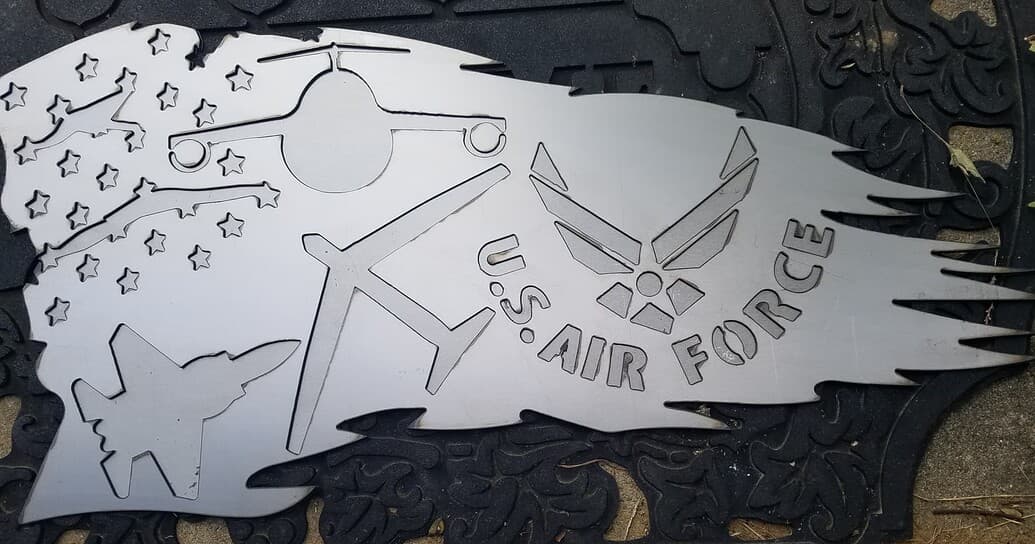
Since you’re cutting Air Force signs, I posted one to Fireshare that I felt turned out well. I put the three workhorses of the AF on it. I’ve cut two of them and they came out nice
Air Force Flag Remix | FireShare | Langmuir Systems
18 gauge, I added the rest of the wings to the bomber before I posted the dxf. It looks better than this first version:
4 Likes
That is a beautiful Air Force flag, very well done. I am going to put new consumables in, and slow down the IPM a little. I thought I had a path rule to always start in the center of holes smaller than .4, but I also recently reloaded the program and may have forgotten to double check. I truly appreciate the advice and suggestions. Funny you mention the compressor TinWhisper, I normally shut it off and only pause my cuts when the air drops to 110, and turn it on again, for that reason, but I let it run for this sign cut…. I had some issues with voltage drop when it kicked on and it caused issues during the cut. My 100amp service panel has them on separate breakers, but that don’t seem to matter a whole lot.
So…..how do you clean those inner lines? Small deburring tools? A thin file takes WAY too long. I’m hoping the above suggestions eliminate this issue in the future.
1 Like
I seen a guy with a similar issue once. You may have a combination of things. What pierce delay are you using?
That’s what we’re trying to help you with.
There should be no reason to “clean those inner lines”, or use any deburring tools, much less a file at all.
Small cutout right off the table.
@BaldEagleMW I can’t help you with your problem, but I’m following along as there are some smart guys here and I might even learn a few things myself.
@Wsidr1 I agree nice Air Force Flag you made.
2 Likes
If you notice the lack of complete cutting before you move the sign, you can re-cut that line and finish the penetration. Tinwhsiperer has posted very detailed instructions. Search “cut from line” and “cut from loop”. See his post:
FireControl Continue mid Code - Software / FireControl - Langmuir Systems Forum
On something you’ve already removed from the table, a Dremel with a one inch cutoff wheel and other bits can be used.
3 Likes
Thanks, that was a Christmas present for an Air Force 35year man retiree. He’s the Dad of one of my friends. The friends kids did the paint job so they could say the sign was “from them and they made it”.