So I’ve been dabbling in pouring hot metals for a couple years. Mostly lead for pewpews, but a few sand casting projects here and there. I built my own propane melting furnace (with a blower, not those bleh naturally aspirated burners) and picked up a hundred lbs or so of petrobond, but I want to now try smaller scale part casting using lost wax investment vacuum methods for jewelry and smaller parts, either hand sculpted or printed via FDM polymaker polycast, or SLA printable casting wax resin (considering one of the new Mars 5 Ultras from elegoo).
I’ve already got the vacuum pump, and one of those vacuum pots (.amazon.com/gp/product/B07X52QMKS), but the port for the “pot” is on the side. Soooo…
I’d like to vacuum through a tertiary volume, using the main “pot” as a vacuum storage device, and/or an intermediary volume to catch any hot stuff that might want to make its way to the pump, in case the investment breaks during the process (likely put sand or something in the volume used for the actual casting to catch any molten goodness), and keep my pump safe. That means I need to have a 2nd valve on it, so I need to cut a 2nd lid for the pot.
Has anyone else gone down this rabbit hole?
Without needing to resorting to FEA, anyone off the cuff know what thickness of steel or stainless I’d need in order to not buckle under ~30ish inHg vacuum (across a 11.5" ish diameter)?
I’ve been learning on how to pour aluminum and brass for awhile longer than I’ve been playing with plasma cutters. Hopefully this next part doesn’t upset the Langmuir team but you need to check out the The Home Foundry Forums I’ve been a member over there for years. There’s a number of awesome guys/gals over there that can help you with all things casting (many of them members over there have Youtube channels that you most likely have heard of is you’ve searched Youtube for metal casting.
I do mostly 3d printed (FDM) patterns. I use petrobond and some sodium silicate bonded molds (some parts I can’t make work in petrobond.
It seems that when you get the bug to work with metal. All forms of it run into each over!
Bruce
3 Likes
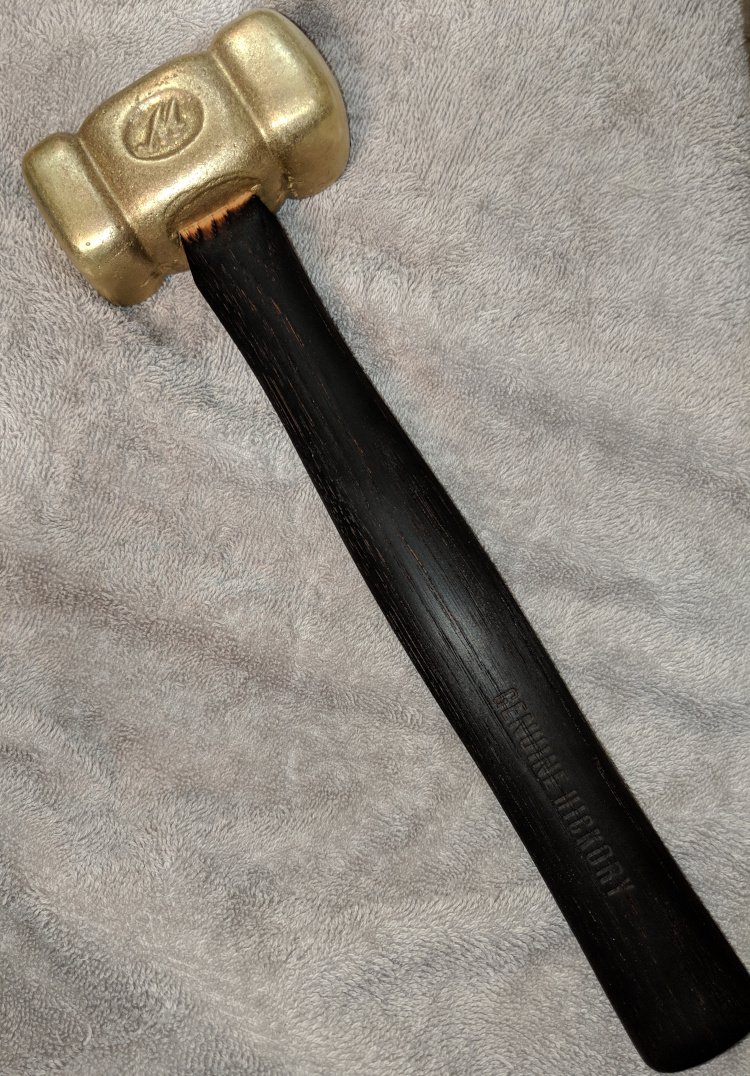
Sand casting with sodium silicate cured “placeholders” (can’t remember their proper name, still waking up at 630am, cores?) for handles is on the to do list. I really want to pour a 90/10 CuAl bronze hammer via sand.
3d printing comes in handy on that too, making molds for the NaSi sand and the plastic positives for the hammer itself.
I need to CAD up something.
The Sodium Silicate “Placeholder” is called a core. The pattern for the core is a core box. Hammer heads have a slightly hourglass shape on the inside to help hold the handle in securely (or at least the good ones do). You also need to add small features to the Hammer head pattern to give the cores somewhere to rest. You can also use epoxy, or linseed to bond the core sands. I just had some sodium silicate on hand from my other molds.
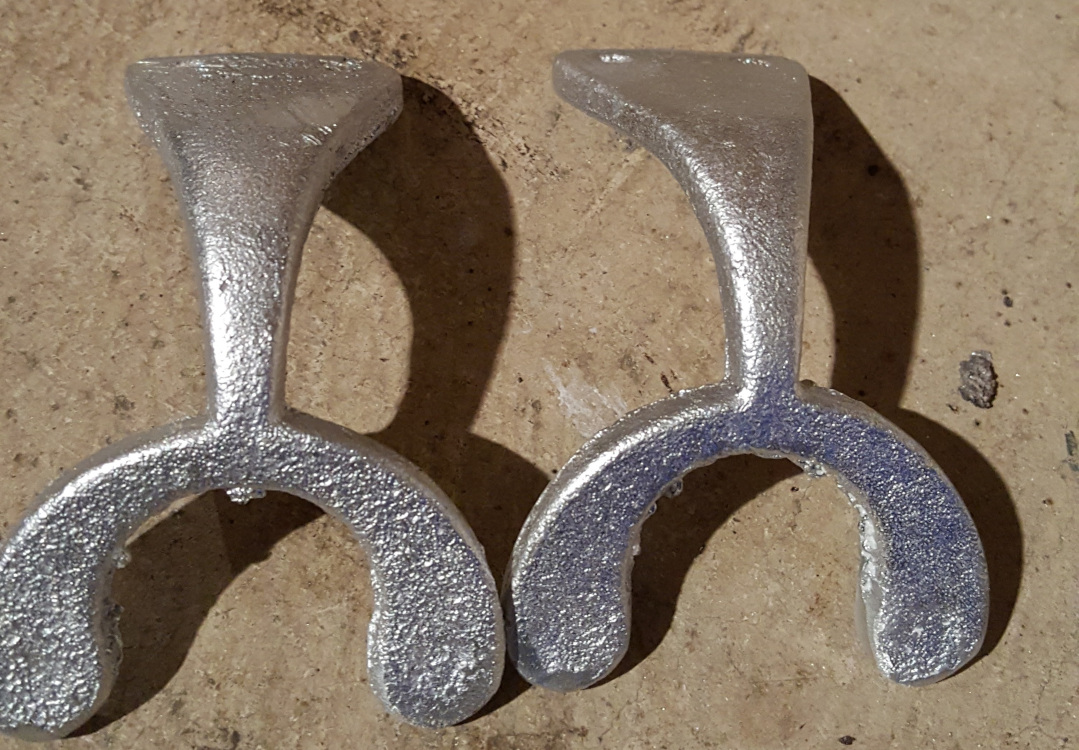
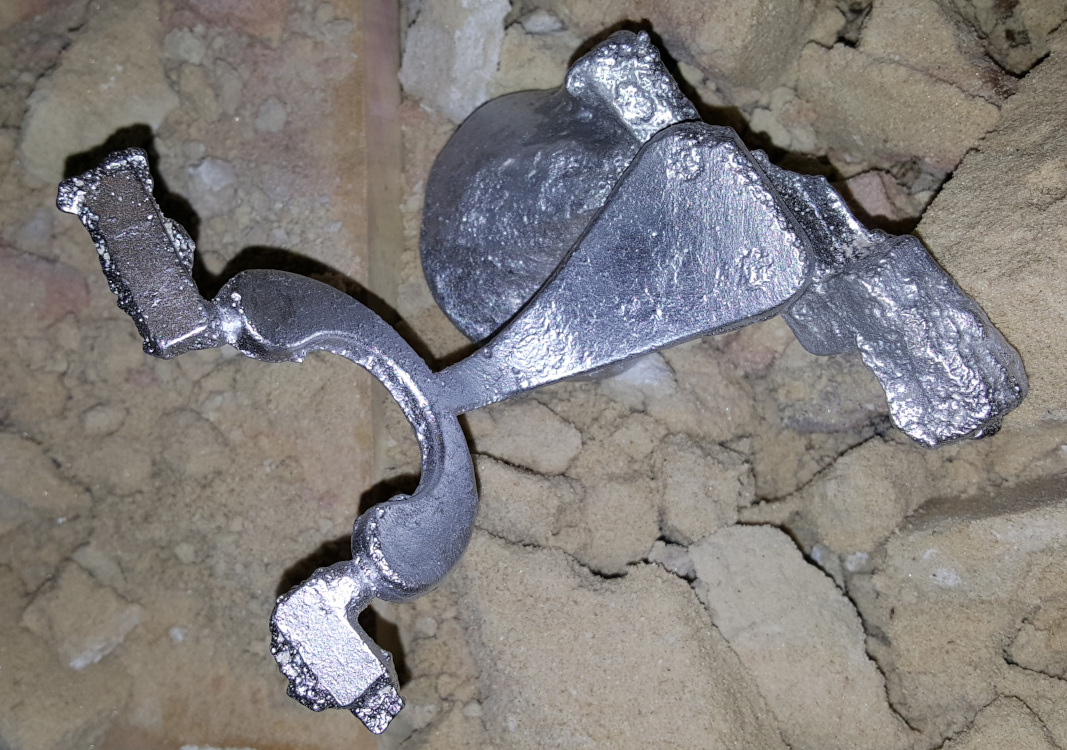
The hammer pictured above is about a 3.5 Lb brass hammer. I have a much lighter (machinist sized) hammer that I’m planning to cast in silicone bronze. Pattern’s done just need to rebuild the furnace before I can cast it.
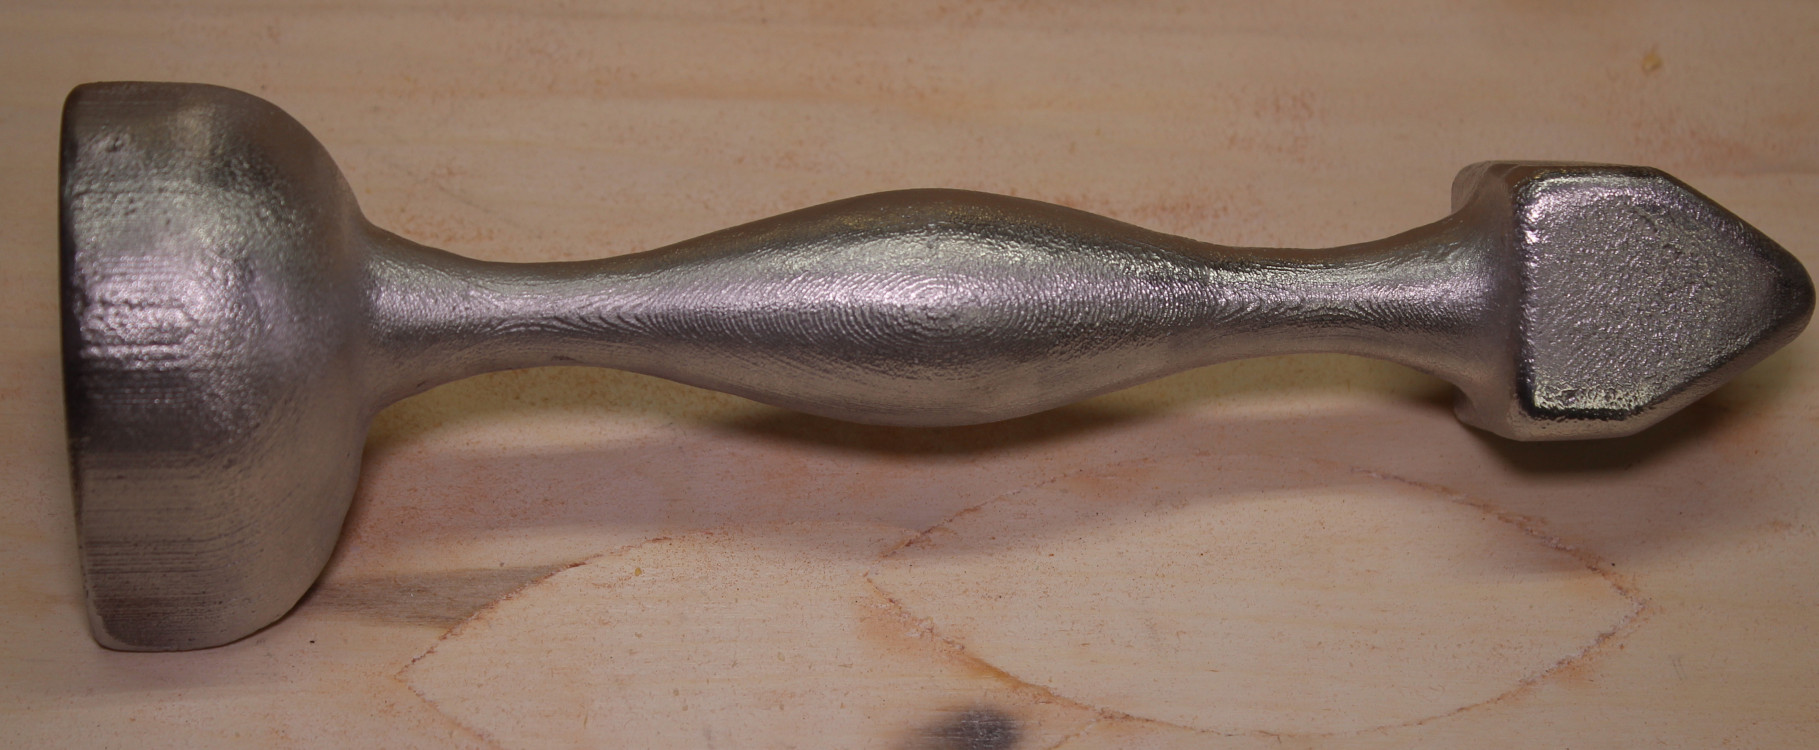
I’m off my work computer, but I put together a nicely drafted hammer head positive to pack petrobond around, with 2 “spires” protruding for the core to rest on after the negative is made. Came out around 2.75 lbs in aluminum brass.
Did not know about the hourglass shape. I’ll take that into consideration for the core when I can get back to modeling it.
I’ve got a jug of rutland cement sealer (NaSilicate) already, figured I’d just use it when I get to casting the hammer.
Now we just wait for Texas forging season to arrive…
1 Like
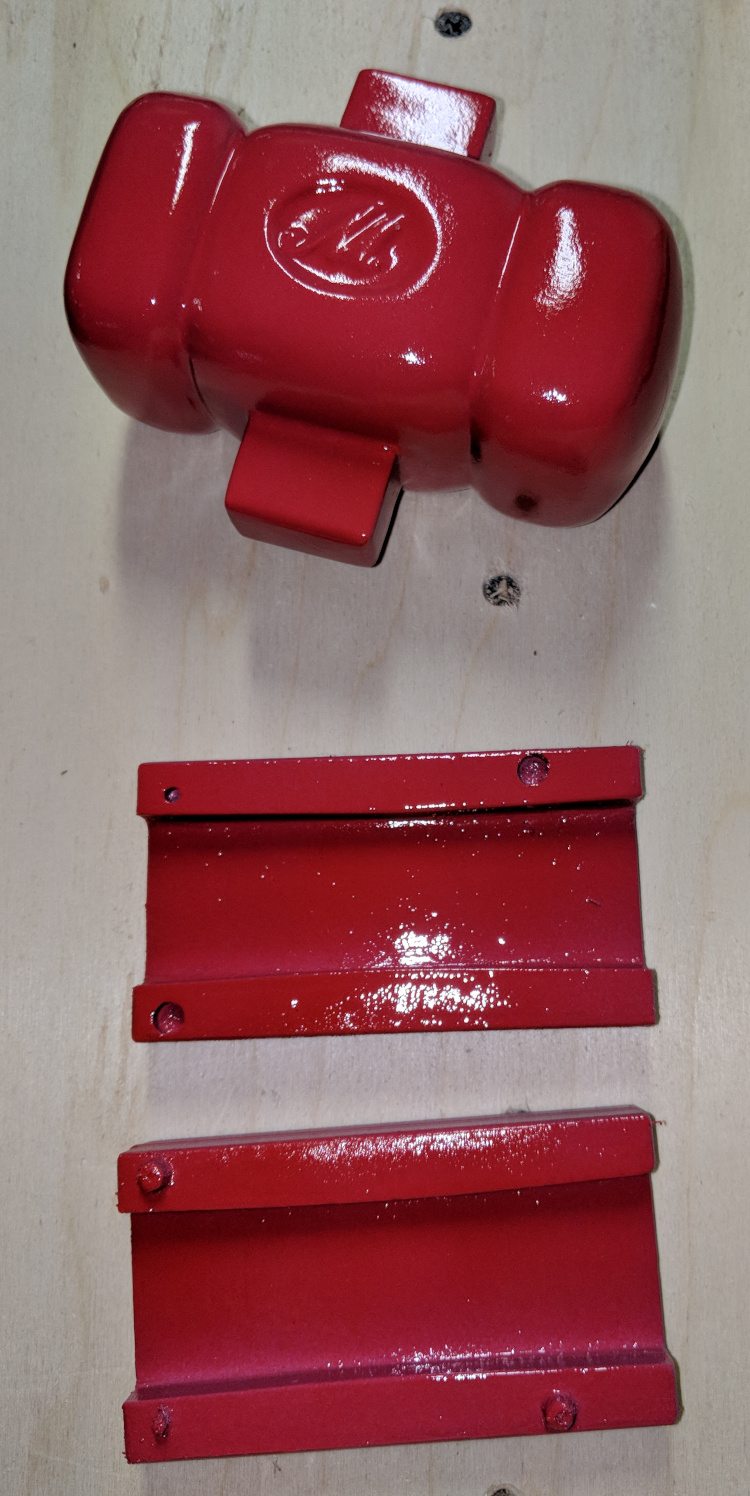
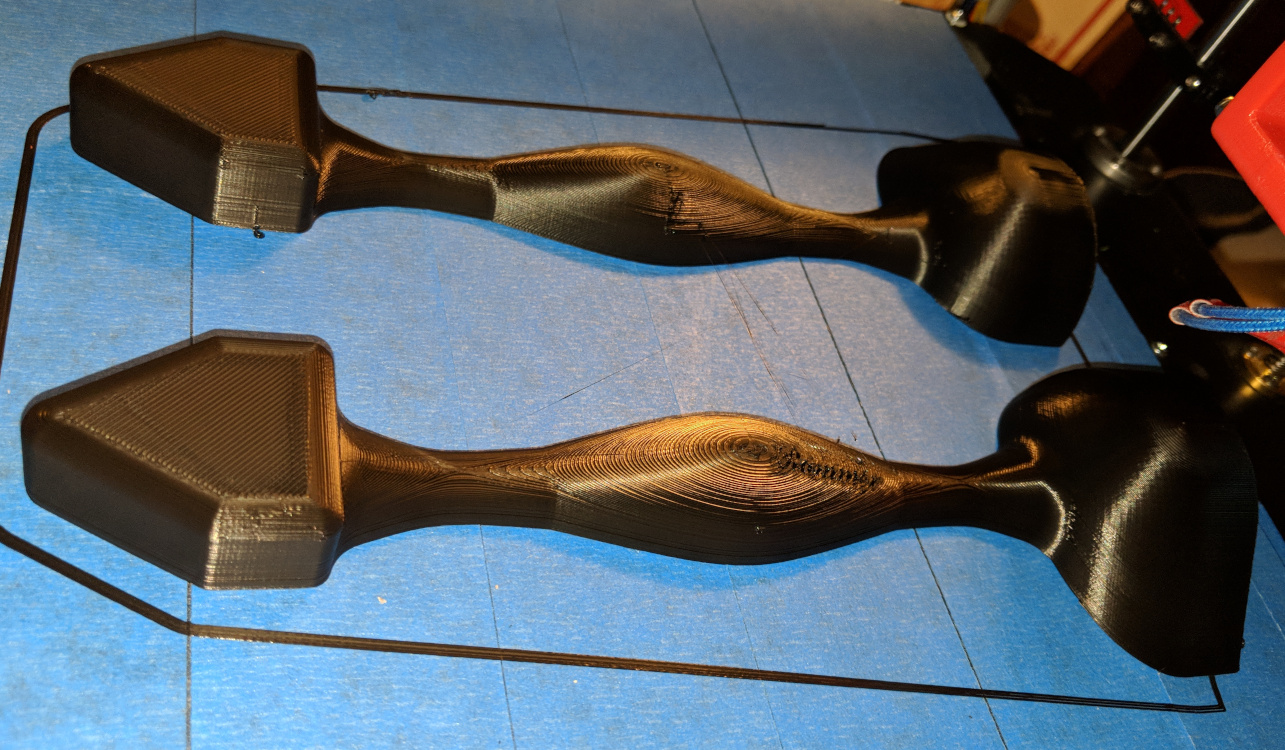
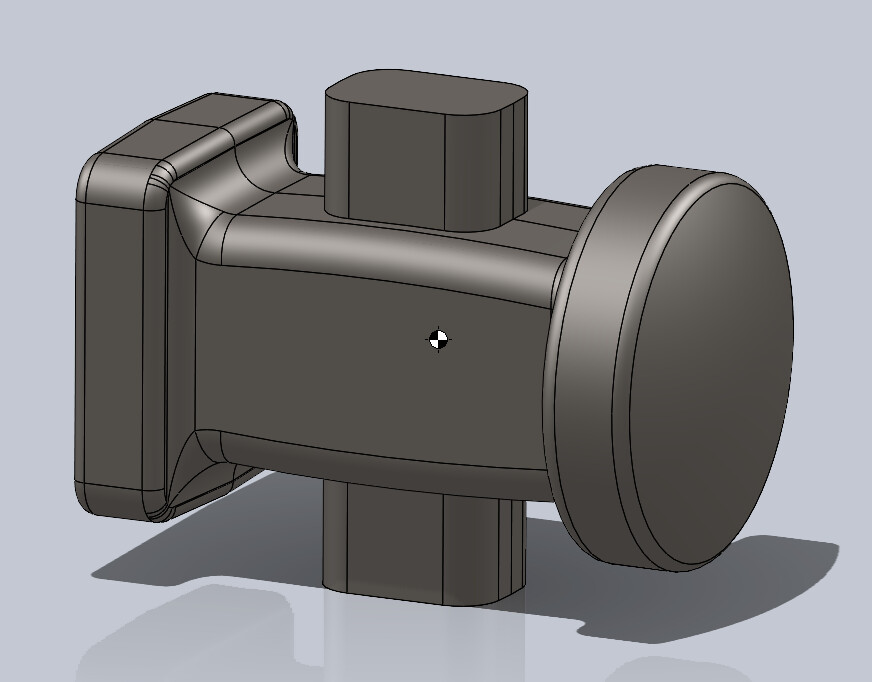
Rounding flatting hammer, with core support, drafted 1° away from center split line.
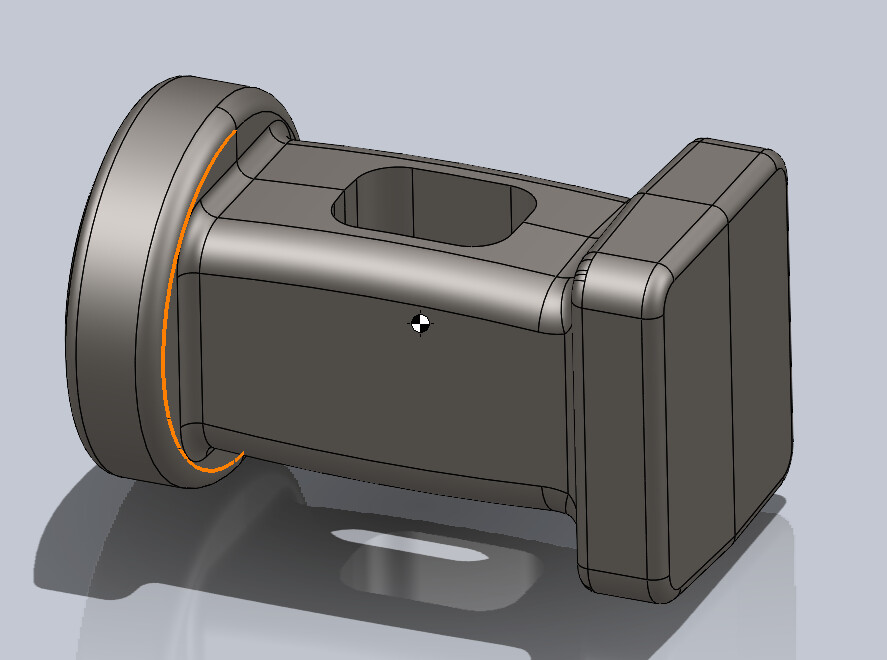
Without core support
Figure I should put the hourglass shape into the core
2 Likes
There’s no need to model the hourglass into the hammer head pattern unless you want to do something fancy and derive all of you core box from it. This is useful if you make the hammer head parametric, but for a normal design just model the hourglass into the core box. If you’re going to make multiple different types of hammers settle on a “standard” through hole size and core print size. that way you can use the one core box for all of them. This is more a production mindset but it works well for a limited run as well. The hourglass doesn’t have to be huge a few degrees over the 2" of the head are plenty.
I think I used the same rutland sodium silicate for my cores and molds. Measure the amount of sand the core box takes round it up to a number that makes the math easy and add 10%-12% sodium silicate. You can do higher % but it gets very hard to brake out very quick above maybe 15%. I will also recommend placing a 12 or 14 AWG wire down the center of the core. Light gas the core remove the wire then hard gas the core (also 30 mins in the oven @ 350F will make sure the SS gets hard) The wire will give you a nice path of the Co2 to harden the core but it will also give you a way to vent any gases generated in the core when the molten metal surrounds it.
One other comment unless you make sure your pattern is supper smooth and waxed you may find 1 degree isn’t enough for a clean pull from the sand. I normally aim for 3 degrees and have had to go to 5-7 on a couple of parts (mostly just small sections that have been a pain to pull).
2 Likes
Noted. Will adjust. Down in the wake of Beryl, and power is out.
Would a 1° draft into the center of the 3" long core for the hourglass be enough interference for the handle once the wedge is in place to suffice for handle retention?
apy,
It doesn’t take a lot of taper to lock the handle in the head. I don’t see why that shouldn’t work.
Bruce
2 Likes