Best way to cut duplicates?

Have you played with the Create, Pattern, Rectangle function in F360? It’s included in the free version. You could create a nested pair, then replicate inpattern.

2 Likes

@Sticks There’s three options that are available with a standard subscription.

You could use the rectangular pattern tool to pattern the body as many times as you’d like.

You could use the arrange tool after you’ve had in those bodies to arrange them on a envelope that you choose the size of.

And you can pattern the actual toolpaths themselves so you can create a toolpath for one object and then just pattern those two of us this is available in the manufacturing workspace.

You do not need to spend the extra money on the add-on

2 Likes

Arrange is still available with a standard subscription to Fusion 360. It can be accessed in the design workspace on the upper toolbar under modify.

I guess you could also use the pattern tool in the sketch environment to make multiples of something before you extrude them.

It really depends on the objects shape but patterning a toolpath is a very effective method.

This clip from one of my twitch videos shows the patterning method in the manufacturing space.

1 Like

Oh, I’ve used Arrange. It leaves a lot to be desired. (Mainly because on any given design, I’ve got Flat patterns and Solid bodies to cut.)

I will admit, that if one has a number of simple parts, Arrange works well.

Arrange is used with components.

Both

Flat Patterns and Bodies can become components.

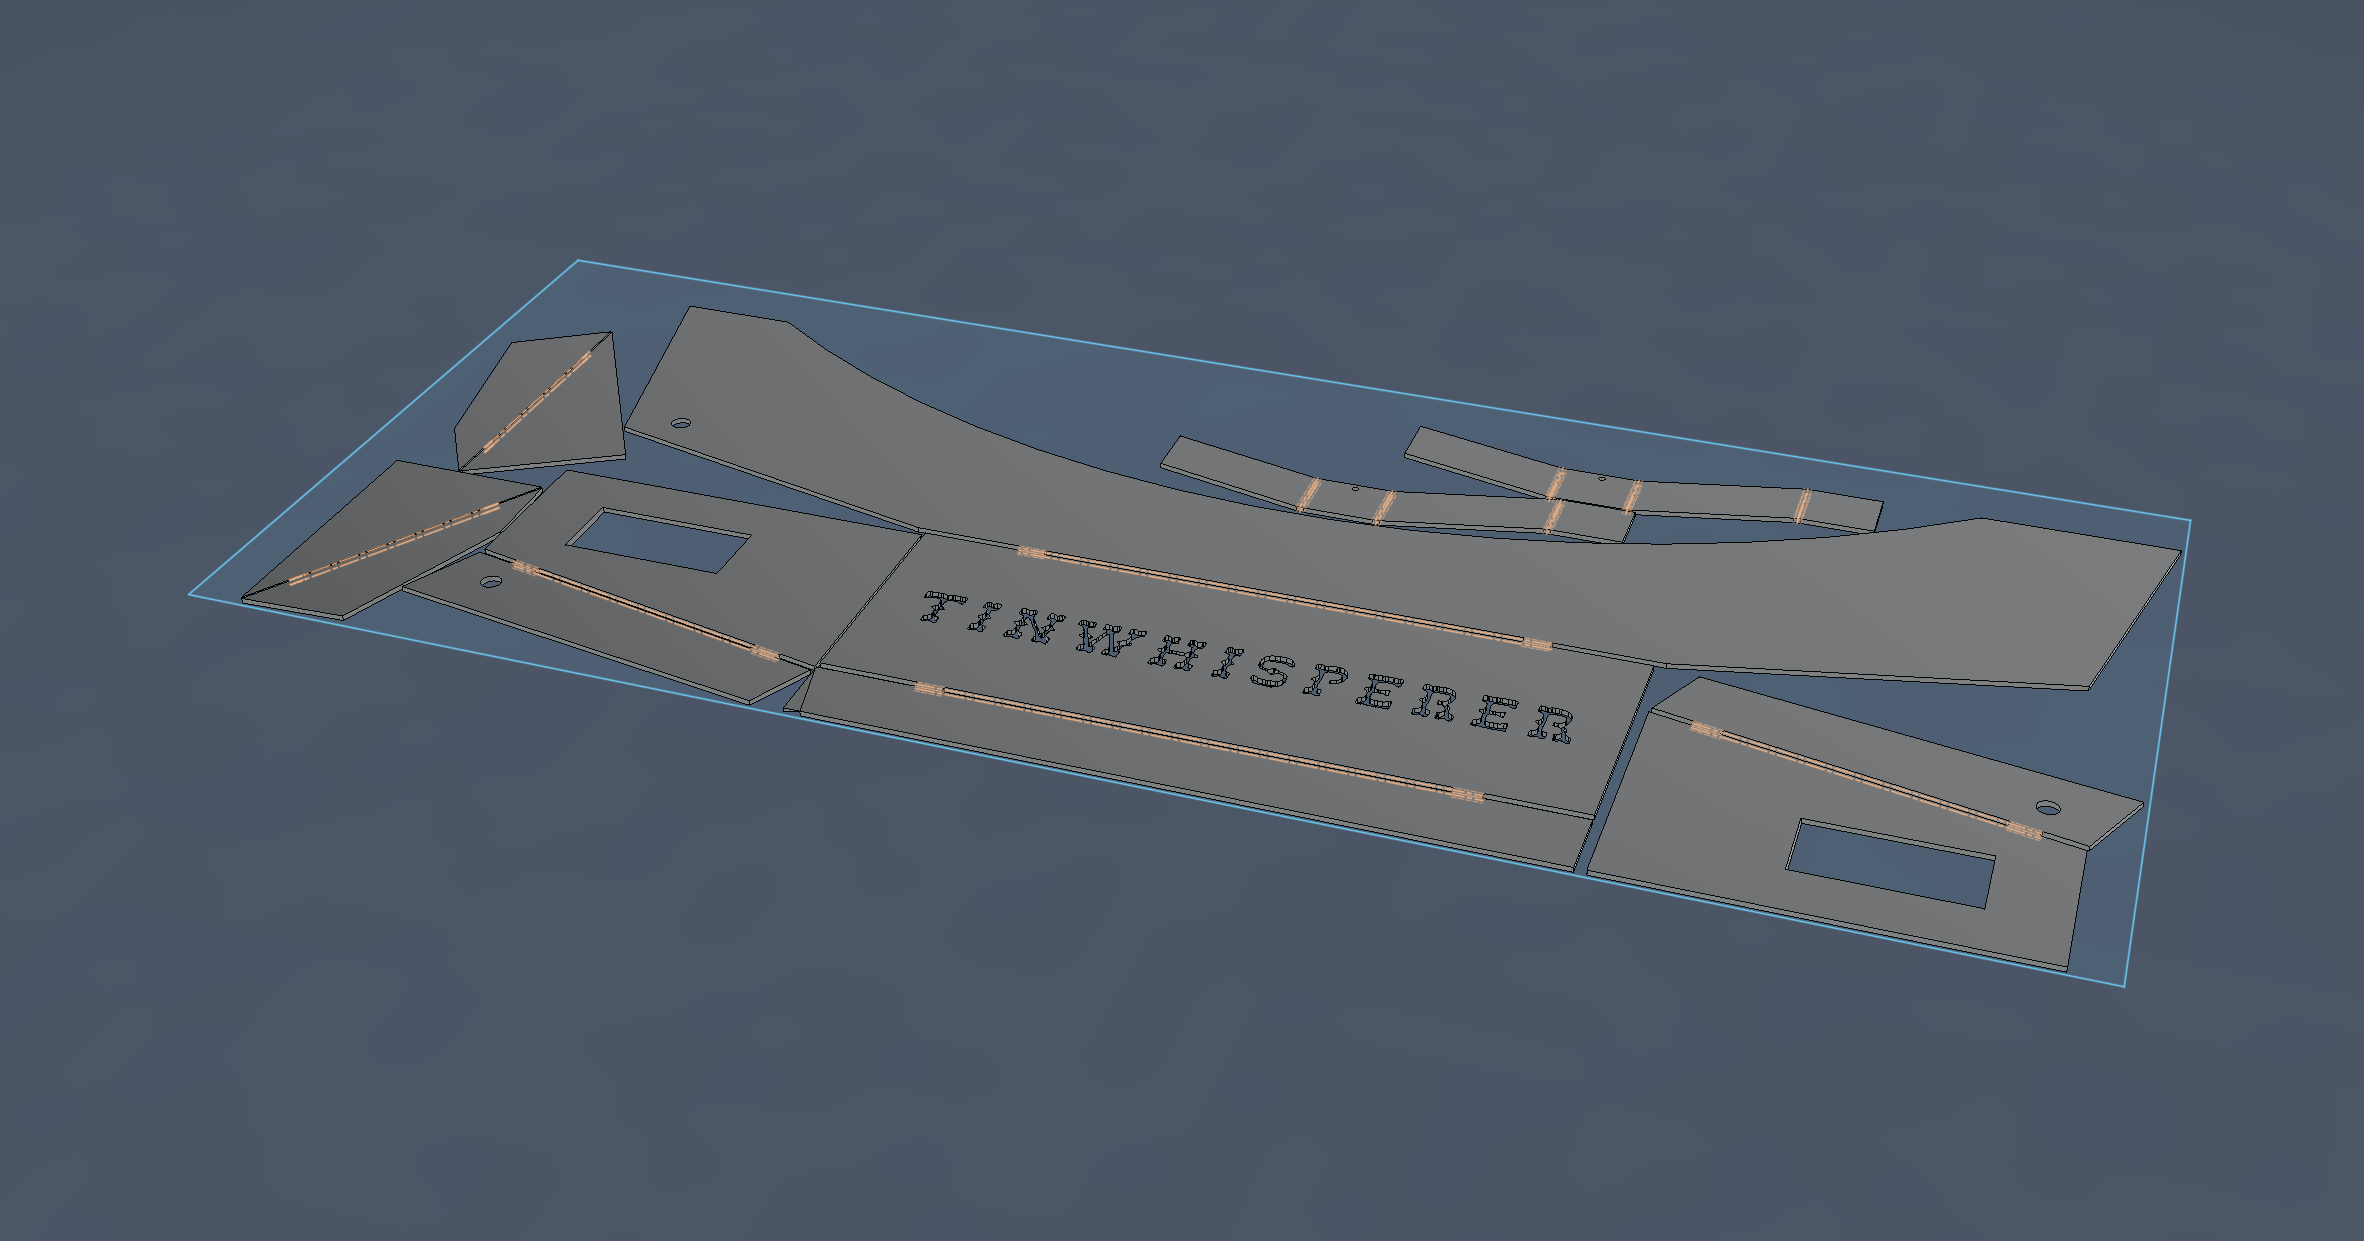
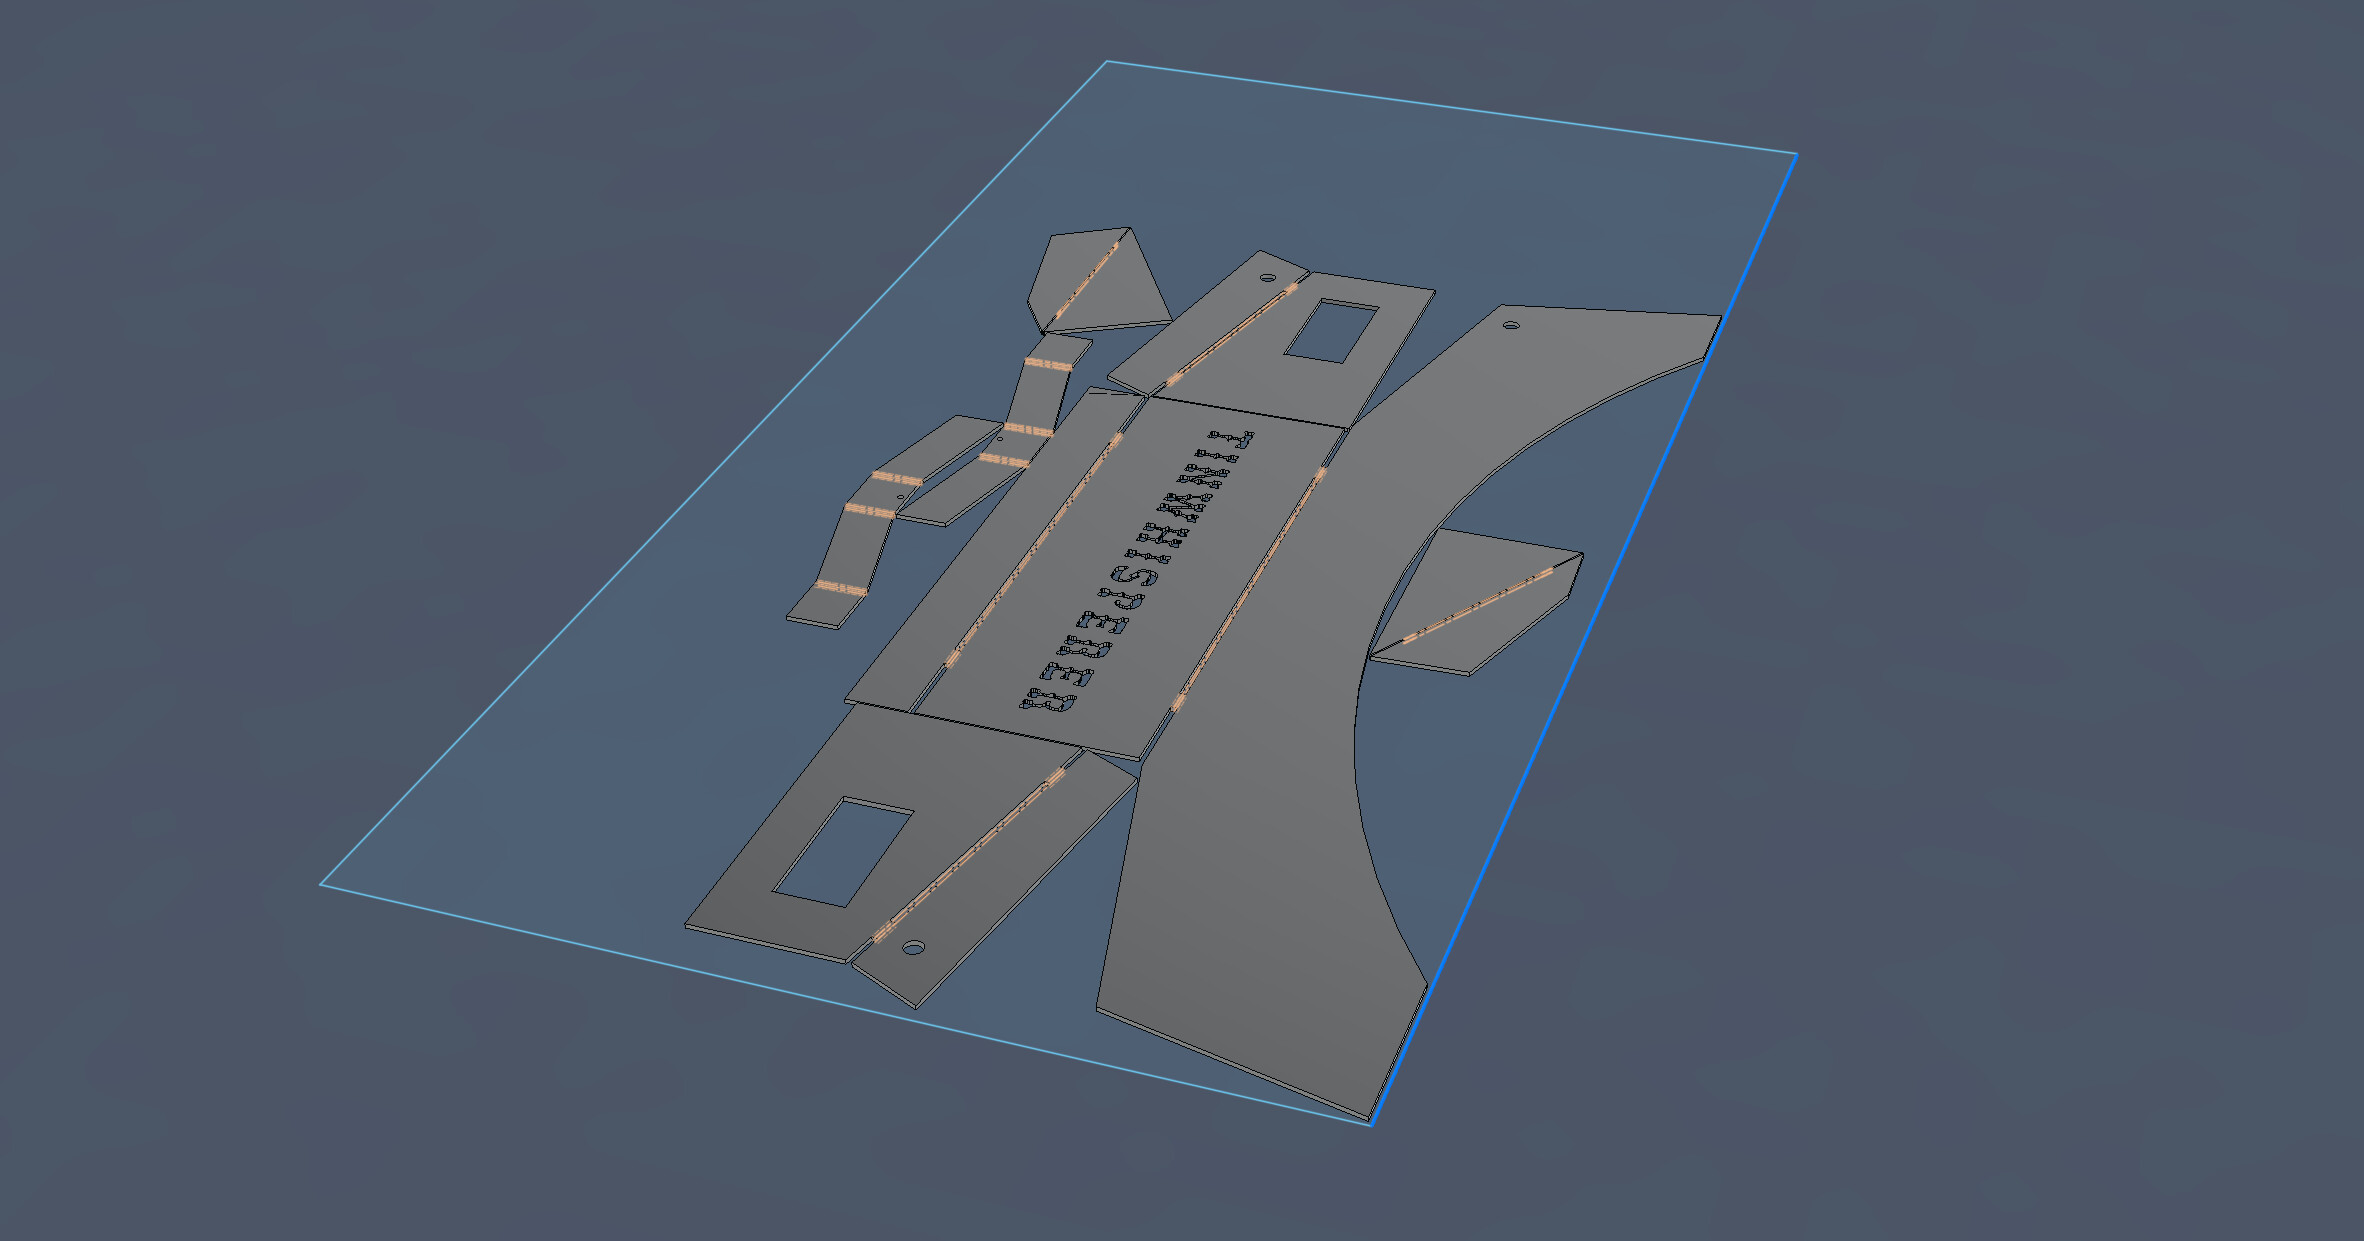
Here is an example of several flat patterns and a few random bodies all nested using arrange.


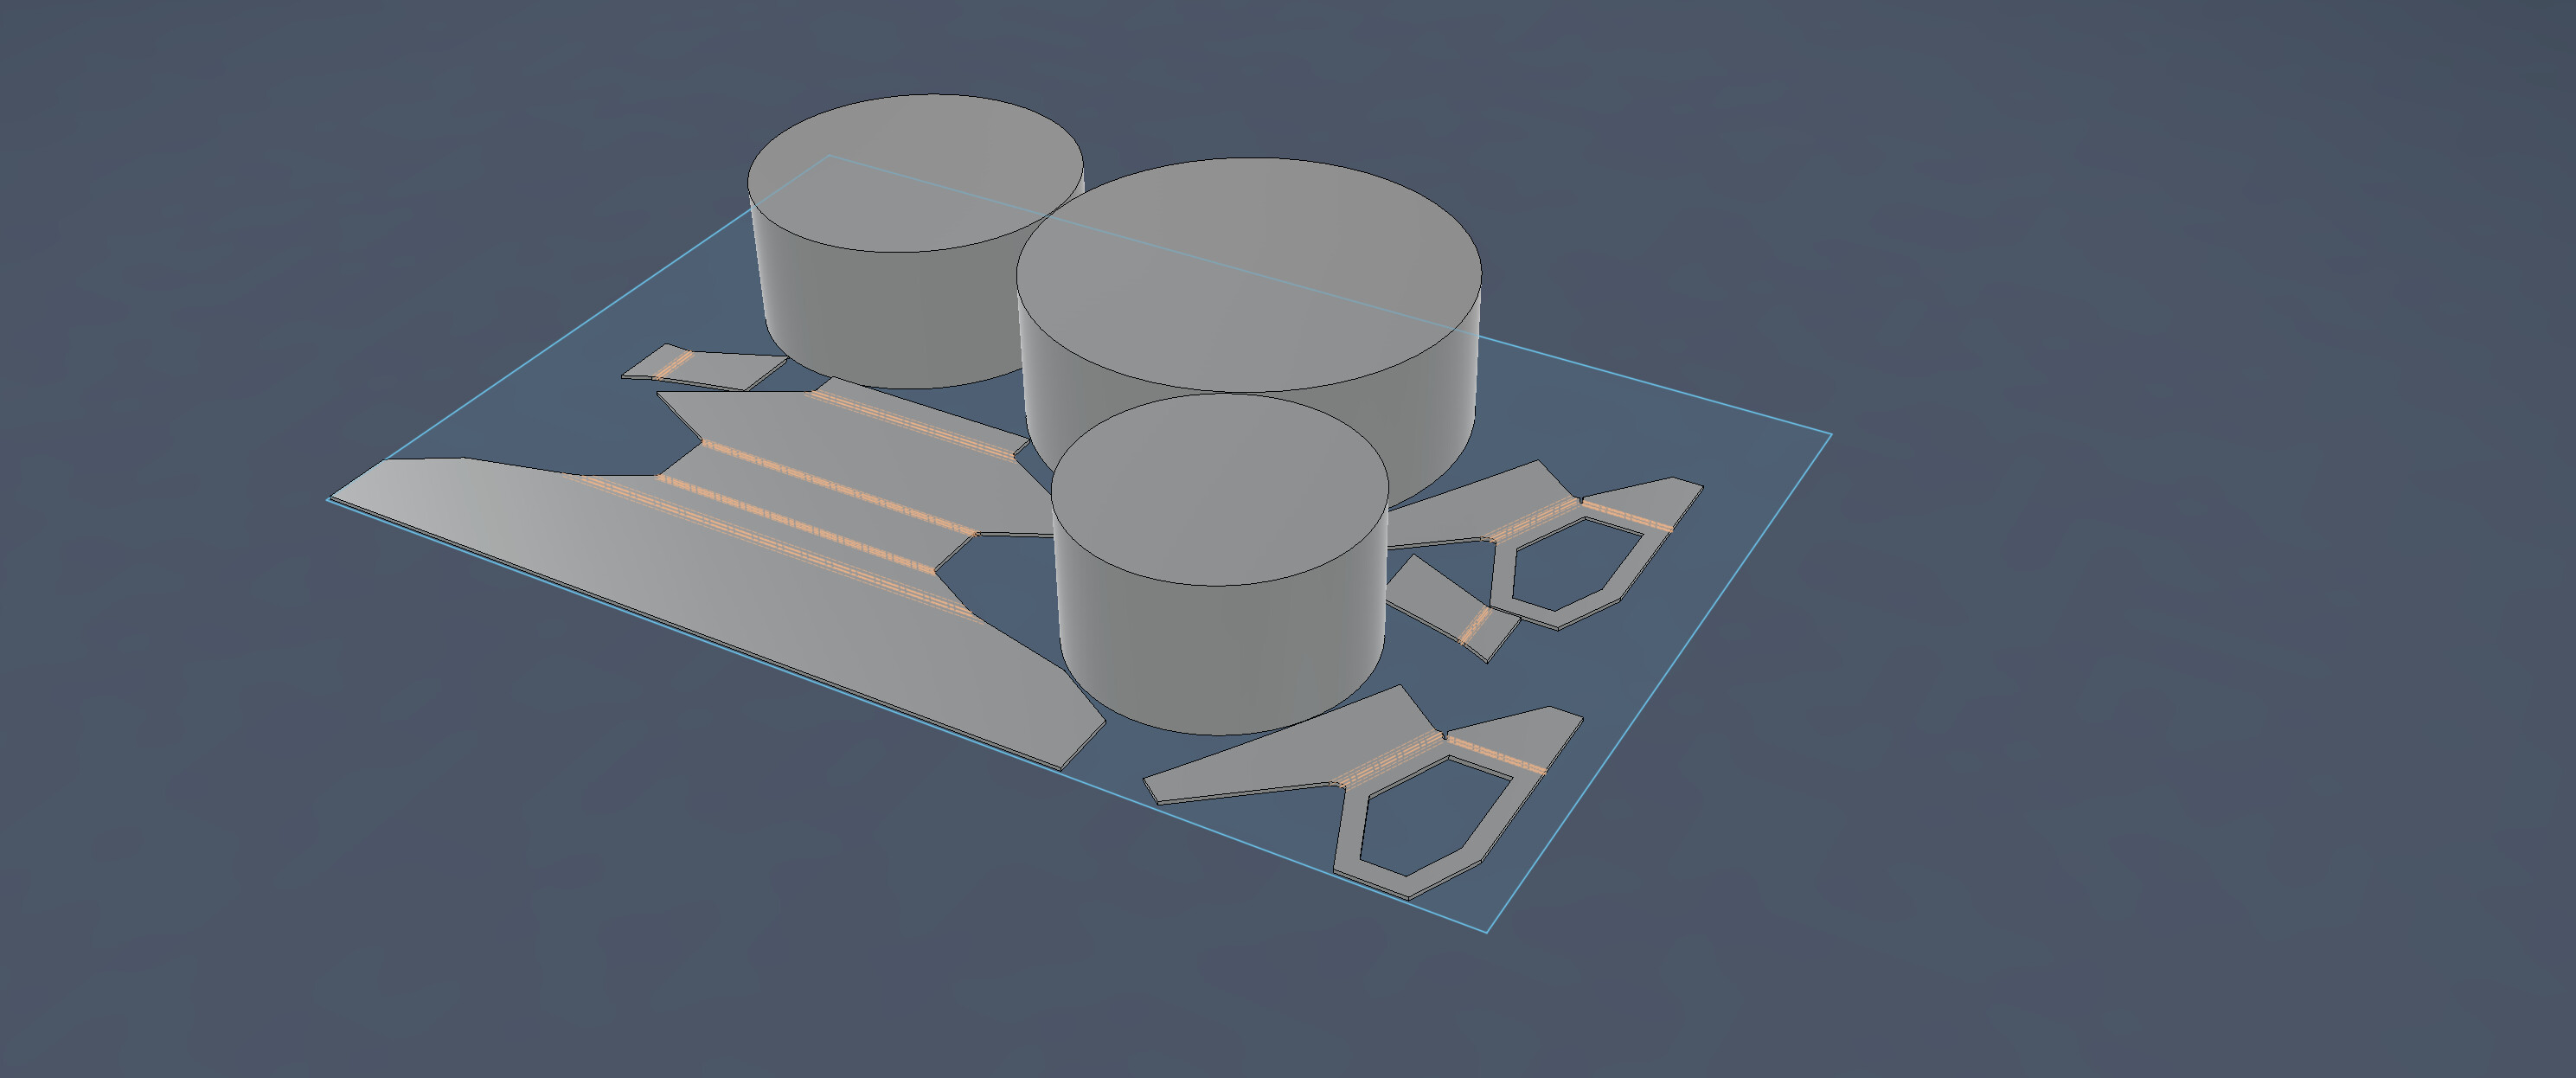
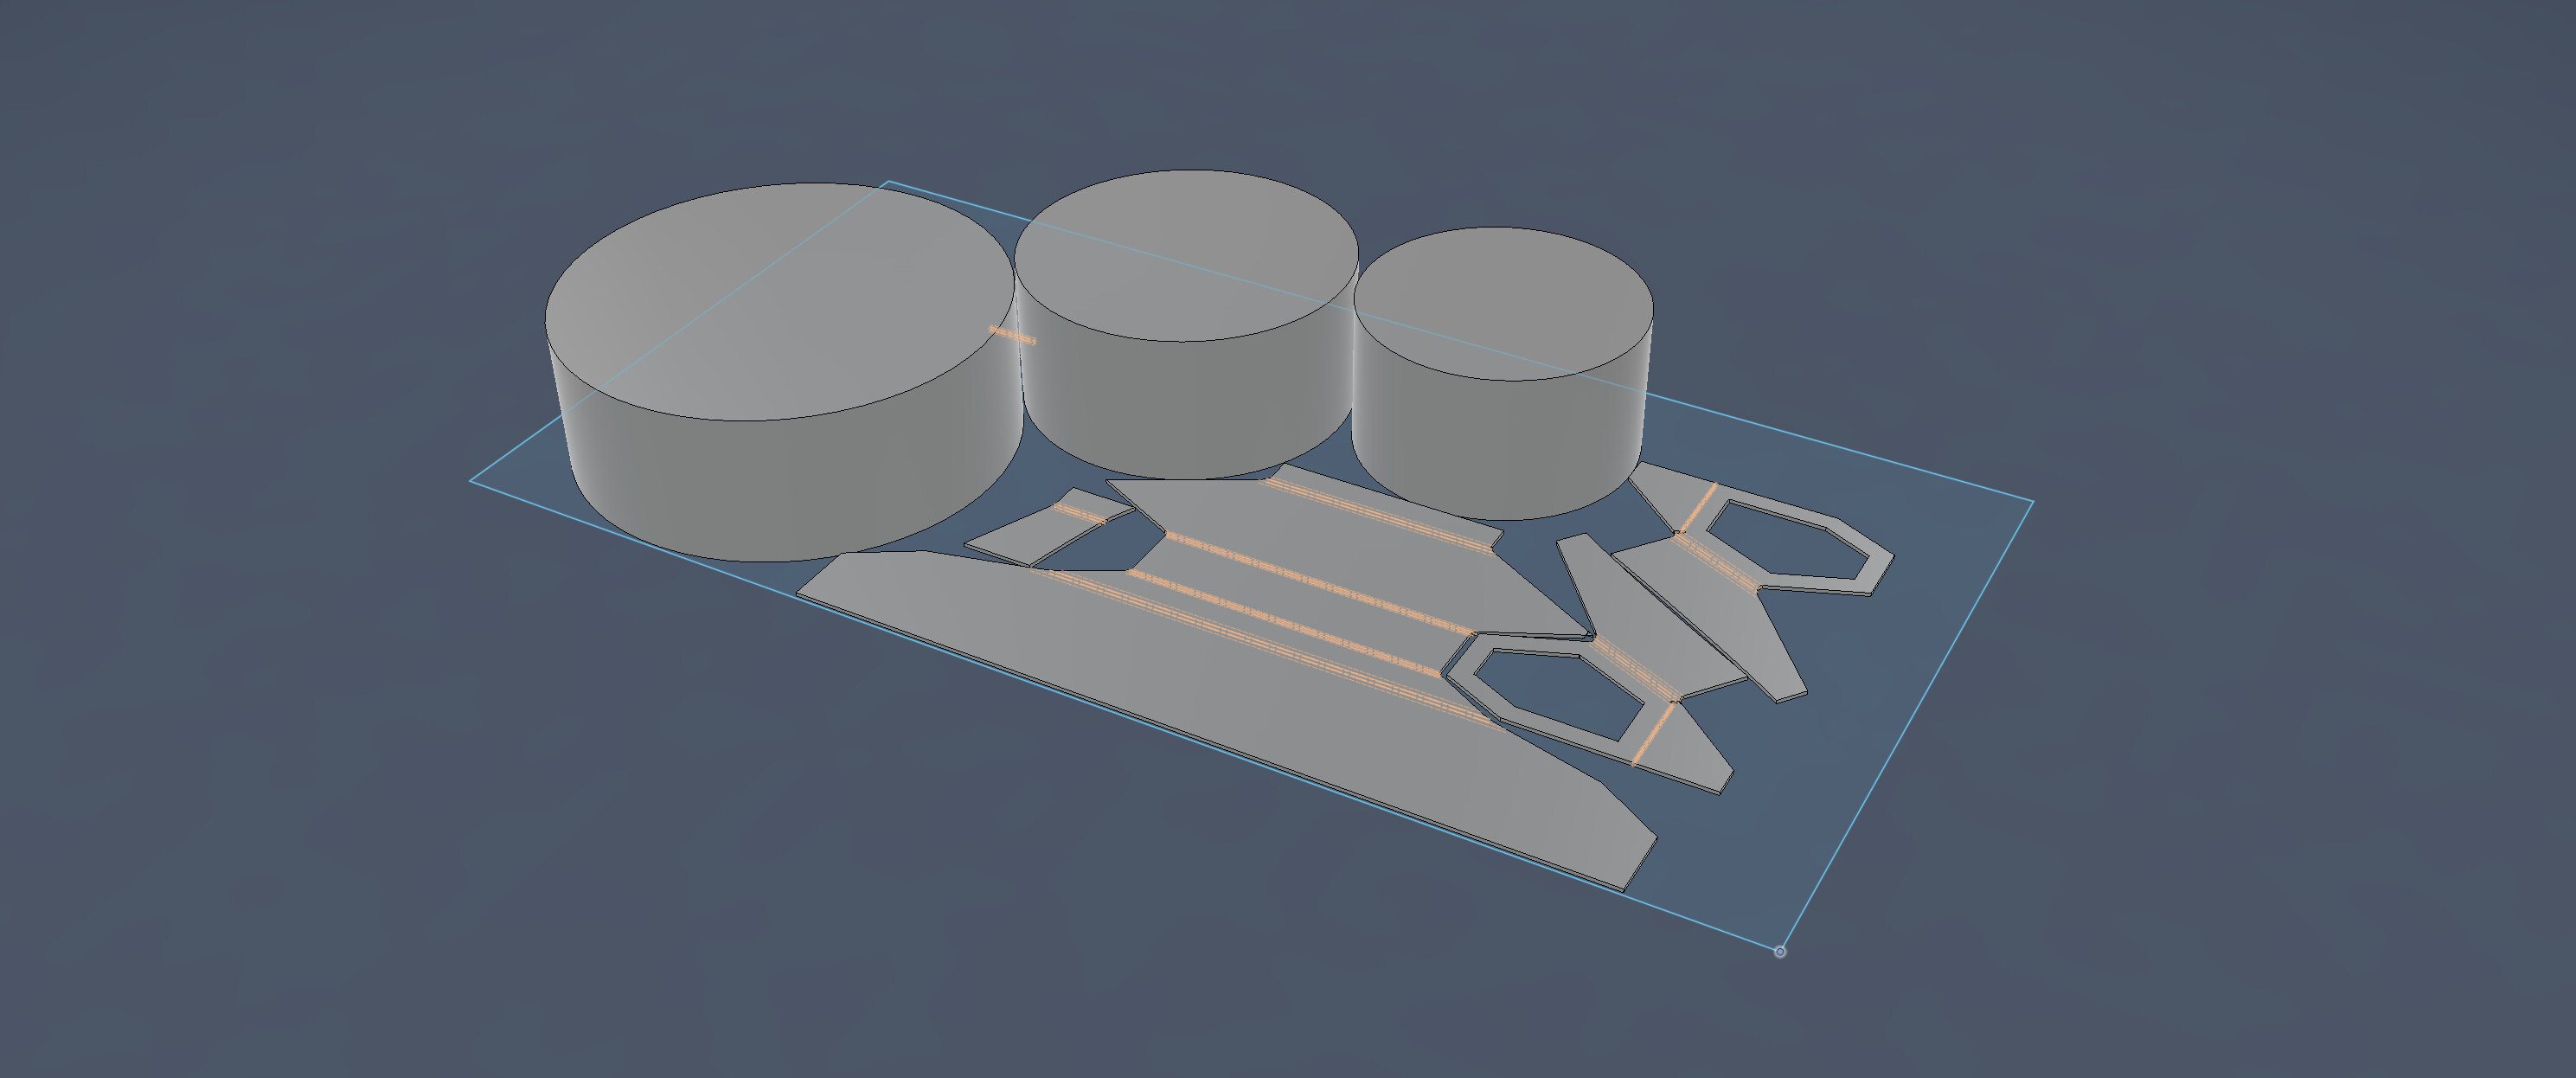
All the bend line information also stays intact when the flat patterns are moved to different arrange locations.

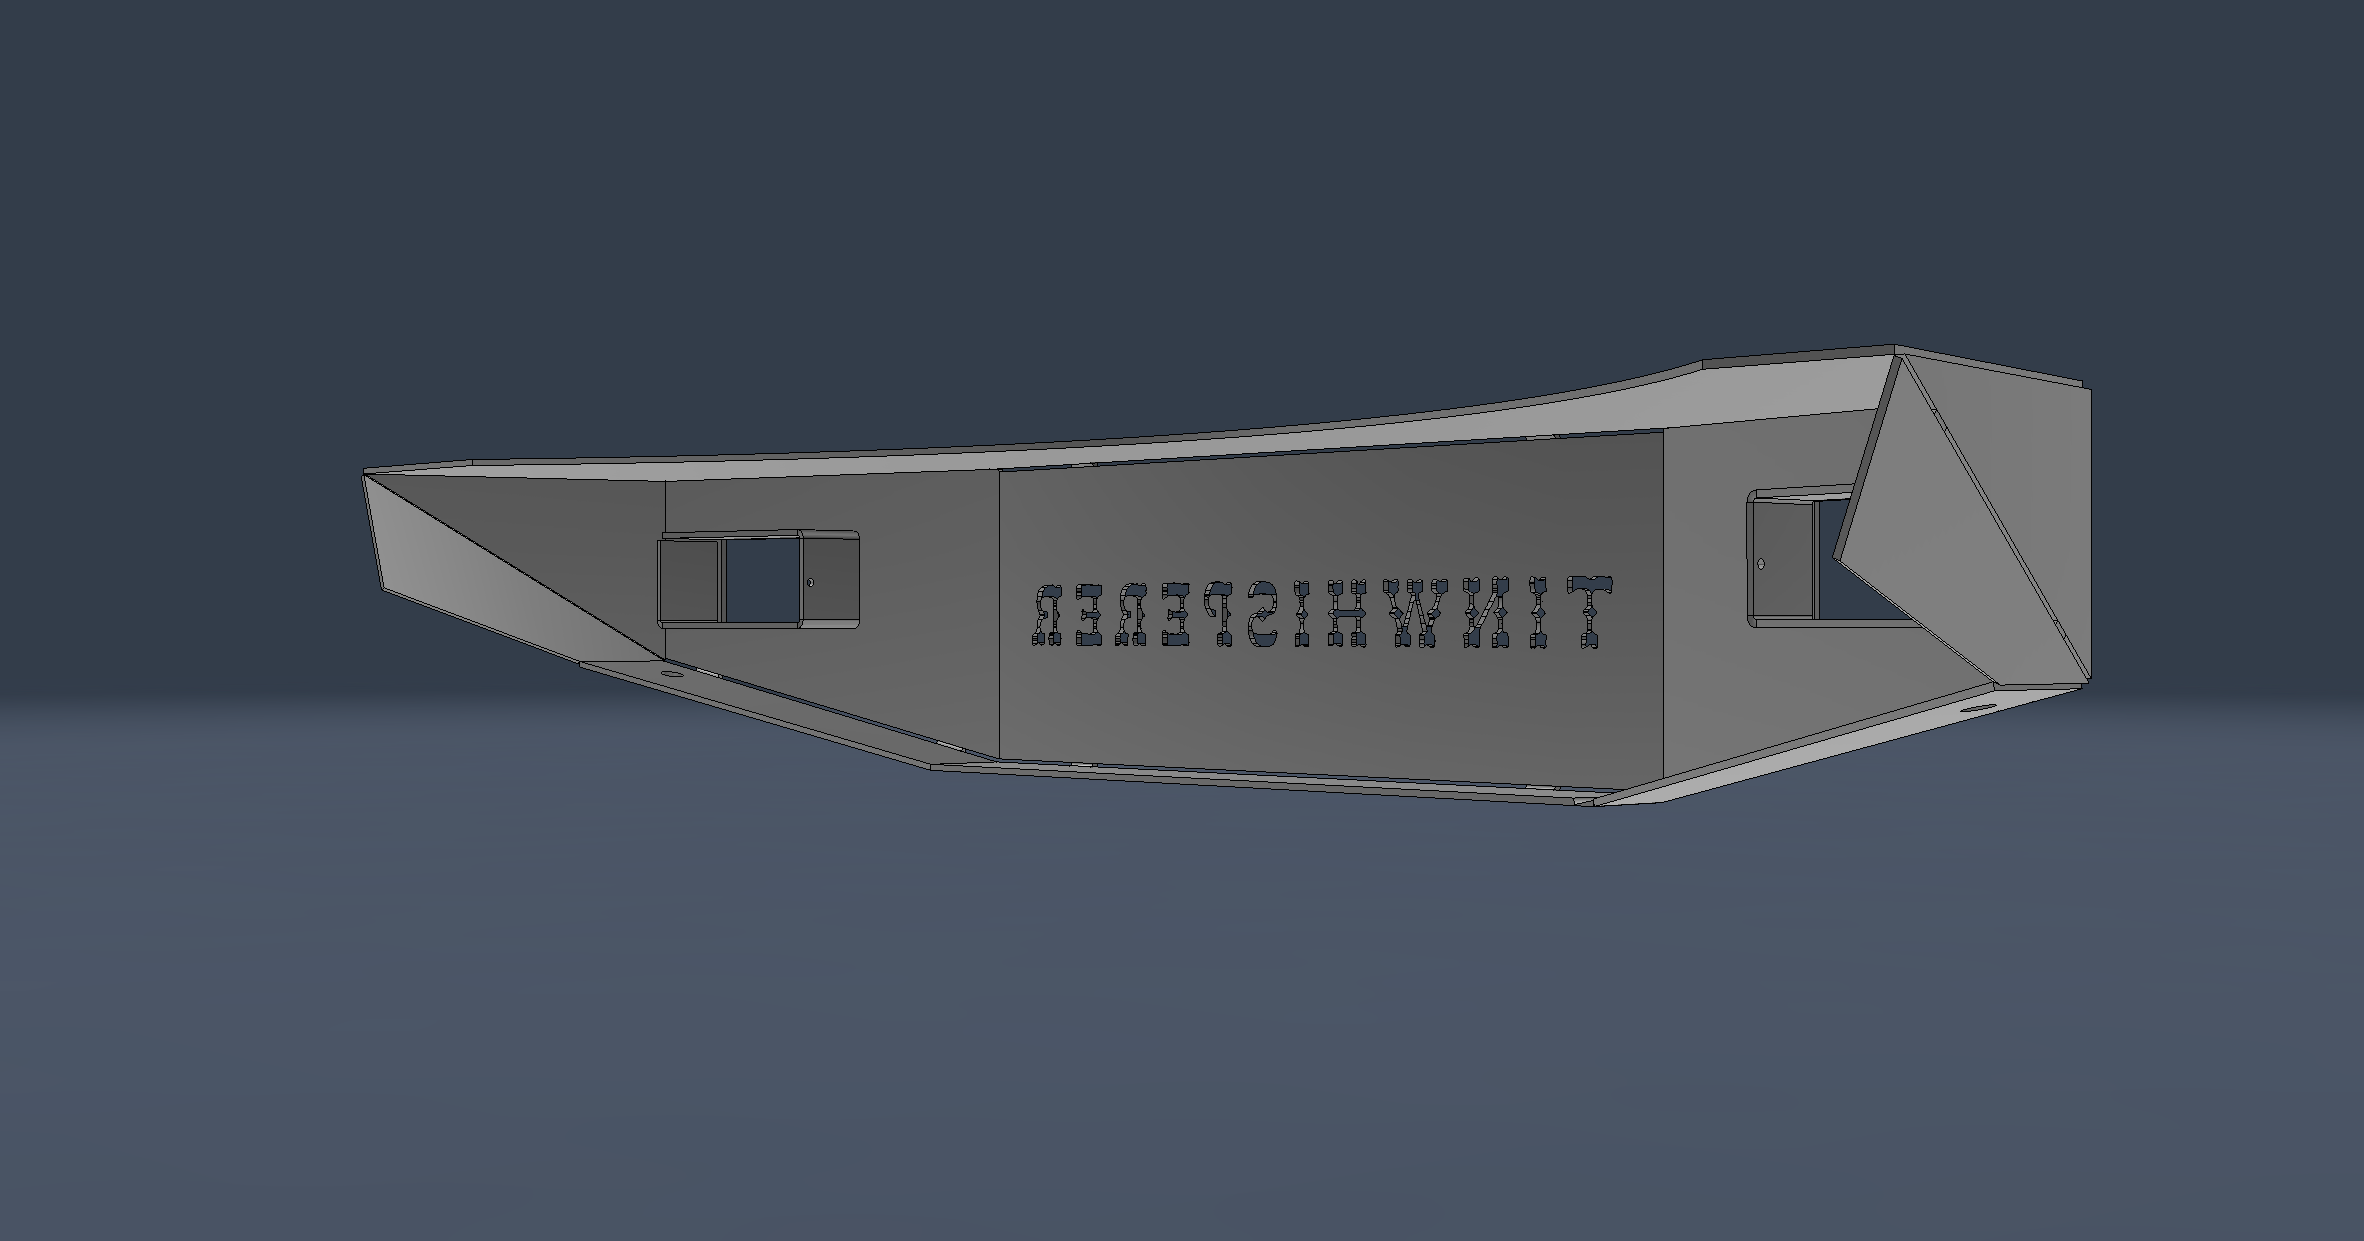
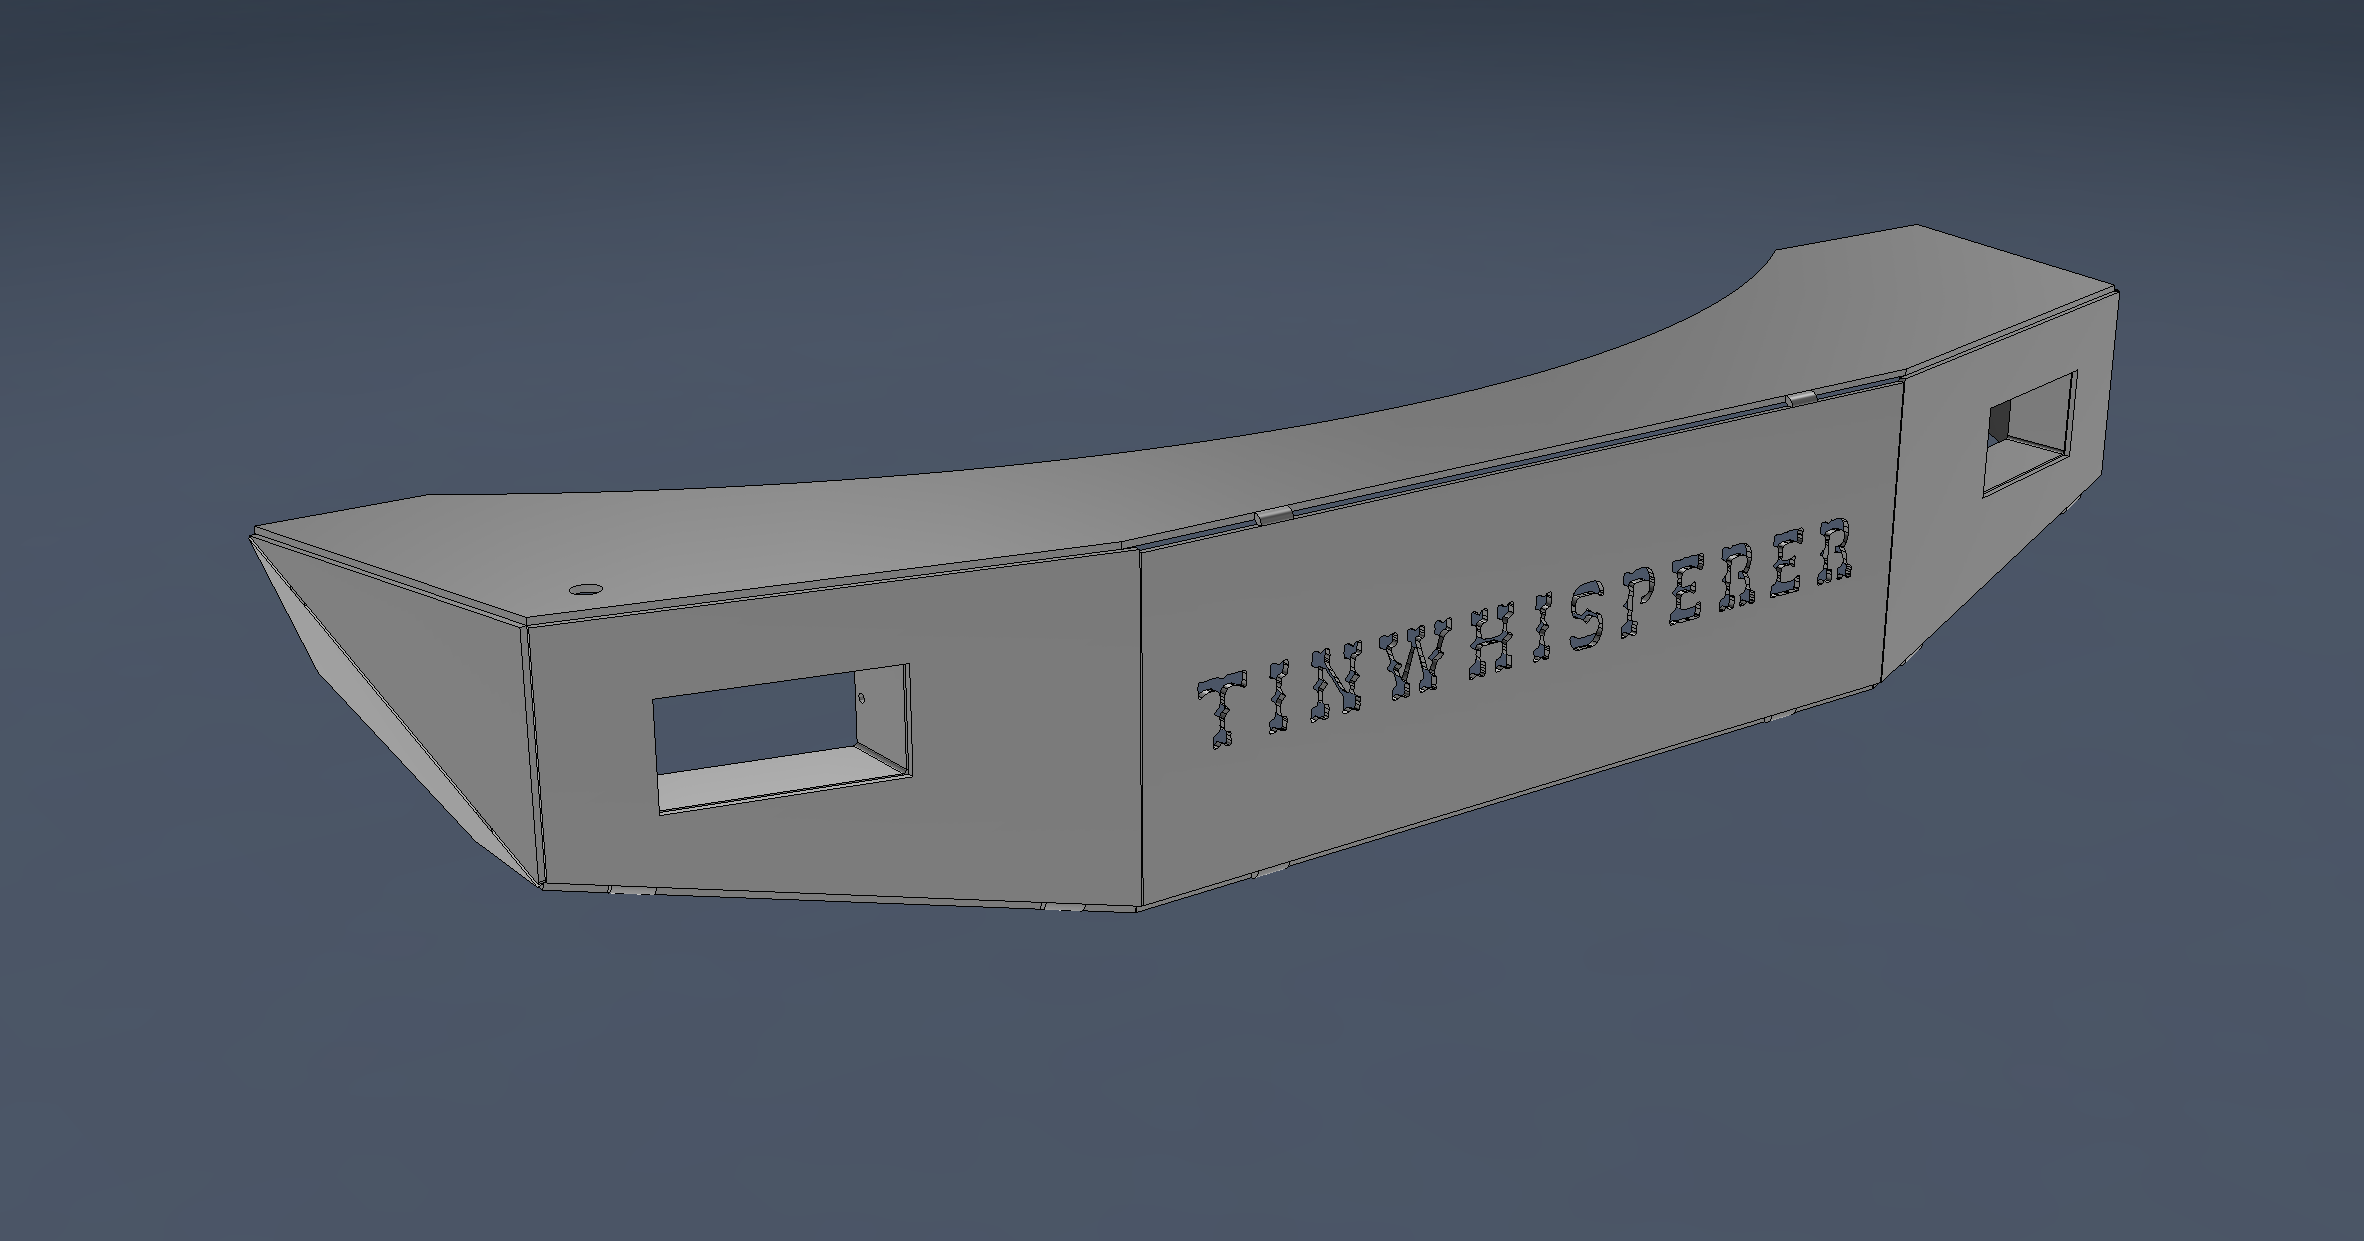
here is the example bumper i made for the live stream of the sheet metal tools. It is not really complex but the 7 sheet flat patterns Arrange nicely.


5 Likes

Very nice! When I attempted it, I could only get either a flat pattern, or all the bodies. I’ll have to re-visit it.

Thanks!

3 Likes

You are so generous with you time as you share and explain these things. Thank you.

3 Likes

Again. thank you to all for your guidance on this.

I will try to do with pattern and arrange on that part and see what I can come up with.

ETA - I should have added, but probably obvious, I have the paid version of 360.

So, I think that Arrange will work good.

Now to get good at creating the manufacture process without having to keep watching a tutorial.

1 Like

That looks like you have them nested against each other, so they share a common cut line. That does not work well for plasma cutting. The cut path must go around each part, so they need to be at least far enough apart for the kerf width on each part.

1 Like

The spacing is set at .150".

WAG right now, just trying things. Not sure what the actual kerf width will be on my torch @ 50% life.

Trying to minimize waste.

1 Like

Frustrating that you can’t use Fire Control without a/the table hooked up and running.

2 Likes

@Sticks watch the 36" sheet width that your using for your envelope. the pro only cuts 33" . i see you have space but double check.

1 Like

Thanks for the heads up.

I planned on doing a full square cut (movement only) on the table once I get it assembled, to see what it’s actual boundaries are so I know what I can work with.

I need to do a little bit more reading and research, I’m surprised nobody has come up with a method to make this a legitimate full 48x36-in cutting area.

I did a upgrade on my table I can move 48.250 ish by 36.5 ish… well over 48x36.

2 Likes

Link to details?

Oh I can’t take credit. I was meddling the idea decided to check on fire share to see i could remember some making a post earlier about a upgrade.

Anyhow I cut the plates I had downloaded off fire share. Works great. It removes two bolts from the plates. They also raise the x axis up a couple inches. With it raising up I would recommend a machine torch because with a hand torch it drop the torch holder very low.

1 Like

This might be what you are looking for:
https://www.langmuirsystems.com/fireshare/crossfire-pro-gantry-riser


or this one:
https://www.langmuirsystems.com/fireshare/stanchion-riser-2-and-original

1 Like

I am marrying the two designs to get more Z height for cutting box tubing, and a legitimate 36" Y work area.

2 Likes