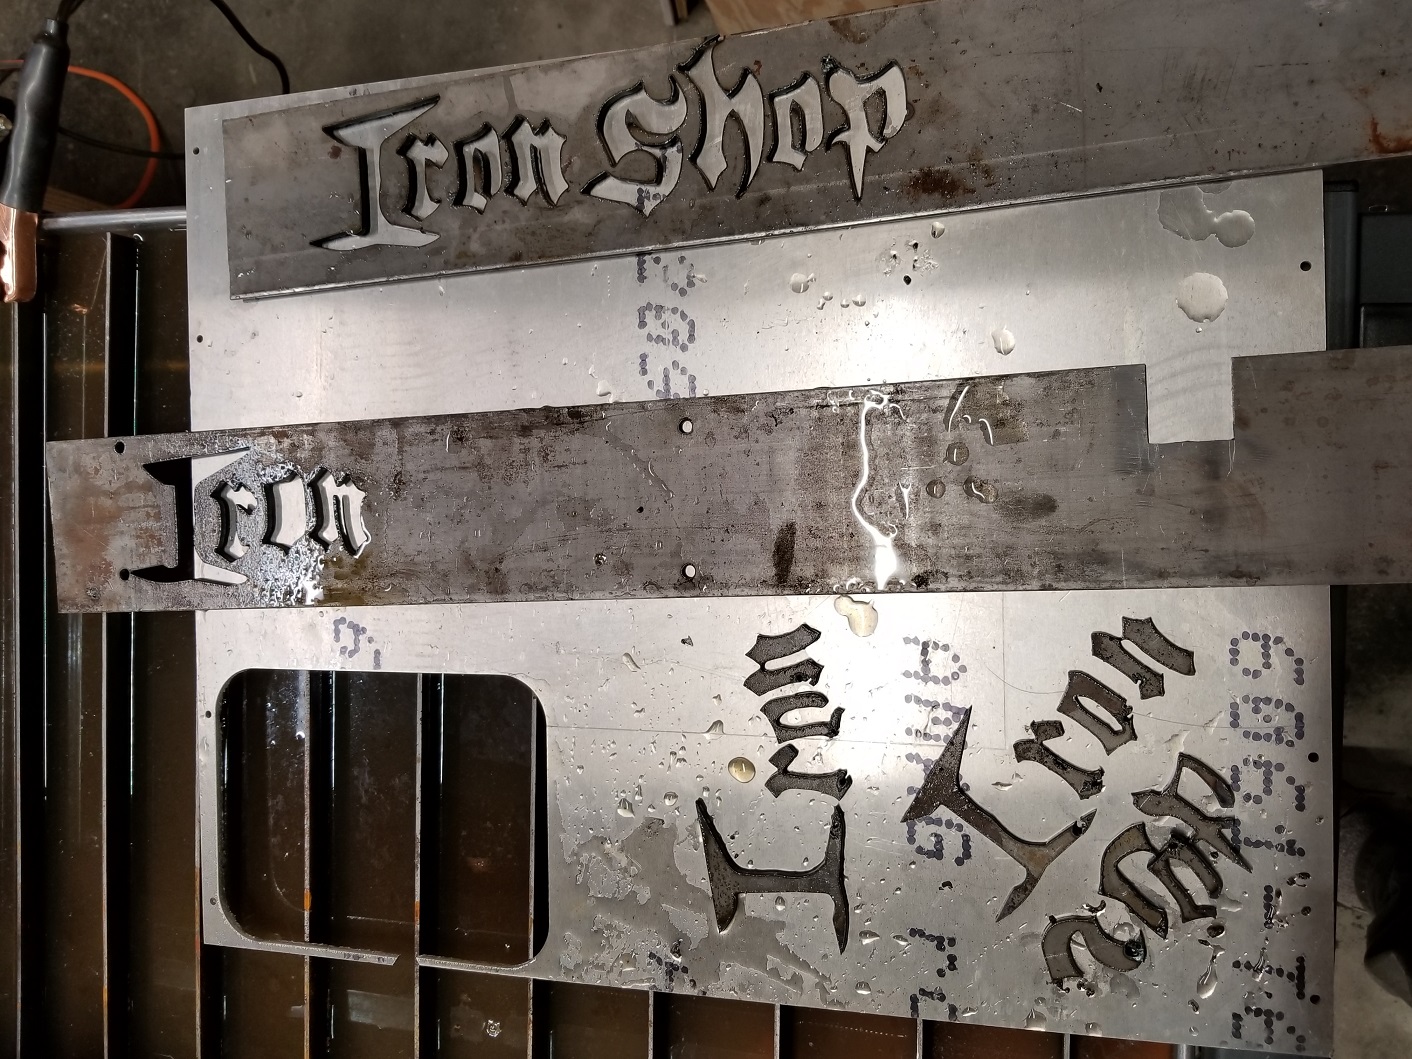
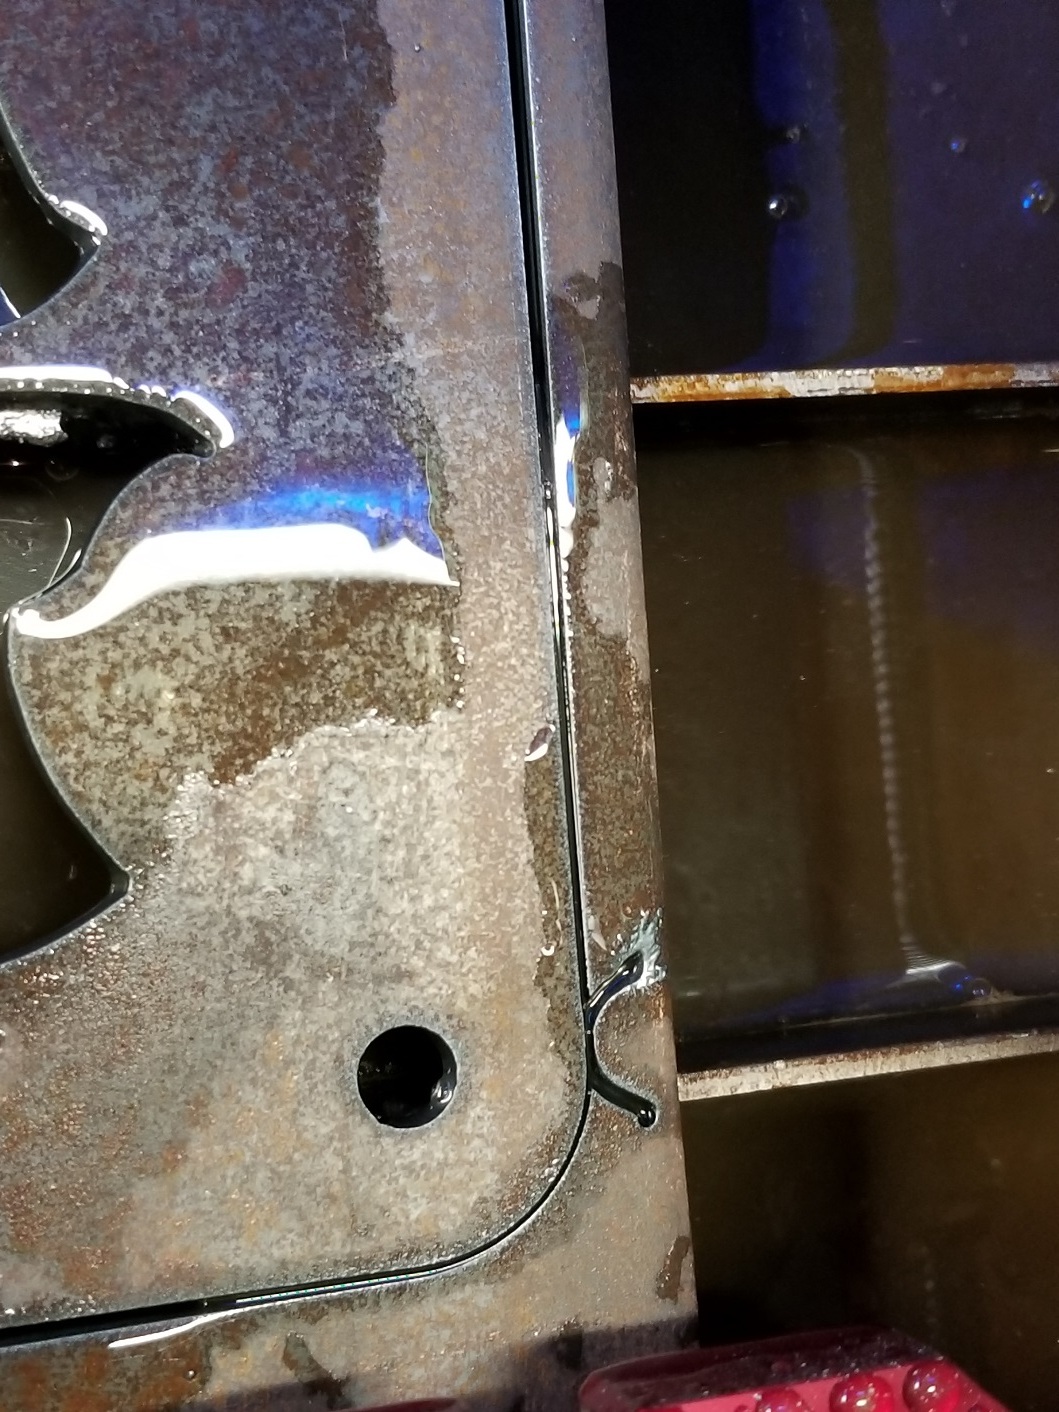
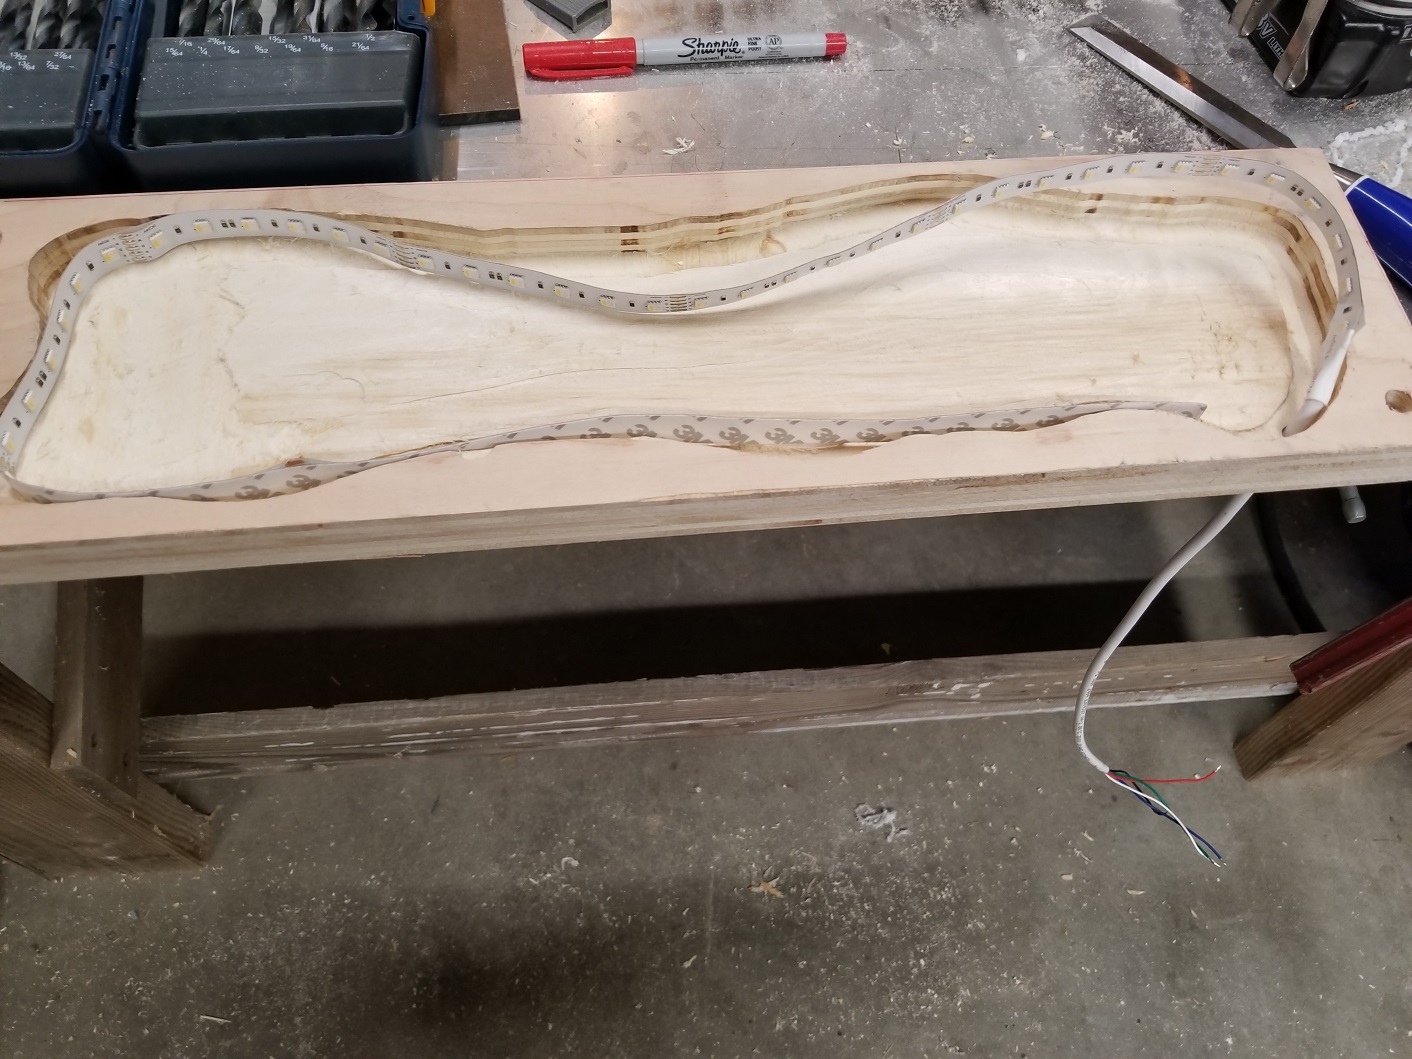
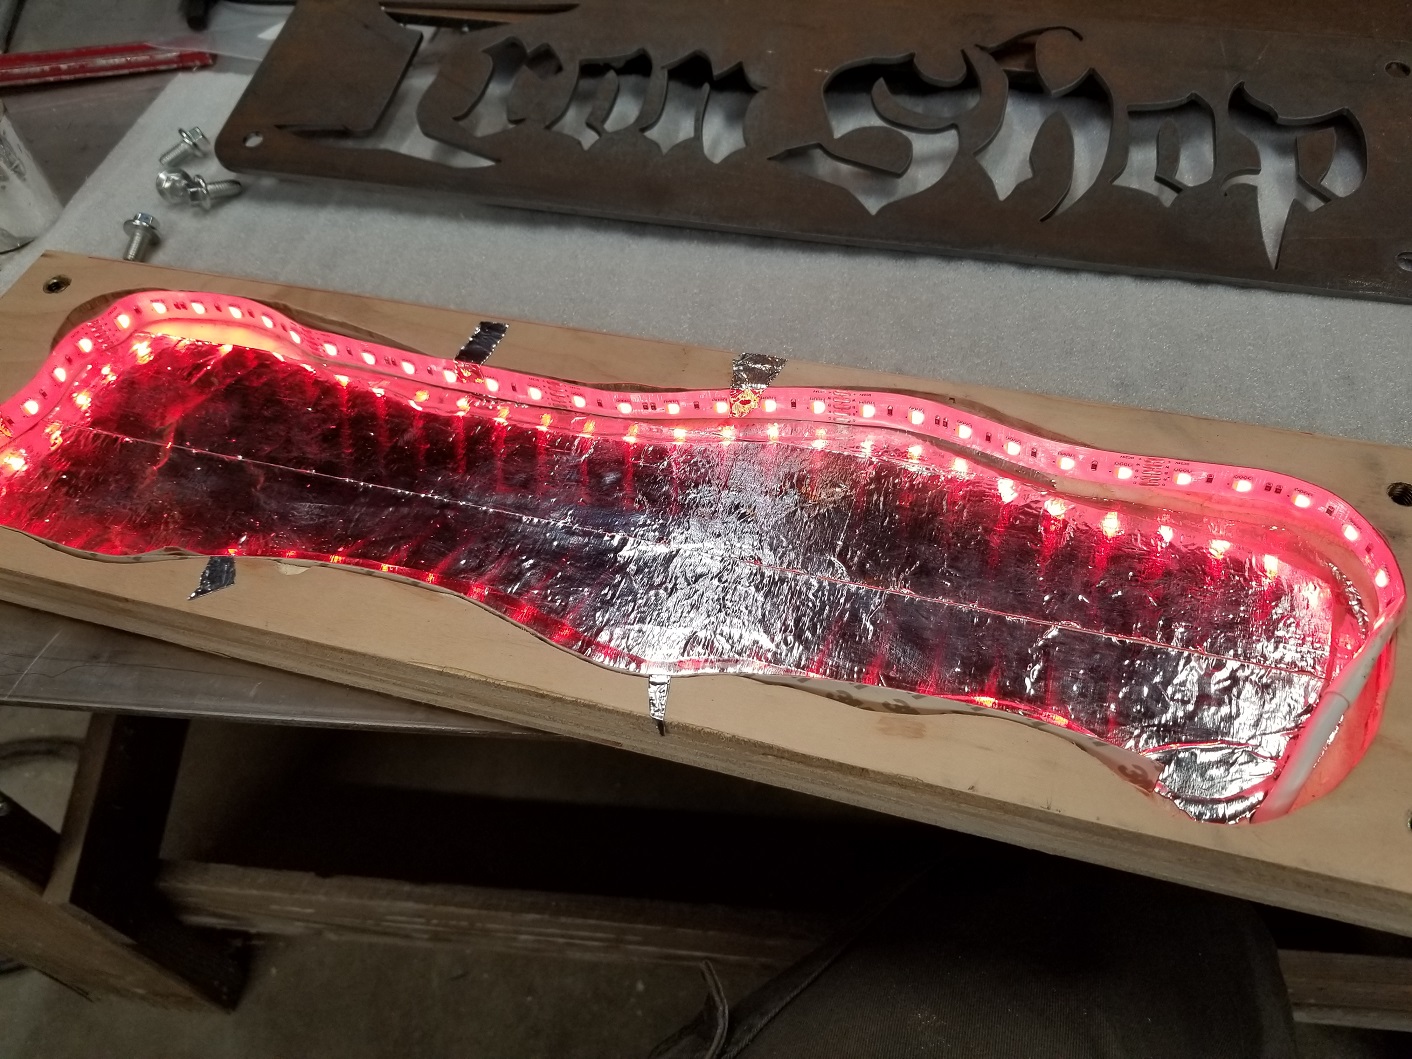
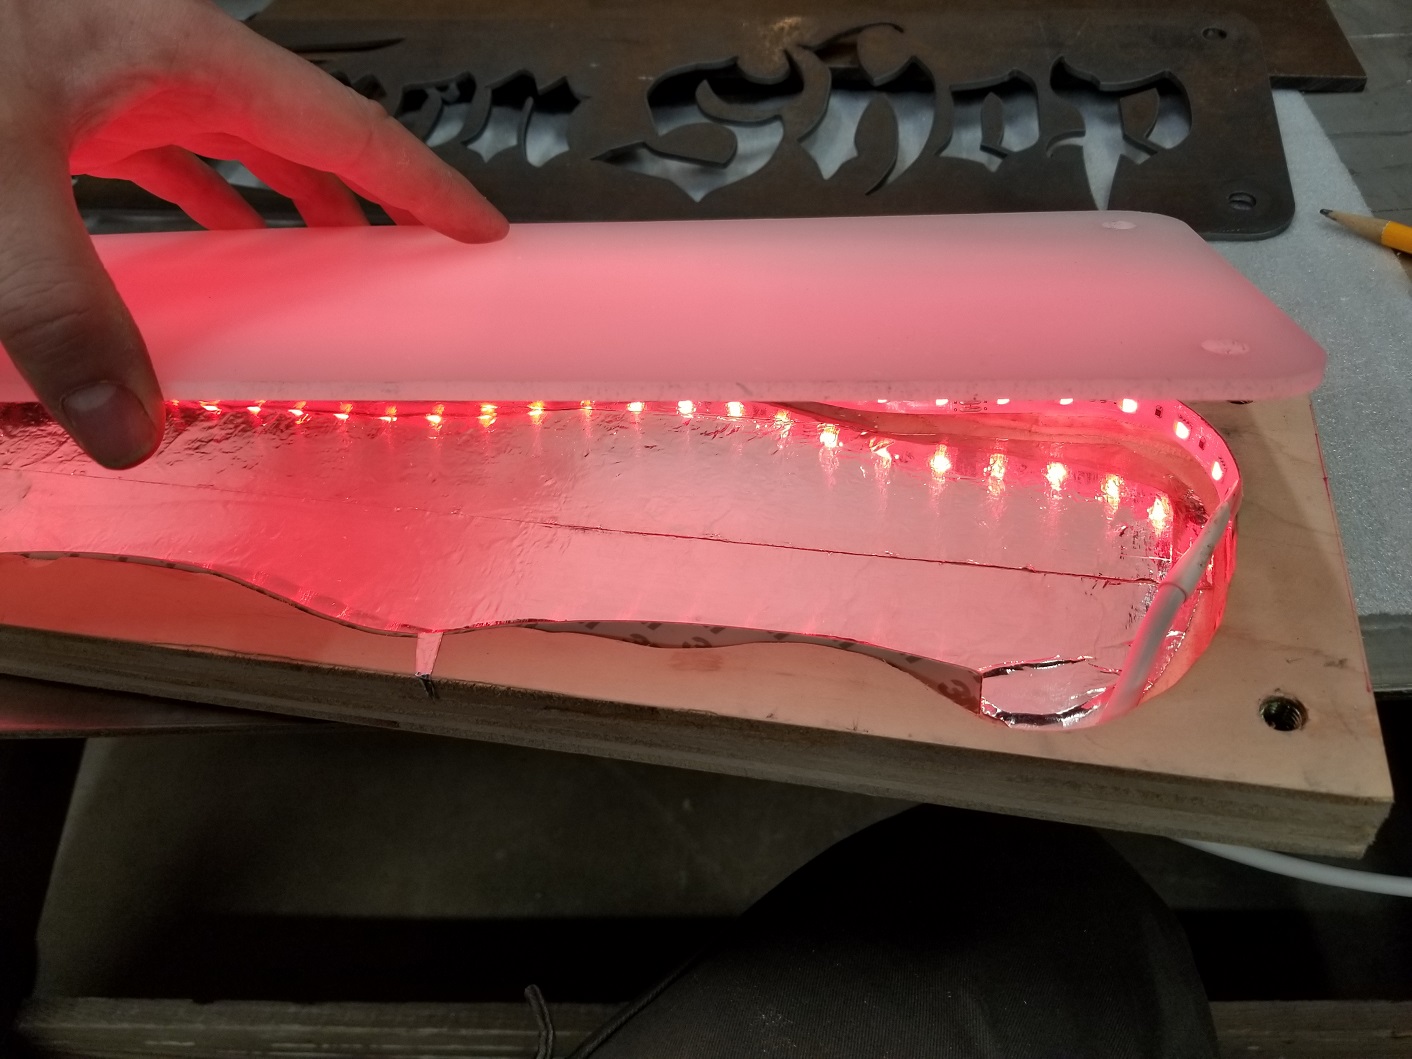
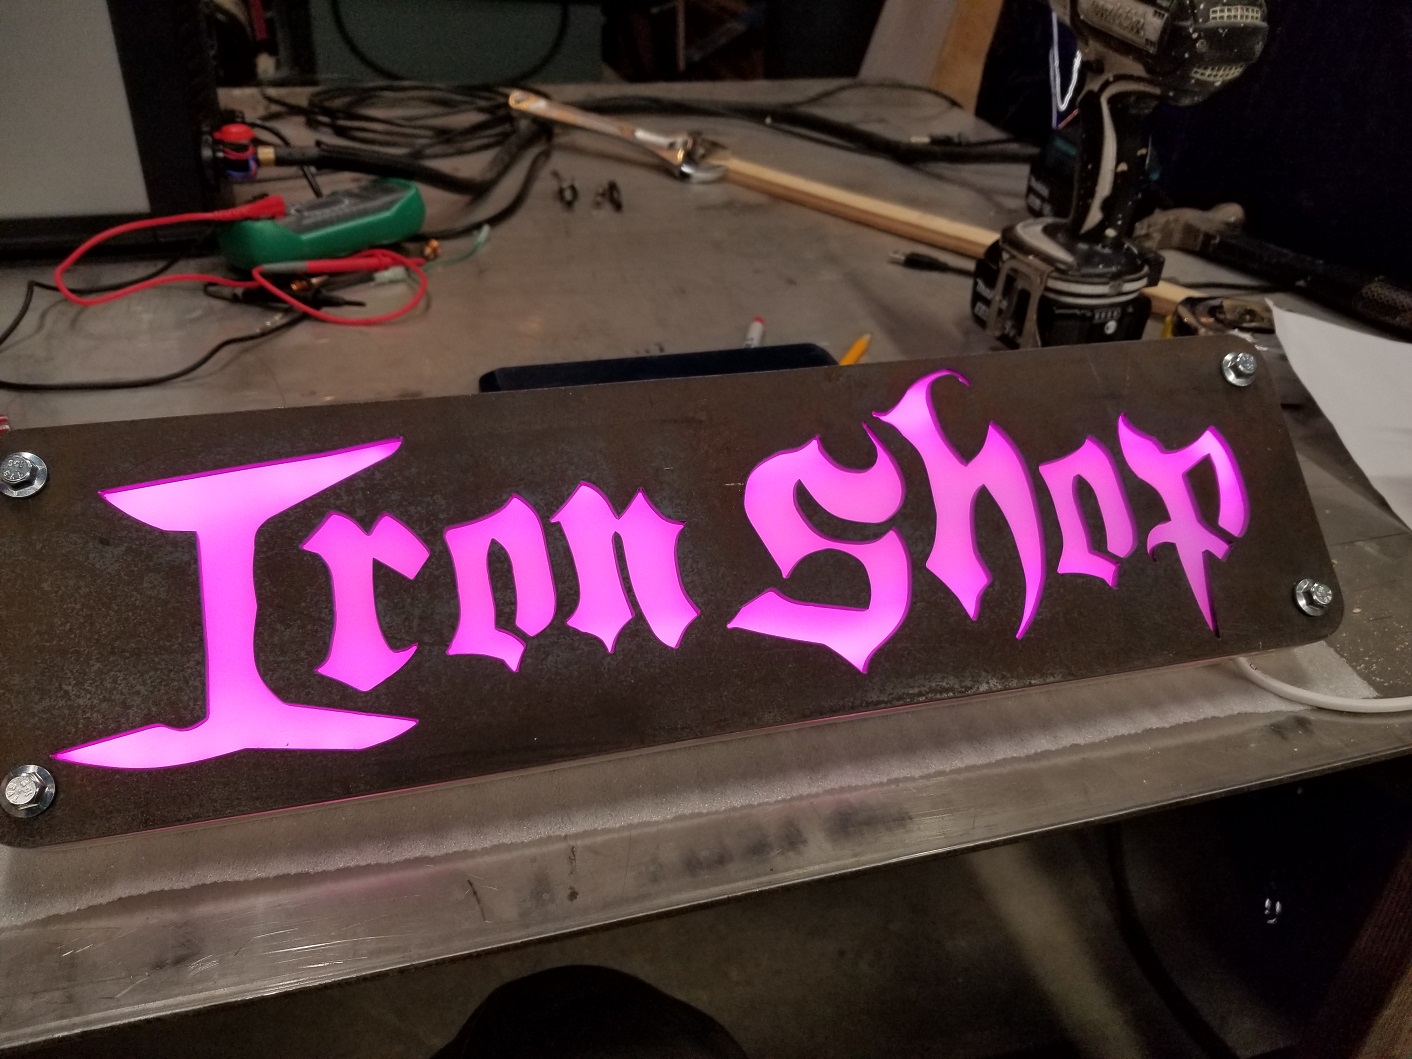
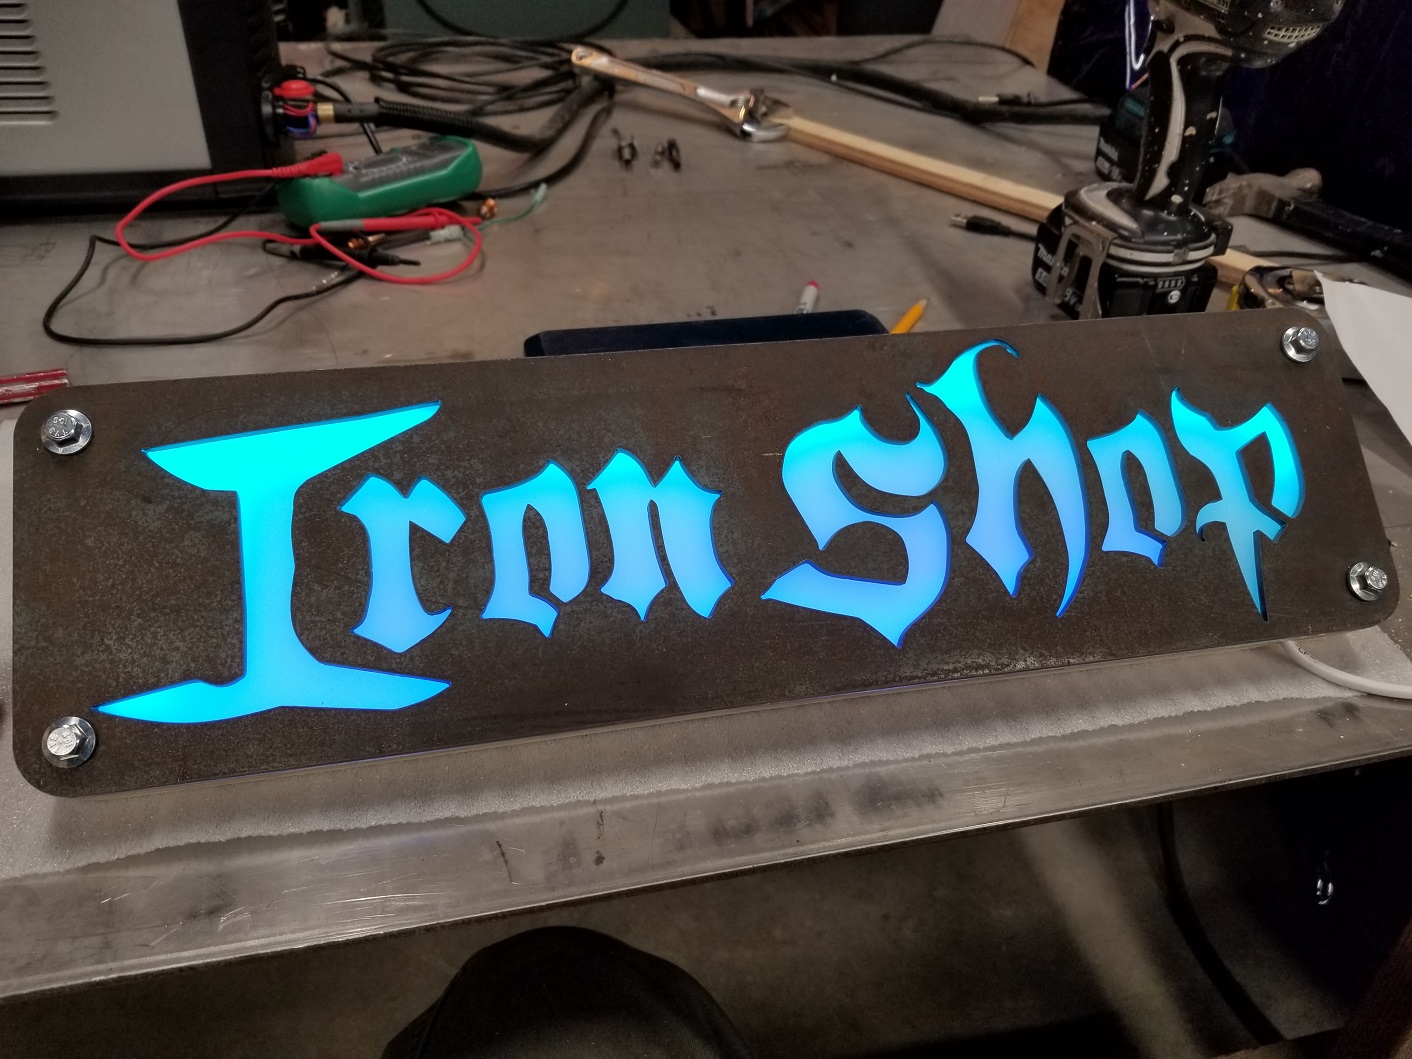
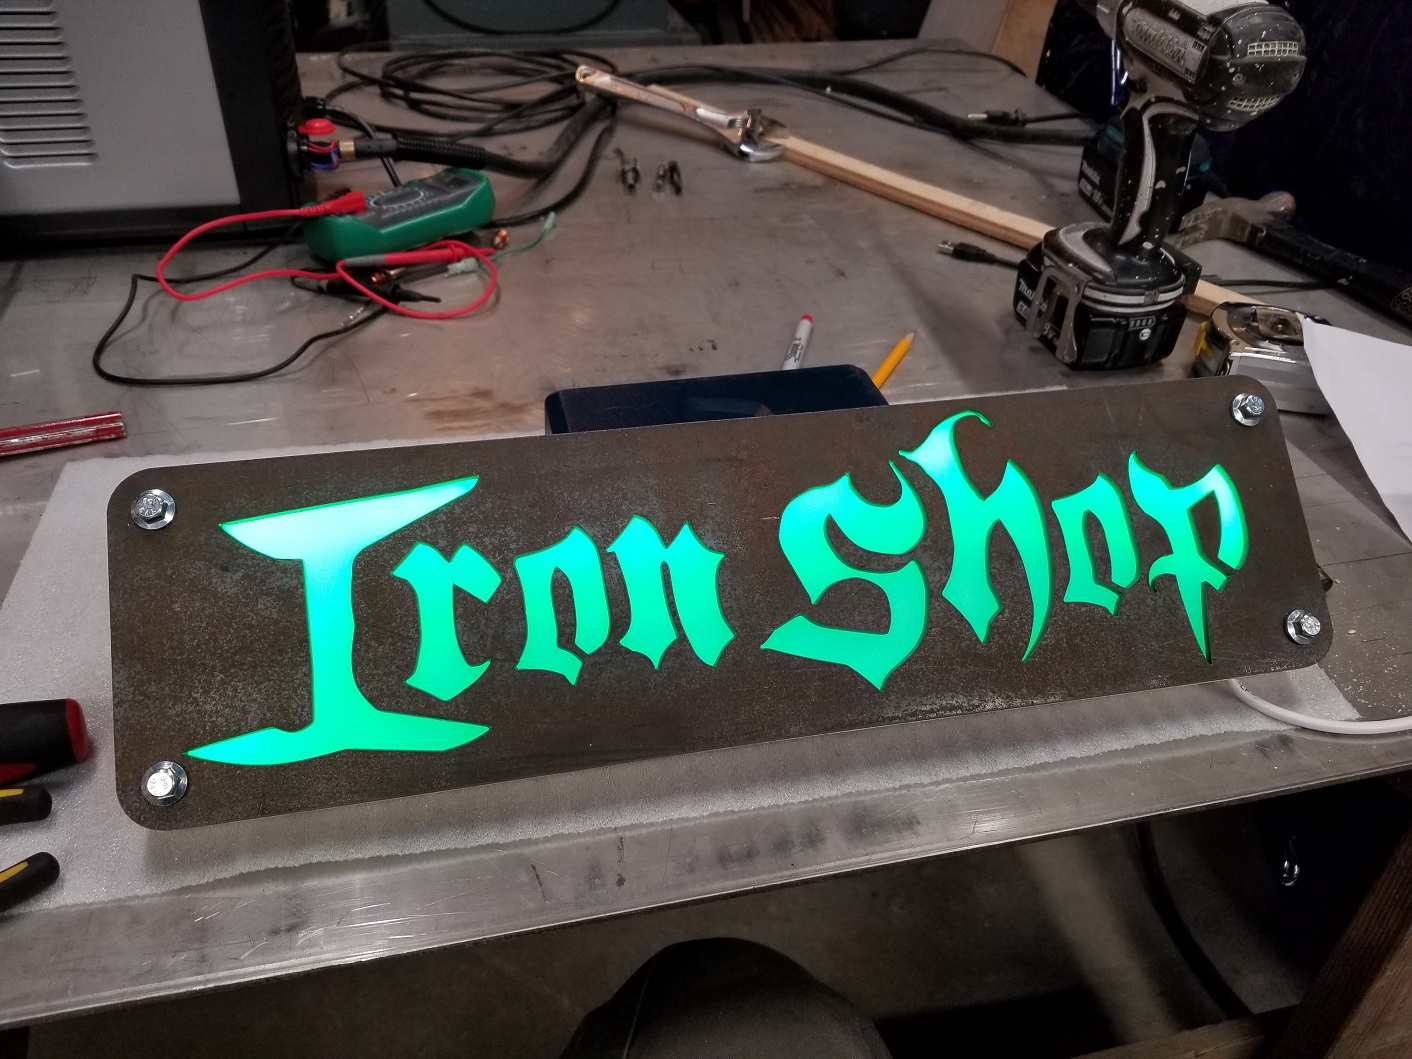
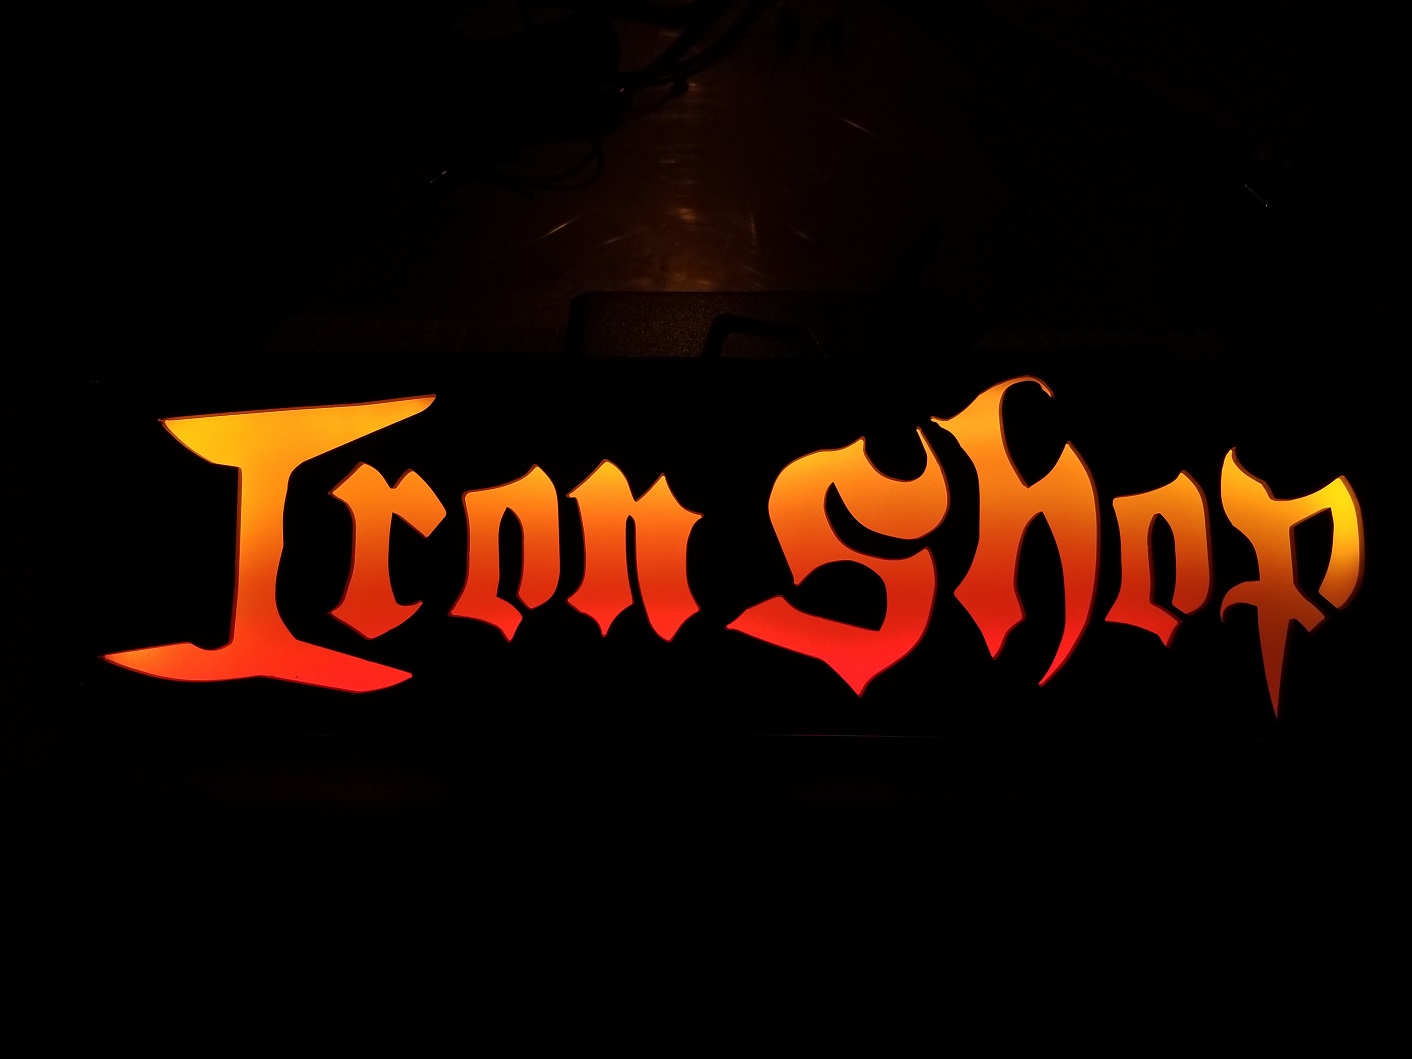
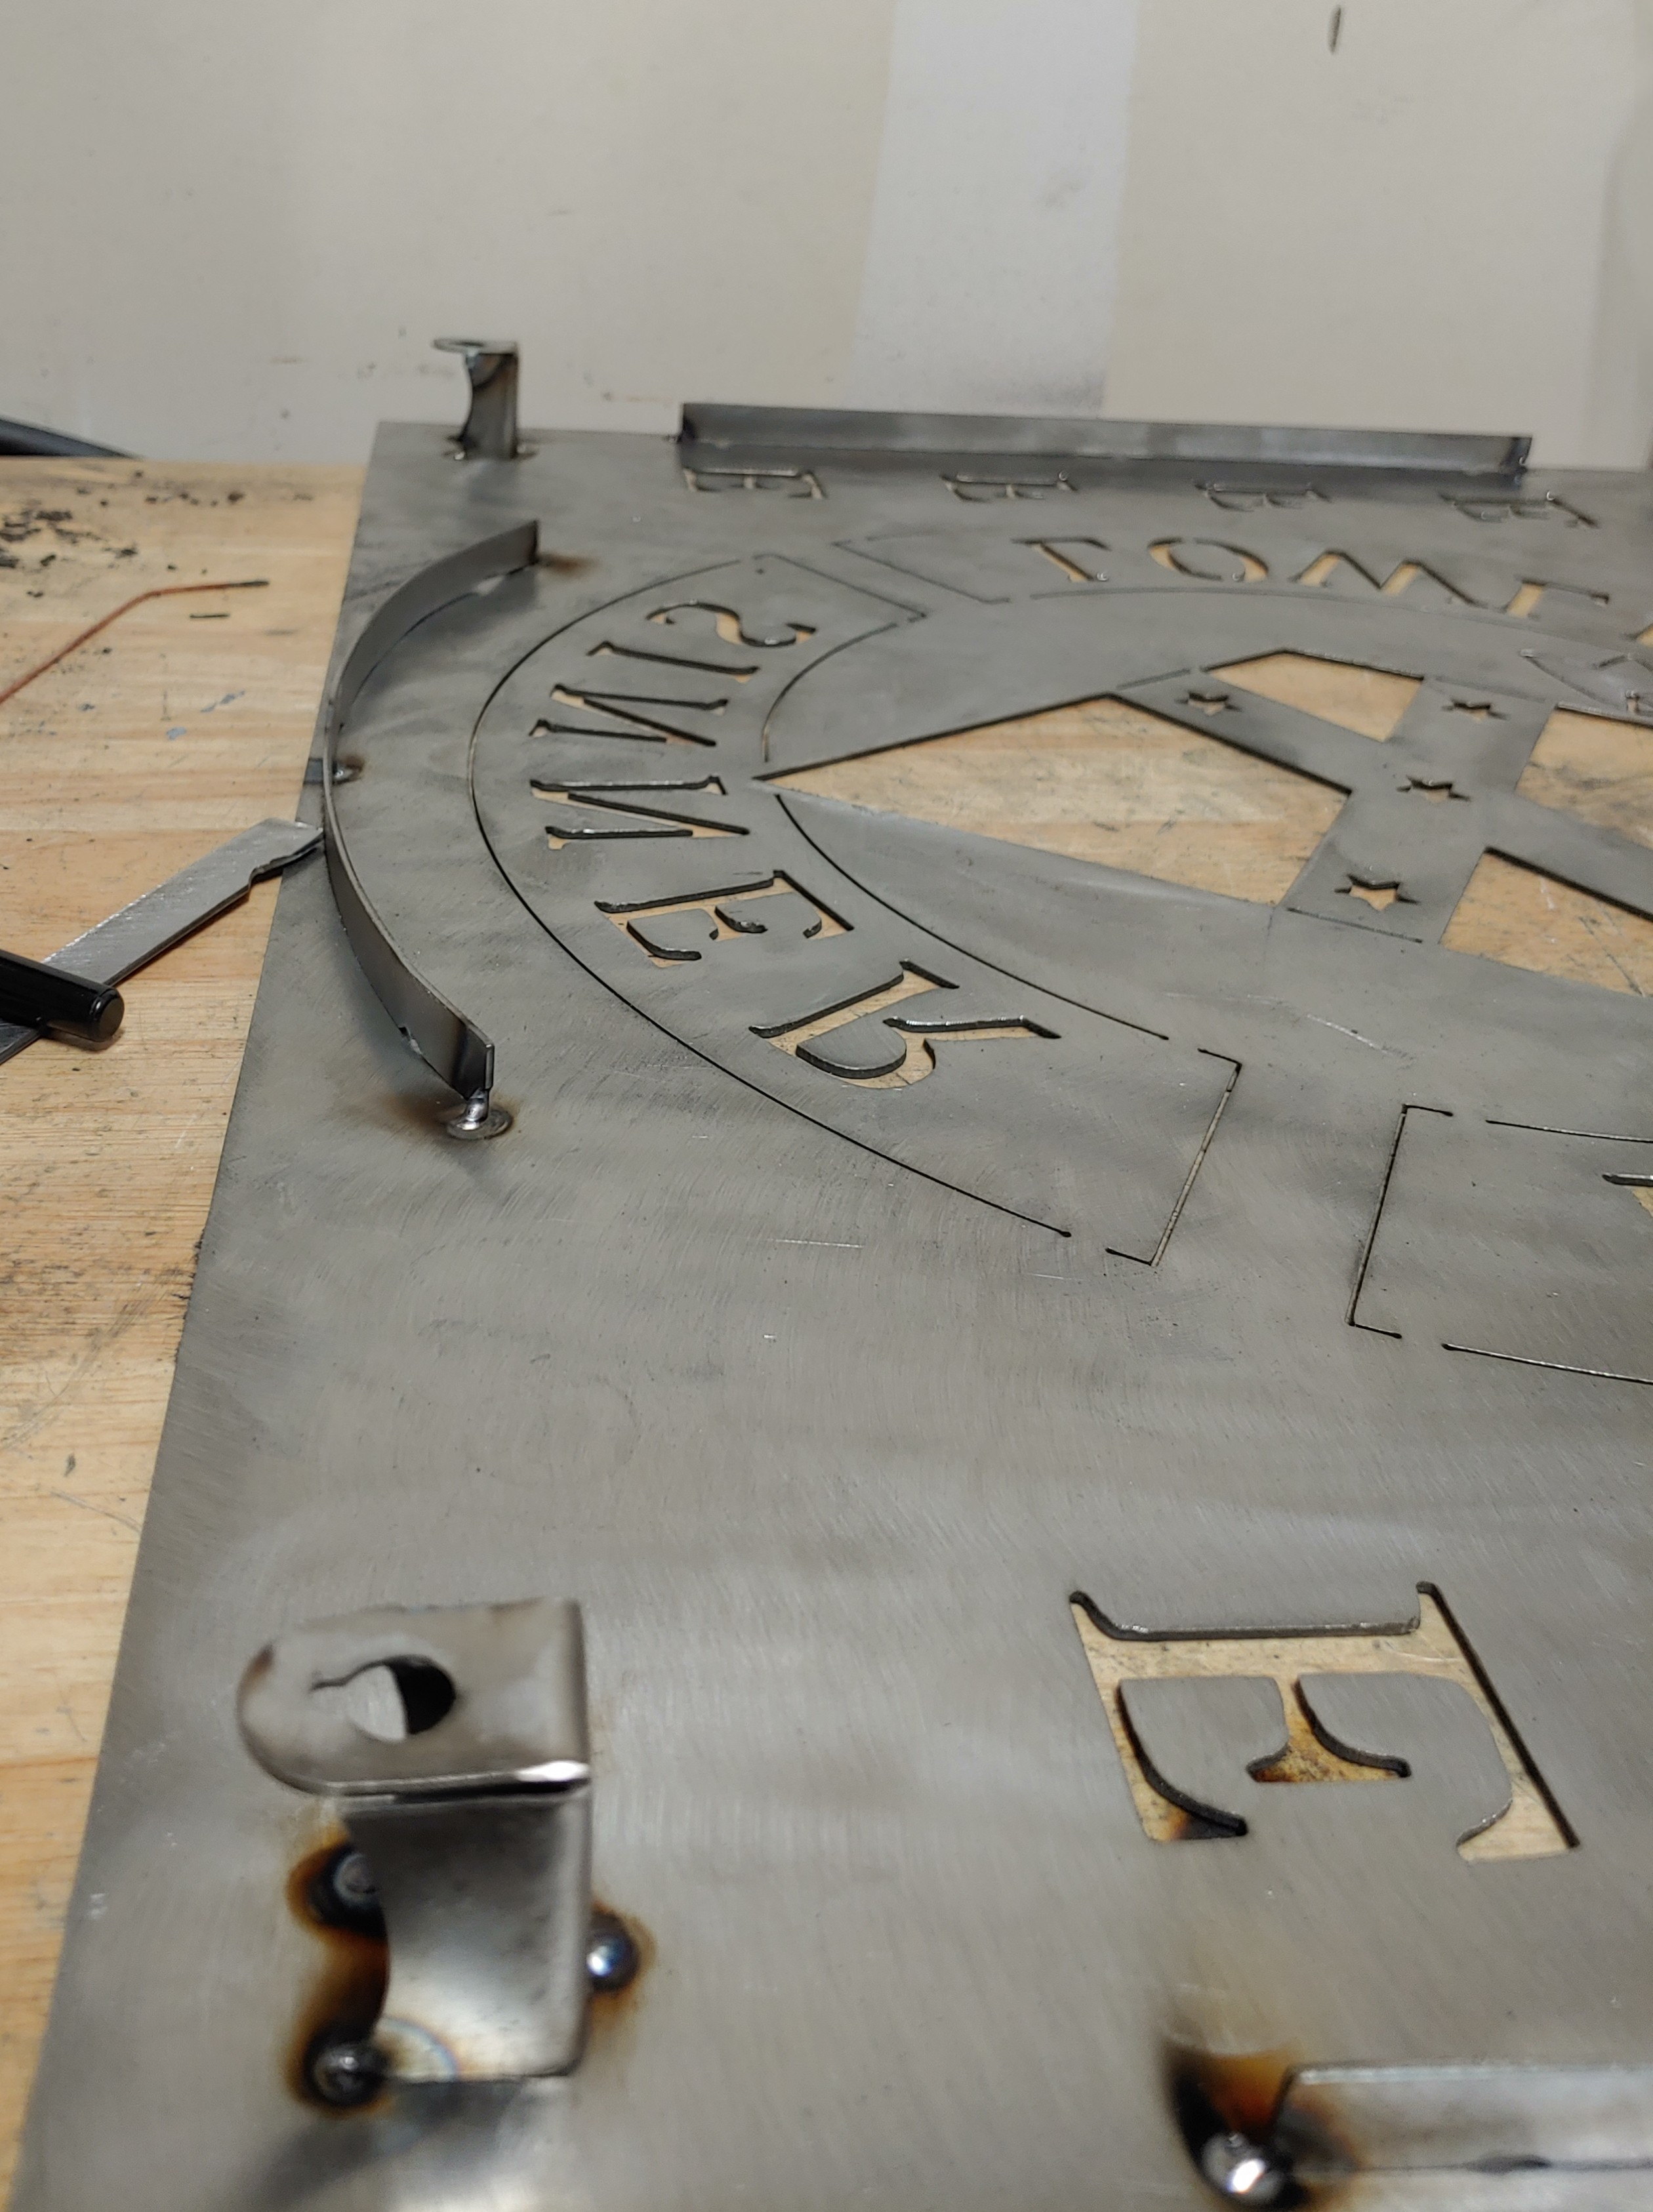
Made this one of my first projects. 1/8" steel. Customized the font to maintain the interior holes. Used a router and a flush trim bit with a bearing to trace the steel and cut the plastic and the wood backer. Routed a pocket to hold hte LED strip on the inside edge sideways. Reflective tape (metal duct sealing tape) on the bottom. The LED is RGBW so you can control it to almost any color.
19 Likes
Super cool! Where did you get the LED setup?

Constantly blown away by the amazing work you guys are doing. Keep it up.
Looks awesome!!!
Funny… I’m in the process of doing one of these as well. What did you use for the “glass” and where did you get it? I was thinking of plexiglass and either sand blast it or put a translucent sticker on it
The brand name is Makrolon polycarb and its avail in all sorts of tints and colors. This was frosted already but you can take clear and sand or scuff it.
1 Like
You can use clear plexi/acrylic with a spray frosted finish. Krylon makes it and it’s available in the Big box stores. More coats makes for more of a frosted translucent finish. It’s a paint finish so it doesn’t show dots like some sandblasting effects - it’s very even.
Cheap solution to buying frosted acrylic and not having it when you need it or vice versa only having frosted but needing unfrosted ![]()
2 Likes
220 grit on a DA hit the back side of the plex. Frost’s it right up. might take a try or two to get the look you want right an even but very doable!
What font is that? That’s really cool.
called Hacjiuza but i had to modify it. convert the font to outlines and then manually modified the letters, esp the i because it didnt have a capitol I so i made it. also had to add the donut hole supports
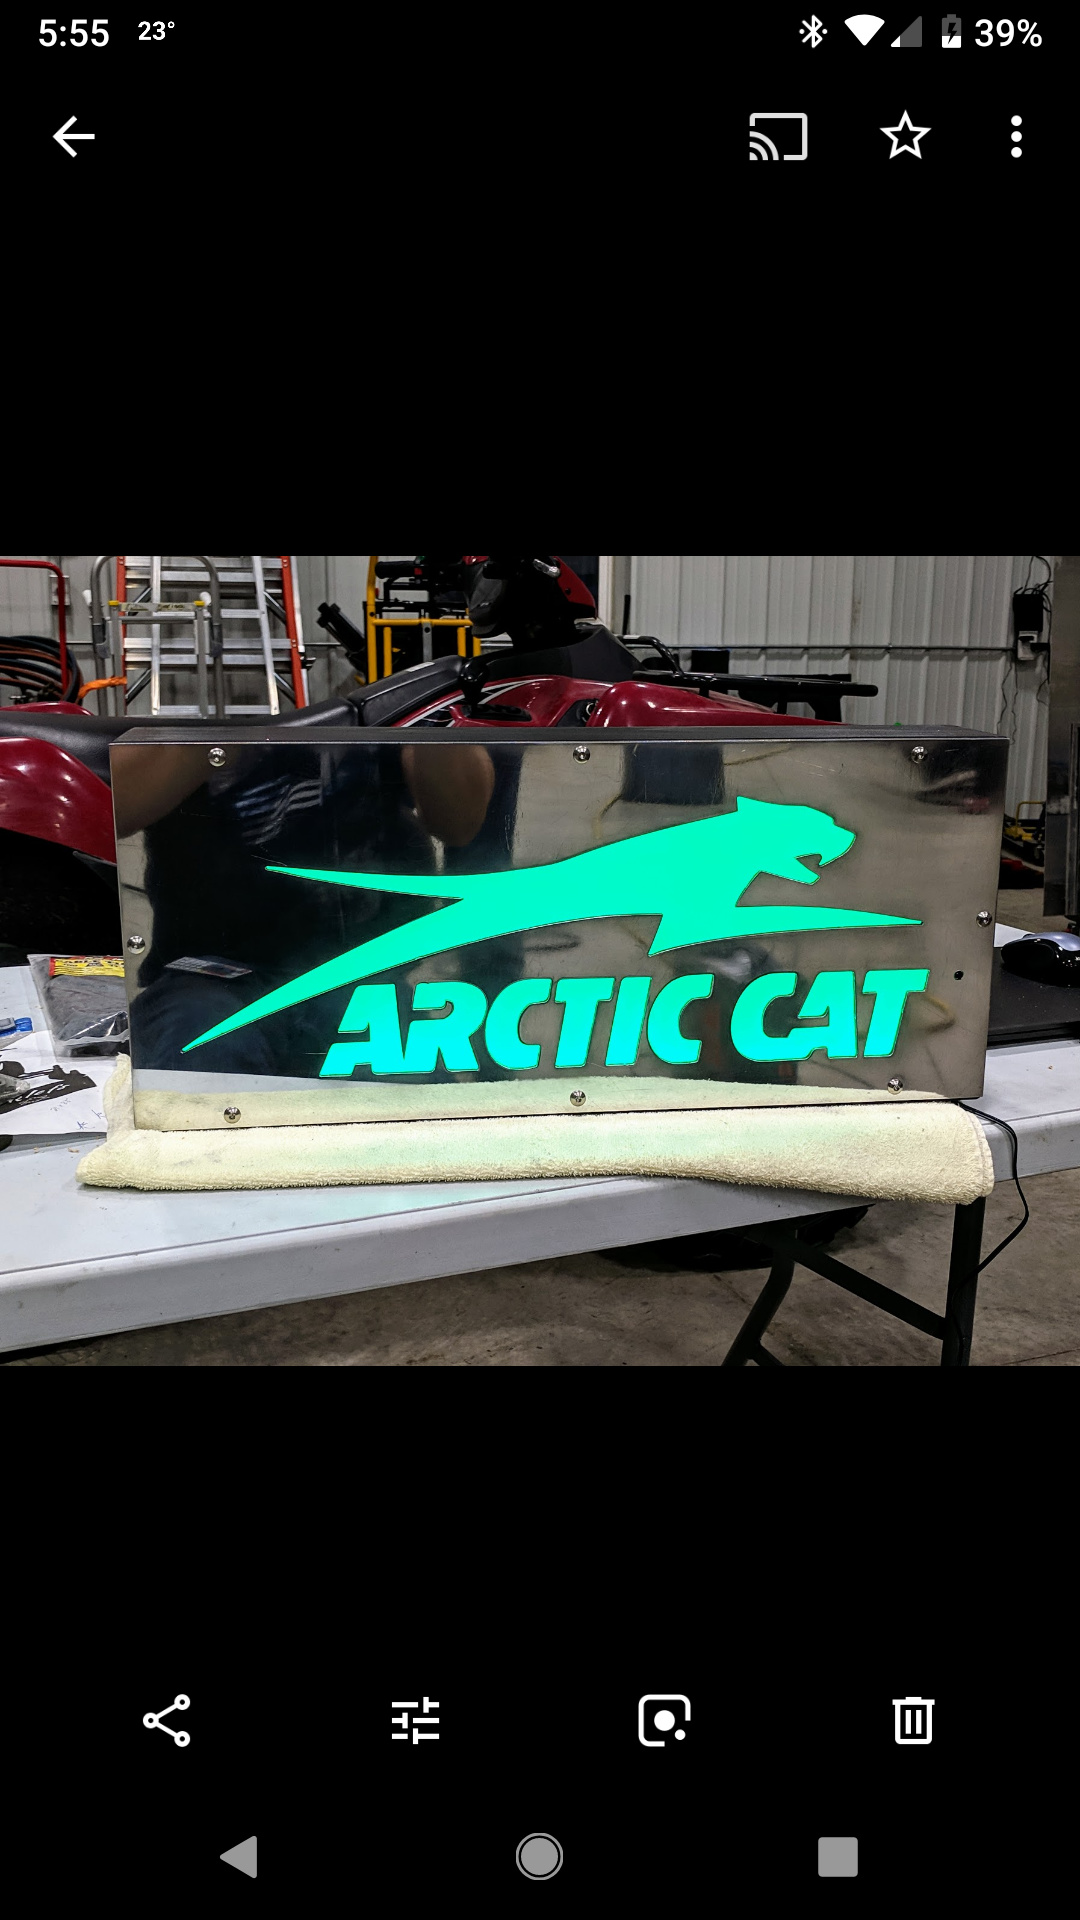
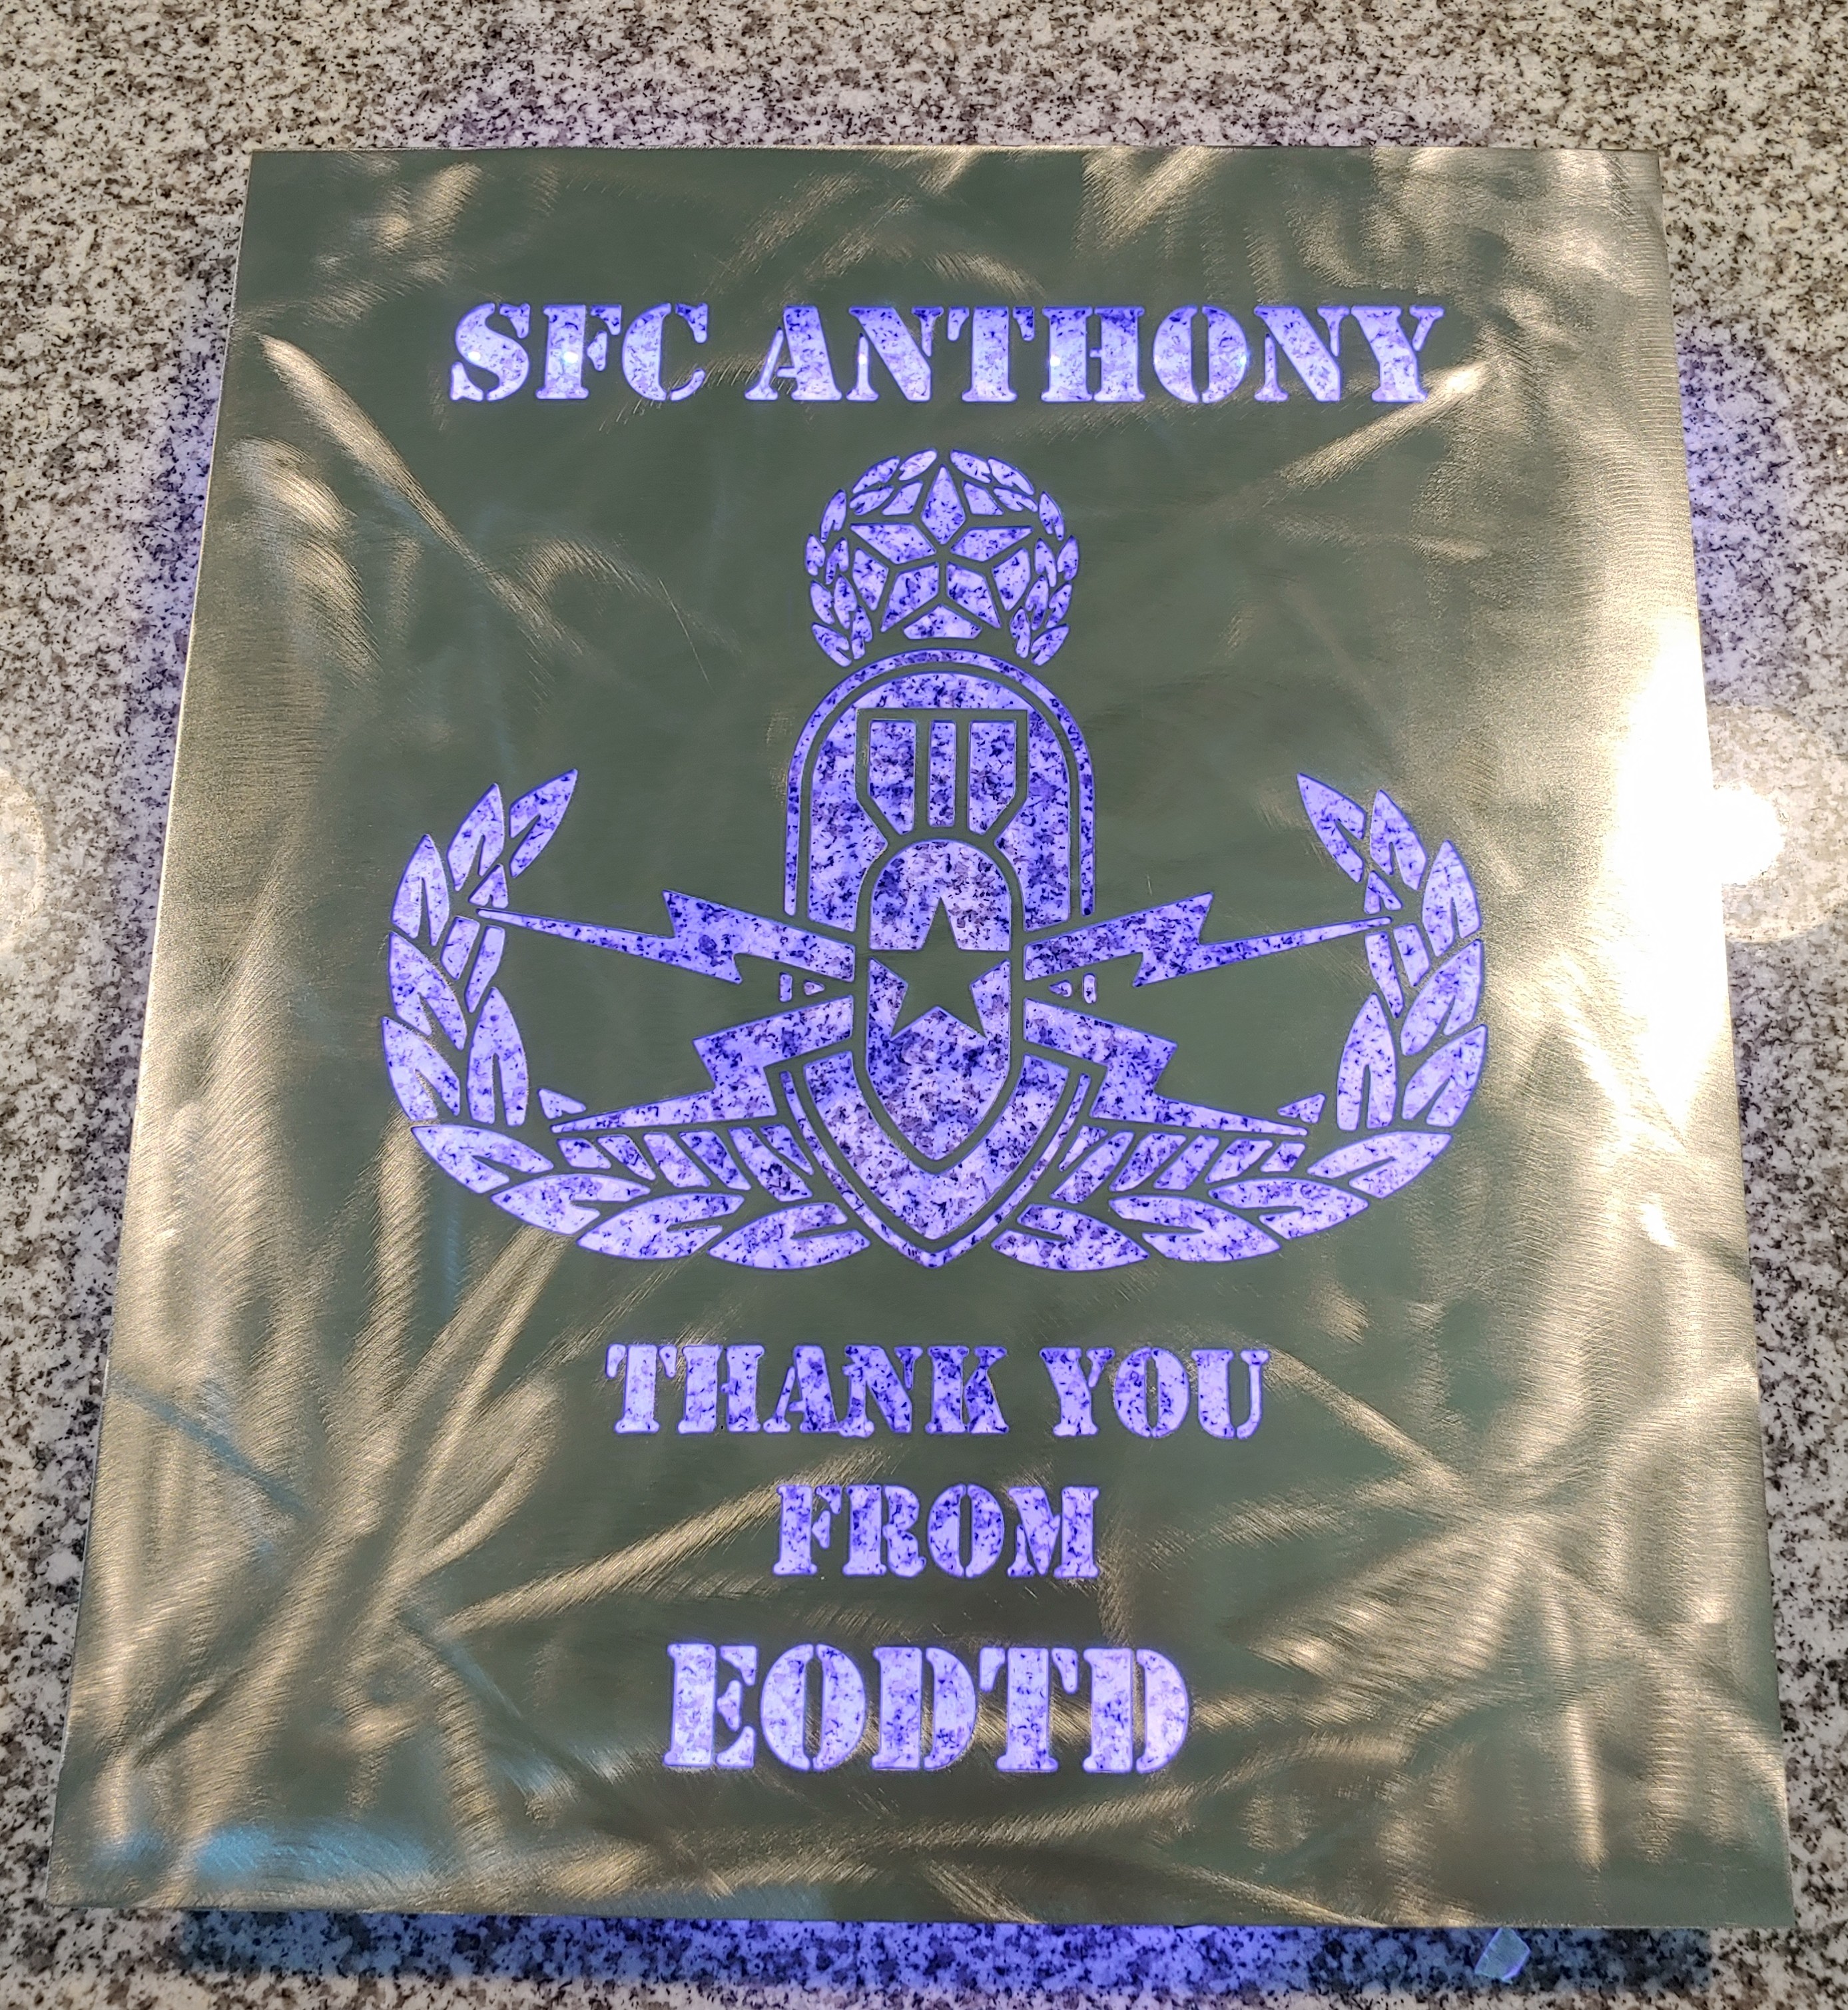
Got my LED sign done. It’s going to our local snowmobile club membership supper as a silent auction item. It’s just led tape lights wound up inside the frame of the sign so it has a remote control for colors and transitions
5 Likes
It brought $130 on the auction. Little disappointing but o well.
1 Like

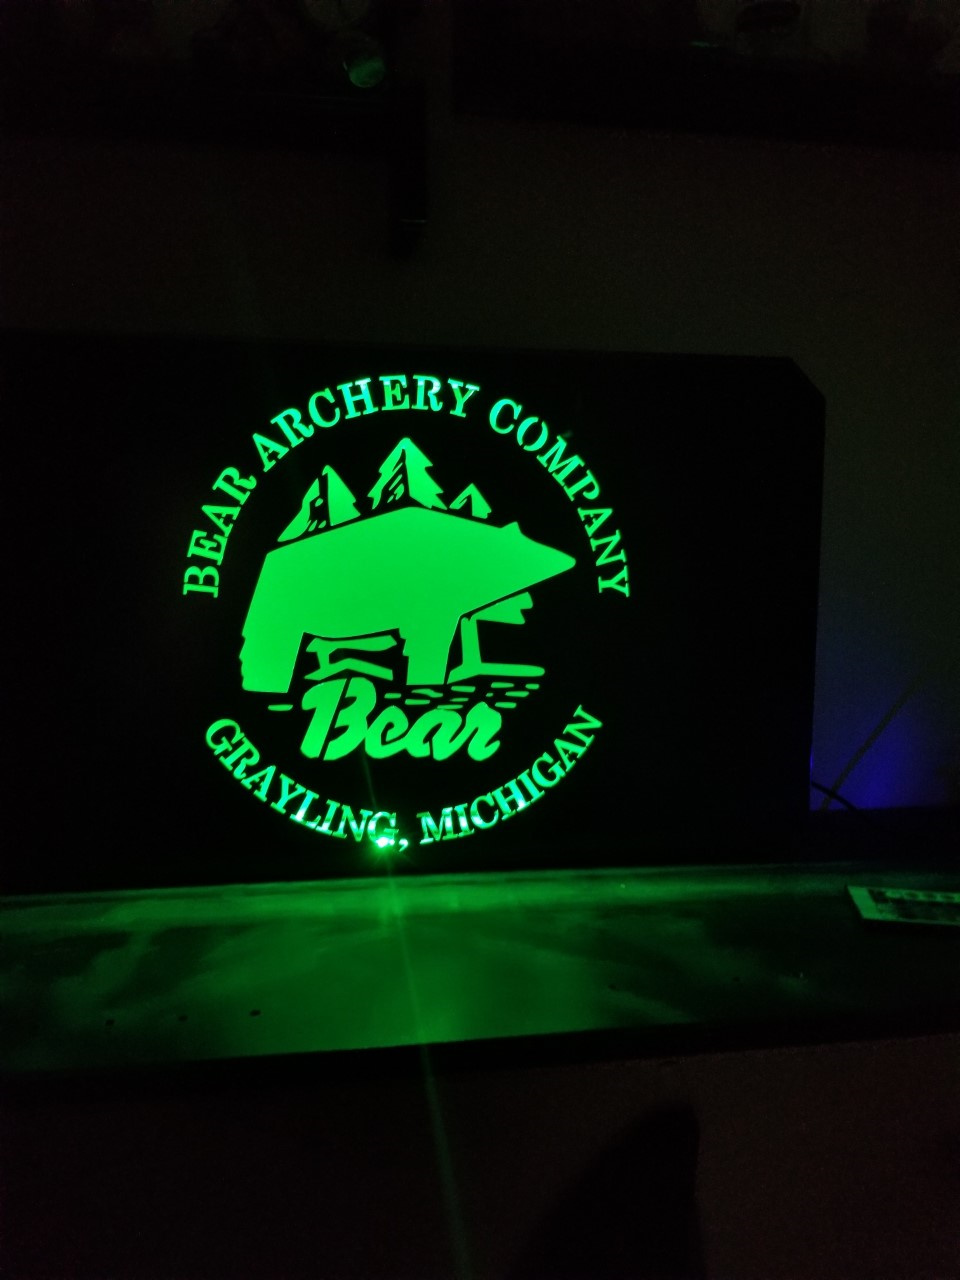
Have any details on how you did that? I need to make a 24" round sign for a friend, I got some led’s off amazon and I’m stuck at how to backlight it without seeing the lights. It’s a back burner project, but this thread just reminded me of it.
For my sign anyways…
Well, first off, I’d do it a little different next time around but, we learn as we go don’t we?!!
So, behind the black outer ring you see there, I made another ring out of 1/8" x 3/4" stock turned on edge that’s just under the full diameter of the sign. I held it in from the outer edge approx. 1/4" and welded it on… This gave me something to stick the LED tape strip to… The power supply tucks in behind there as well where you don’t have a cutout for the “SS” part or otherwise… All that sticks out is the pickup for remote controlling the lights and the power cord…
I painted everything bright white on the back side to help spread the light as much as possible.
What I would do differently is to make the outer black ring a little wider in order to have the lighting back from the inner edge a little further… You can still see the lights if you look at it from other than straight on…
I’d take some more pictures if you like but, am temporarily laid up with blown Achilles tendon… So, I’m out of comission for a while… If this doesn’t make sense feel free to ask and I’ll do my best to help out…
Here are the lights I bought… https://www.amazon.com/gp/product/B07JP5375R/ref=ppx_yo_dt_b_asin_title_o00_s00?ie=UTF8&psc=1
This ended up being way too long but, you can cut them down no problem… Both ends have connectors so I can just order another power supply only and use the left overs on another project…
I do like the idea of using a “frosted” kind of plexi-glass to diffuse the light a little more like you see in the other pics in this thread…
1 Like
After trying a few ways, this is how I attach my lights also from amazon, if you would like some references(pictures attached), ive done close to half dozen this way and am happy how they turn out.

3 Likes
Awesome! Appreciate the info. Those are literally the lights I was going to buy, but opted for a battery setup to not have to hide the wires. Assuming the switch is on that white box? The biggest hurdle was because I wanted the light to light up the wall around the sign, but the sign has a lot of small holes and what not in it. Plus with the sign being fully backlit, a cord would just look shitty.
Doing how yours and the others have done it, sealed perimeter and lights facing inward, seems like the way to do it. If there’s a cord hanging out, it wouldn’t stand out as bad either. Adding frosted plexiglass would disperse the light really well and not have stray lights glaring out.
I’m more than likely just overthinking the hell out of it, as I usually do. Hahaha
Thanks for the info and hope for a quick recovery on that foot/ankle!
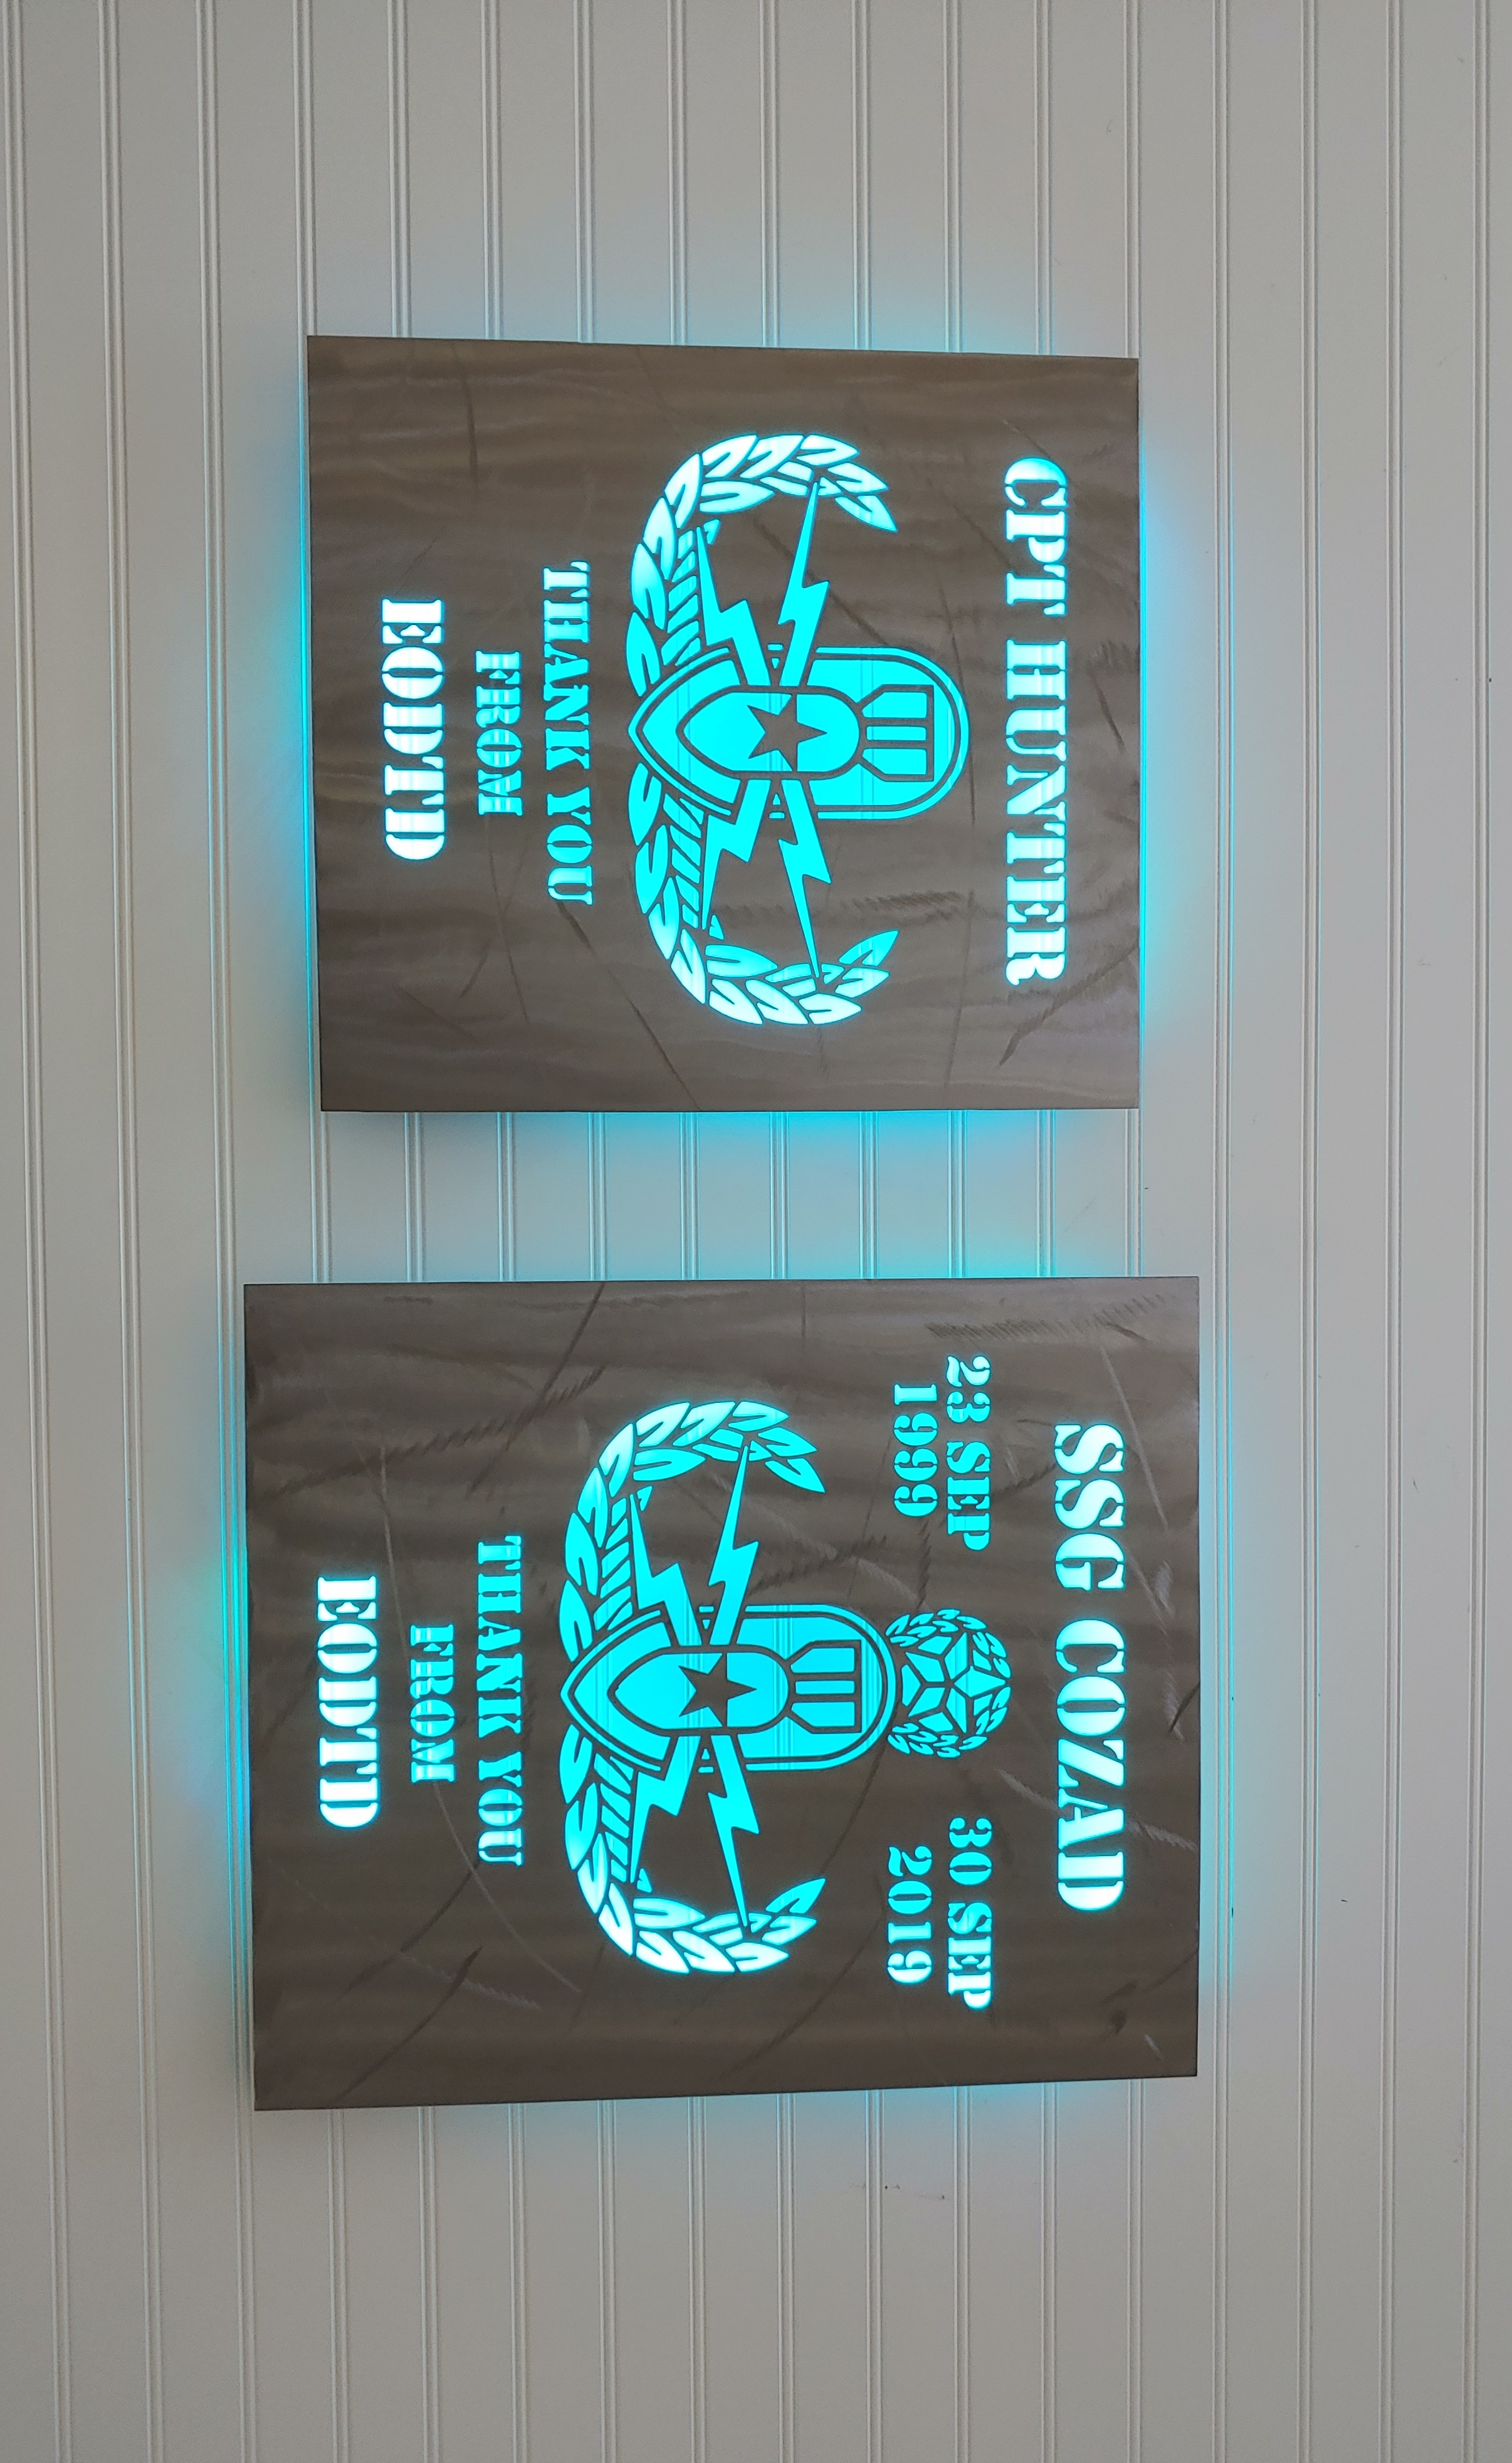
I will say best thing for getting even lighting is distance from material behind the sign. The closer(thinner) the sign is to the wall, the more localized lighting to edges will be.
2 Likes
I think the key to getting that neon-like glow is the fogged plexiglass
1 Like
yes and no… it will help, as long as there is space for the light to reflect off the surface behind it, I primarily make led lit signs for customers that I can’t post photos of but all the uniformly lit signs have more space between plexiglass(or sign) and the back ground what ever it may be. That being said, the best and easiest way to fog plexiglass I’ve found is just hit it with an orbital 60 gritt sander. Ive tried the paint, media blasting and orbital sander(most efficient for me). Just my 2 cents.
3 Likes