Additional Mods - drain moving, monitor arms, power

I thought I would document some of my mods in case it helps someone in the future. One of the big topics was to extend the work holdown area, that one was large enough to warrant its own thread.

First up - I decided I wanted a stable base for the machine, but have the option to move it if and when needed. I used Skeland leveling machine casters from Amazon that have levelling feet built in, so I designed those into the baseplate. Total load capacity is 2200 bls so no issues there.

This particular base is very heavy duty due to the materials I had at the time, some left over structural bent U channel on a building I was working on. Way overbuild lol. The floor in my shop has quite a slope, and the leveller casters combined with the levelling legs as supplied by Langmuir worked great.

I also shortened the legs on basin to put the machine at the same height as originally supplied.

I had some Rustscat metal paint around from a previous job, the color works so …

Ok, onto the drain system …

3 Likes

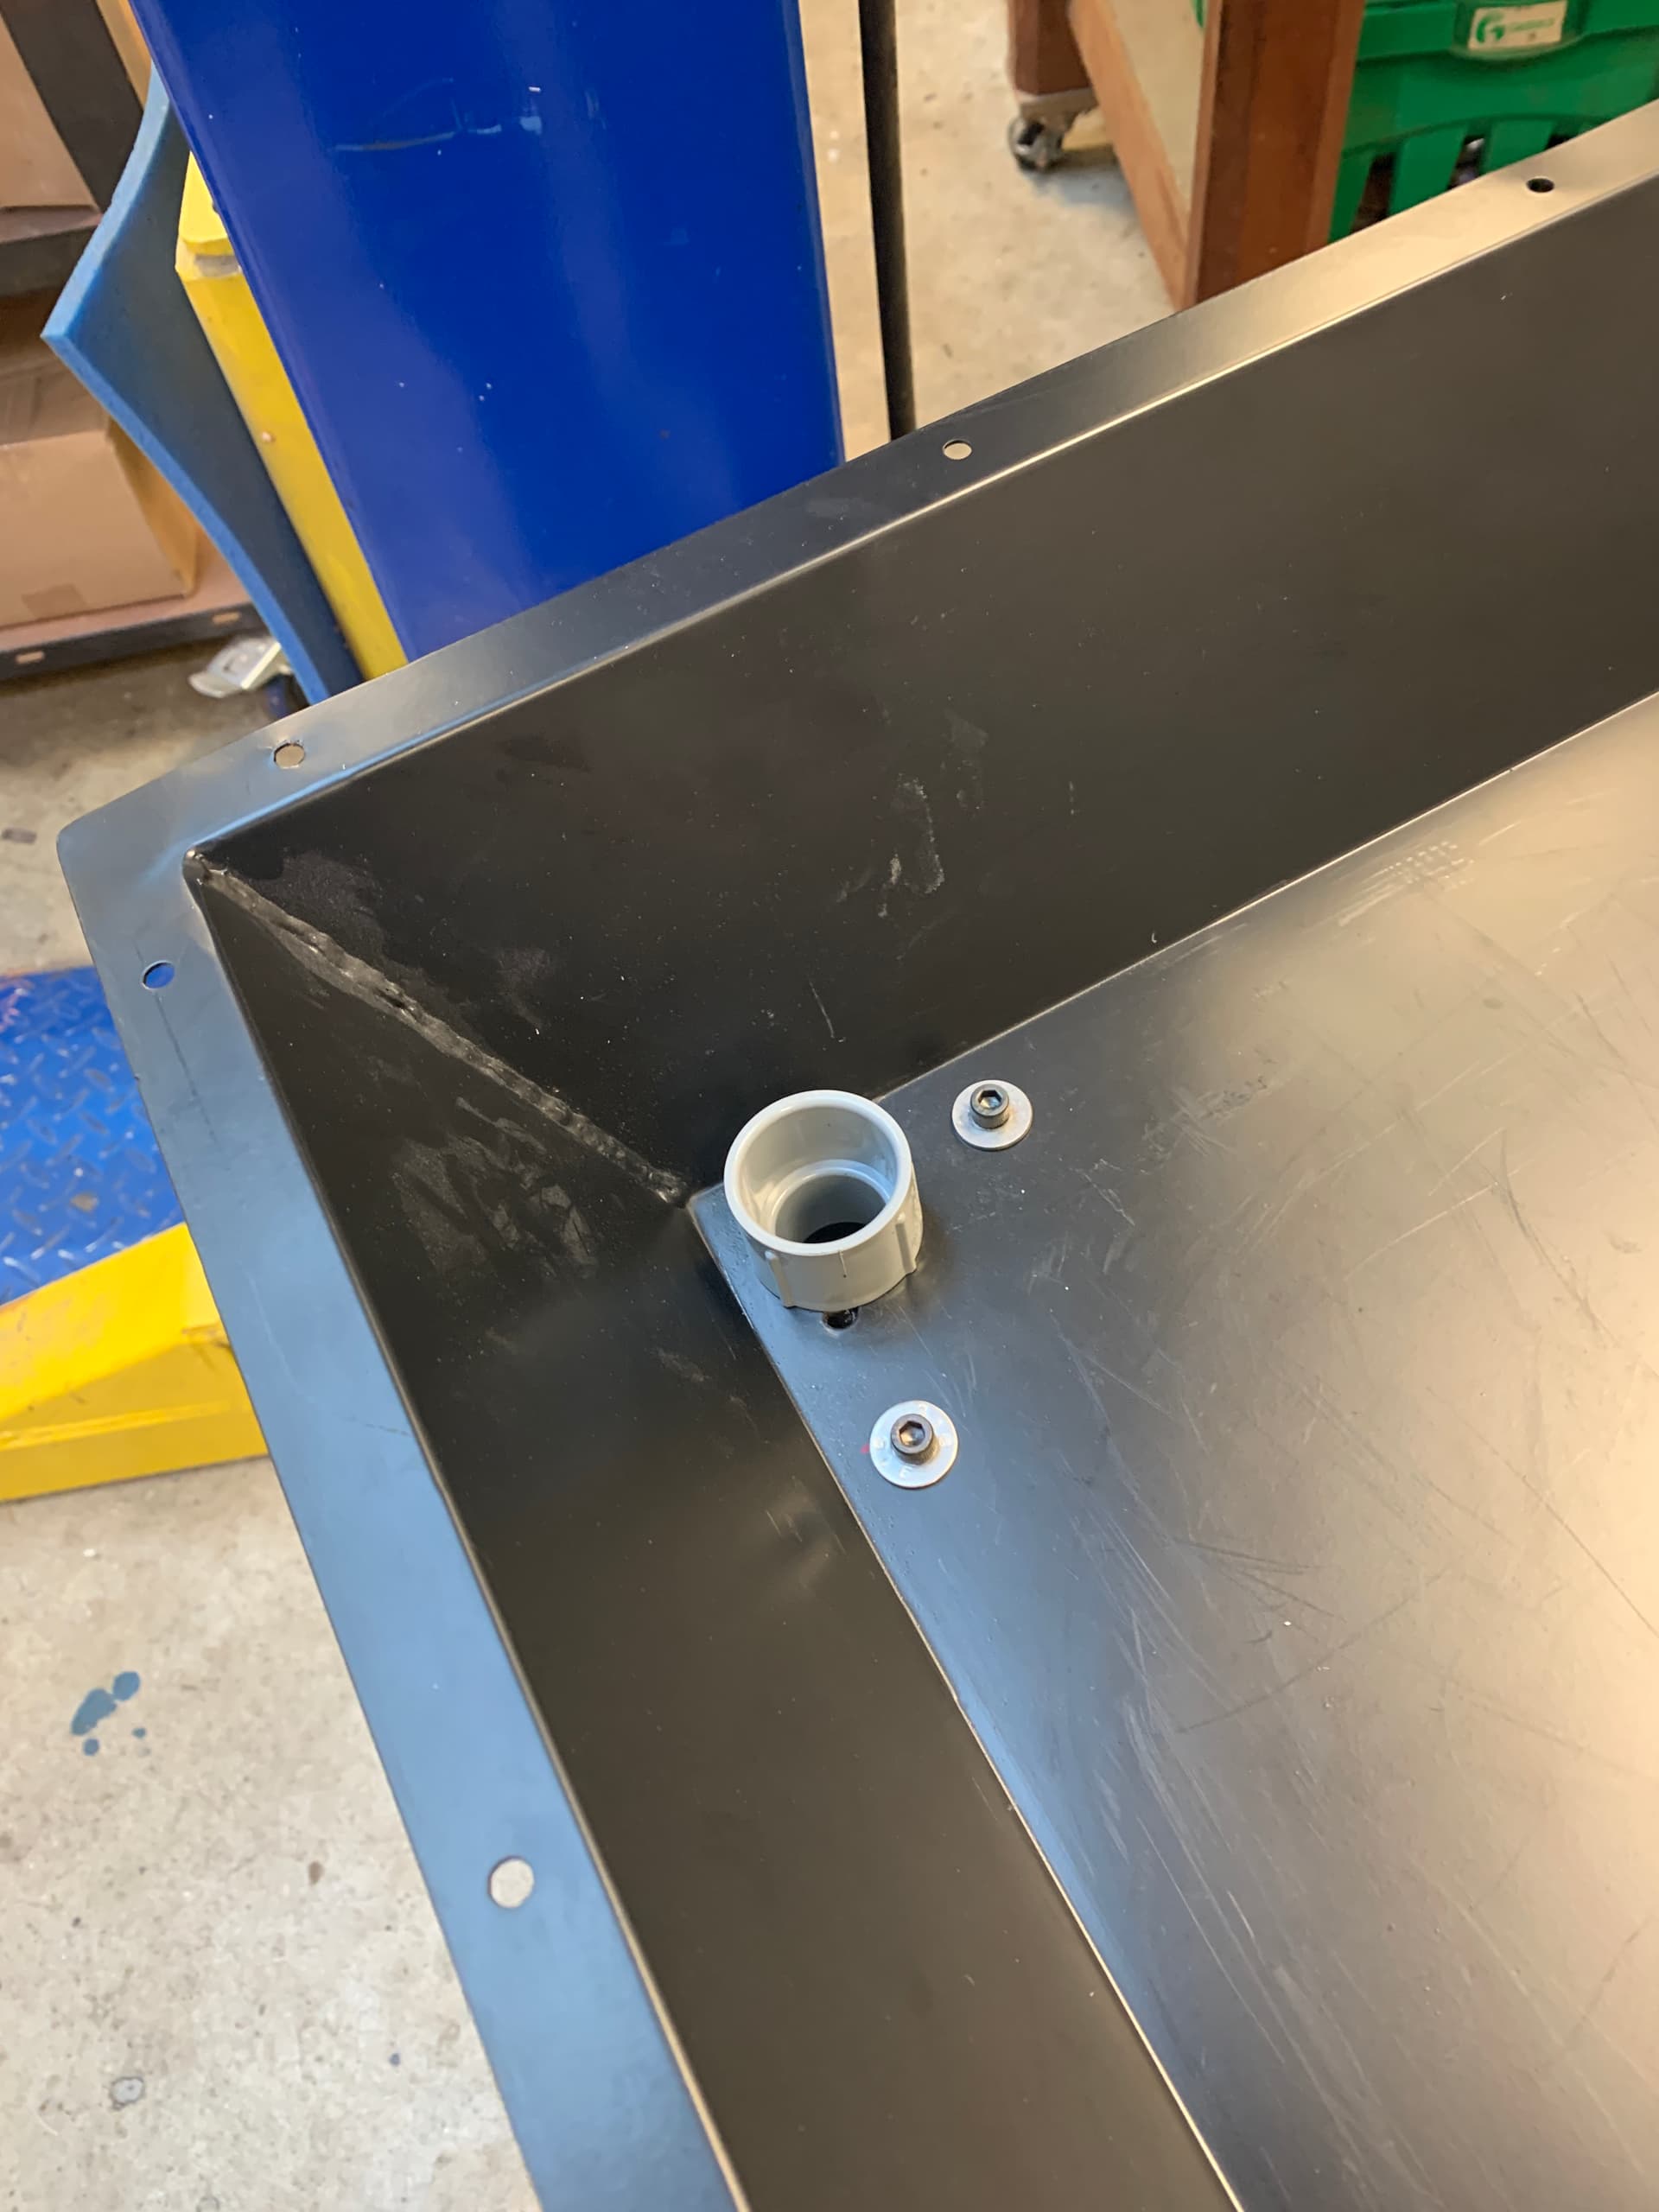
There are a lot of comments on the forum about the small drains, and I did not like the design with two 90 degree bends inside the concrete which would make it quite hard to clear if plugged. My goal was to make the drains ¾” in diameter as well as a straight a shot as possible through the concrete.

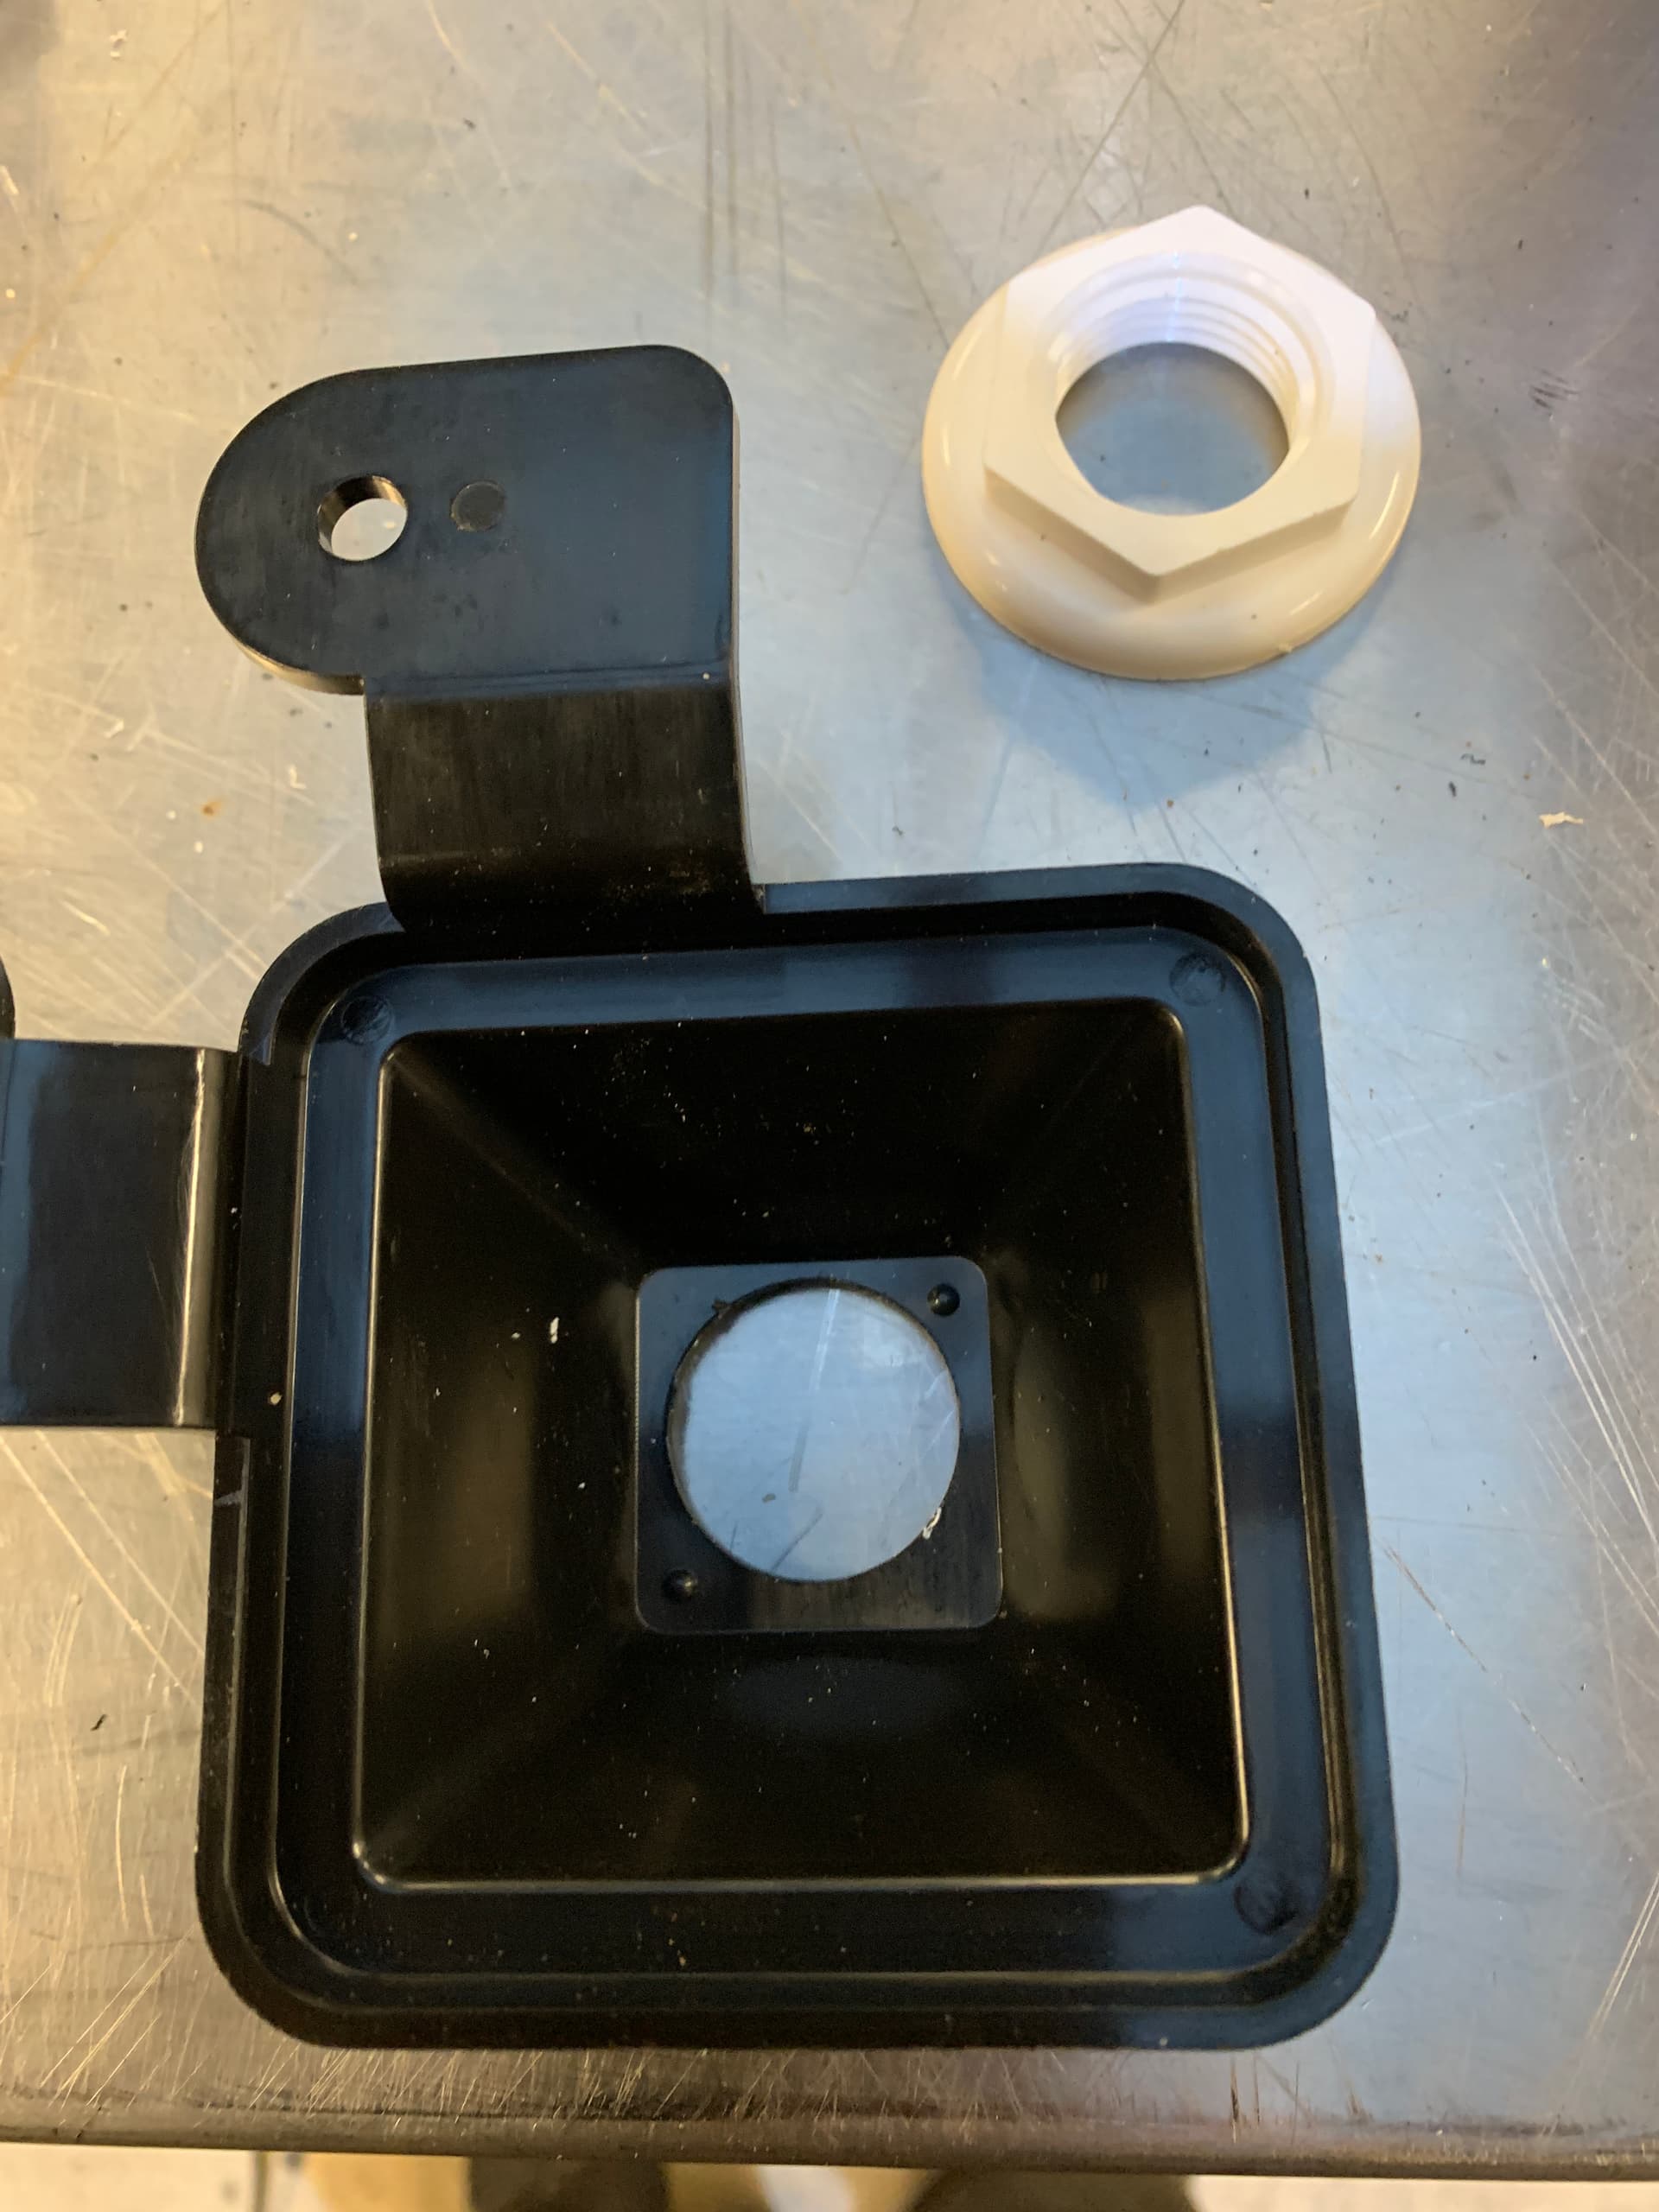
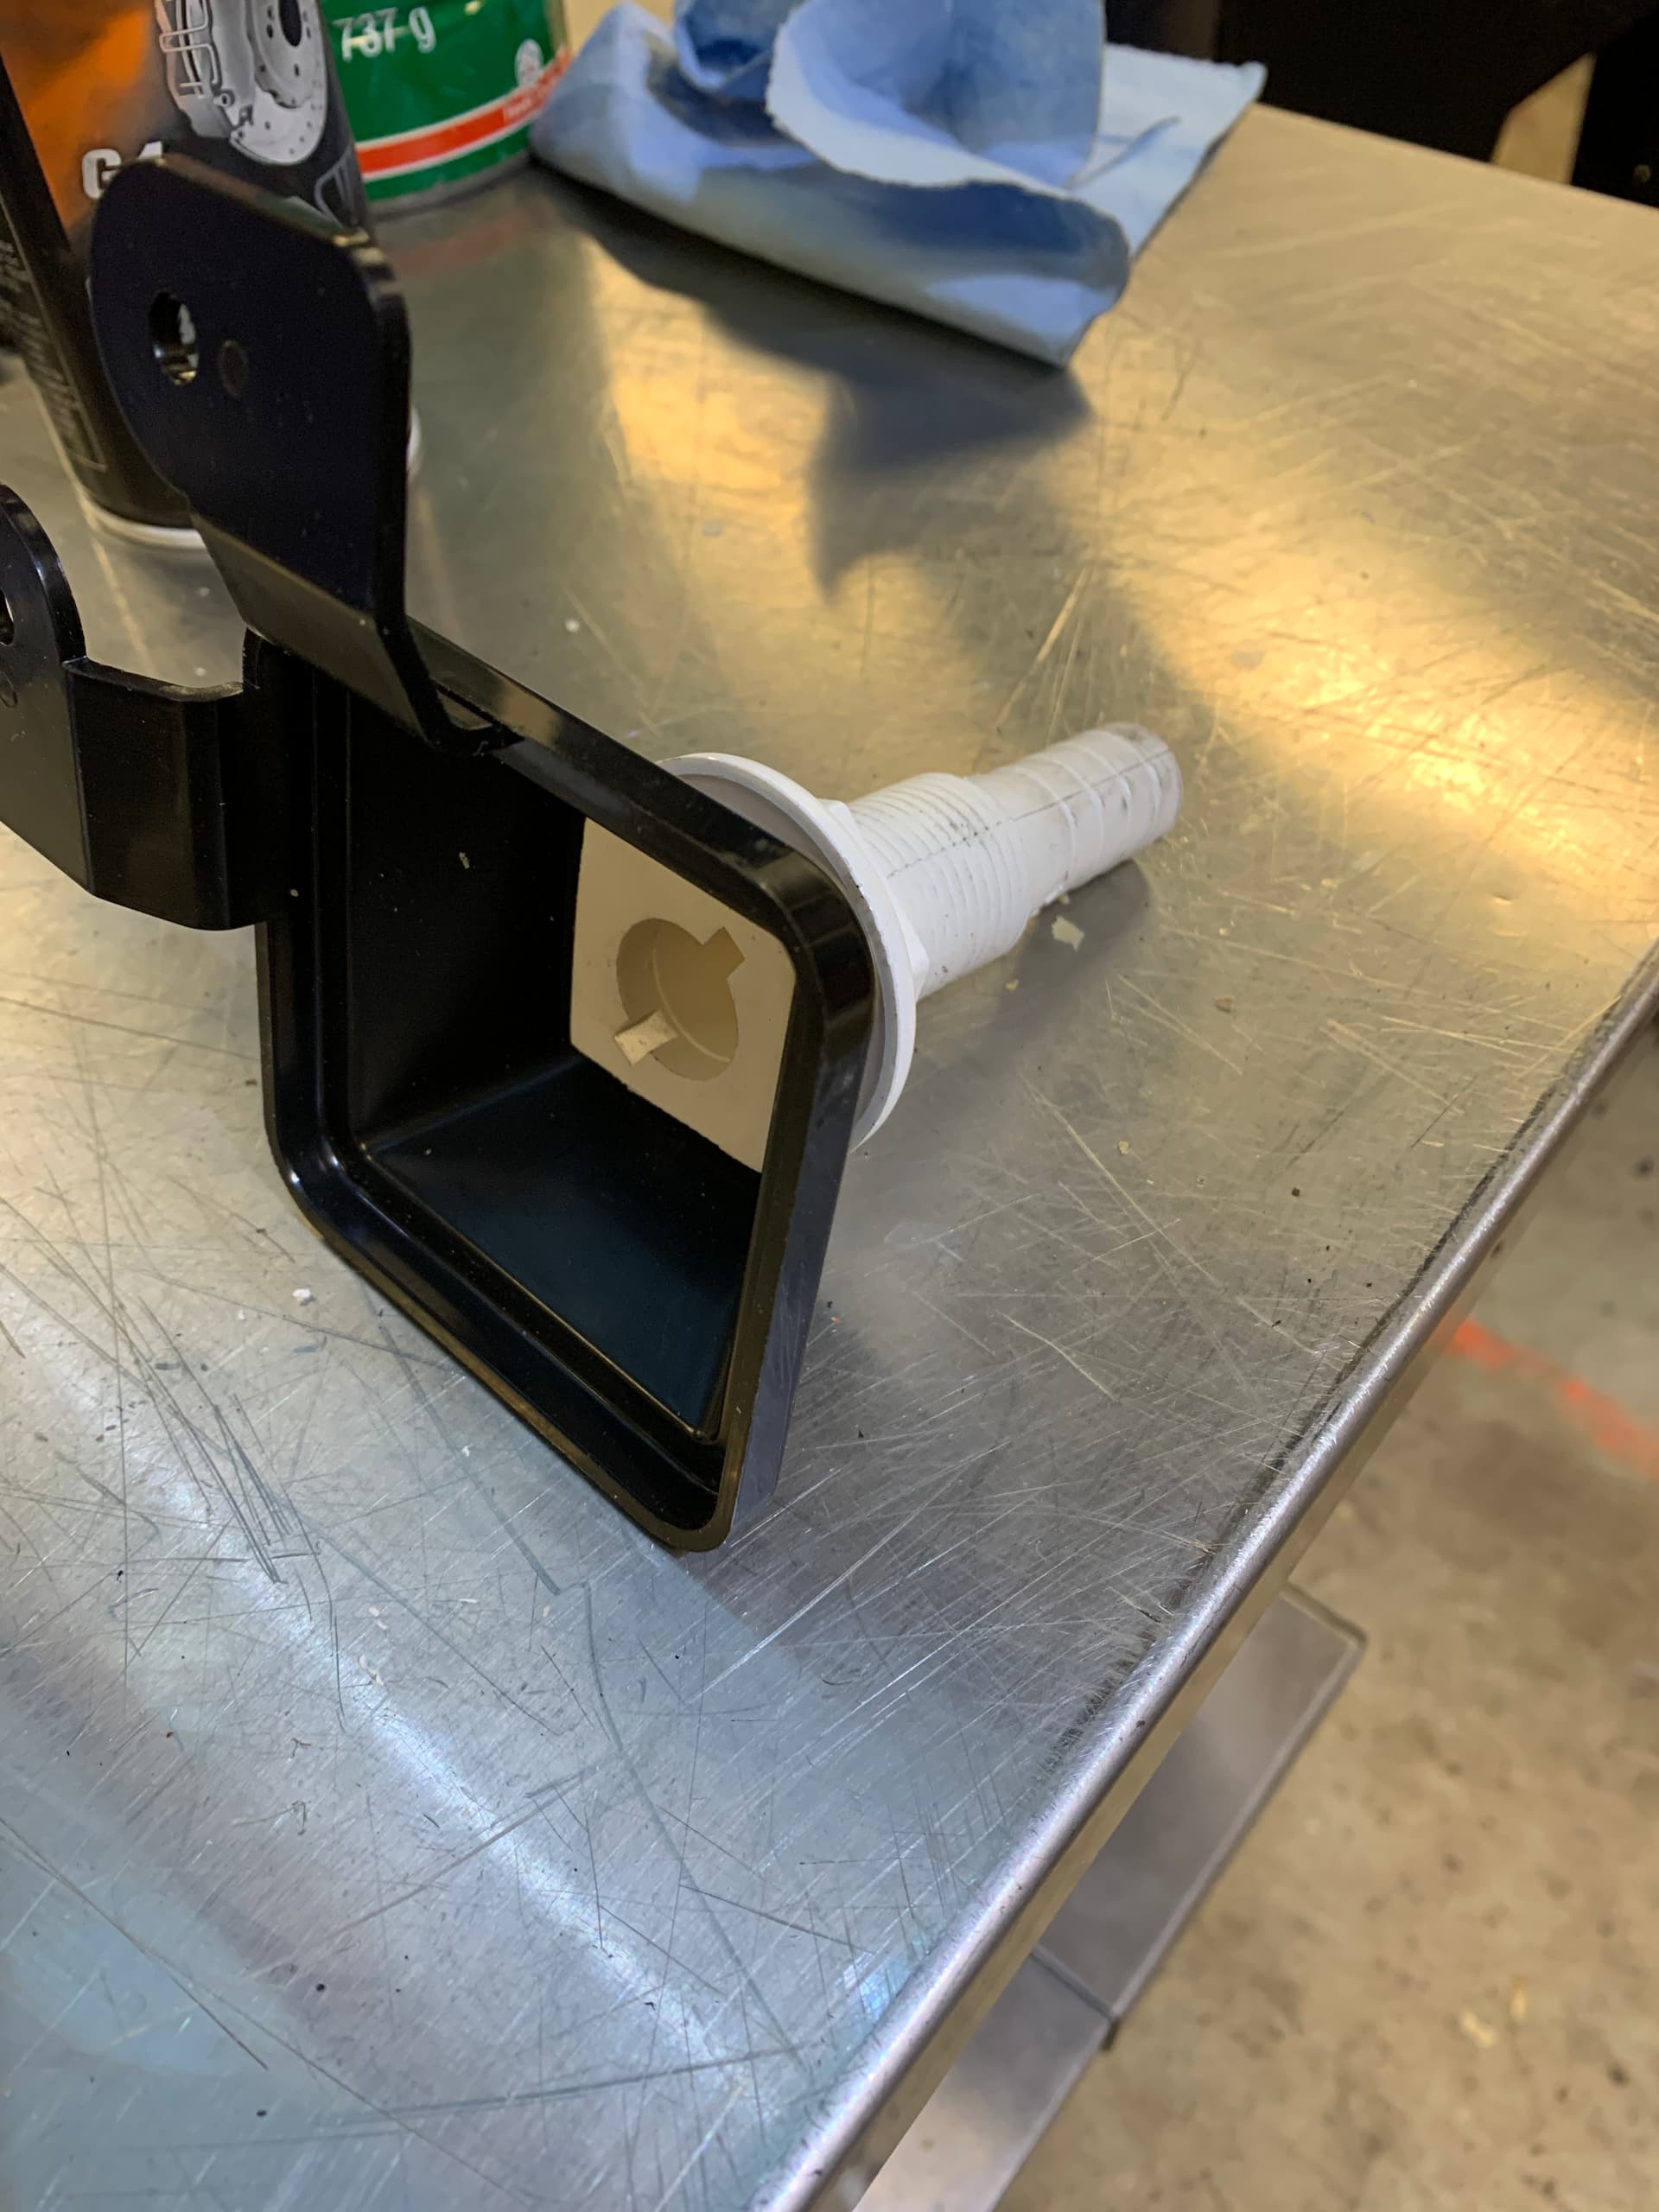
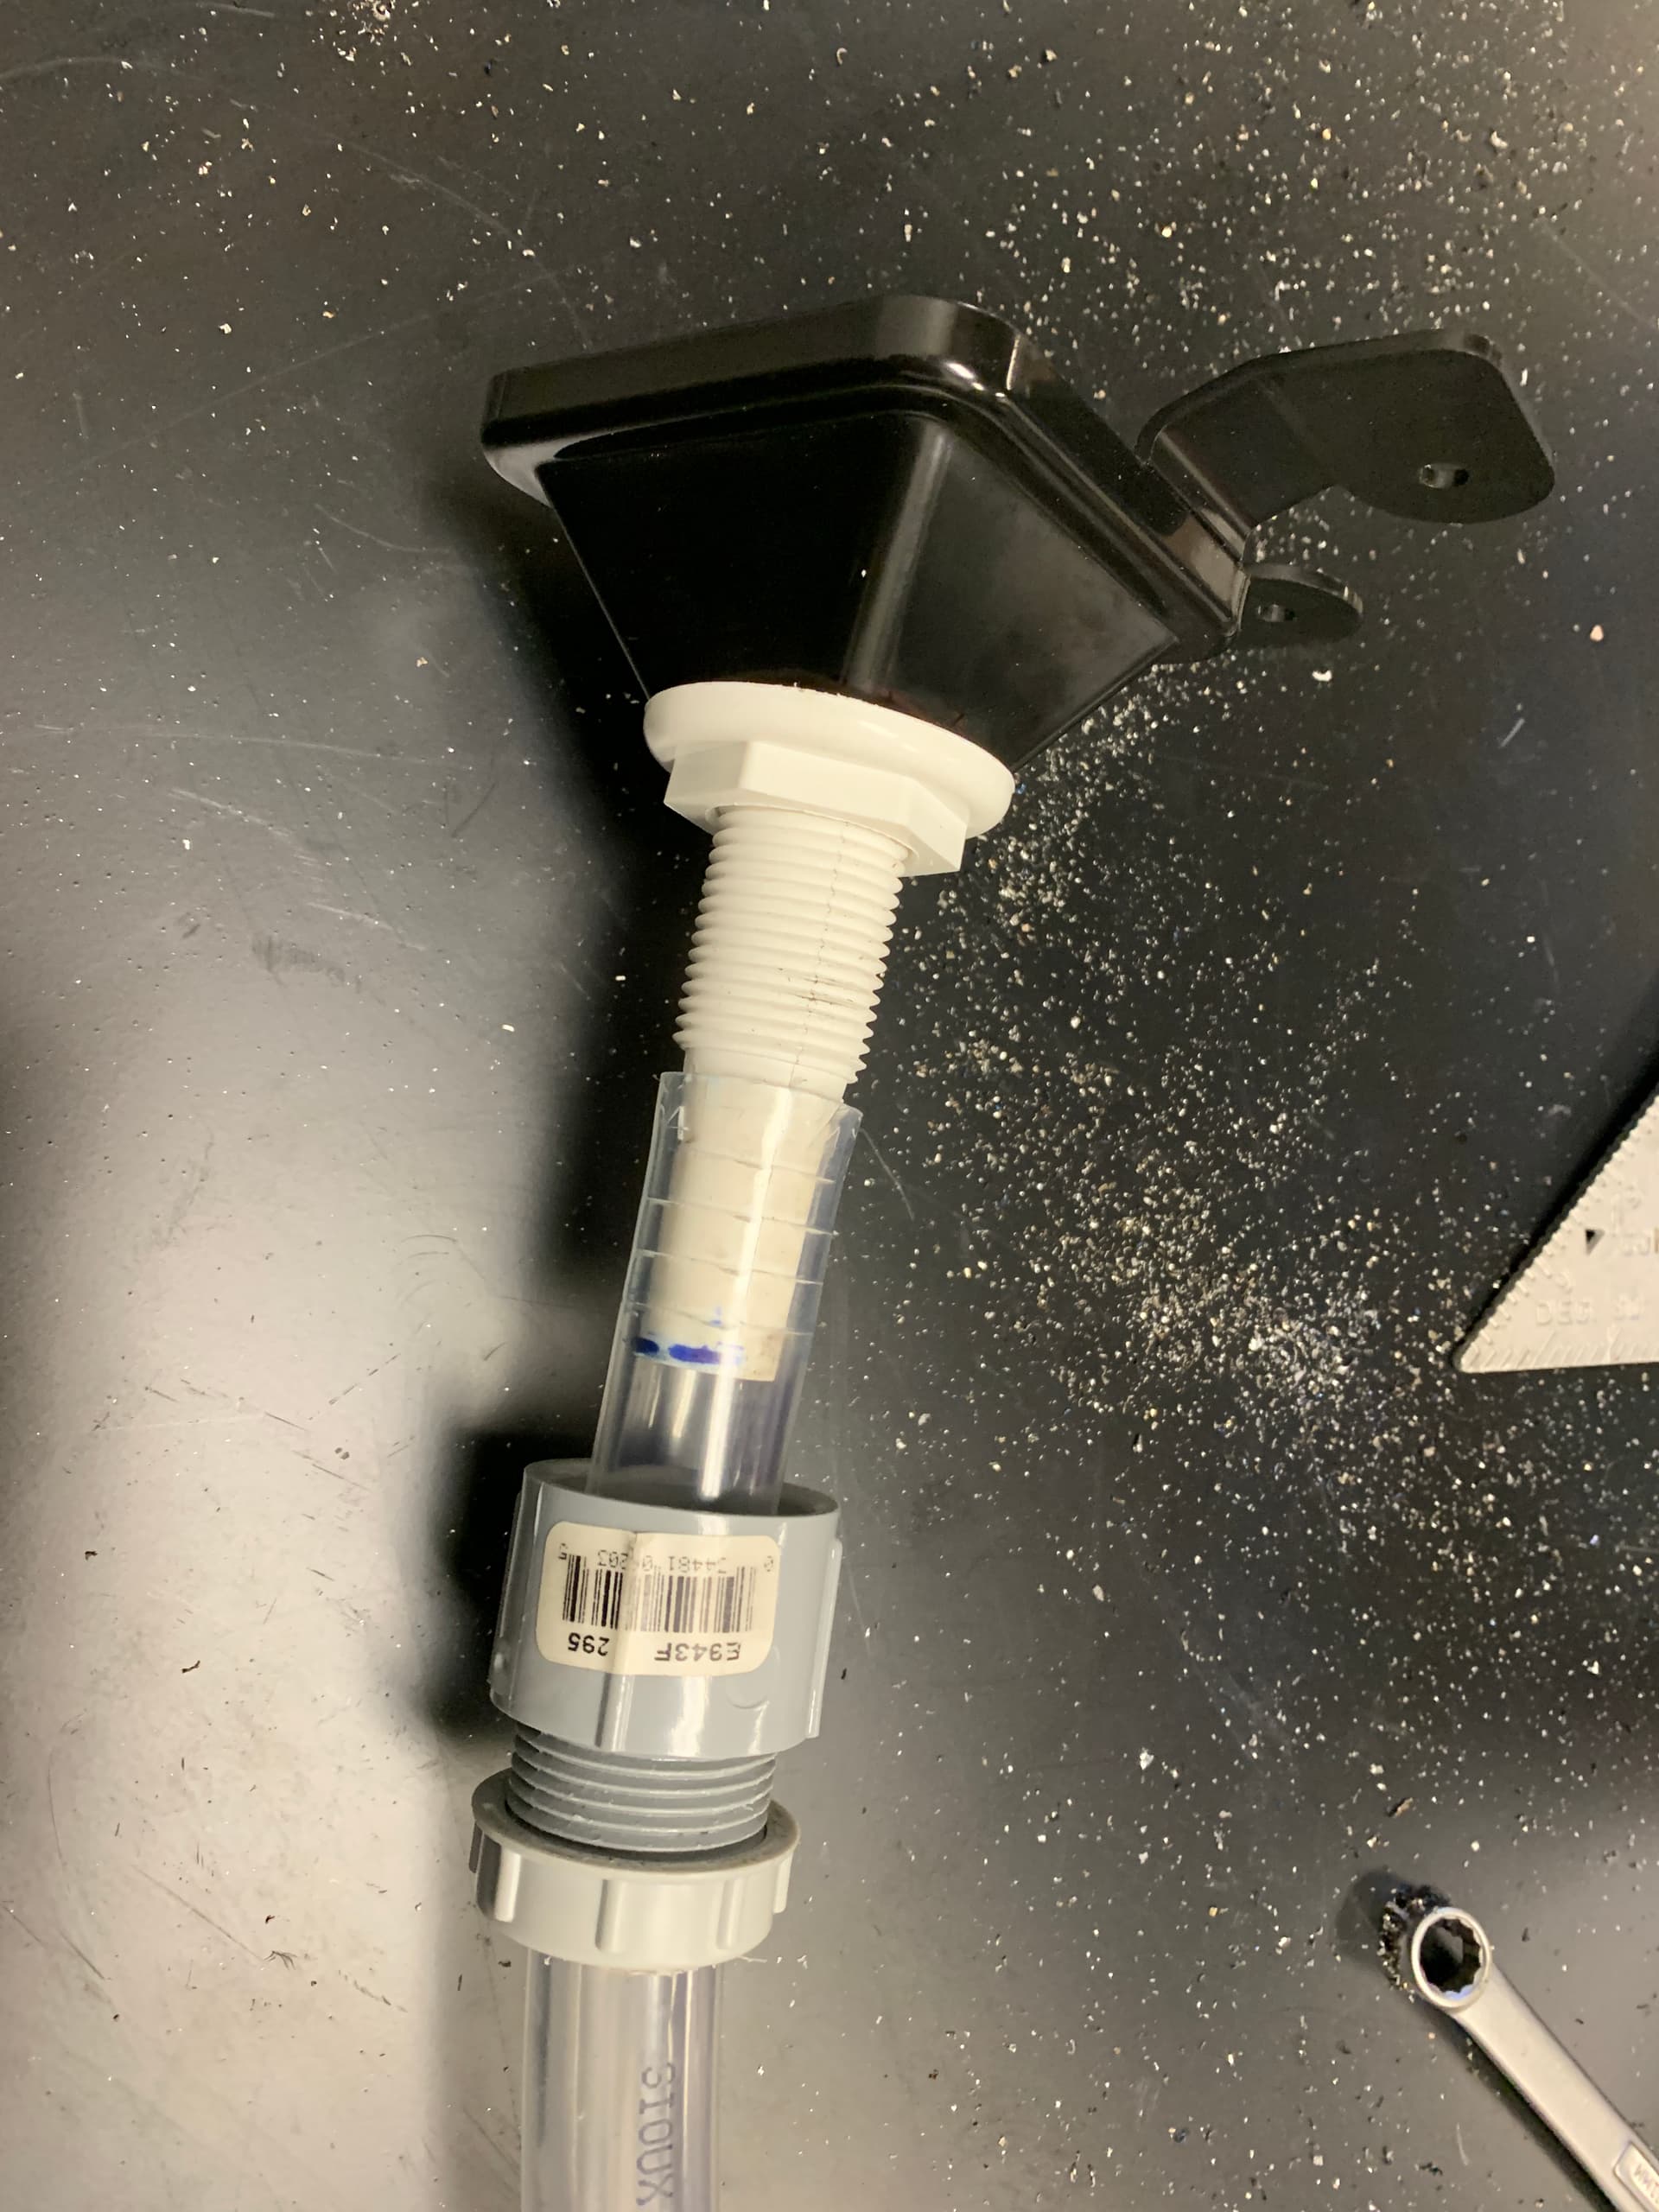
I ended up using boat thru-hull fittings, cutting them square and drilling out a hole in the bottom of the existing drains to accommodate. I relocated the drains, the fronts are just a bit more inwards, but the rears are quite a bit inward. That eliminates any conflicts with hitting the Y axis post, as well as they are easier to clean since you can see them. It allows for a straight shot through the bottom of the pan. I found a 1” PVC schedule 40 male terminal adapter makes a great “grommet”, where the ¾” tubing is well supported.

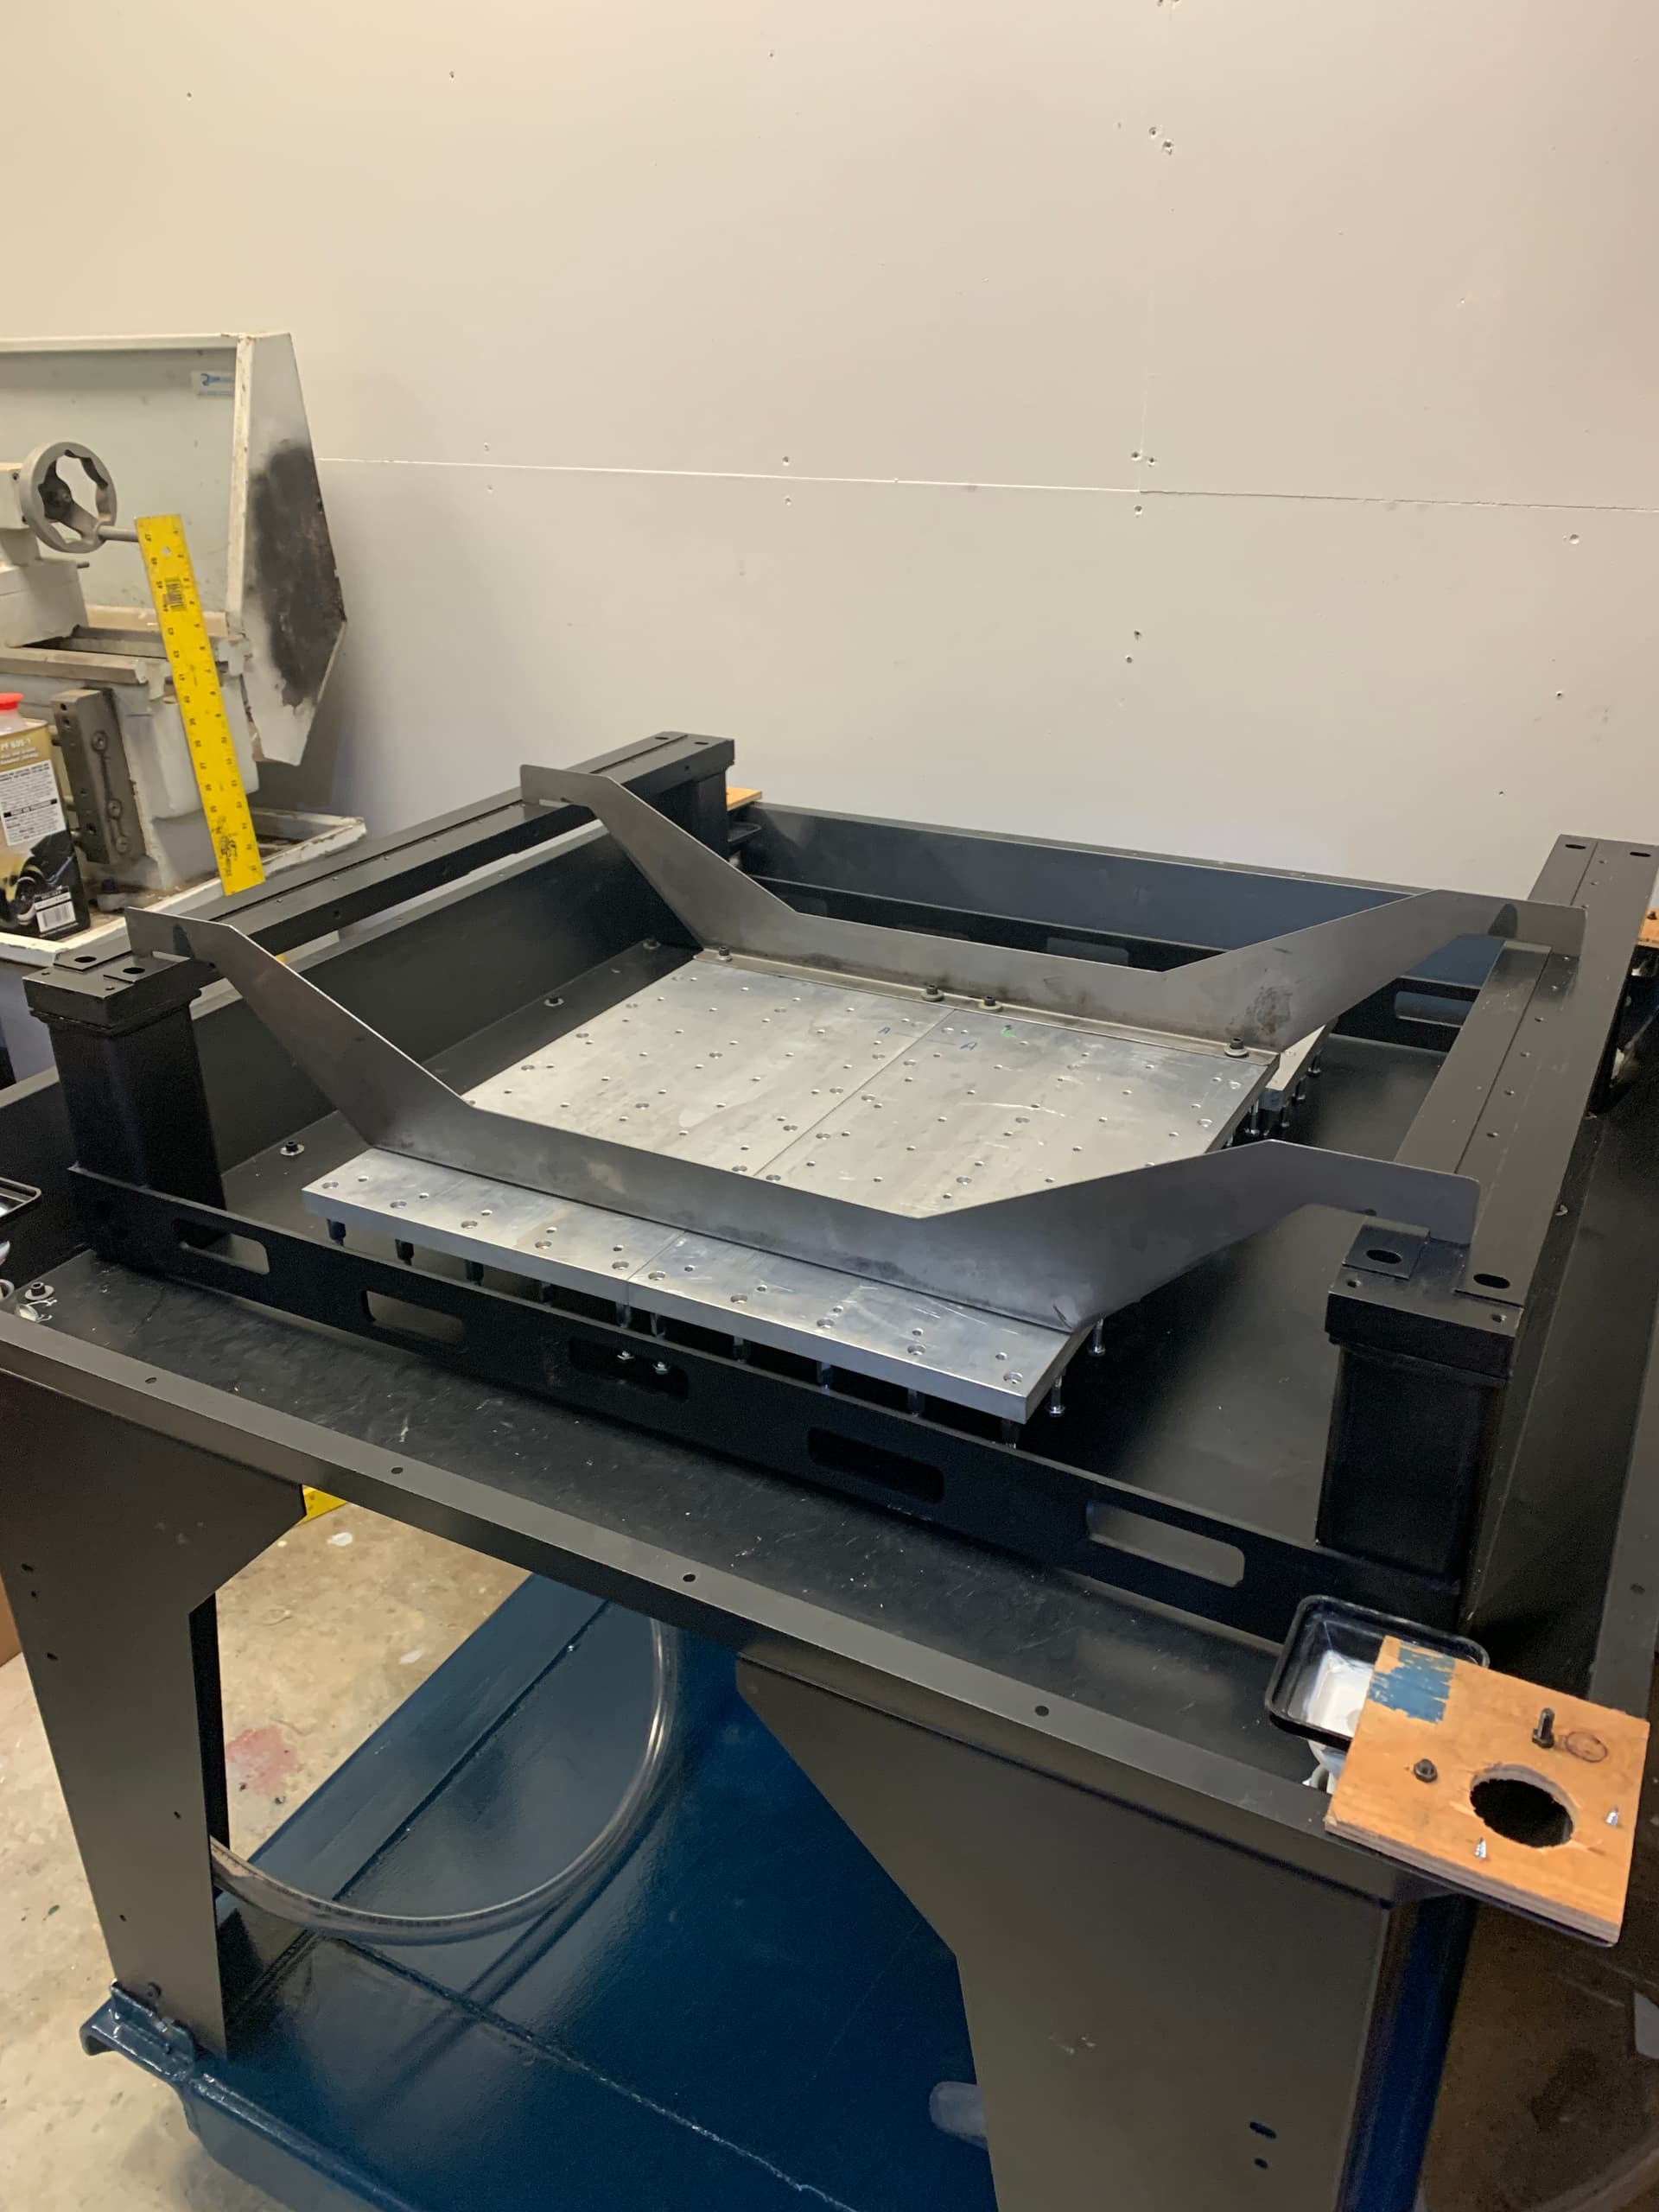
I supported them with a plywood frame when pouring. The trick is to check and double check that the drains are basically the same level as the target level on the baseplate.

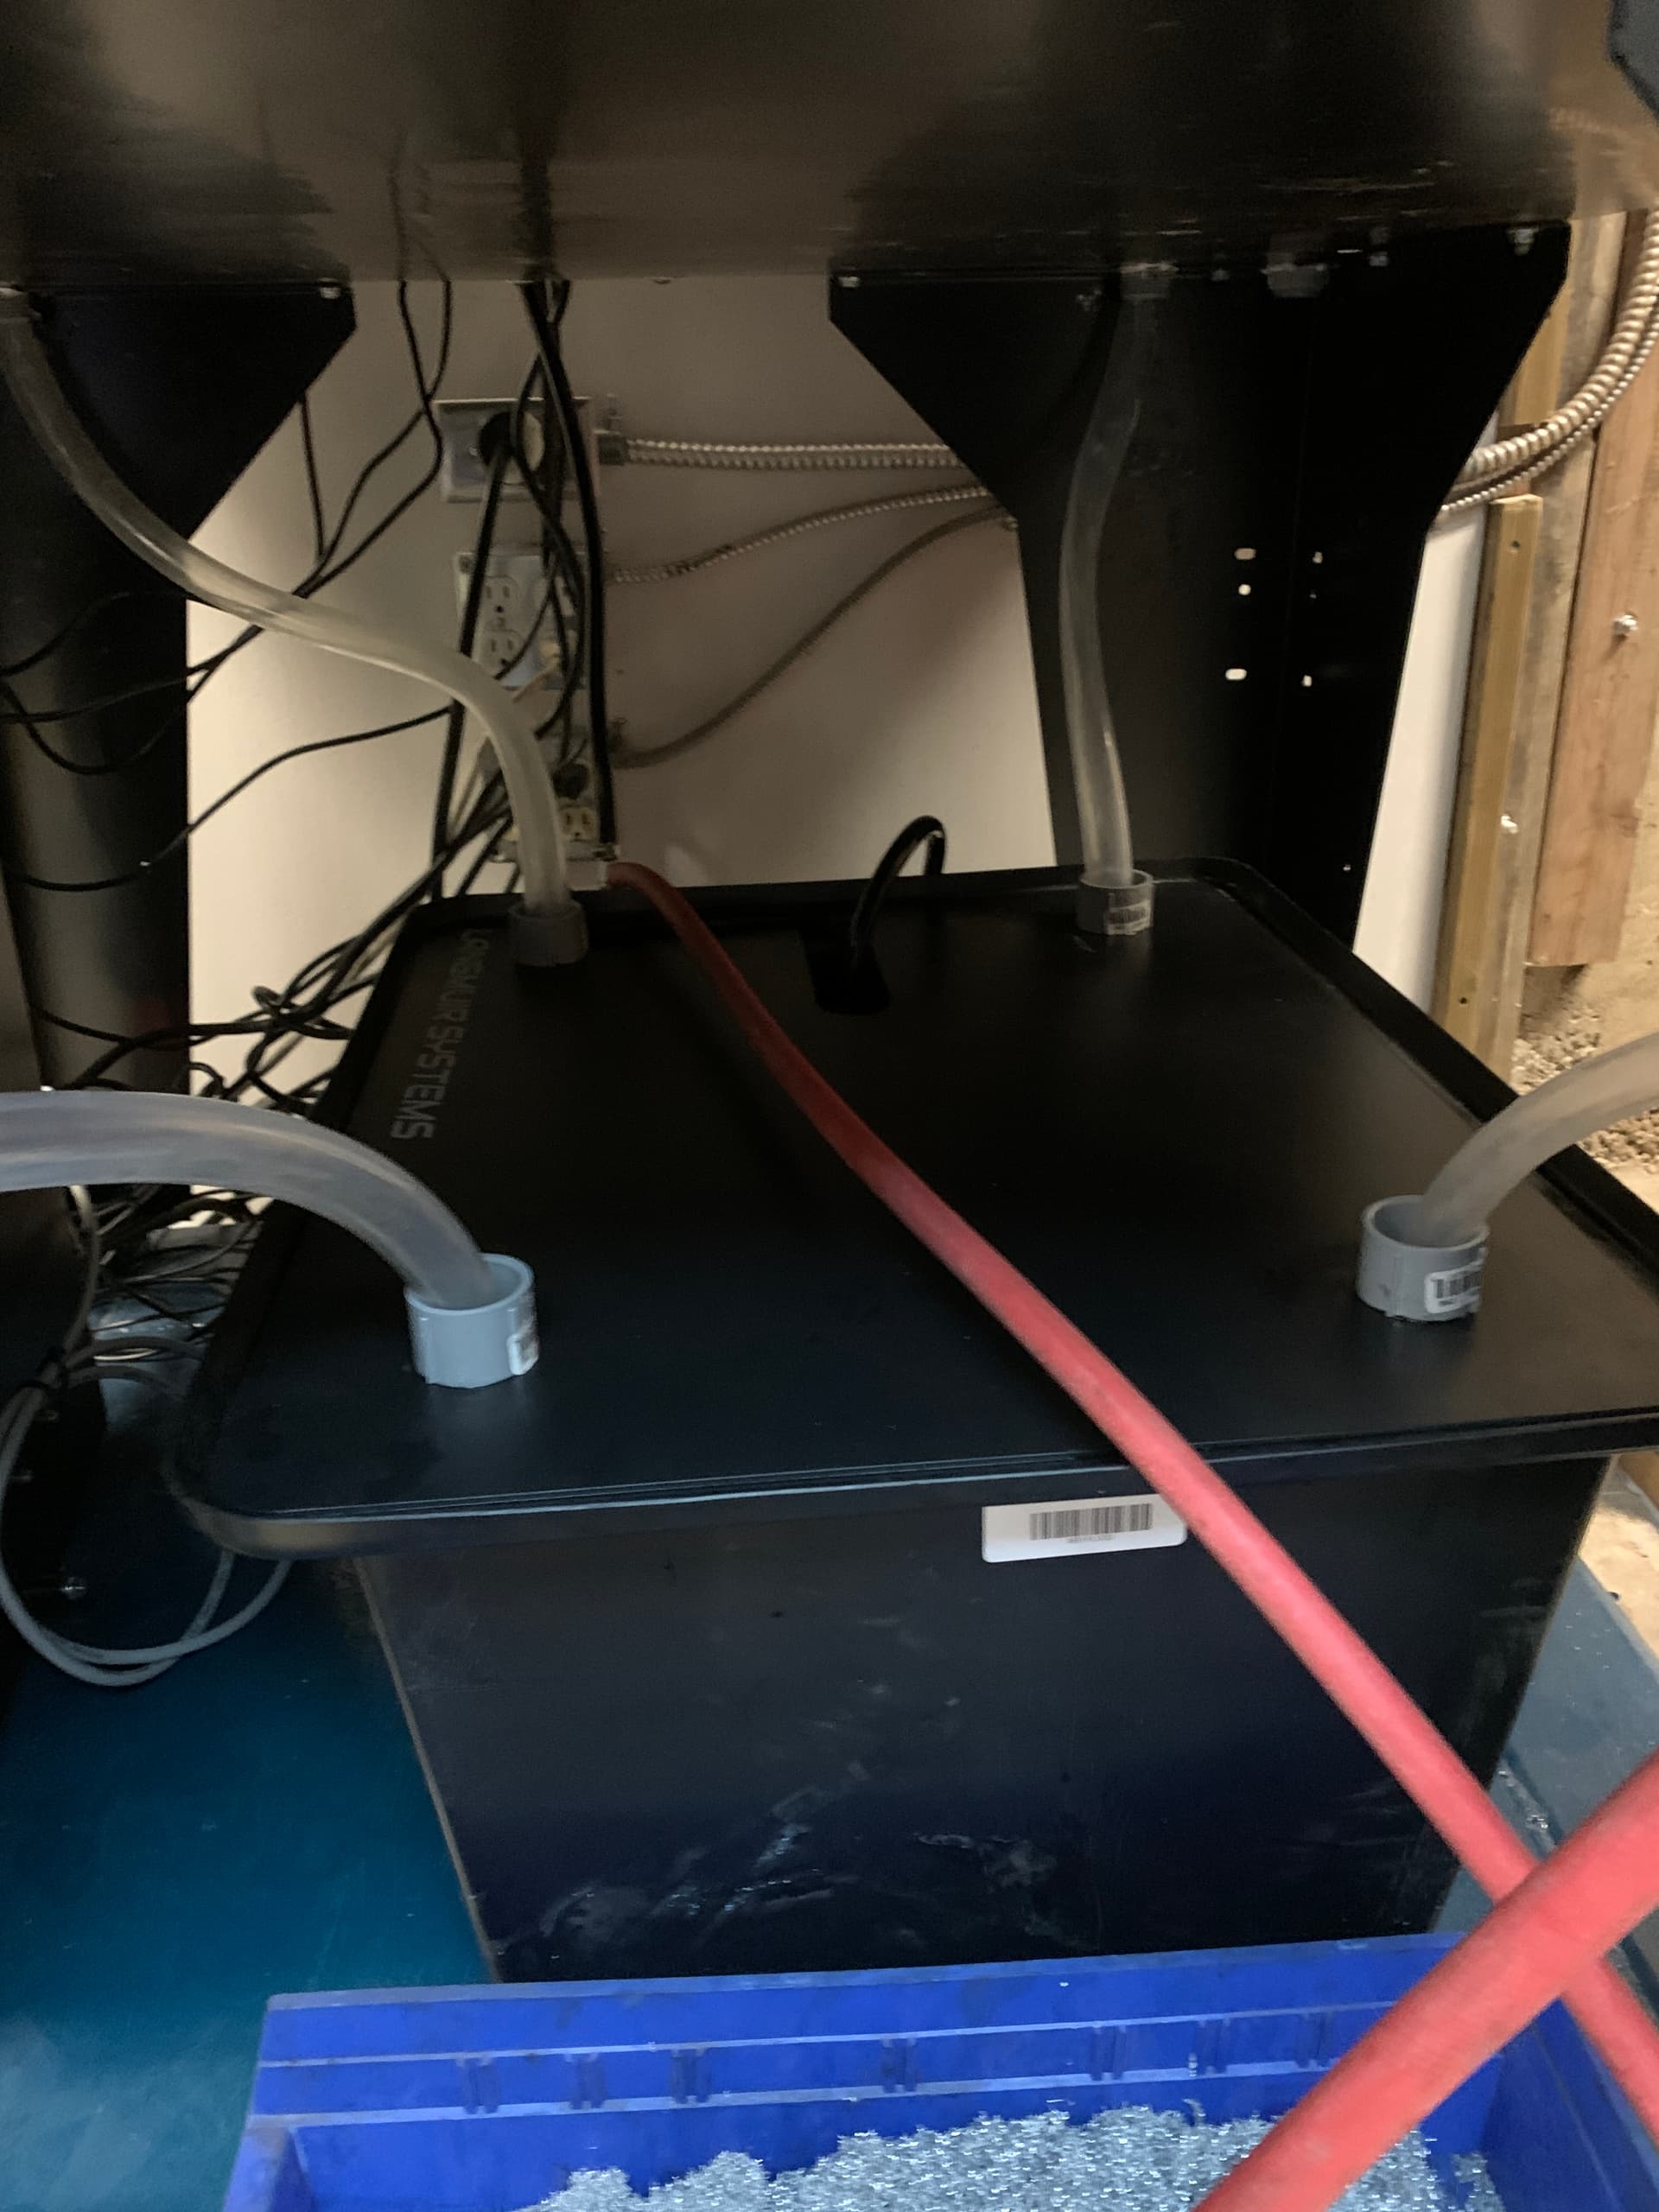
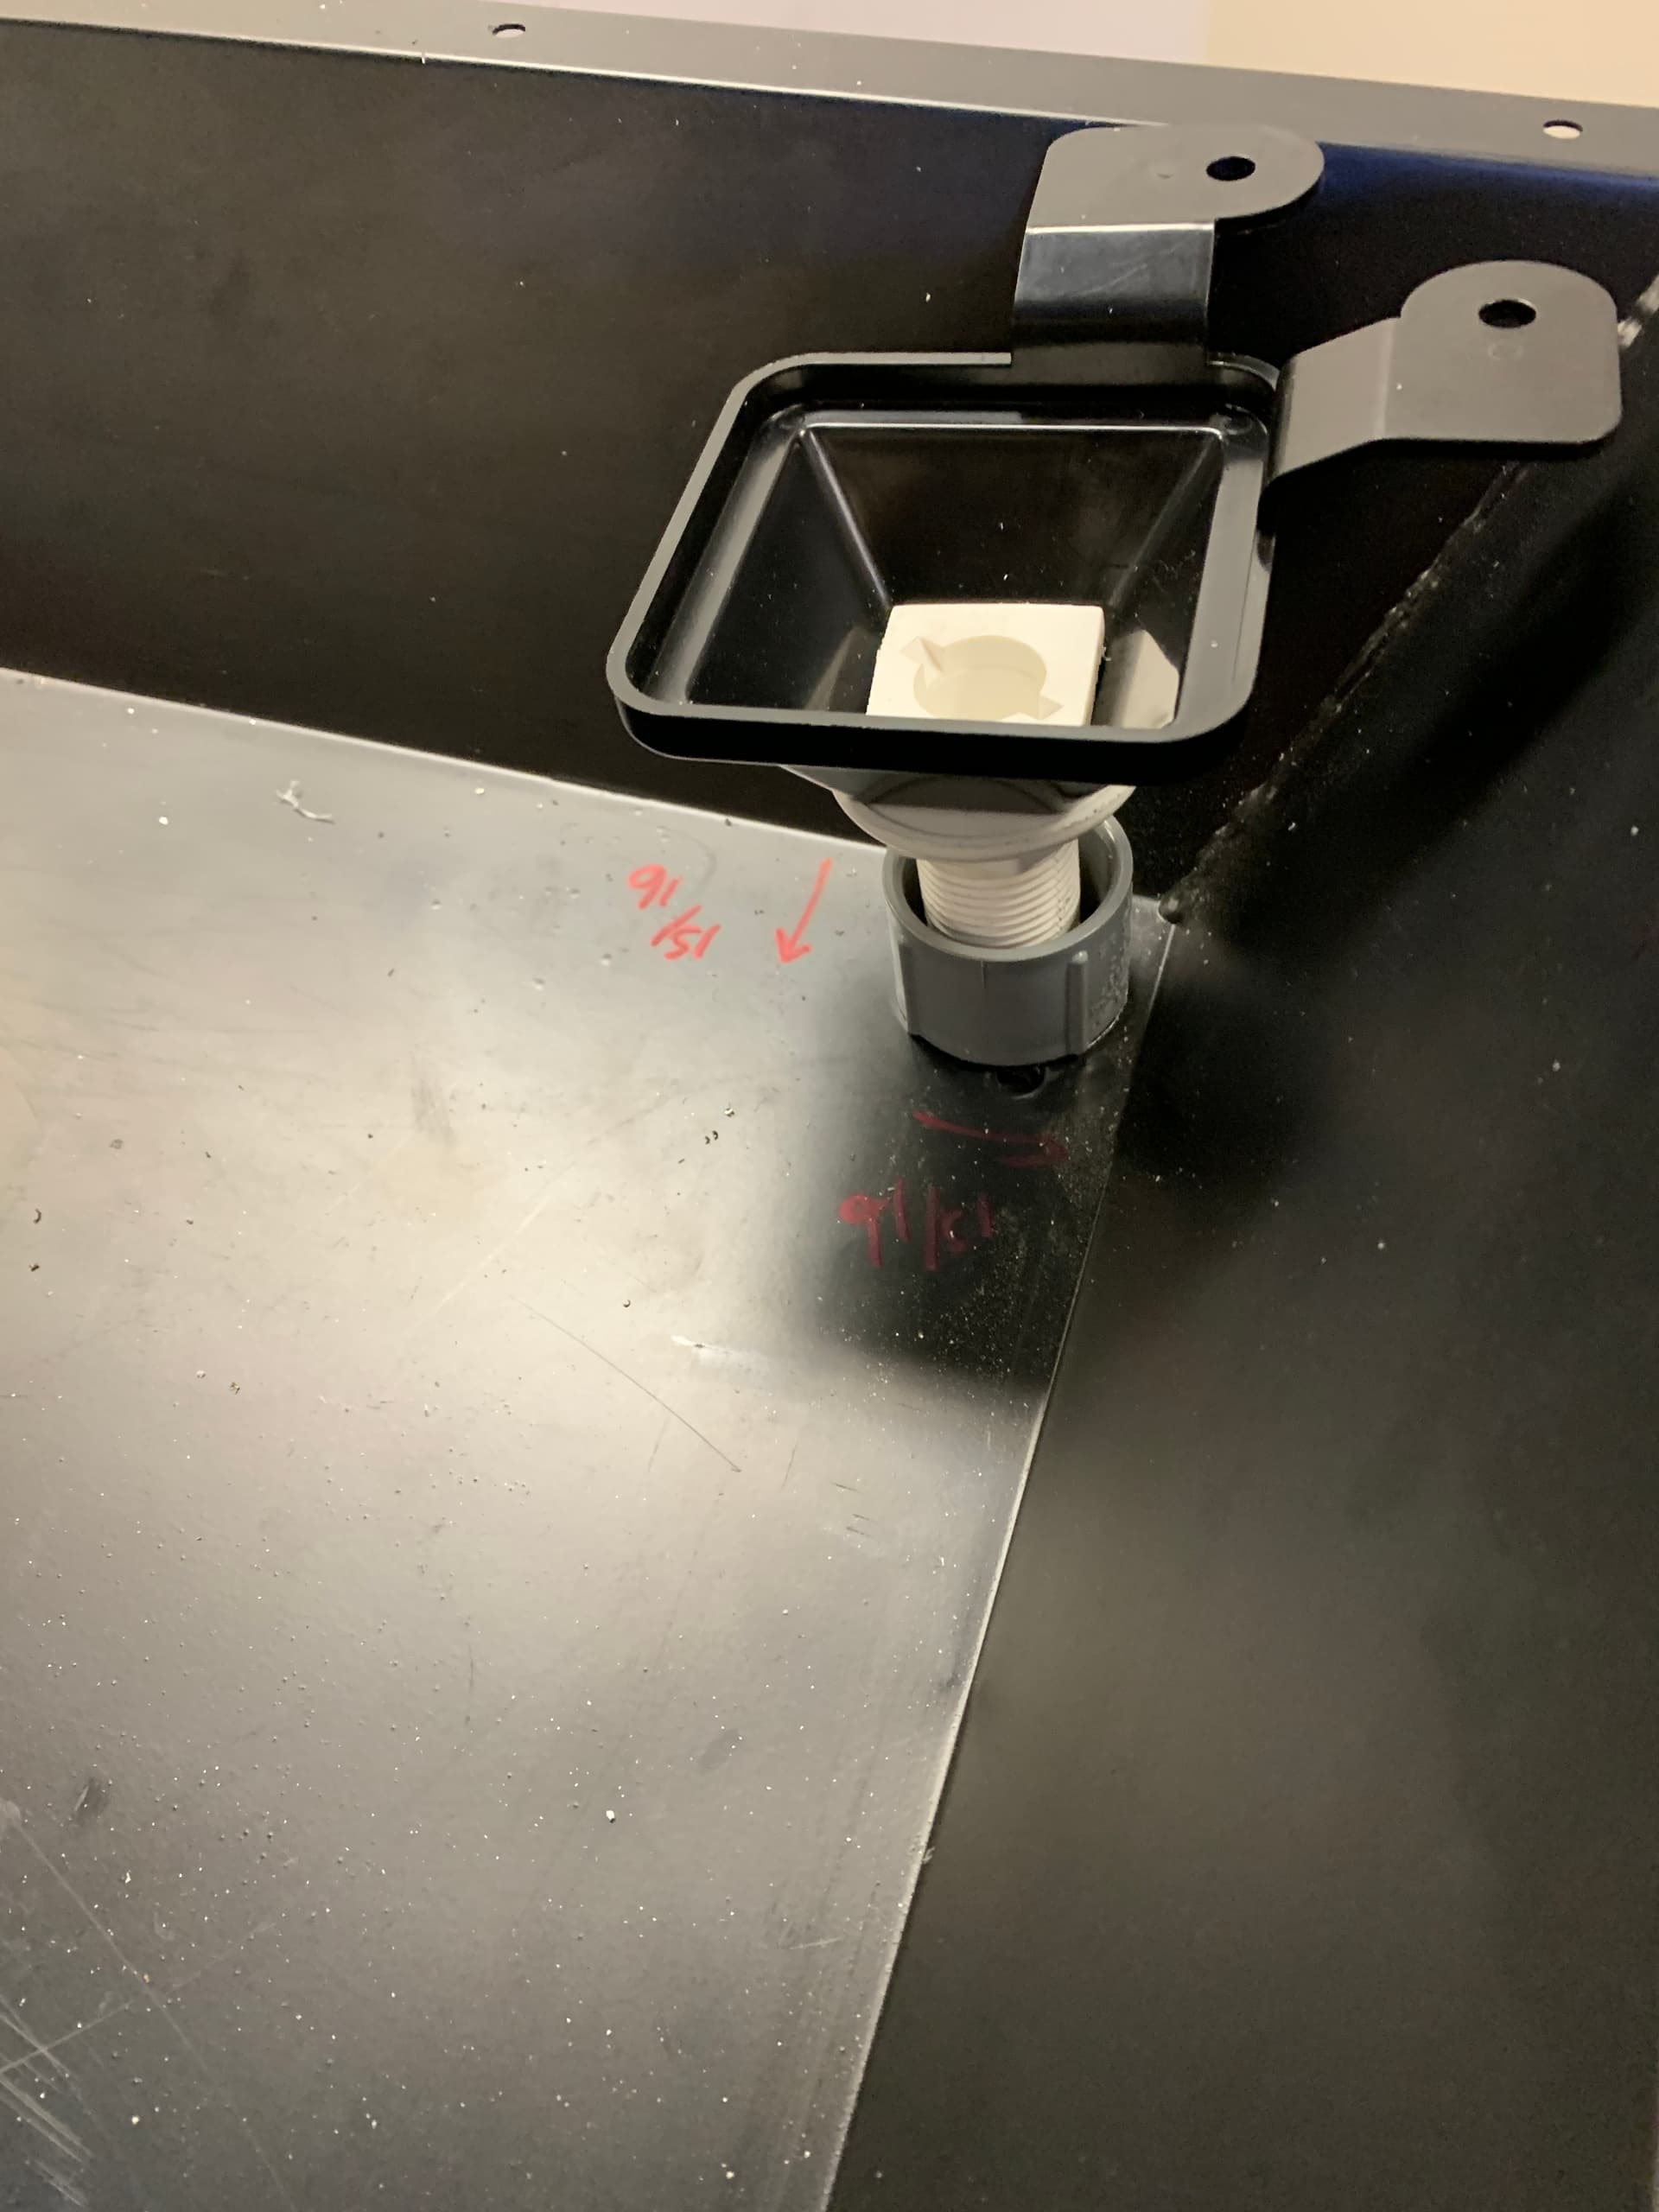
This gives four ¾” clear drains that come from each corner. I drilled additional holes in the top of the coolant tube to accommodate, and used the PVC adaptors again as ways to hold the hoses in place, and they provide a smoot surface with no sharp edges…

The drain hose is 3/4 clear flex hose’

I used some plywood to position and level the drains to their new positions - it took a bit of work to make sure they were level with the targeted epoxy level with the baseplate.

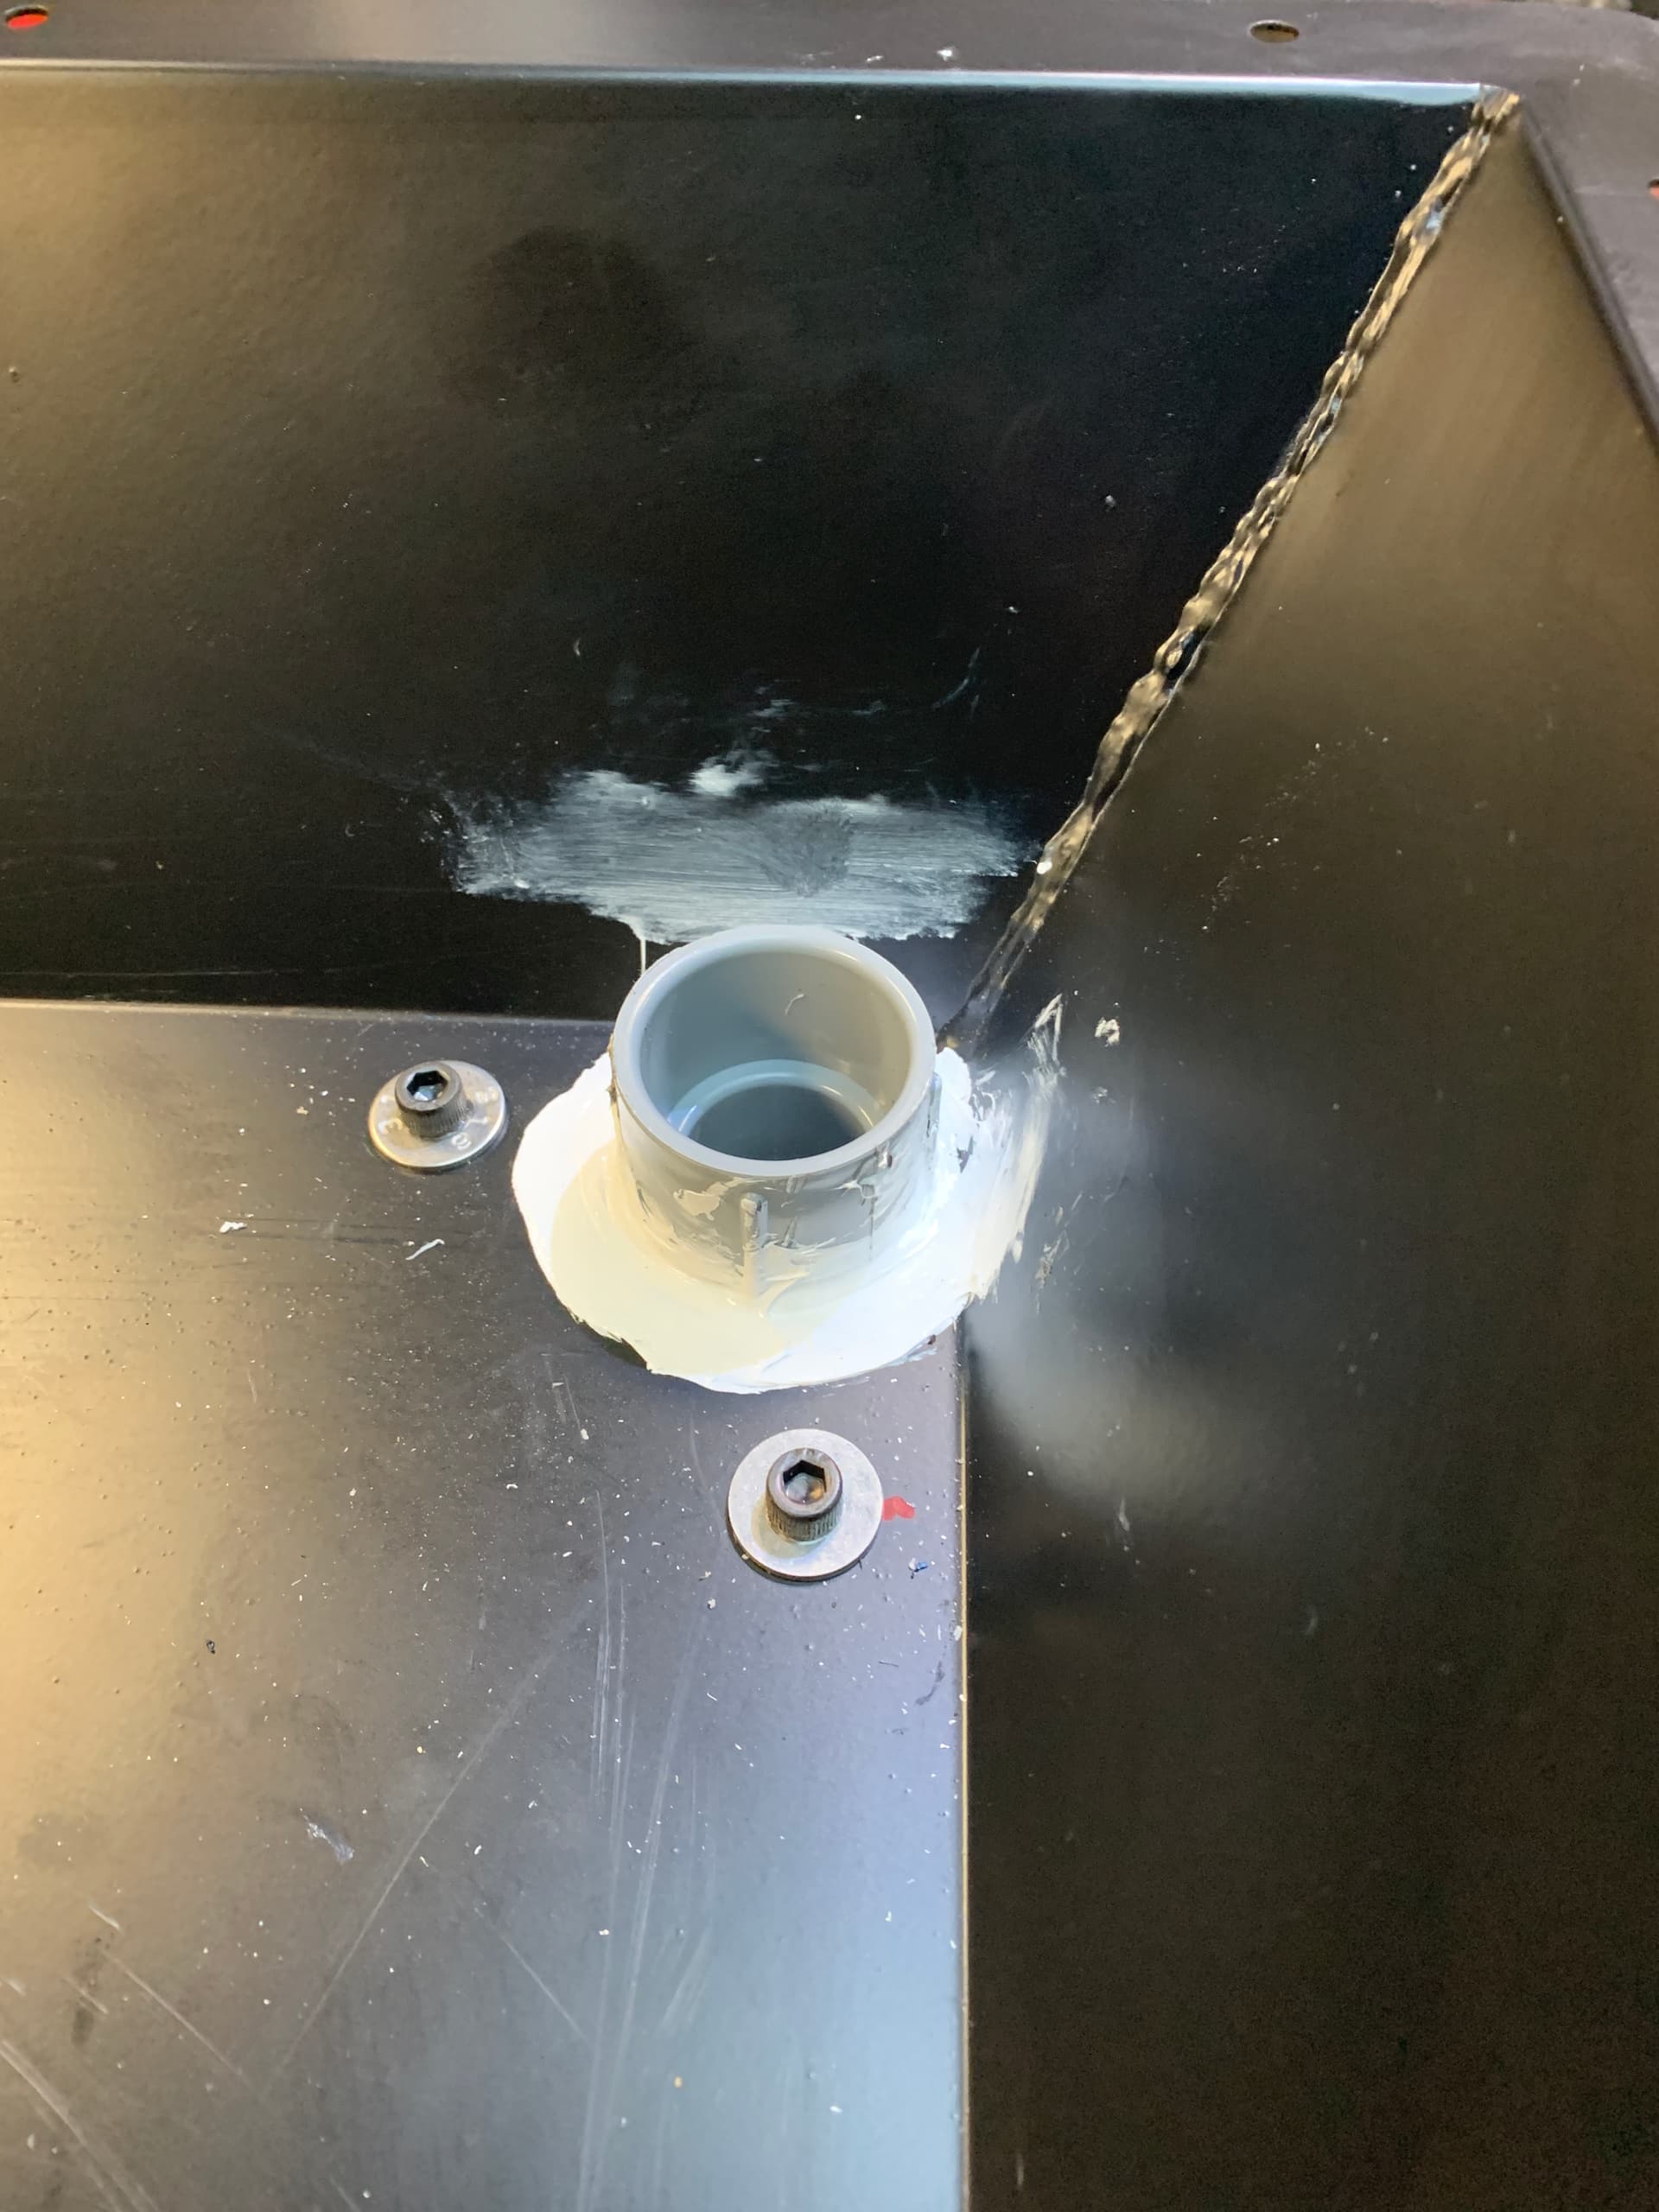
And finially the drains run into the coolant tub through each corner - I used 1" conduit terminators so it gives a support to the hose. The fun part is you can see the coolant as it runs down the hose, but it will eventually fog up …

2 Likes

Ok, monitor arm next. The fixed arm as supplied by Langmuir was completely in the wrong position for my shop, my lift post was right in front of the console, and I hated that I could not move it. I also wanted to swing the monitor out of the way to store it safely when not being used.

I ended up with a Ergotron LX Wall Mount Monitor Arm, mounting it to the left hand machine leg. I bought it used off Facebook market place for $65, so I suggest that may be an economical way to get one of these higher end units cheaper.

The positioning is perfect, I can swing it over to store the screen against the machine to protect it, and position it where I want – a great upgrade!’

this one shows the monitor can be stored against the machine. Note the controller box is in a temporary position, it ended up under the table.

3 Likes

Emergency Power switch installation. My machine is up against a back wall, and I allowed 6” of room to the wall ,but I found the control box hangs out behind the machine a bit too much, making removing and adding the cables difficult. I decided to relocate the box to underneath the tub.

I also found the power switches really awkward, and wanted an emergency switch at the front of the machine, so I did the following:

  • Add a DIN rail mounted contactor (Electrodepot cjx2-n32) to shut off both the 120V and 240V supplies
  • Add an external power switch to the front of the machine, which is wired to the contactor – this allows all the power to the spindle and controls to be cut if needed, plus it saves having to go to the rear of the control box for shutdown
  • Added rubber feet to the control box so it can sit on edge under the tube. The wiring is just long enough to support this.

I added a retro-look light to the top of the switch so visually I know that the power is on.

Its also advisable tighten ALL the connectors and mounts when opening up the control box – I found several loose screws.

This mod turned out to be very handy, especially for safety since you can cut the power to the spindle and steppers very quickly.

3 Likes

Here is a little trick - I found it hard to hear both microswitches at the same time, so a simple trick is to use two multimeters … set them both to continuity and you should be able to get the microswitch triggering almost perfectly at the same time.

5 Likes

I’m saving the two multimeter trick! I really like how the boat hull fittings worked out with the original drain pieces.

Thanks!

Cheers,

Mike

The drain mod looks great! I was concerned about flow performance before doing the pour and now I really regret not taking the time to re-engineer it. I highly recommend starting a new build consider this mod.

I think I used the same amazon basics (ergotron) vesa arm!

1 Like