So my wife has a 12’ skeleton that we keep in the front yard and we decorate it for the holidays.
This year for Valentines Day she wanted to do him as Cupid. We took the torch off and replaced it with
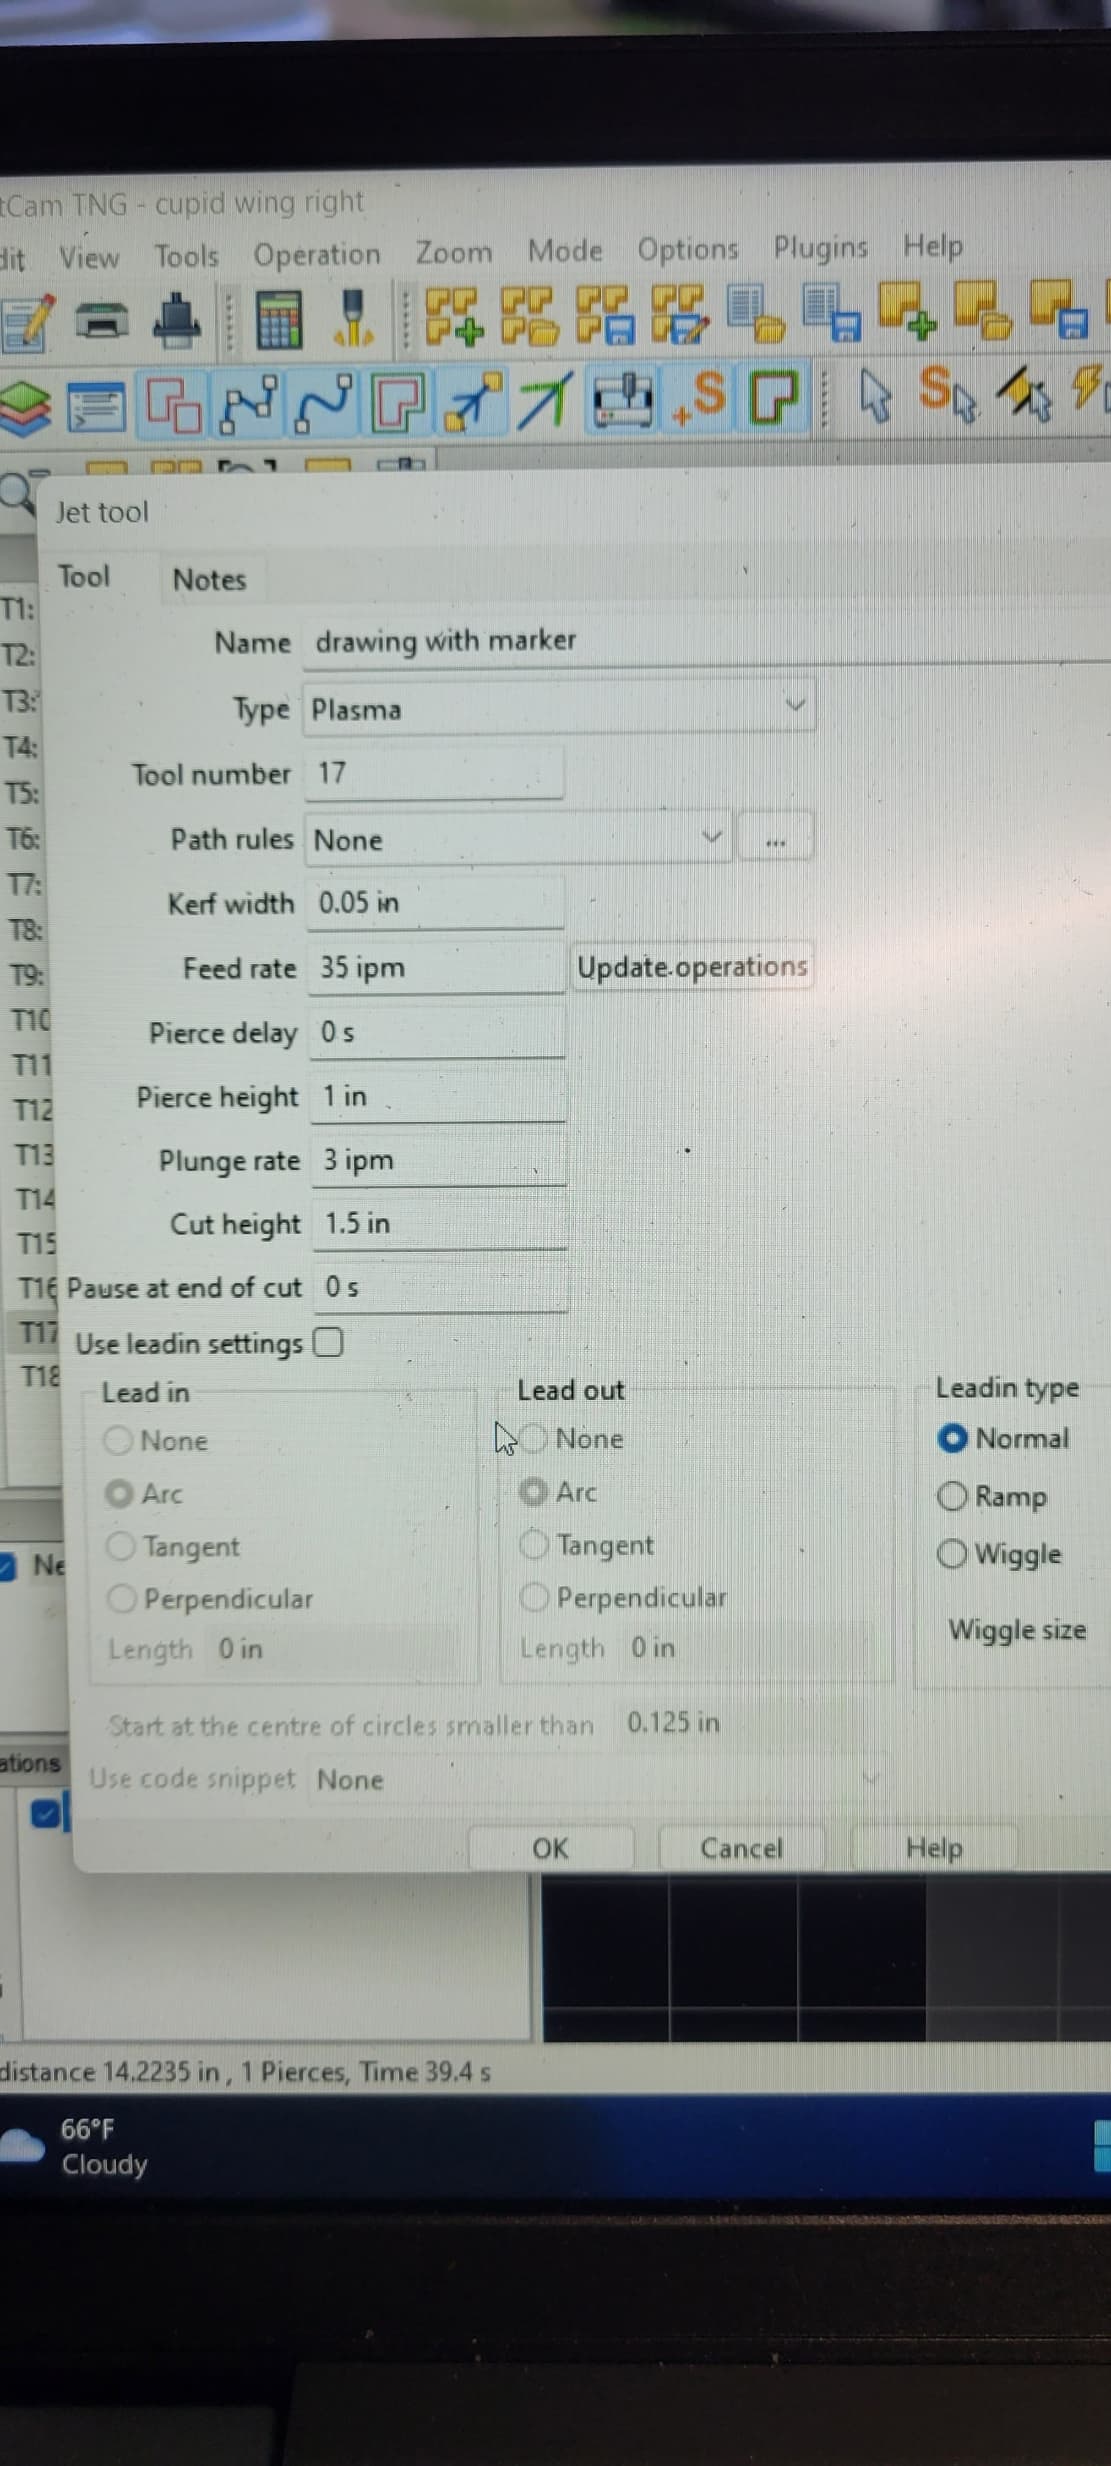
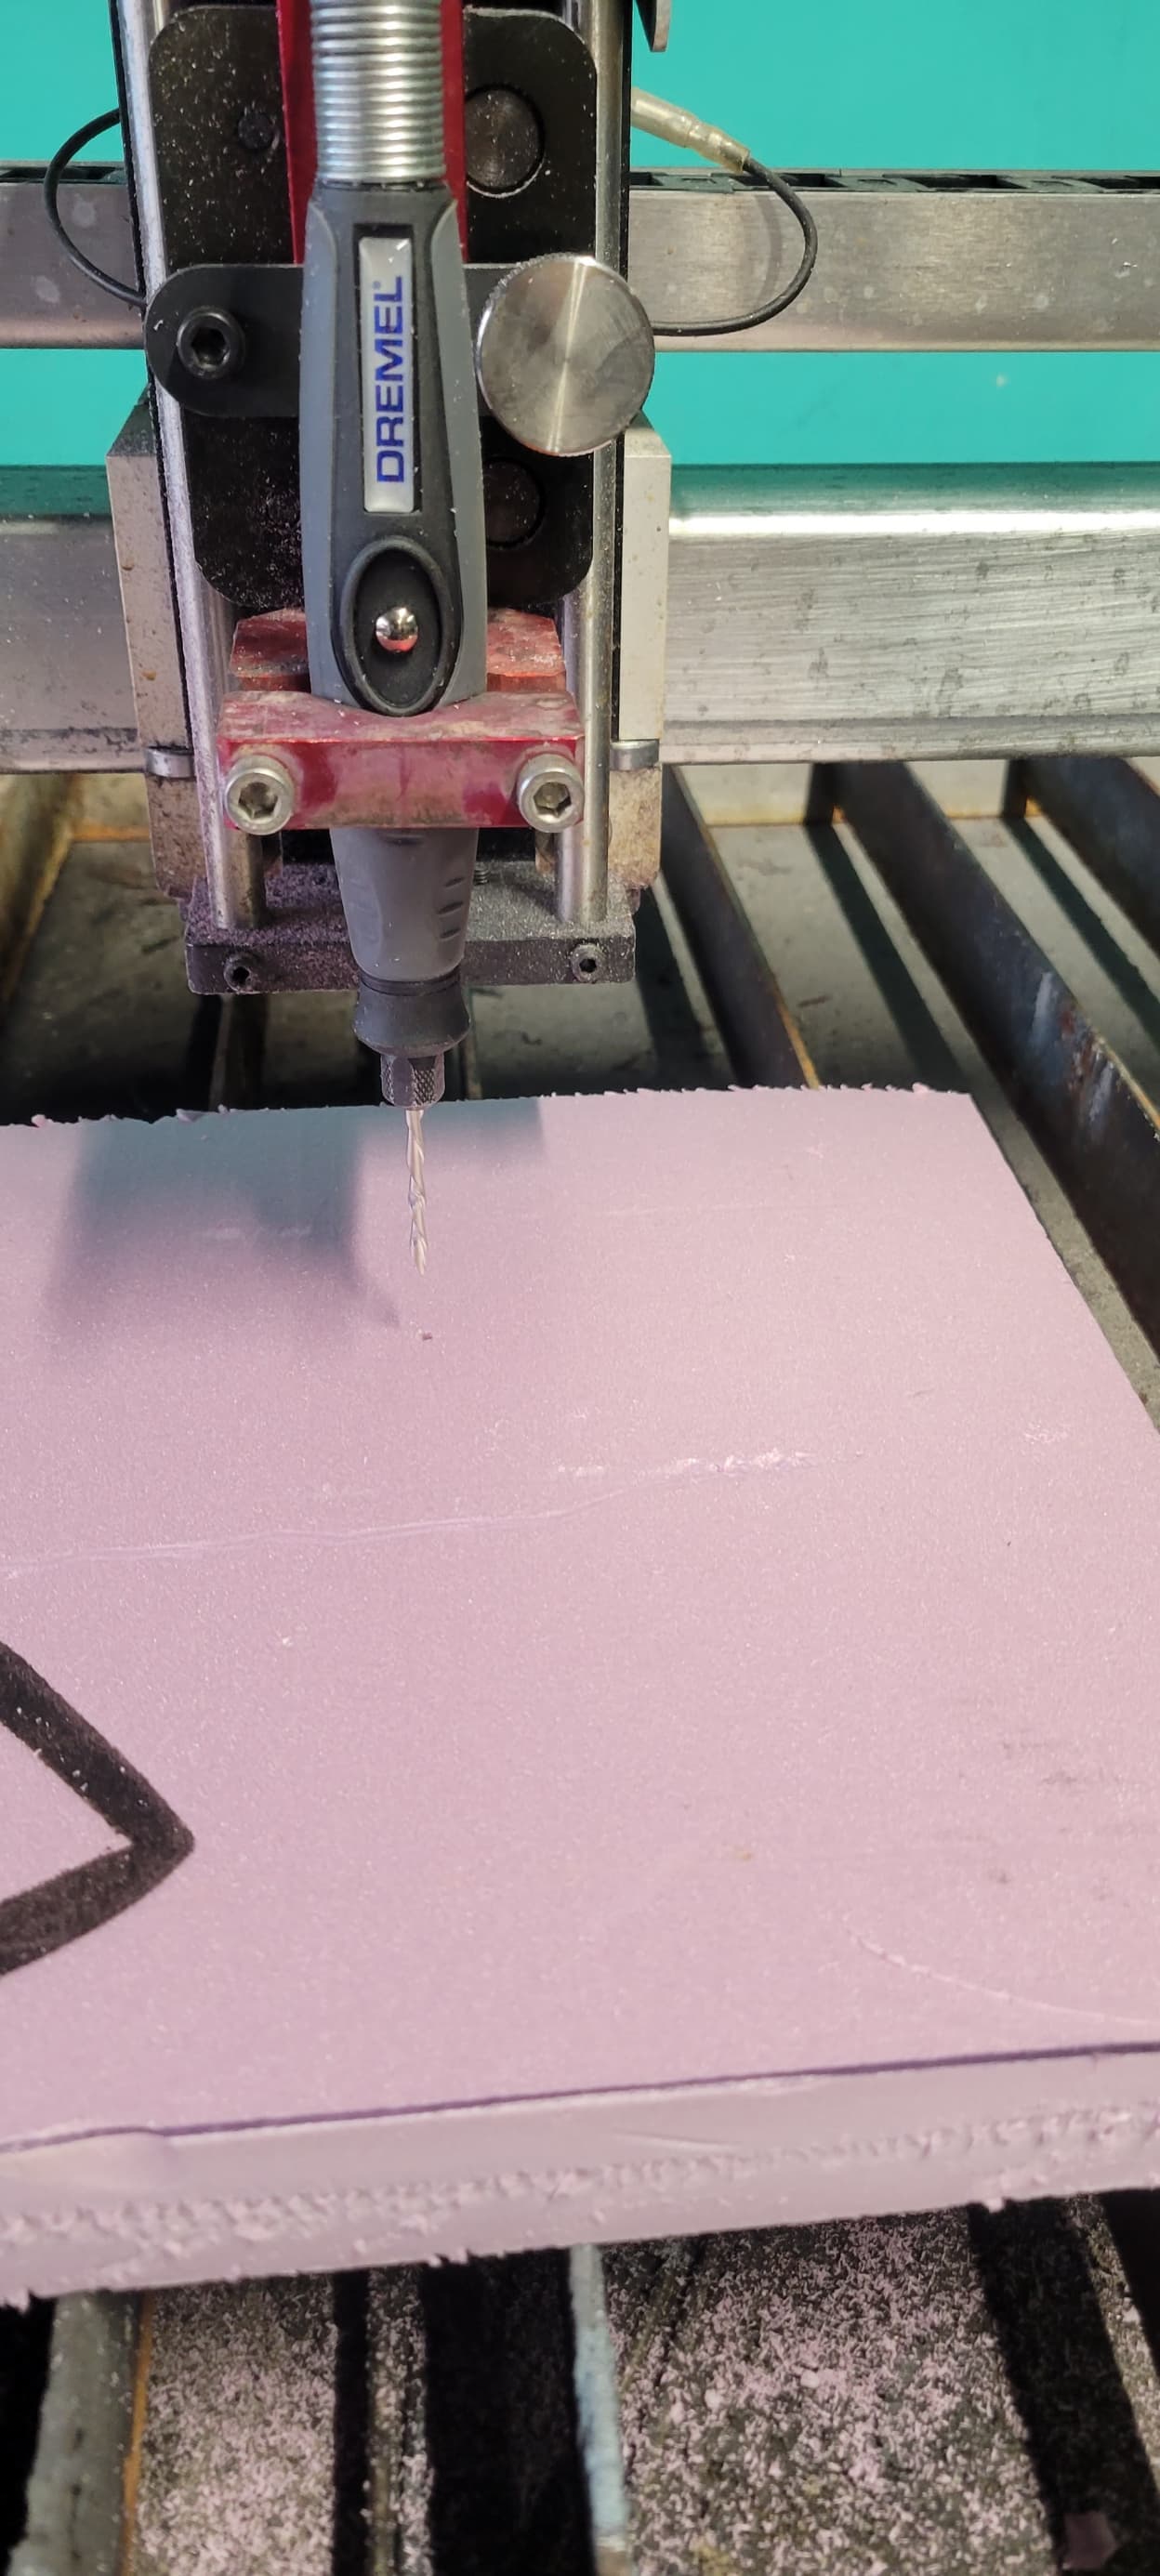
a marker it worked great but the bow that we drew up was pretty simple. She wanted wings and the filed i found on the interweb is pretty detailed and thought that my dremel with the flex shaft attachment might be ok the cut through the 1/2 pink foam board… Any way the question I’m trying to figure out is how to I tell the cutter to raise the z axis between cuts in sheetcam .
Most of that foam board will melt if you cut it with something spinning that fast. when it melts it gets sticky.
Did you try it by hand first?
I cut the one wing it did fine I just need to raise the z axis between cut maybe in my setting for the tool in sheetcam.
cant help you in sheet cam but I am sure someone can tell you something you can add in the G code to get what you want.
1 Like
In your Job setup, you’ll see two parameters that control this height.
Rapid Clearance: Controls how high above the workpiece the torch should be before rapid moves,
Plunge Safety clearance: Controls how high the torch should be before starting plunge.
If you set both of these the same they will allow you to raise the tool up to the maximum of z travel.
2 Likes
ISTM that you’d want your kerf set to the bit diameter and the plunge rate seems very slow for this task.
1 Like
The first thing I’d do is to raise the foam board off the slats. I don’t think that dremel will be happen running into them!
Are you going to use IHS or set Z=0 to the bottom of the Foam Board - that will matter.
Once you determine where Z is located then you can set your plunge depth and your clearances.
Finally, you can then start experimenting with dremel speeds and cut rates. What Post Processor you use depends on whether you’re using IHS or not. You might get away with a generic CNC router post processor, but you’ll have to experiment.
Seems like this little project should keep you off the streets for a while… ![]()
2 Likes