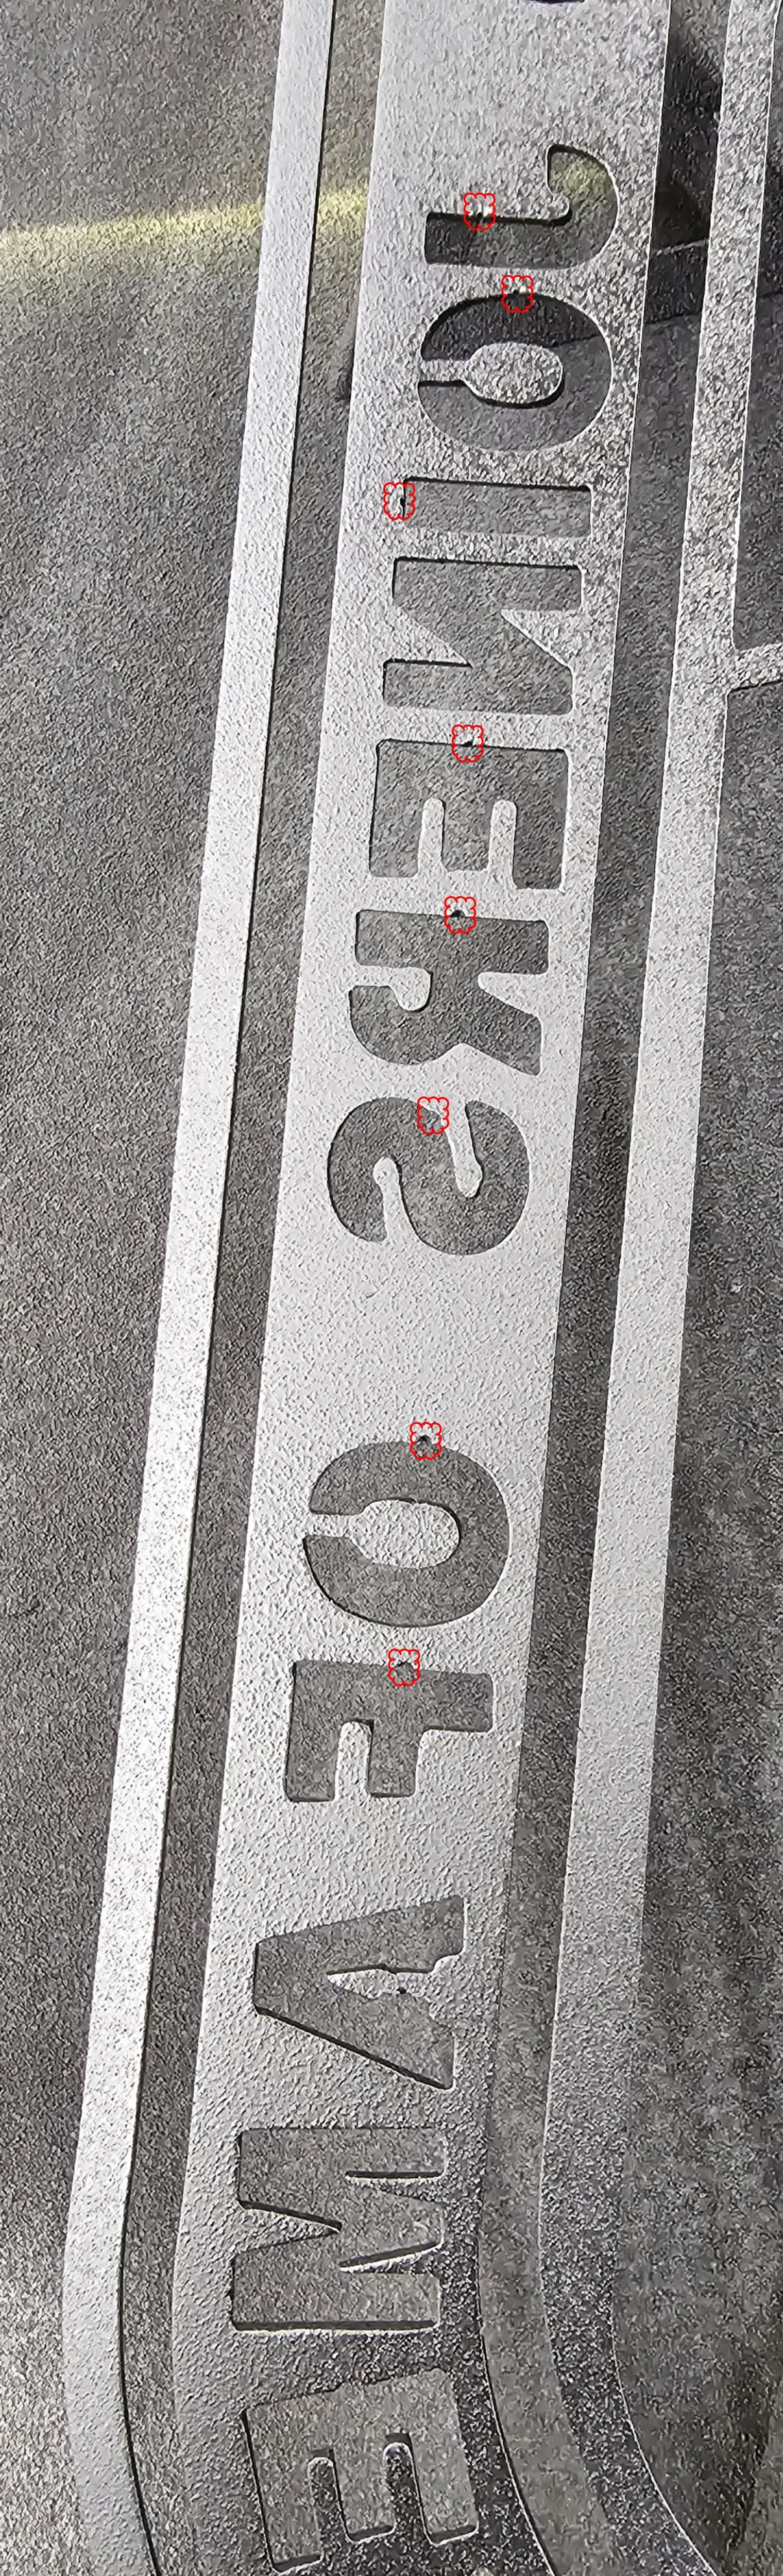
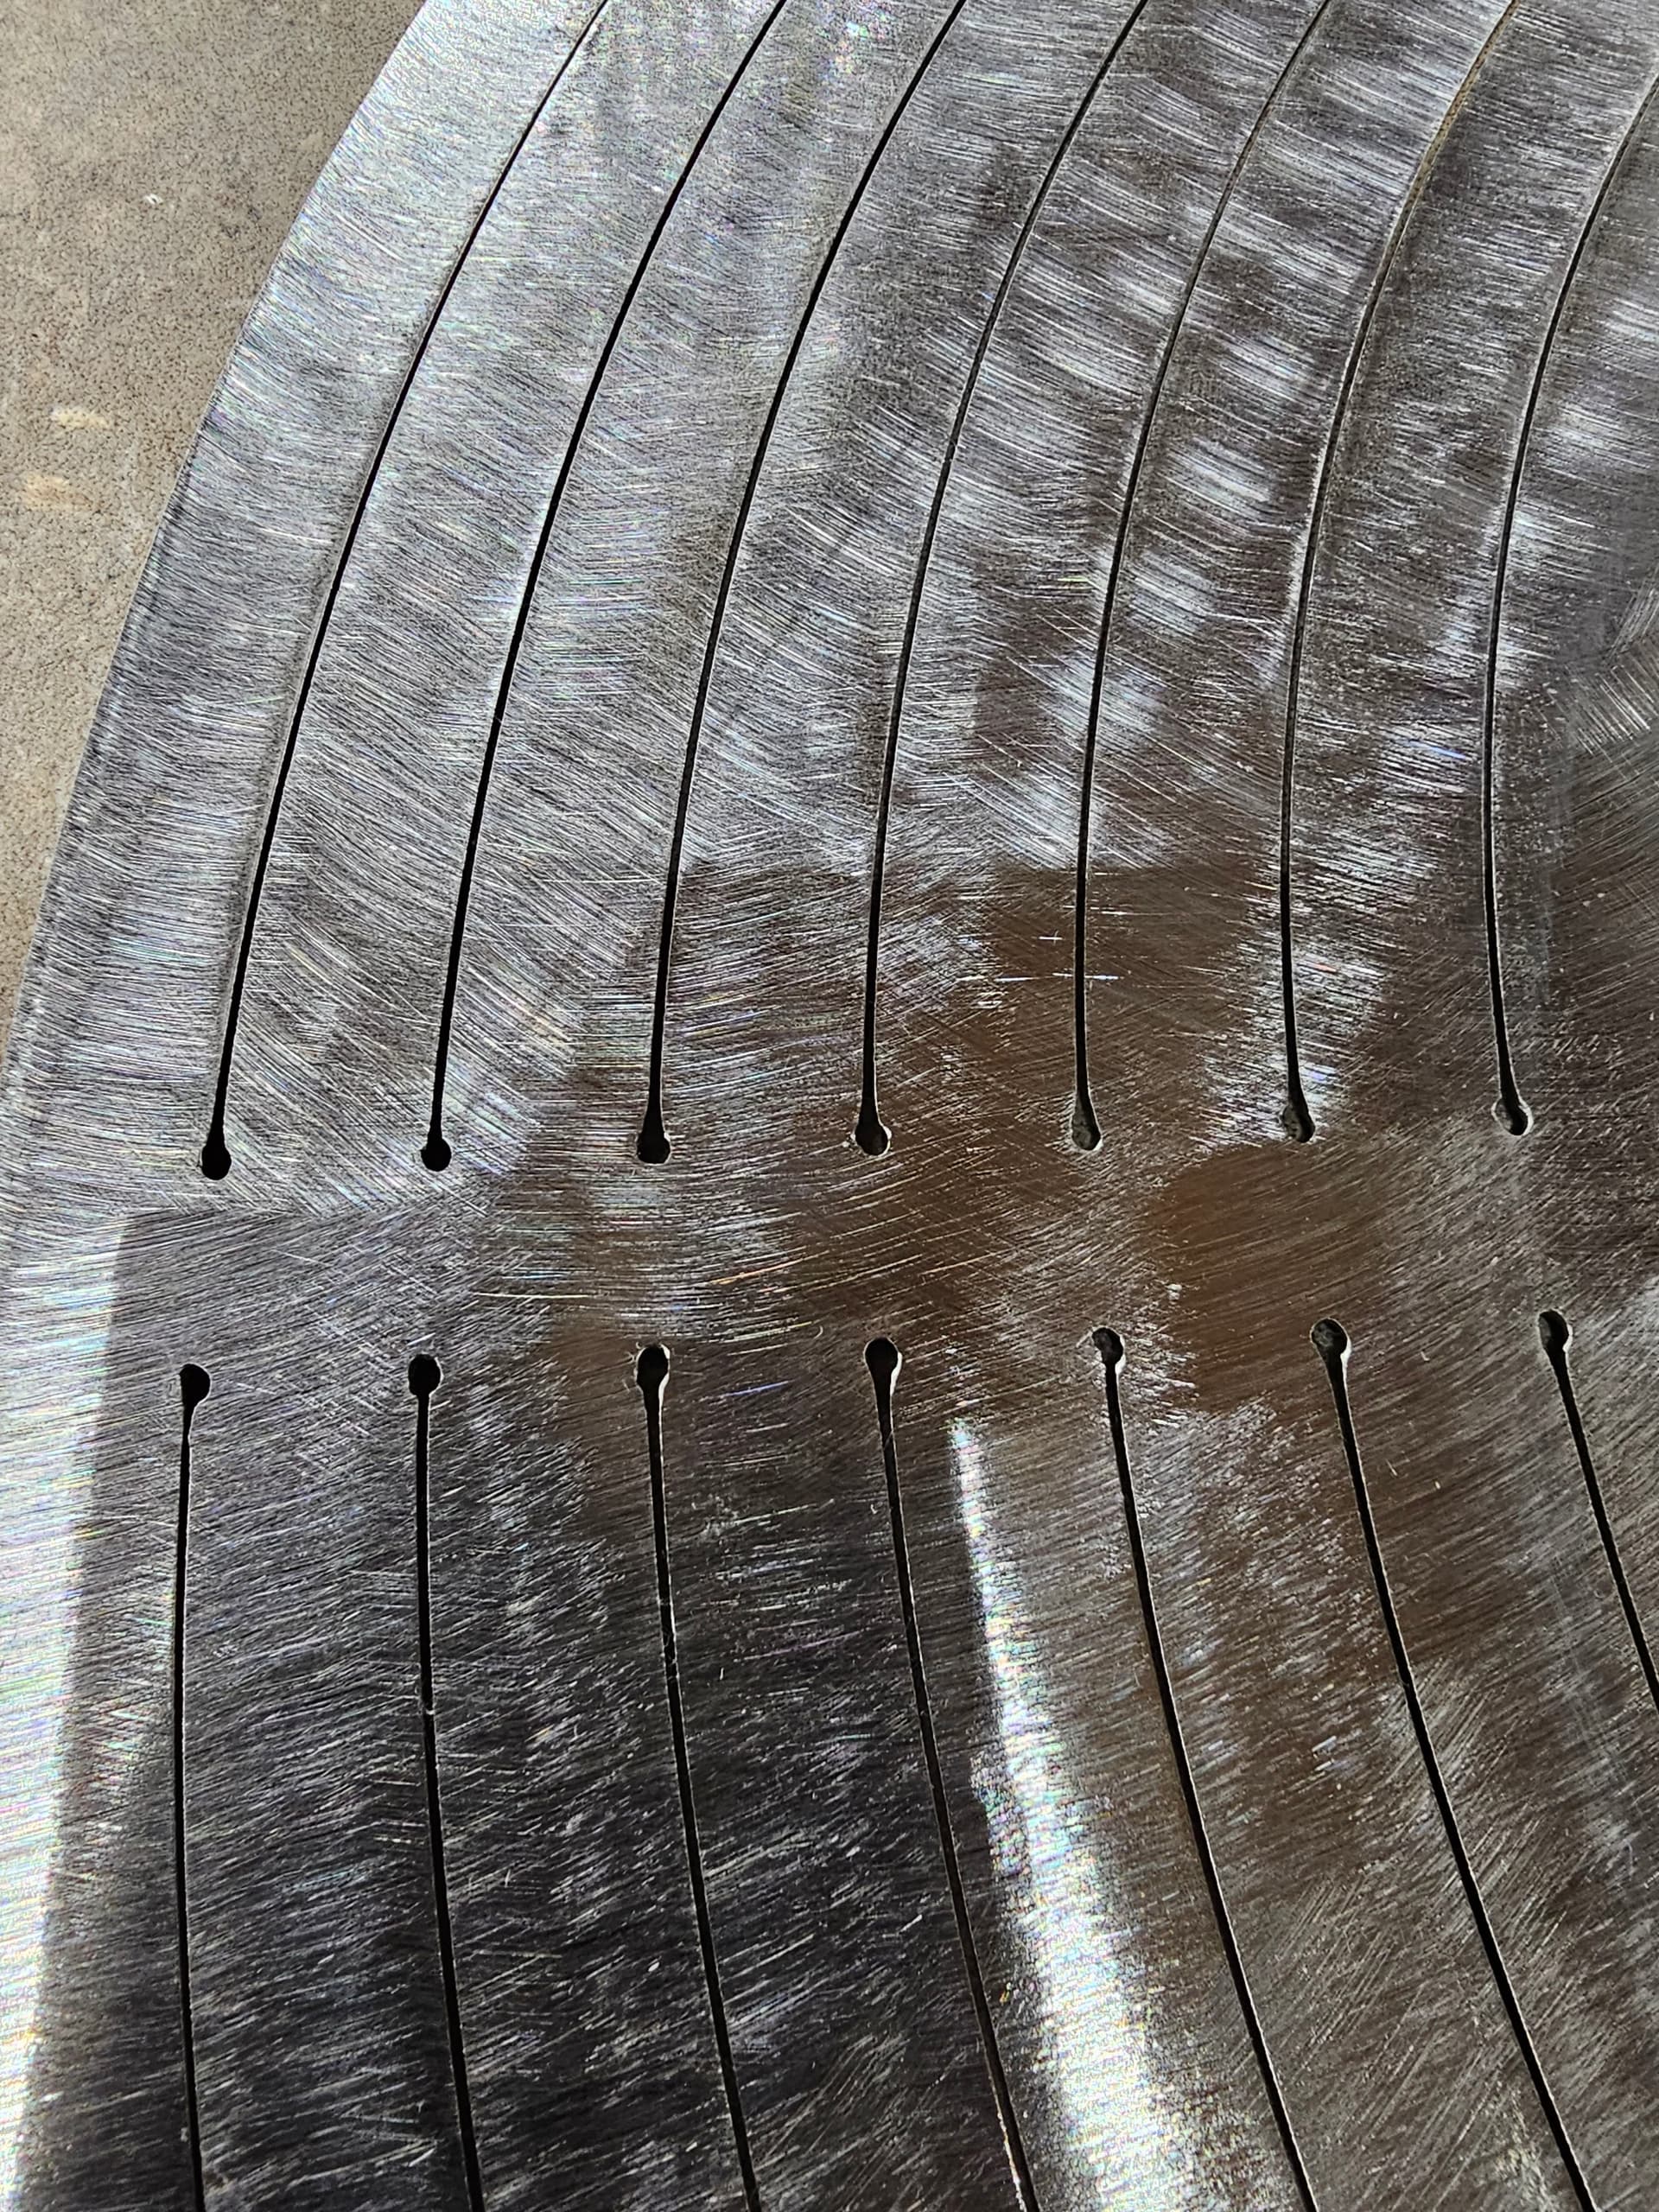
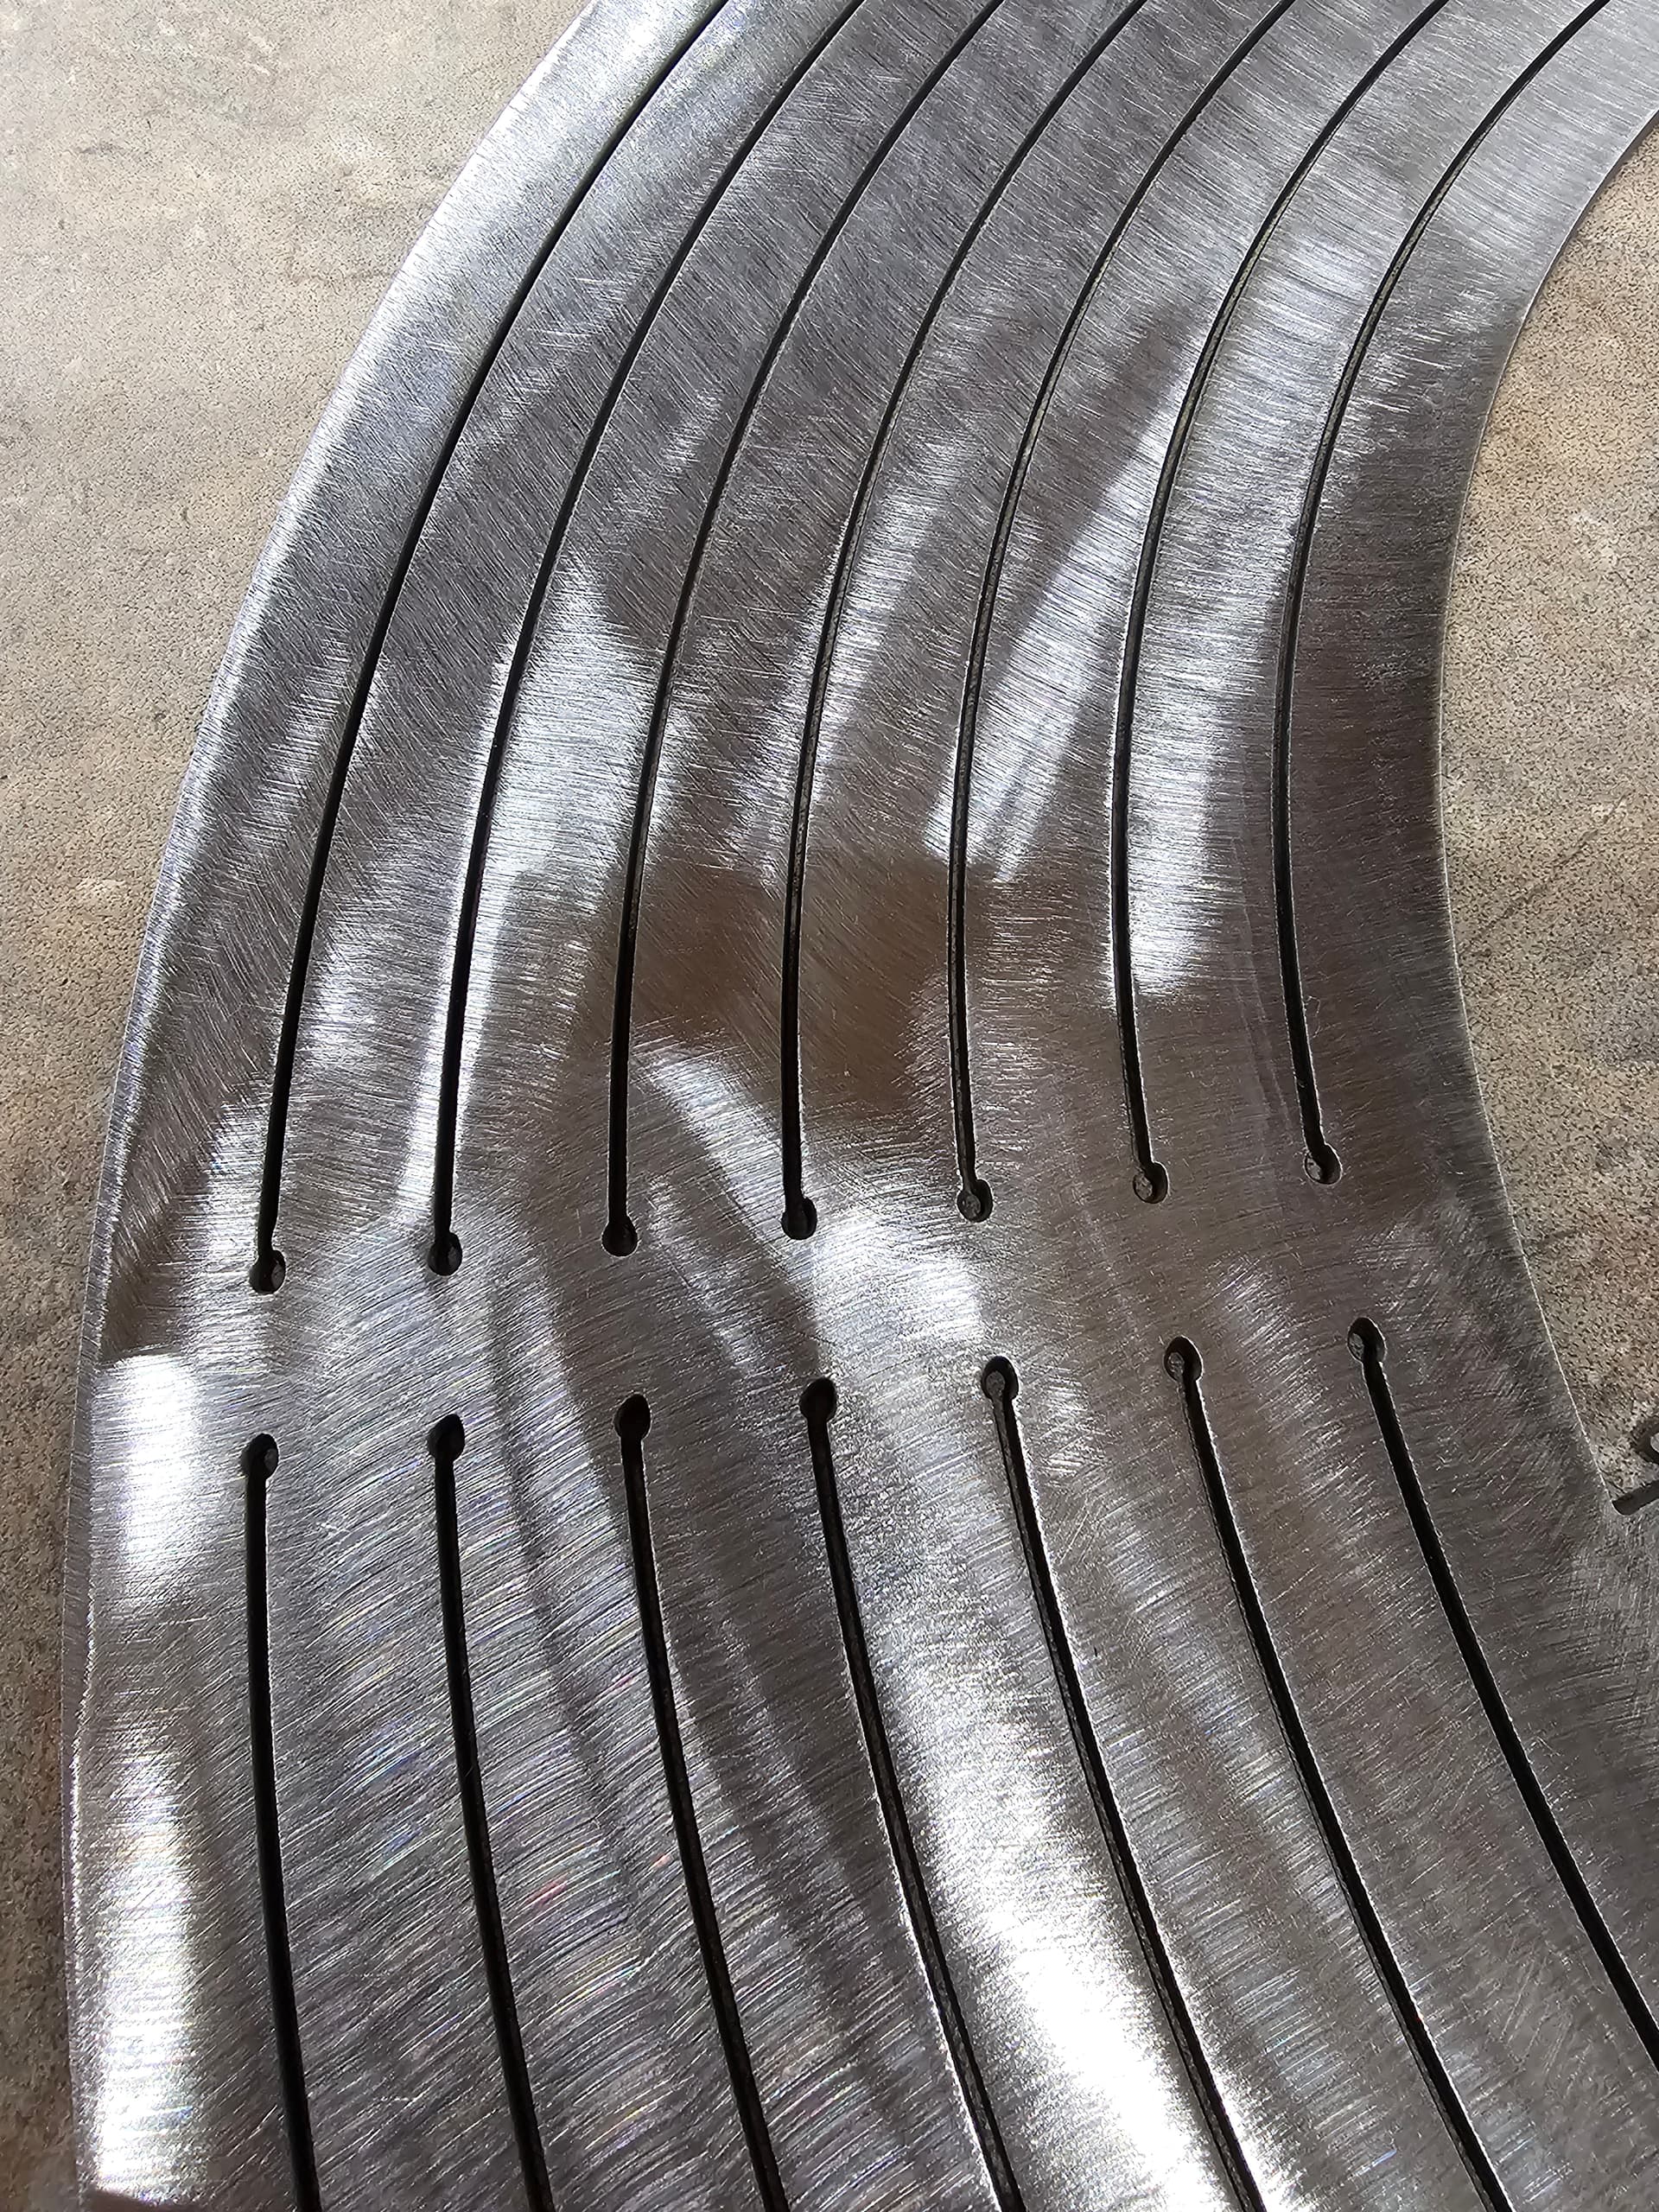
good morning everyone! I consistently have this small divot that is only visible on the back side, is this likely from my small lead out I have programmed? At what point do I just turn off the lead out in general? What is the science behind the lead out if the material is already gone, my thought process is the torch is going to hunt for metal to burn and cause what I am seeing?
I match my lead outs to my lead in always. The science is sometimes there is a slight jet lag from the machine stopping moving and the arc going out. That can cause a divot like that. So you want the torch to move away from the work and far enough into the scrap before the machine stops and shuts off the torch.
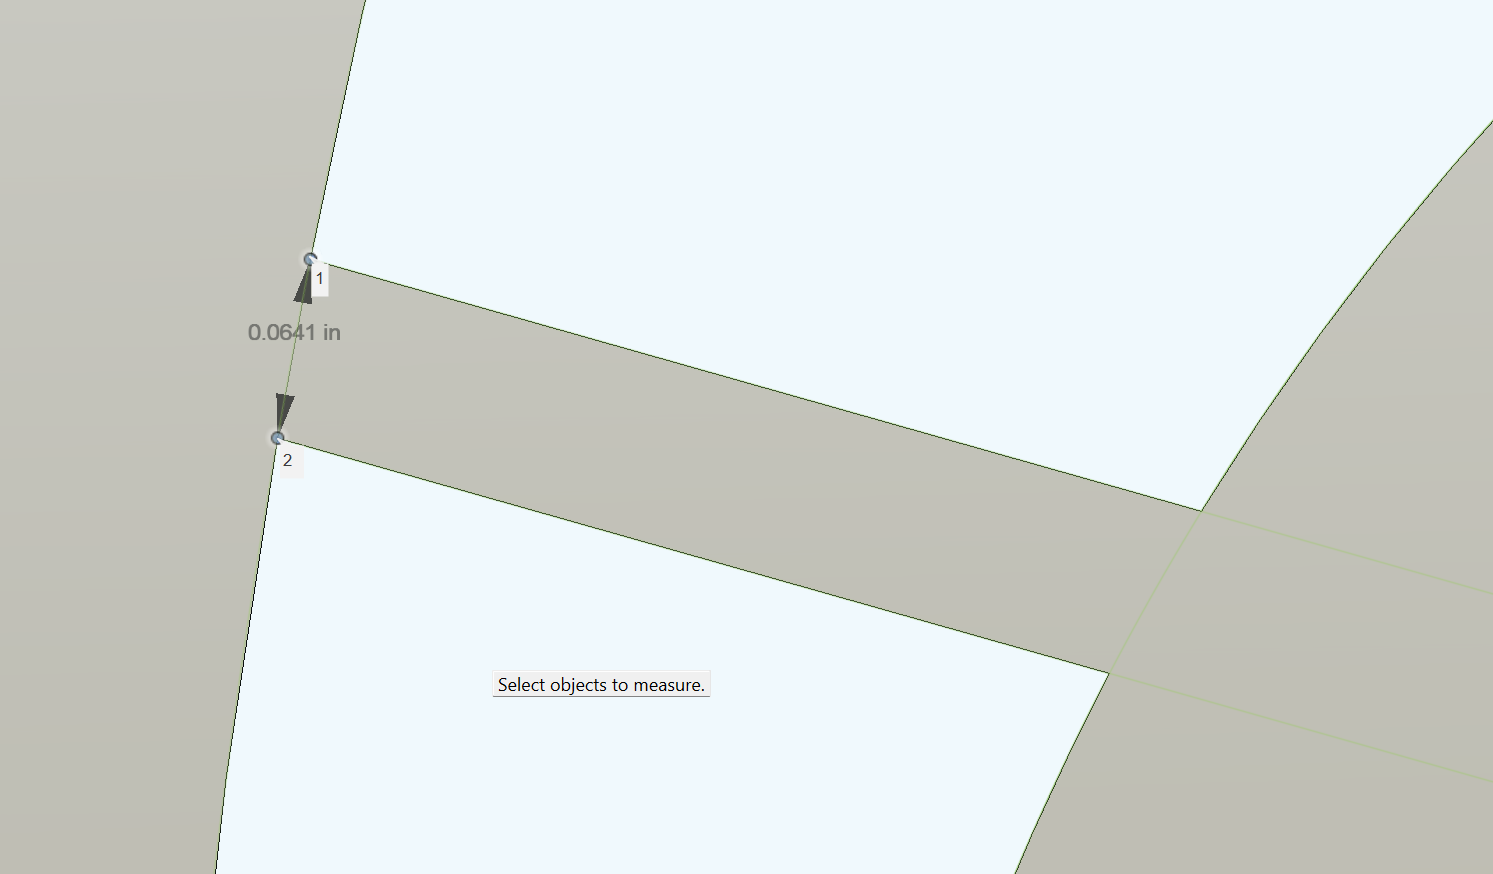
I’m a little late to the party but for my “art projects” I use zero kerf and do not use lead ins or lead outs. This cut is part of a helicopter tail rotor. 0.0641" separation between the points in the drawing.
Change your Lead in angle to 45 or 60 degrees. You may need to make it slightly longer since you will now be going at an angle but thinking about what the machine is doing. It piercing, traveling a small distance then changing direction 90 degrees. It 's more smooth to go in at shallower angle. Easy to drive a car into a sweeping 60 degree turn FAST. Harder to drive a car into a 90 degree turn FAST.
Good afternoon gents! did some cutting with my new Tecmo consumables and air setup, I dialed in my cut height to .060 after running the .tap file and compensating for the difference, im cutting 14G with my razorcut 45, 30 amps, 180 ipm. Visually the kerf seems way different to me when comparing the front to the back side, it would suggest taper and incorrect cut height from everything I have learned this far - I guess my question is, 1 - is this normal? and 2 - is it odd to see this on such thin metal?
At such a fast speed, I would absolutely state this is indeed tapering you’re seeing (backside vs frontside) but speed by itself can lead to beveling so it’s expected and totally normal.
I would go as far as to doing a square cut out or two with the new consumables, with the now correct cut height, and confirm your actual kerf width.
With these higher quality consumables, you can expect much more consistent results. This thread is sort of old already so I don’t know if you also had a cut height issue as well, and if you did, definitely confirm your kerf width since cut height can alter your kerf width as well.
Thanks Kwikfab! That makes sense visualizing what the plasma arc is actually doing moving at a faster pace, the stream is not actually staying “plumb” (sorry, carpenter terms )
Thank you! I stepped into the cnc world 8 months ago and definitely would not be where I am at today without all of you guys that share your knowledge and expertise. Everyone is relentless to help solve problems and fine tune the process and that is rare nowadays.
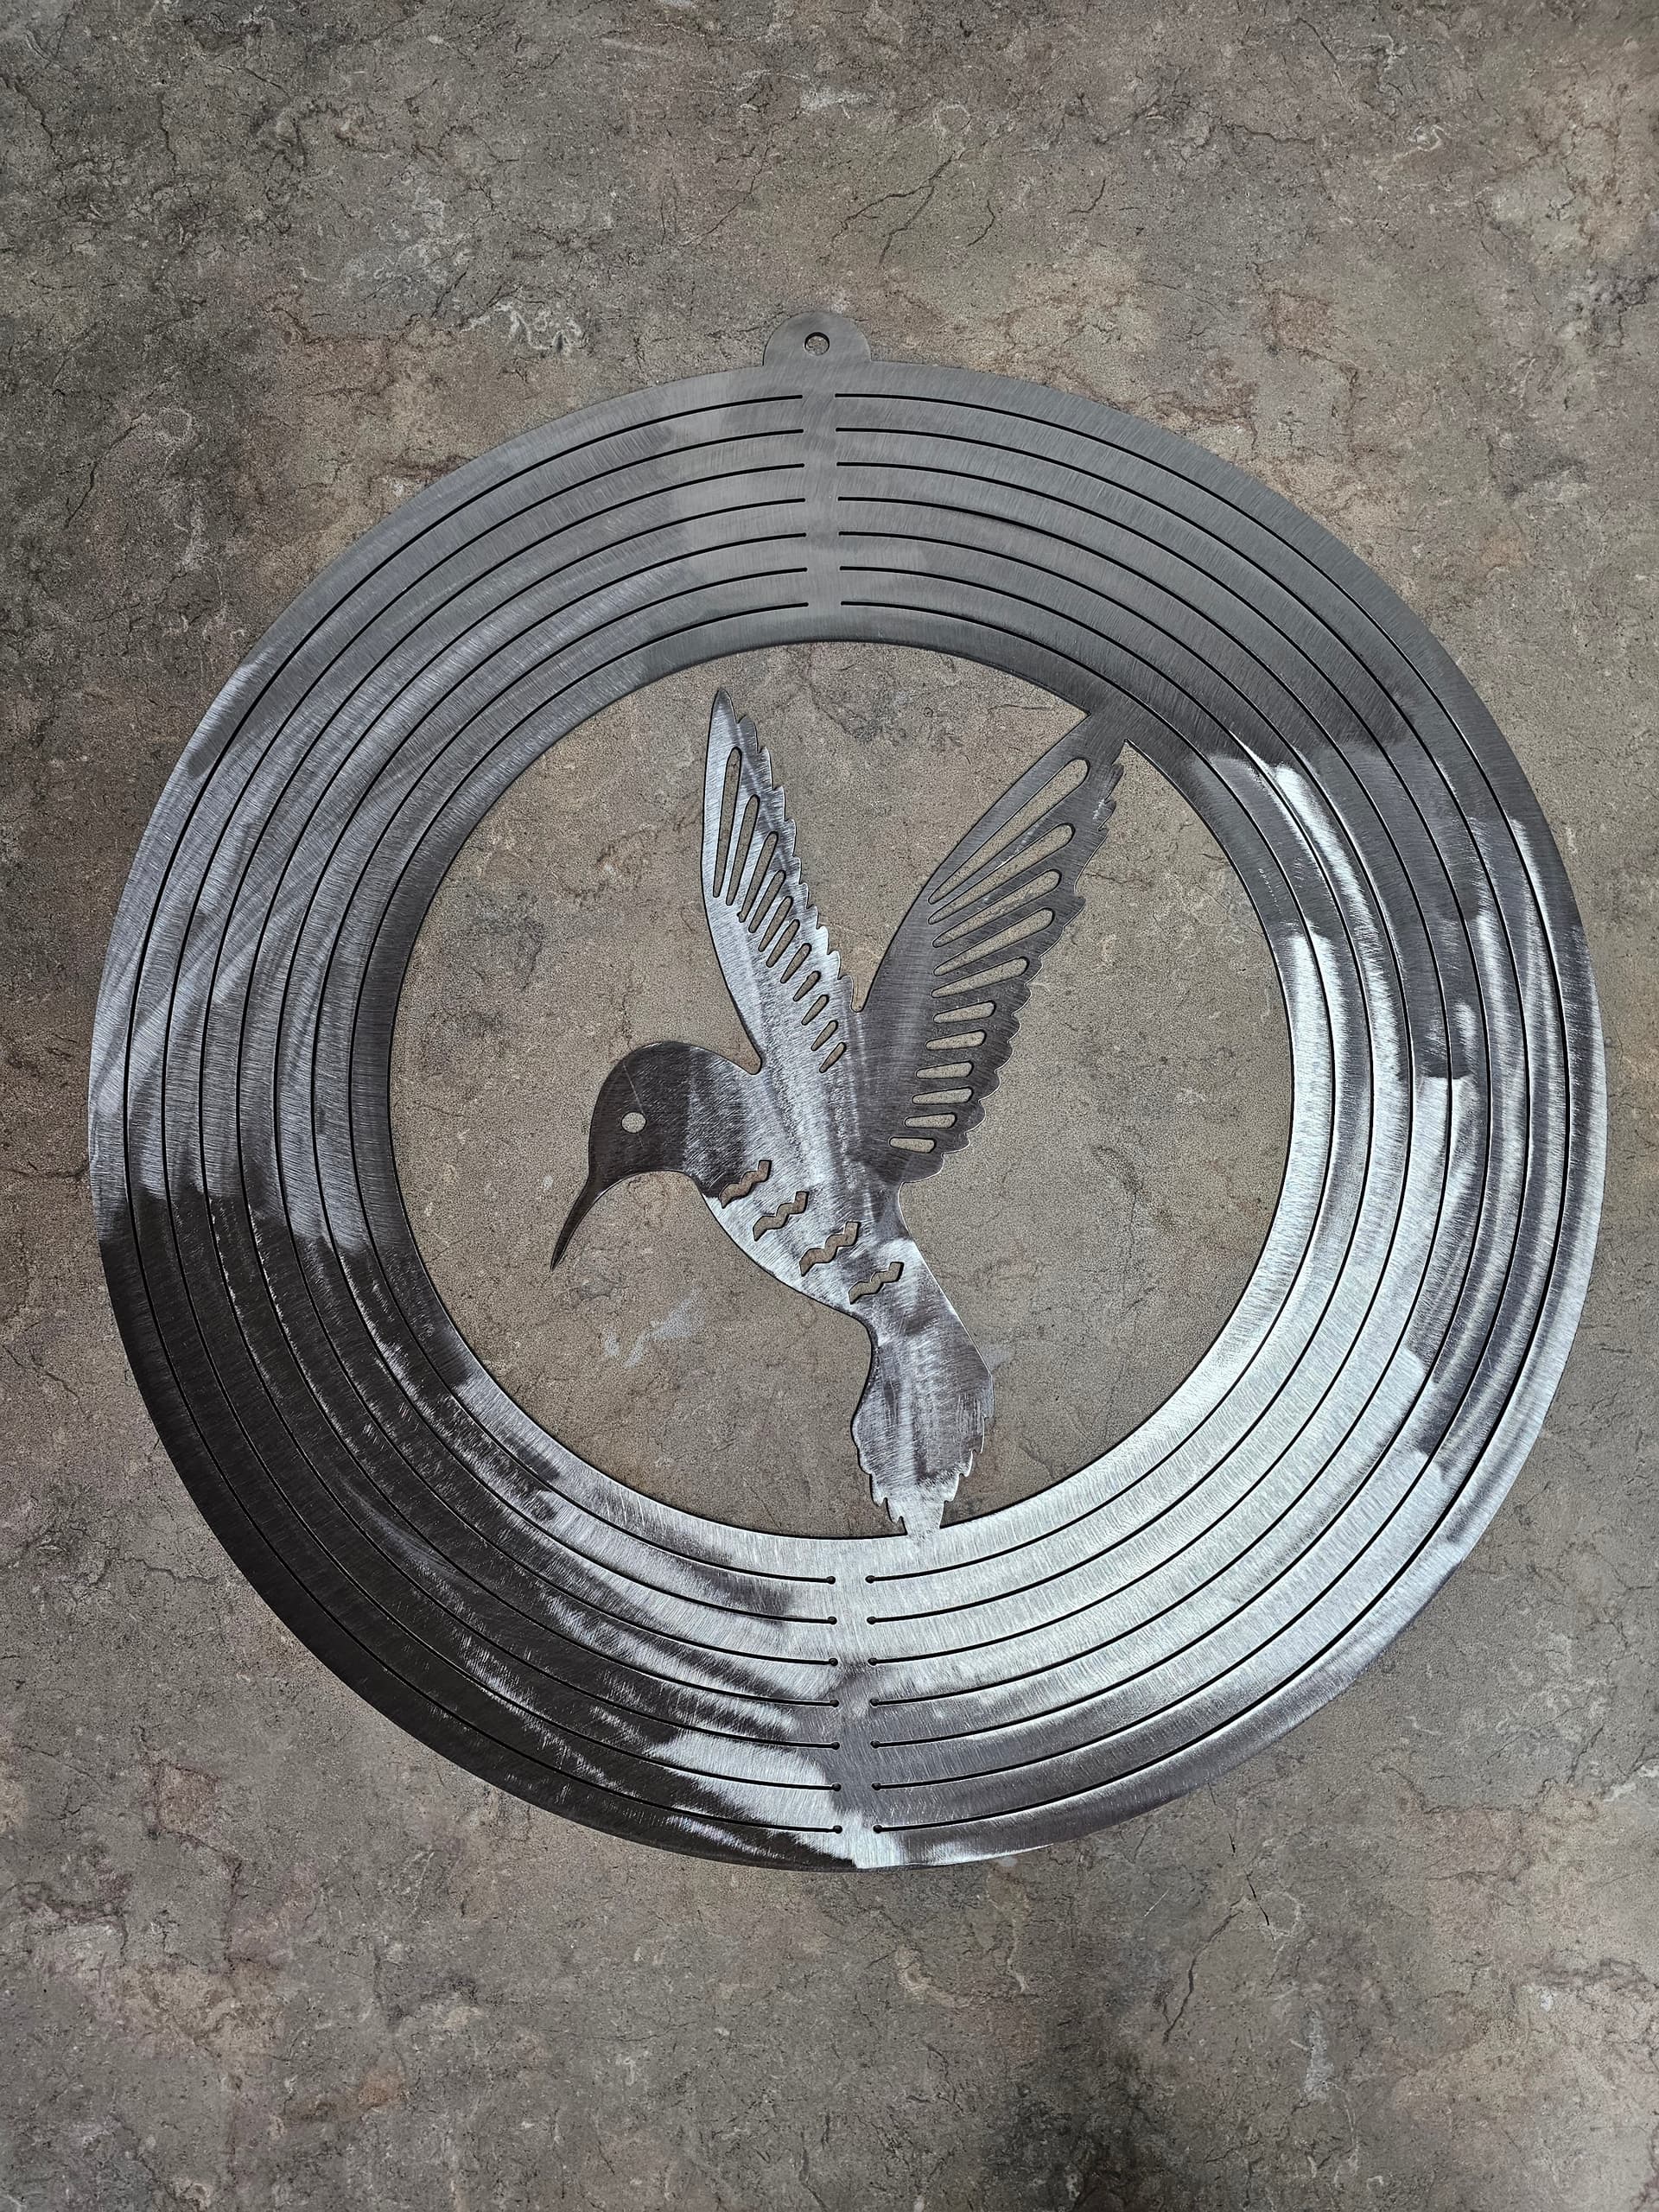
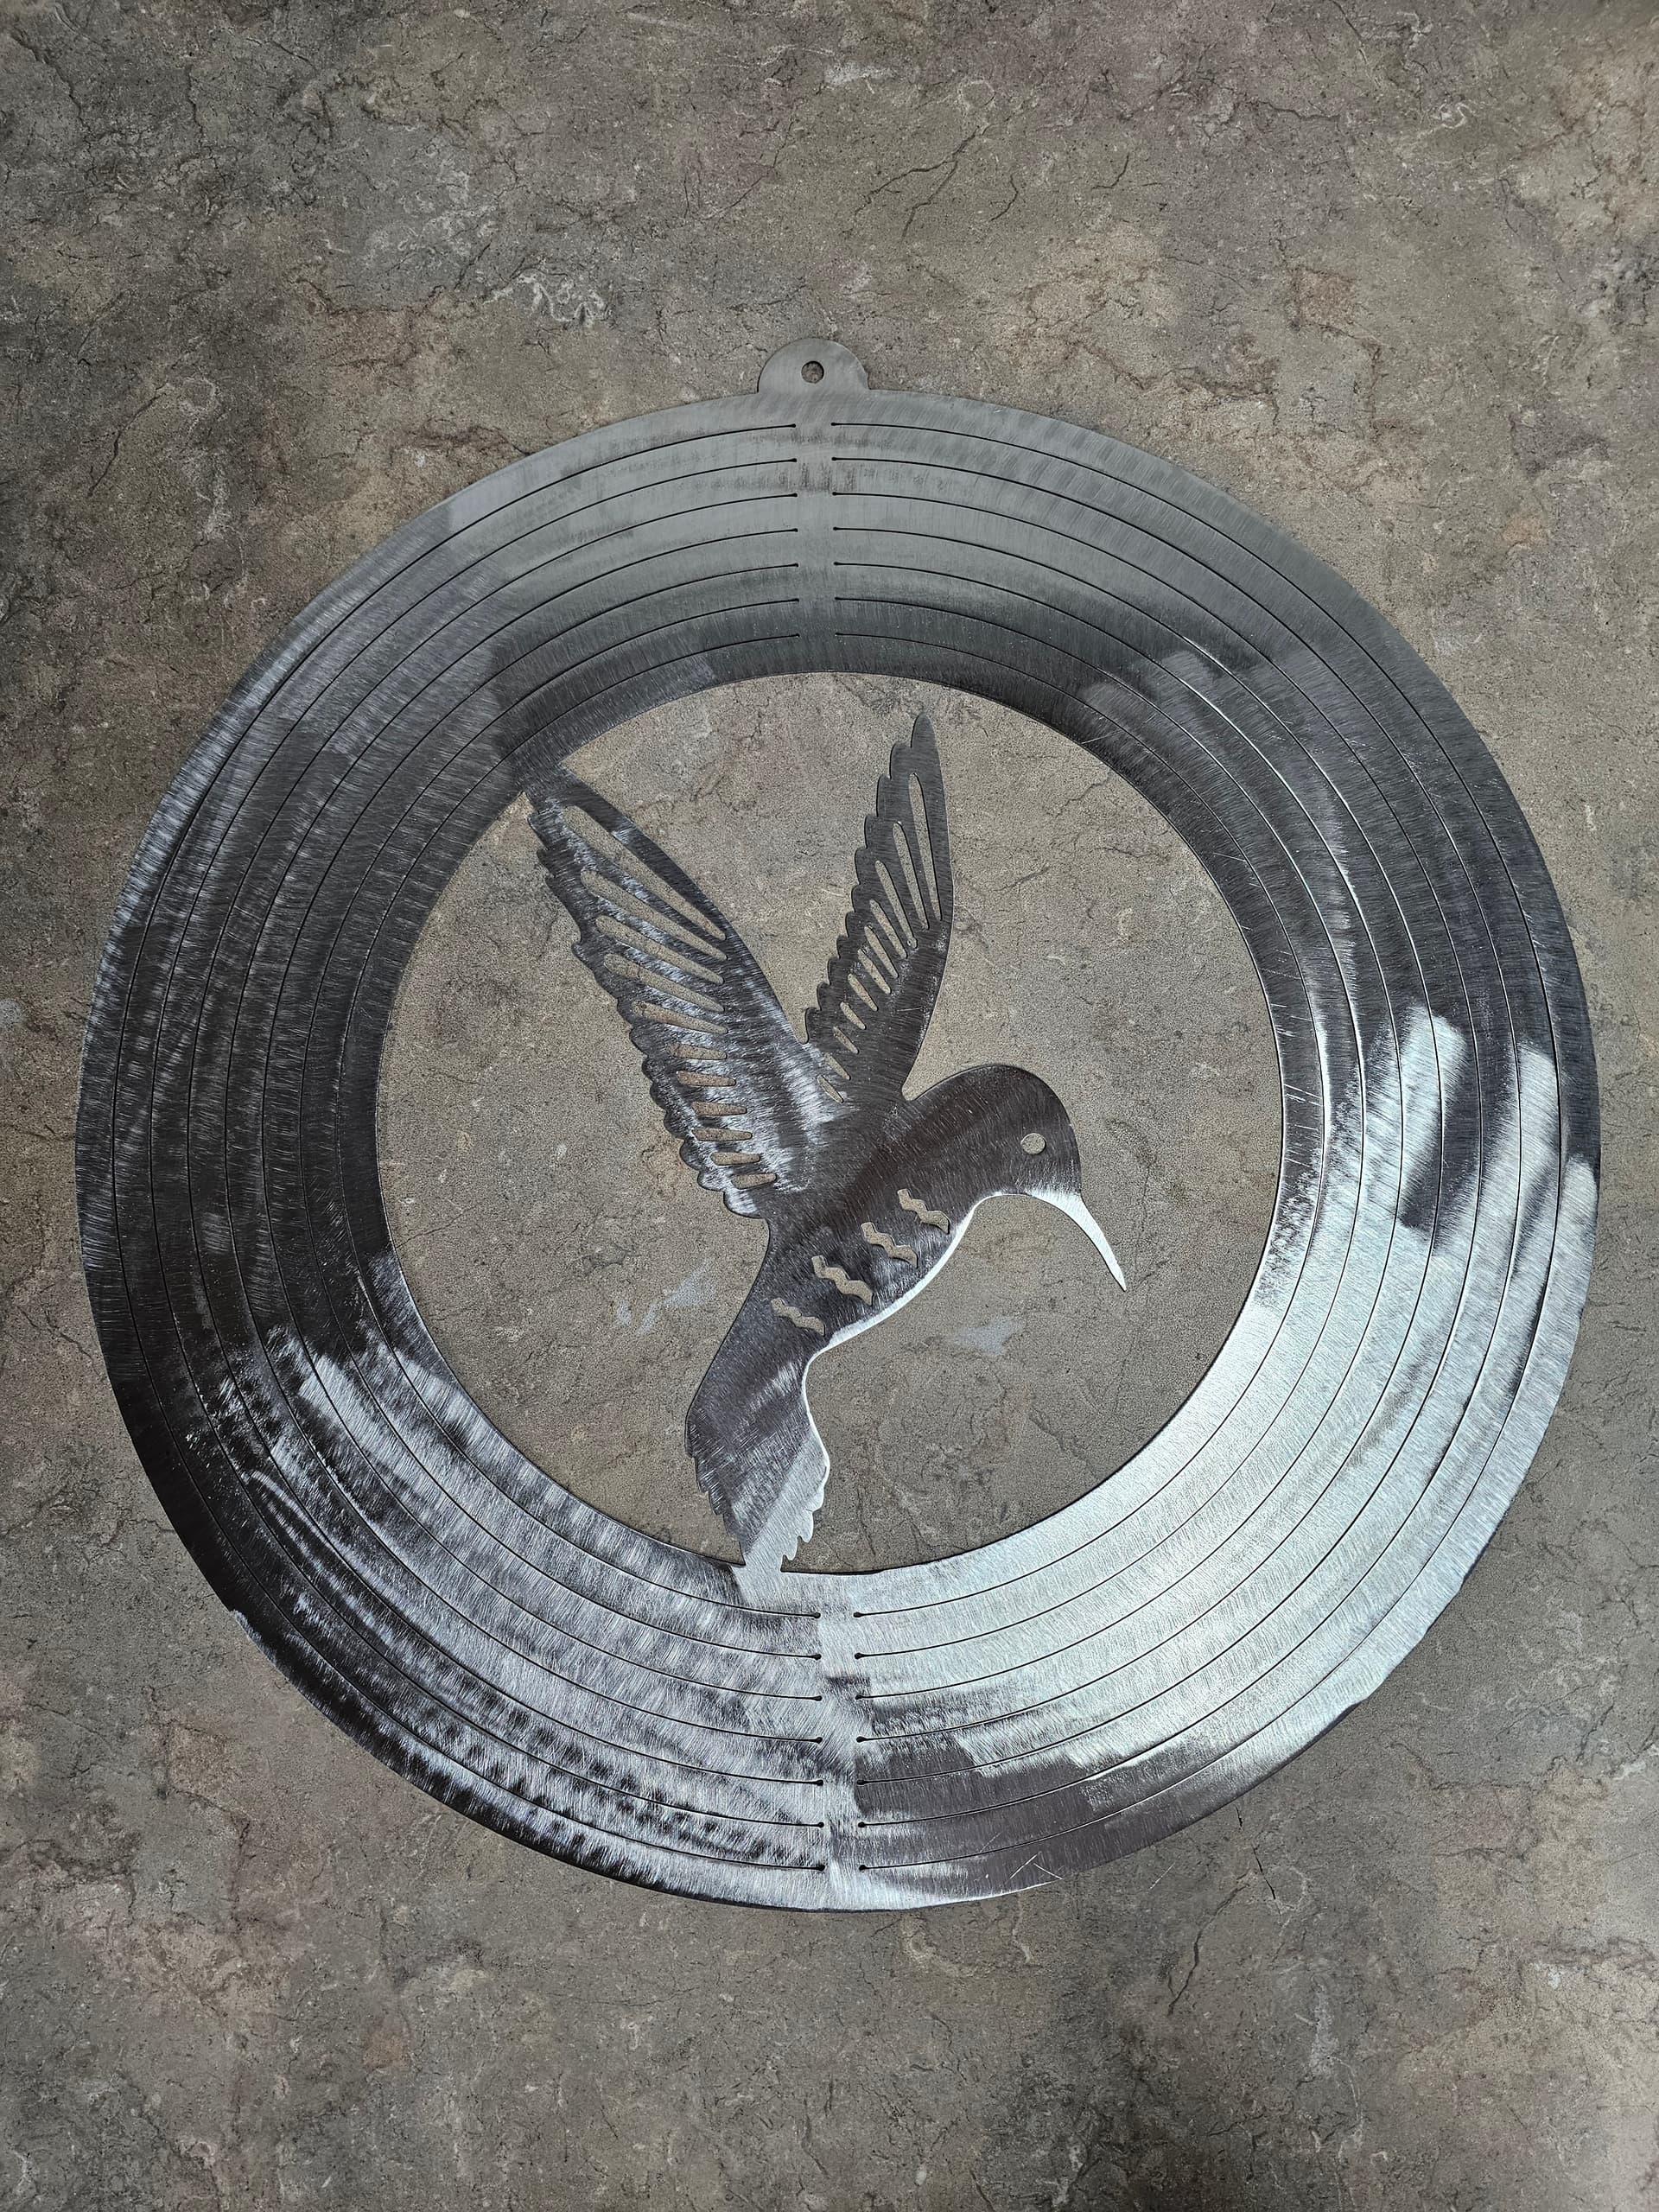
Another one torched! Man bluing is a true art, the colors change so fast and can easily be over done to the point of no return haha
That looks very nice. Looks like your getting better at this cnc stuff. Are the new consumables working better for you and are you getting longer life from them.
Yessir! consistent operation between consumables and dry clean air is a game changer, no more chasing ghost issues and second guessing post processor settings. As of last night I was at 650 pierces on the current set and still looking good.
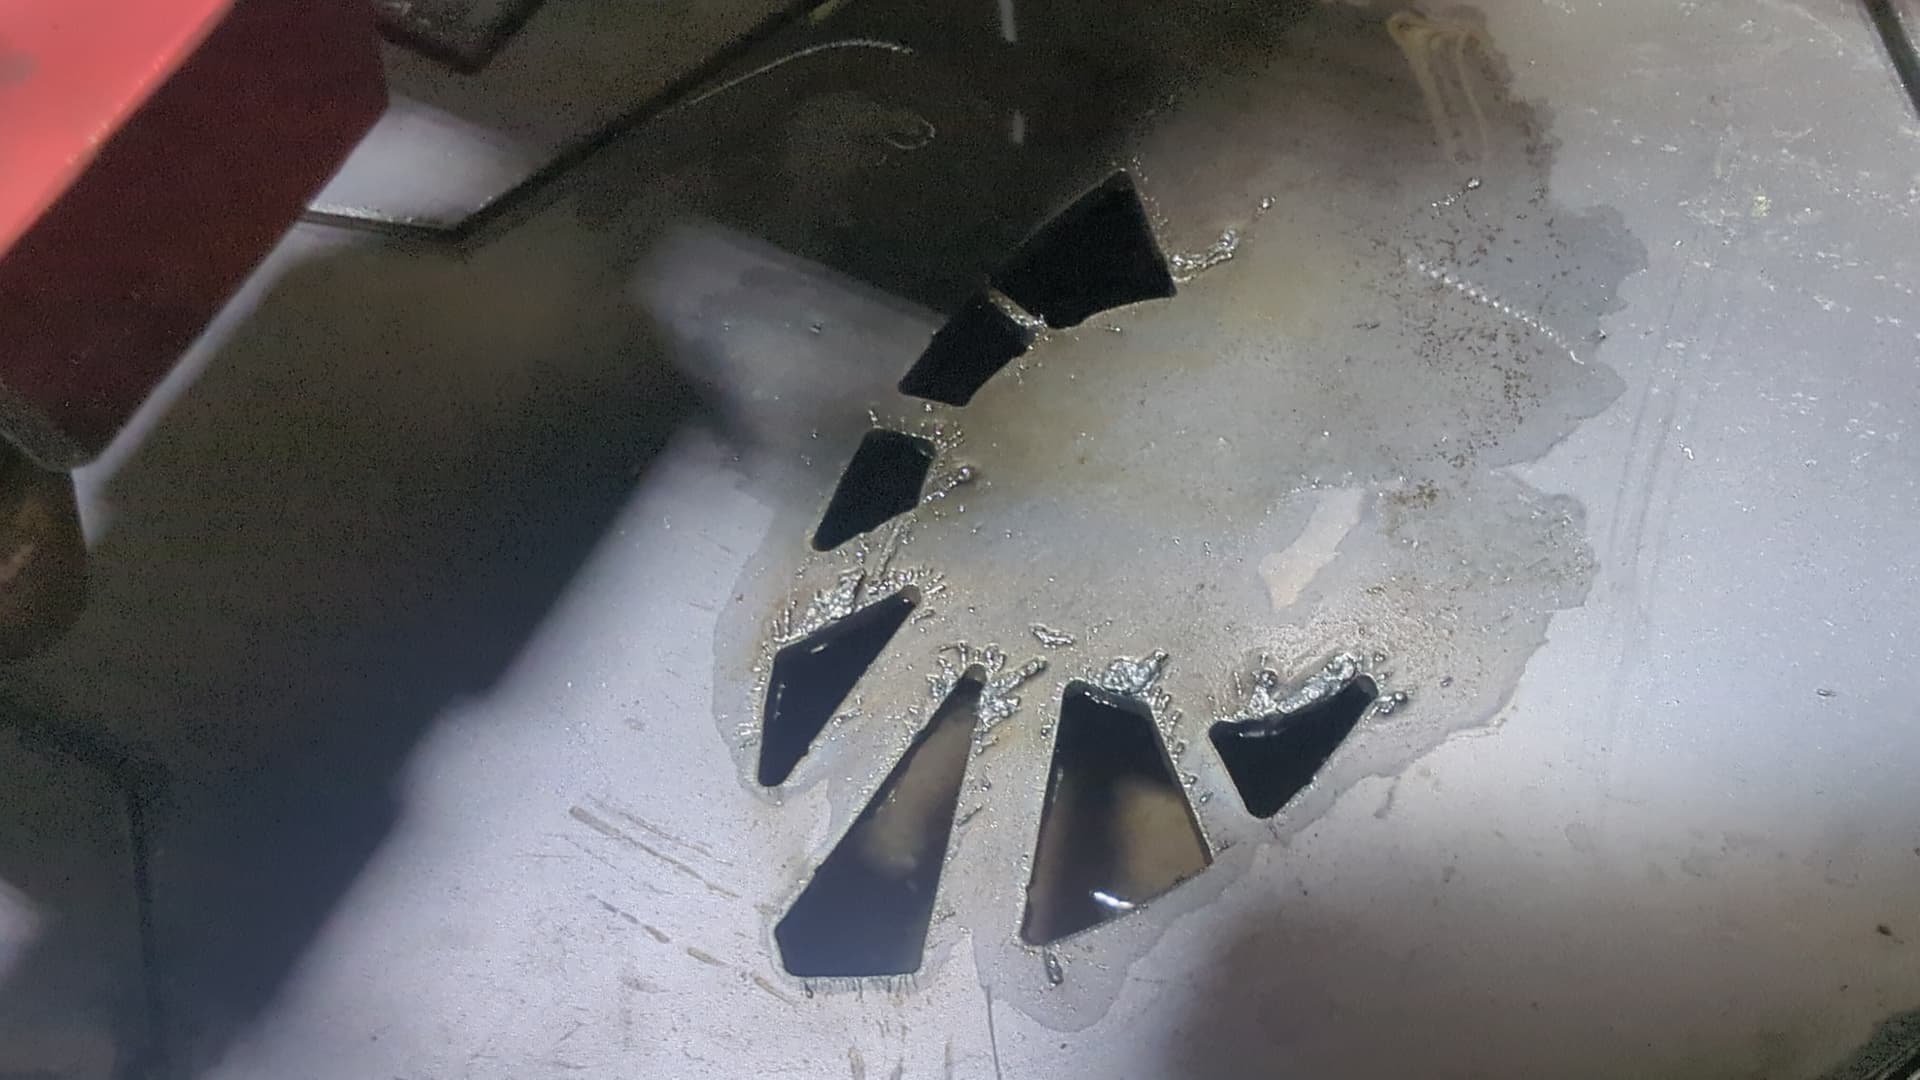
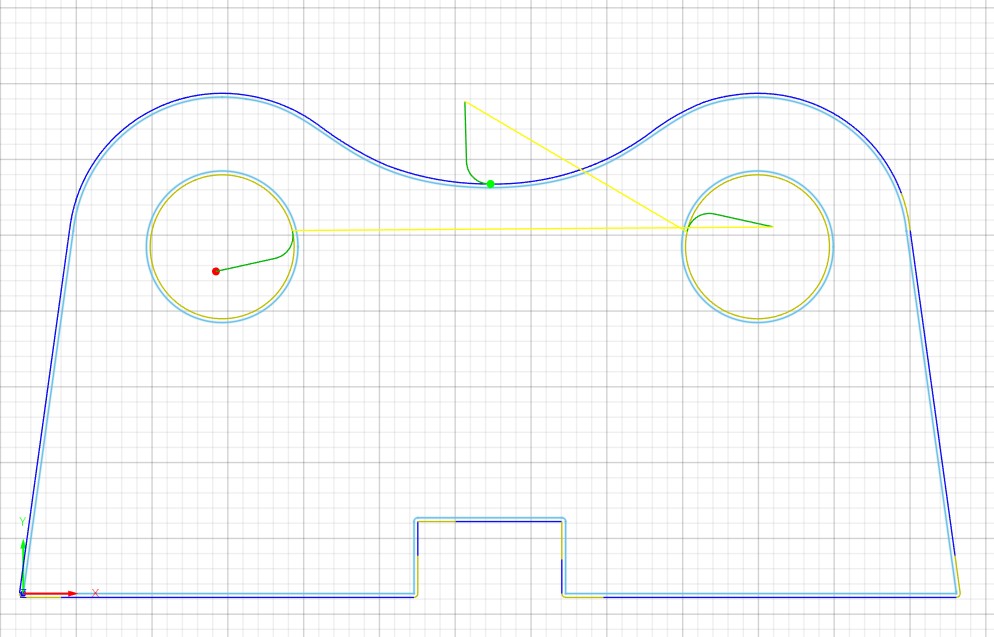
I have been messing around cutting 1/2” with my RW45, 45amps, 8 ipm - does anyone have any better setting recommendations to ease up the huge divot upon entering my cut piece ?
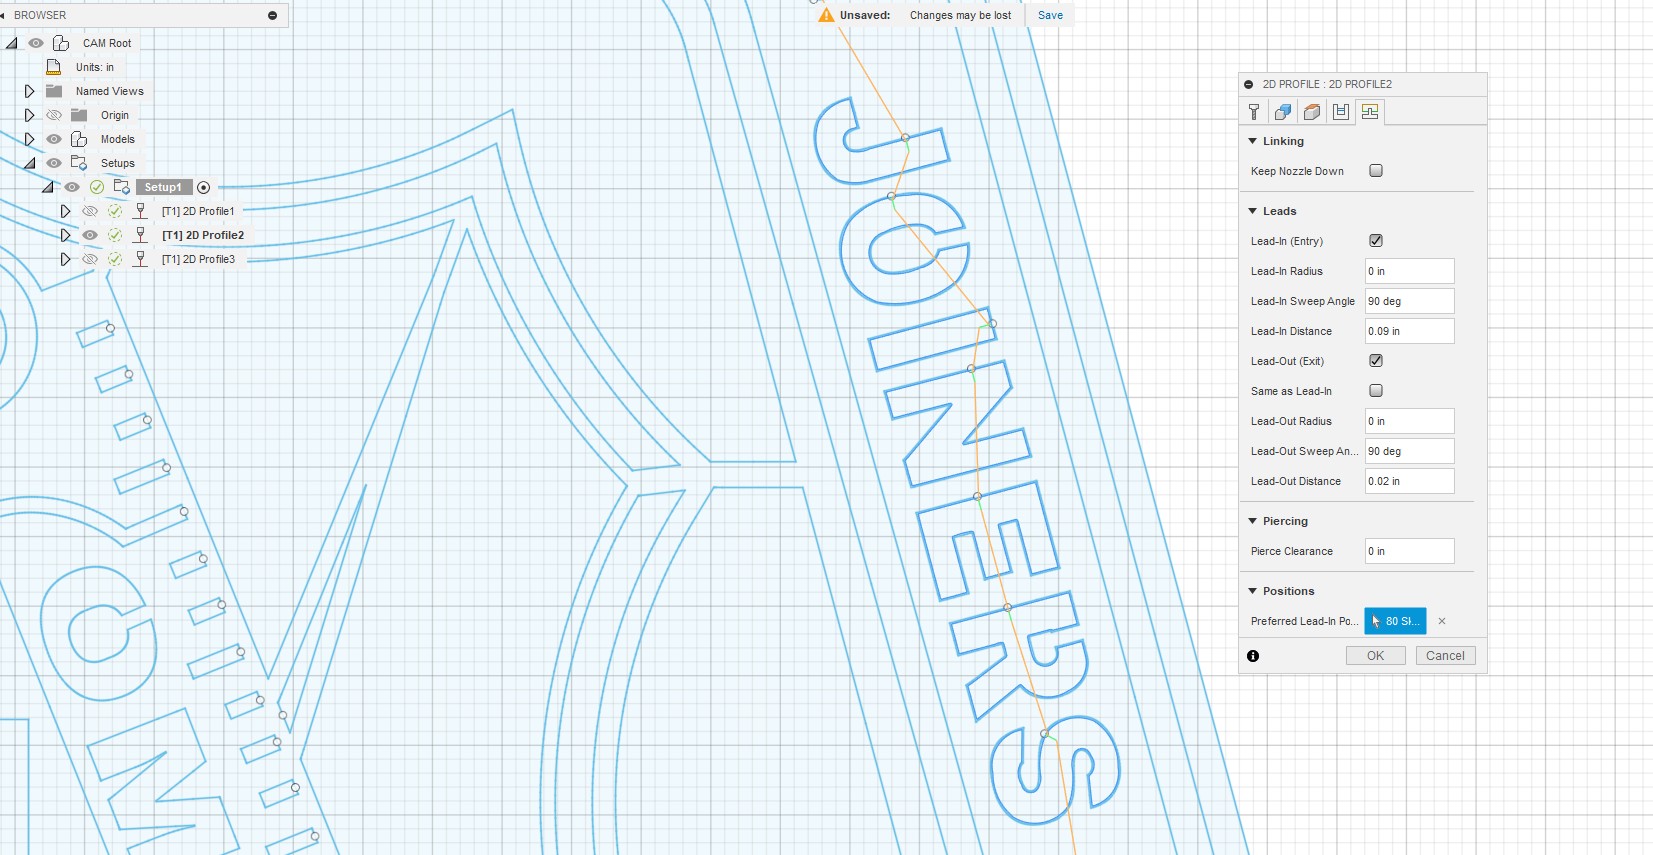
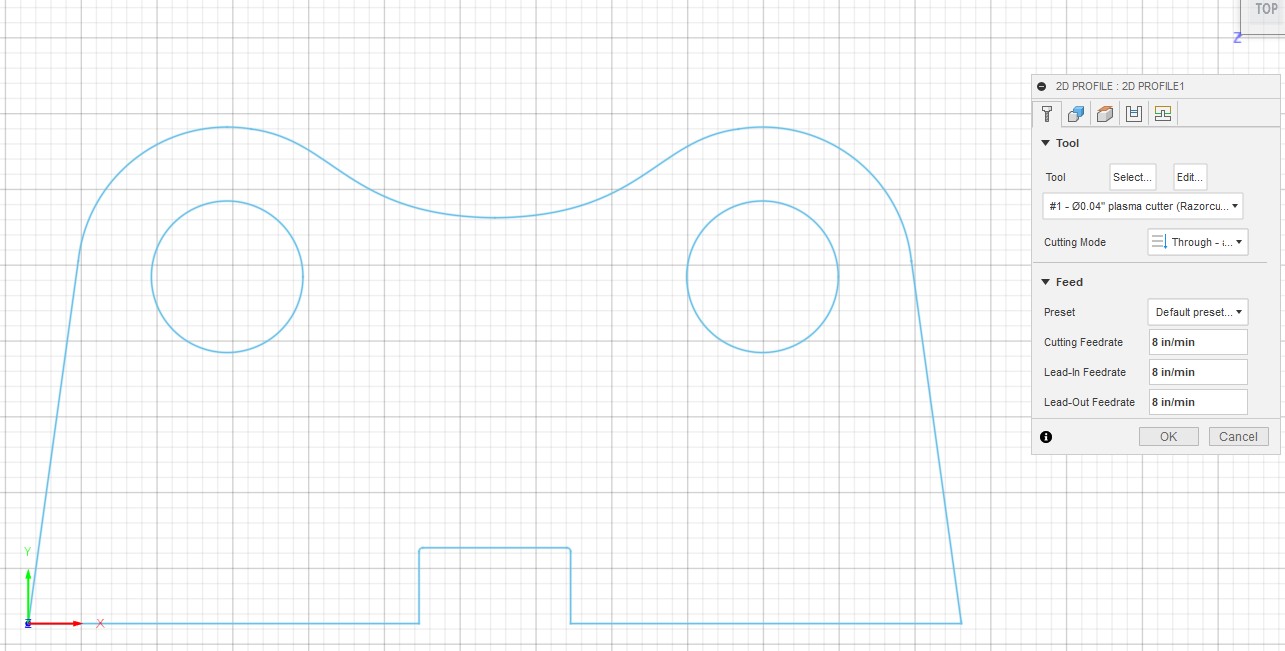
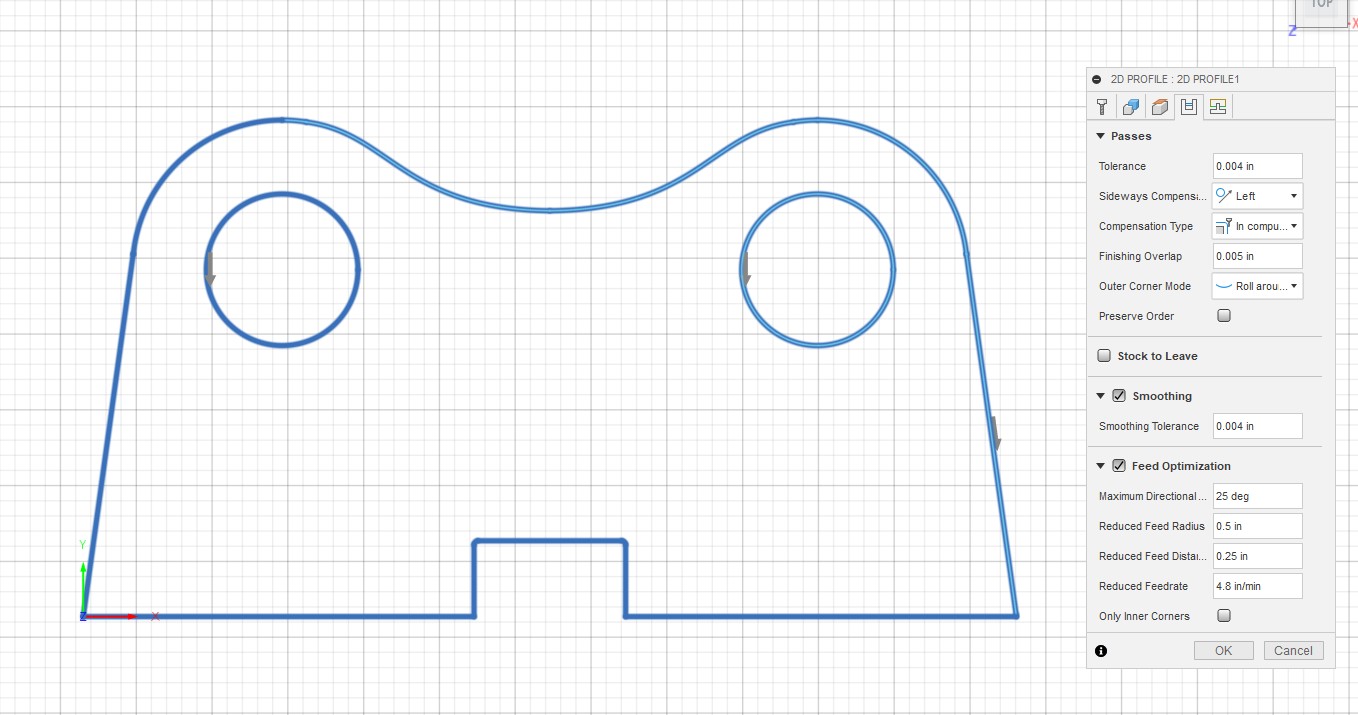
The very first thing I would suggest is using preferred lead-ins this option that is available in the very last menu of the 2D profile.
And then select an area that’s going to end up being welded or hidden so if there is a defect it’s not in a nice visible smooth area.
The other thing that helps is a larger radius for the lead in. And also adding some finishing overlap can help.
What I find happens sometimes as well is at the end of the cut the part is just about to fall out and it tips slightly as it’s falling out at the last moment of the cut and the plasma torch cuts into the actual work piece on accident.
Another option for the outside cut is to do an edge start, assuming you would start with a straight line perpendicular from the edge. The best way I have found is to use a scrap piece of metal that is the same exact height so the torch can still do the IHS (Initial Height Setting) without the torch slipping off the edge of the plate or moving the plate out of position.
You would need to monitor and be prepared to move the scrap out of the way as soon as the torch lights or moves to Pierce Height.