I am just getting used to my Crossfire. I am trying to learn in a systematic way and I thought I would document what I am learning in case it would be helpful to someone else. Almost like a Blog for a Newbies. If you want to add your observations, that would be great.
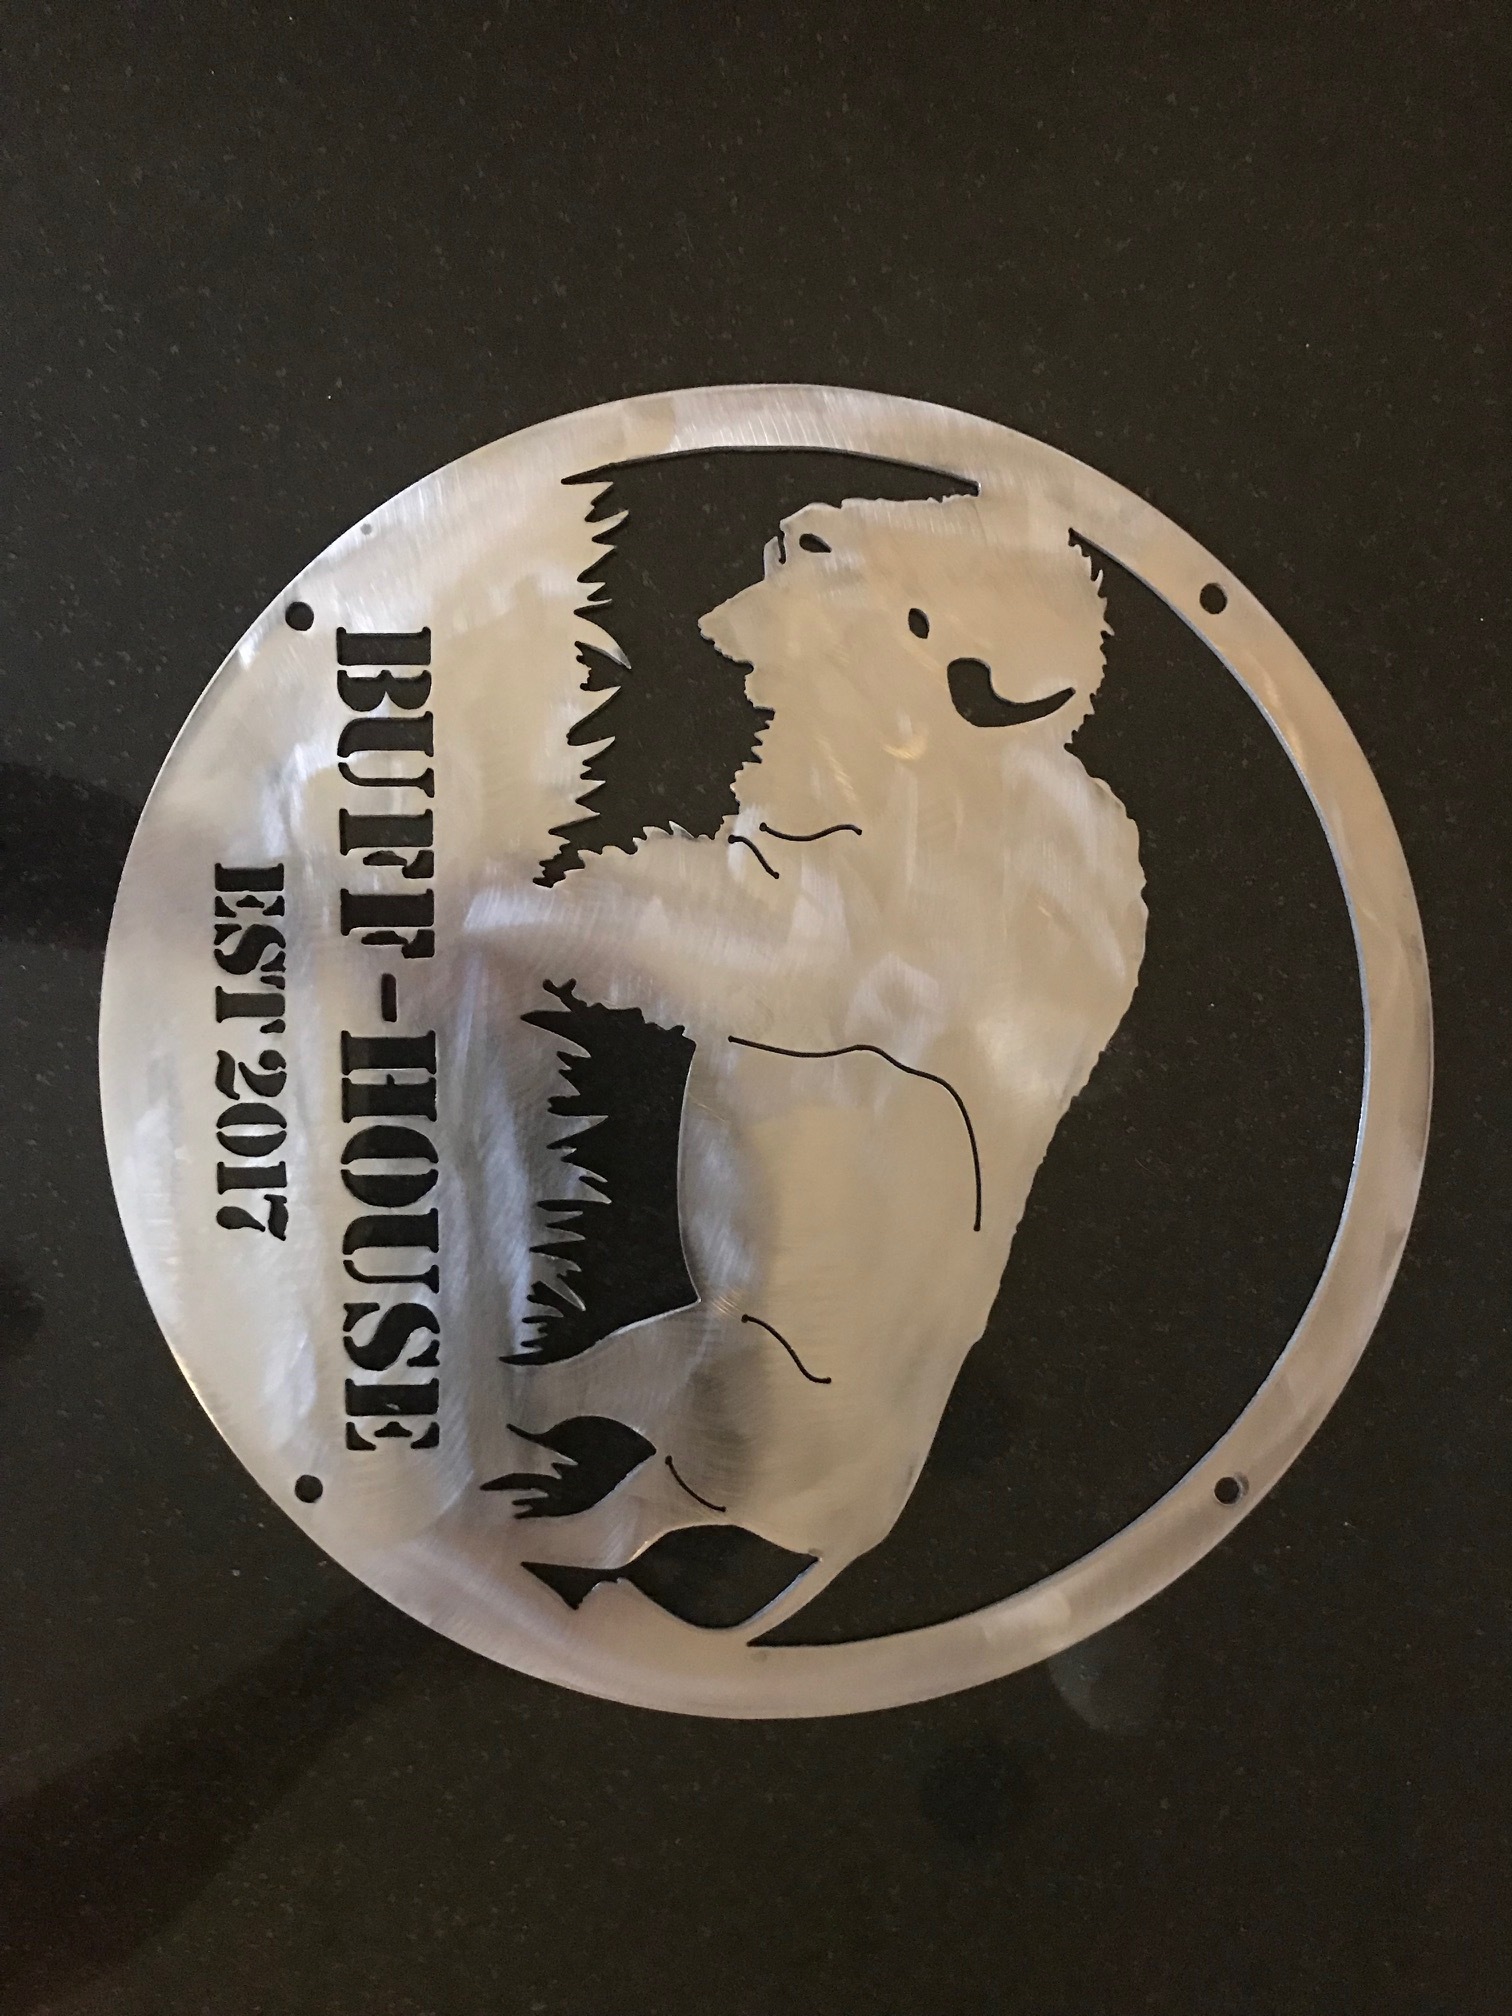
This may seem obvious, but I created a simple sketch with test lines to test different materials, amperage and feed rates. I edited the g-code directly to change the feed rate for each line. When running in Mach three I can also apply a feedrate scaling factor to try other settings. This gives me a little plaque for each material for later reference.

4 Likes
I made the same type thing to test how wide my cut was and angel at different speeds. very helpful.
I was cutting multiple little ornaments last night and after a while not all cuts were going through. I pulled the consumables out and cleaned them and put them back in and all was well. I learned on this forum (you guys are awesome) that my torch requires physical movement (blowback) of the electrode. My theory is that working on a water table, some moisture and grunge got into the torch head and made the movement inconsistent. Cleaning it fixed the problem. I inspected the consumables while they were out and saw no wear. Learning new things every day. Love my Crossfire, I am very happy with my purchase.
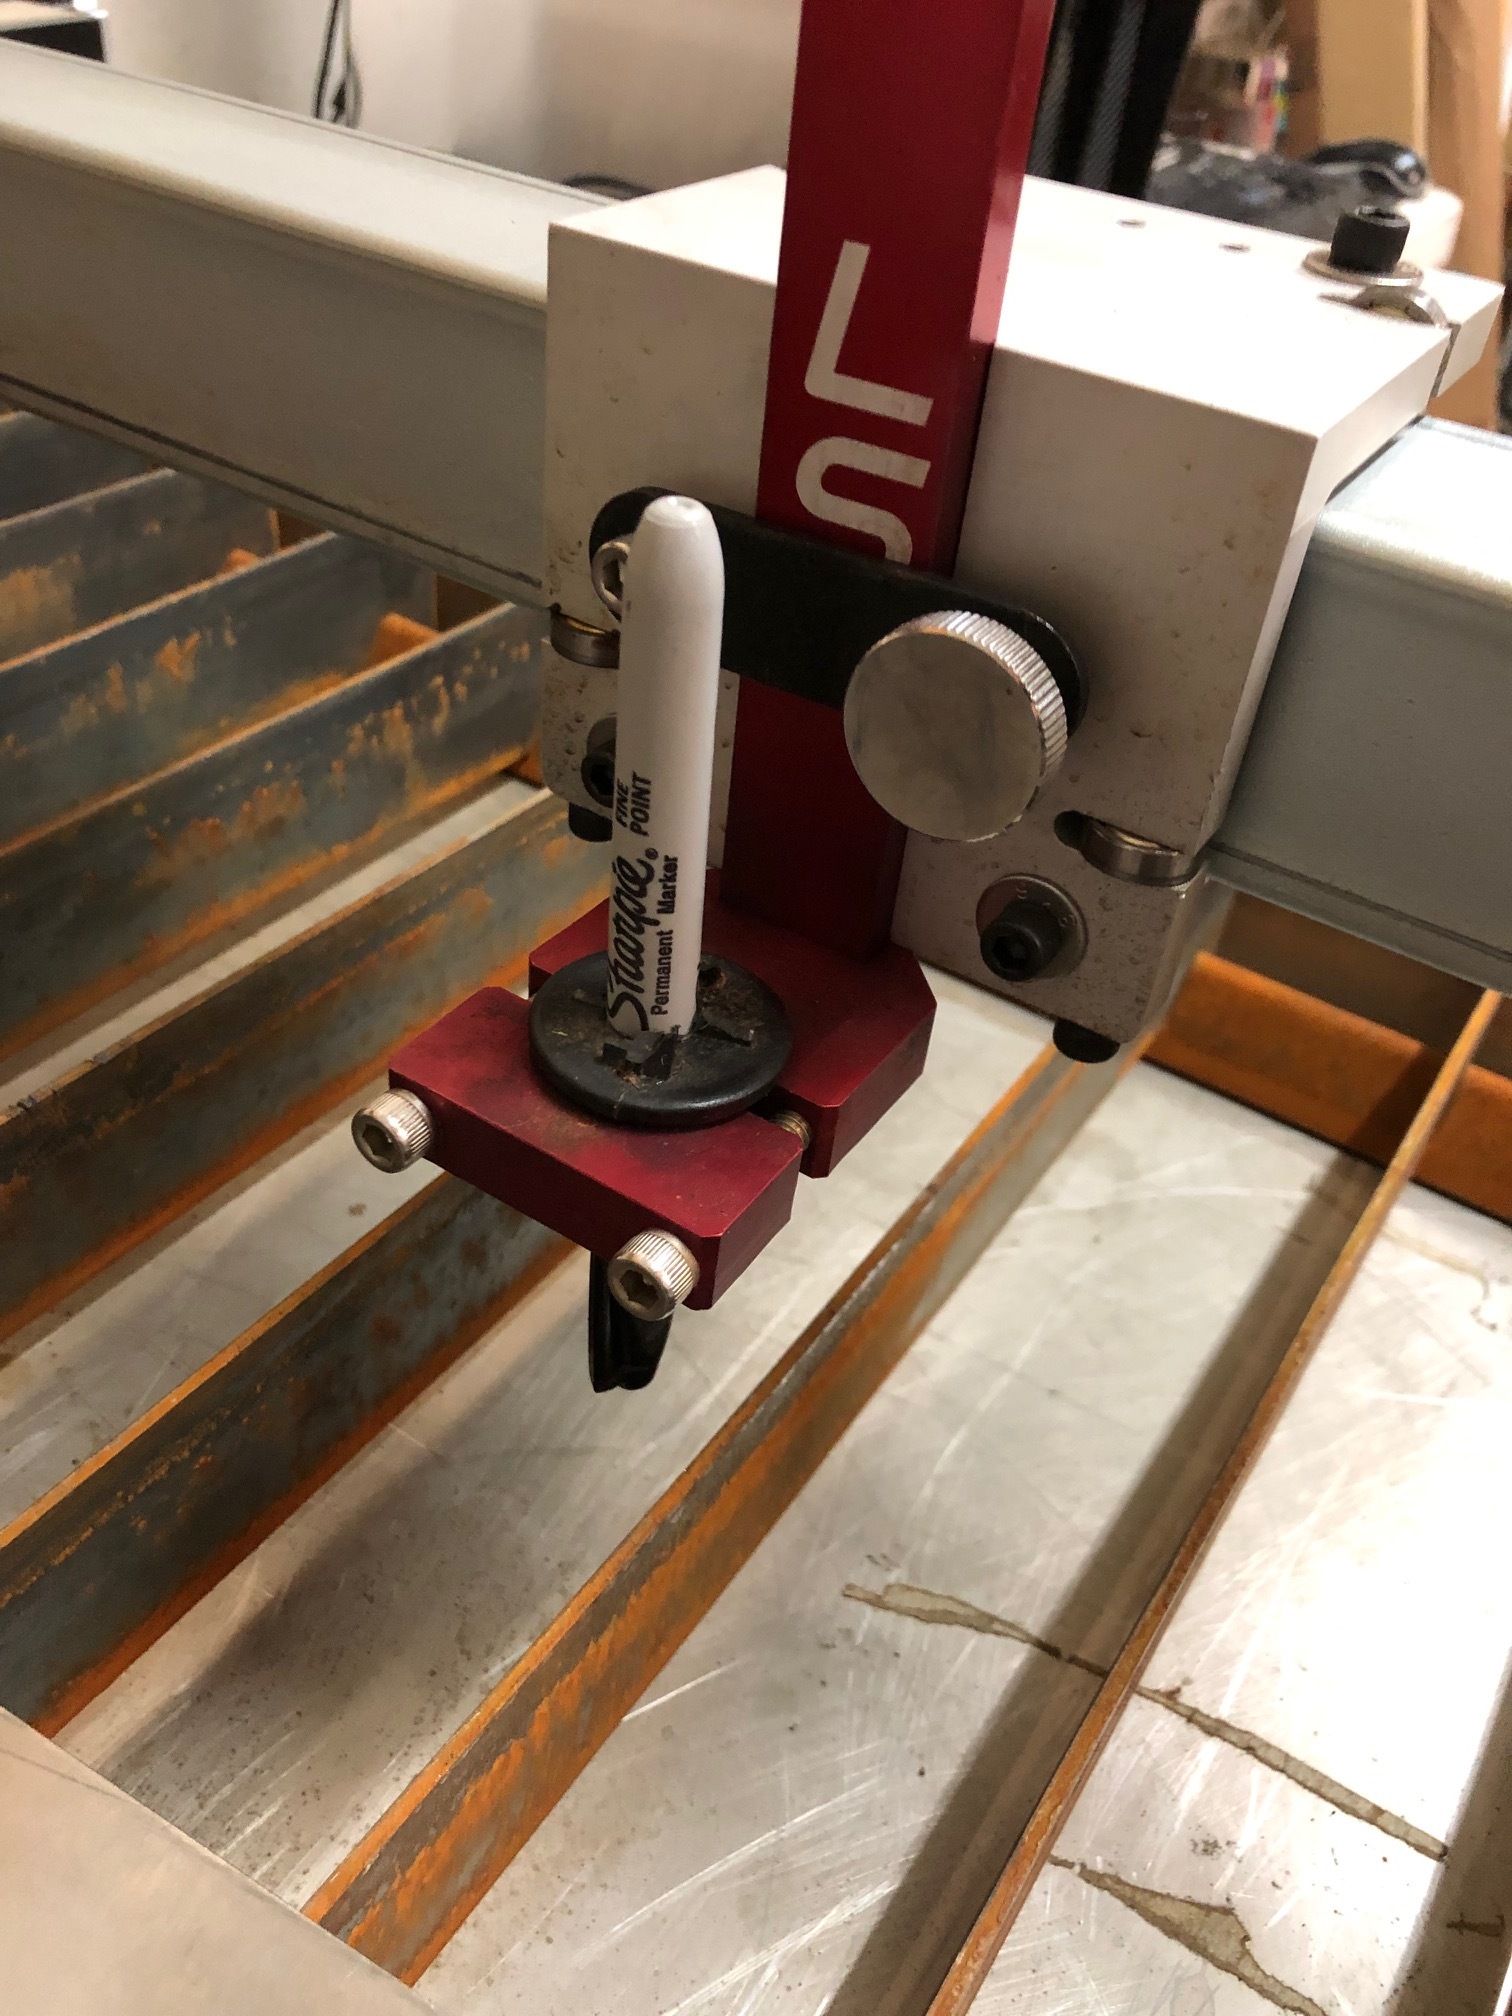
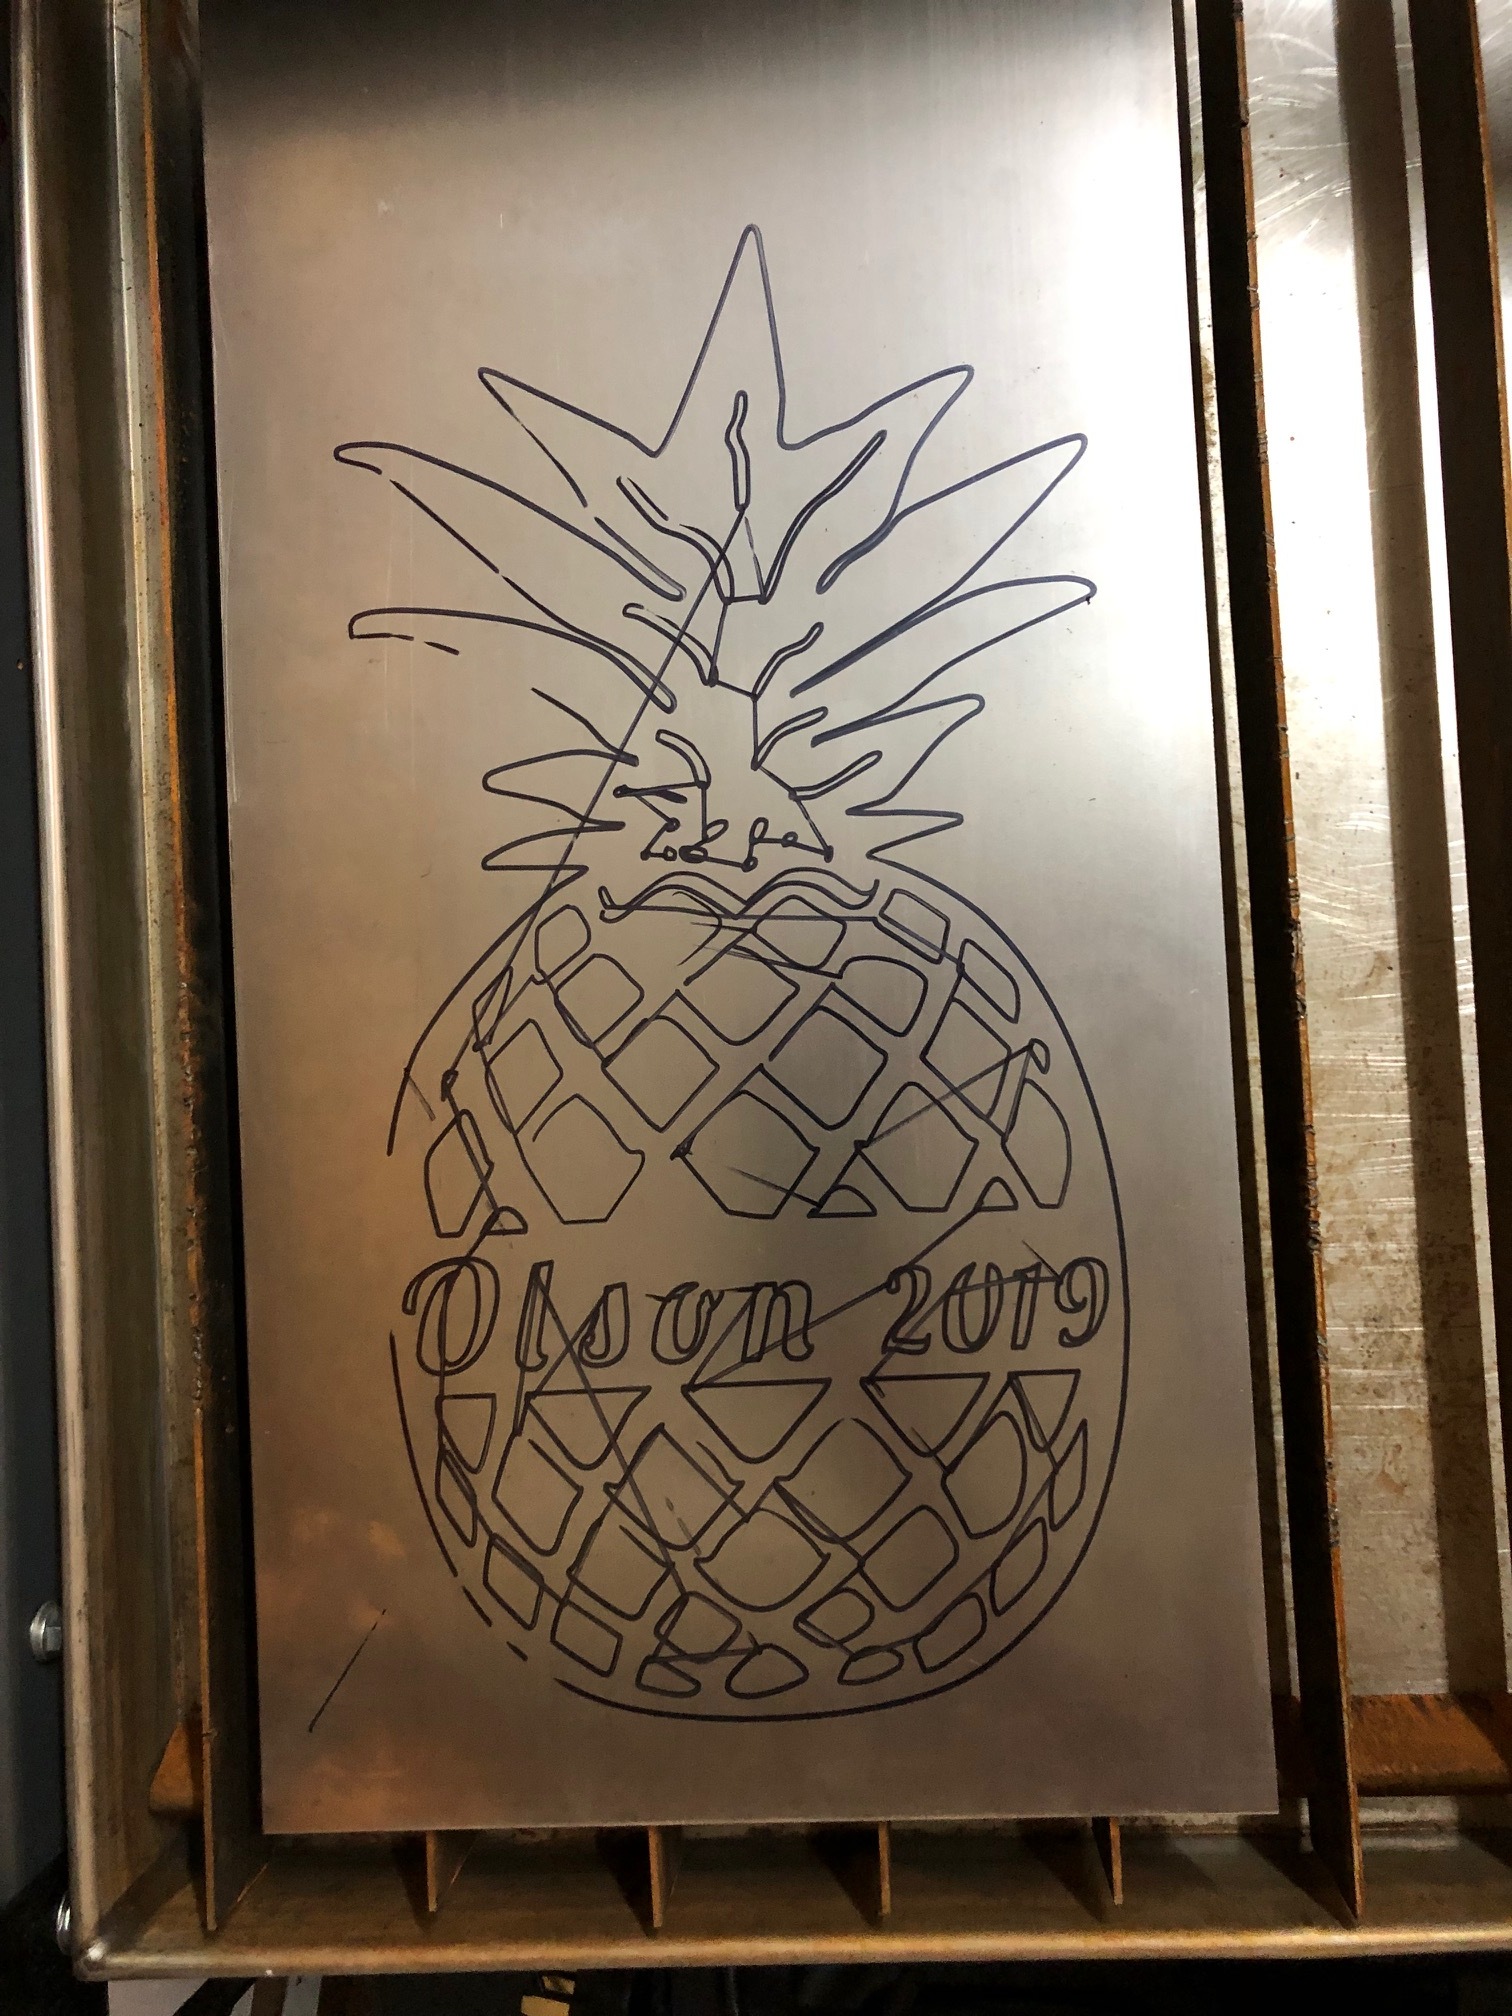
Not a super original concept, but I put a sharpie in place of the Torch. I found a 1 inch diameter piece of plastic (broken end of a LED yard light that I fixed with a tent stake and my plasma cutter) drilled a hole in it and mounted it on the torch slide. I left the torch slide loose so the pen had some freedom of movement against the metal. Kind of a cool way to visualize the tool path.
2 Likes
Hey Madkow, I just posted an issue I am experiencing that you had. Torch fires but will not cut clear through part. I tried recutting over previous cut but issue occurs in the same spot. Any ideas ?
I fixed my issue by just removing the consumables and cleaning them. I am also finding that the fine cut consumables are very sensitive to torch height and will lose the arc if the torch gets high. I have also played a lot with feed rate. The table does not always get up to the set feed rate on short cuts so feed rate issues can be masked. What I have observed is that the skipping occurs on longer, straight cuts where the feed rate actually reaches the set speed. In this case I would just edit the g code and do the cut with a slower feed. I also suspect that I have bumped up against the duty cycle of my torch a time or two (no longer an issue now that I am running 240 V). I don’t know if any of this helps but they are my observations.
1 Like
Tried Aluminum yesterday for the first time. Had a really hard time getting the torch to pierce the sheet and I was setting super slow feeds to keep the cut going. My big realization of the day? Fine cut consumables can not be used on thick aluminum (1/4 inch). When I changed to the standard consumables on my Hypertherm 30 XP the Al cut like butter at a decent feed rate.
1 Like

Wow nice… 175IPM! To be honest, I would never have thought of going that high with that much detail on the Crossfire, I’m just not sure it’s made for that kind of speed when changing directions that much.
It seems to handle it in stride. Too slow and I get a big Heat affected zone (especially on the leaves).
A little hit with a flapper wheel takes care of them though
Leveling the table. The tutorials that Langmuir puts out are awesome, but the table leveling video is… uh… worthless? I totally agree with adjusting the main gantry to ensure that the X-axis runs parallel to the table. That works! But adjusting the feet to level the Y axis doesn’t even make mechanical sense. If everything is tight, all it does is lift one leg off of the floor. I followed a slightly different procedure that I think is much simpler and actually works. First ; loosen the frame to leg bolts slightly. Second, level the table with the casters. All four sides (and diagonal) need to be level especially if you want to hold water in the tray. Third - tighten the frame bolts again with all four wheels firmly on the floor. Fourth - jog fully negative in both X and Y. Drop the torch holder to a slat with the .125 shim in between. Fifth - jog to each corner and check the gap between the torch slide and the slat (be very careful when jogging that the lowered torch slide does not collide with a slat) - Finally, Shim the slat holder brackets up in the low corners to fit the .125 shim to the torch slide. Now your torch will be parallel to all points on the table.
1 Like
I am thinking I might put threaded inserts in the ends of the slat holders and have adjustable corners to eliminate the shims
1 Like
I like the sounds of this… My slat holder brackets are shimmed for now too!!
This may seems obvious. But when cutting multiples of the same part, it is easy to set your new zero in Mach 3 by jogging to the opposite edge (from the previous zero) of your part and watching the tool path window. Mach 3 will Highlight the theoretical stock edge when you get there and you can set your zero for the next part there.
Newbie trick on Mach 3. Use multiple tool paths on artwork or complicated cuts! Fusion lets you set up multiple tool paths which makes a big difference if you want different parameters for different sections of your cut (for example, lines or splines need zero lead in/out). Execute each tool path in order. If one fails, it is easy to go back to edit the path in Fusion and start where it failed. The last path should be the one that removes the part from the stock.
1 Like