I woke up this morning to dreams of bigger drag chains to be able to run my PT60 torch lead through along with everything else. After a dry fit yesterday in the 15x30 drag chain it’s obvious a 25x38 with a larger bend radius is the minimum size it would really need.
I’m struggling to not just order the bigger chain and modify the mounting designs to make it work. It would make the table look a lot cleaner without the plasma torch lead coming down from overhead, and if I’m going to do it, why not do it now?
I have 2 concerns:
Will the weight of the larger chain and resistance of the plasma torch cause extra loading on the X and Y1 axis motors that might cause missed steps without a reduction in acceleration parameters?
Will the drag chain cause mechanical wear to the plasma lead that might cause an early demise?
My inclination is no, and probably. The question is how much might it decrease the life of the lead? I’m sure that the bend radius of the chain is a big factor in determining that, but the bigger the bend radius, the more in the way the chains become, so I can’t just go big and not worry about it.
IMHO a good engineer needs to know when to stop and not over-engineer a product.
I think a drag chain big enough to handle a torch lead would be less attractive than the lead hanging down from the support bar. Again, just my opinion.
I’m glad the y-axis motor swap worked out to a cleaner build. I will do the swap myself and then re-write my “Installing Drag Chains” writeup.
Thanks for the “keep it dry” advice. I have not used nylonish filament before.
That’s pretty much what I decided. I’ve already buttoned up the drag chains and zip tied all of the cables in place so it’s safe for a dry run.
I plan to use some more of that BluPrint filament to print the machine torch holder. I think I’m going to have to stick it back in the dehydrator first. It’s been a couple days since I dried it and it was already getting noticeable stringing from the moisture it picked up after just 24hrs of printing. It’s really no joke that you almost have to do it every day or two unless you are storing it in a dry box with dessicant.
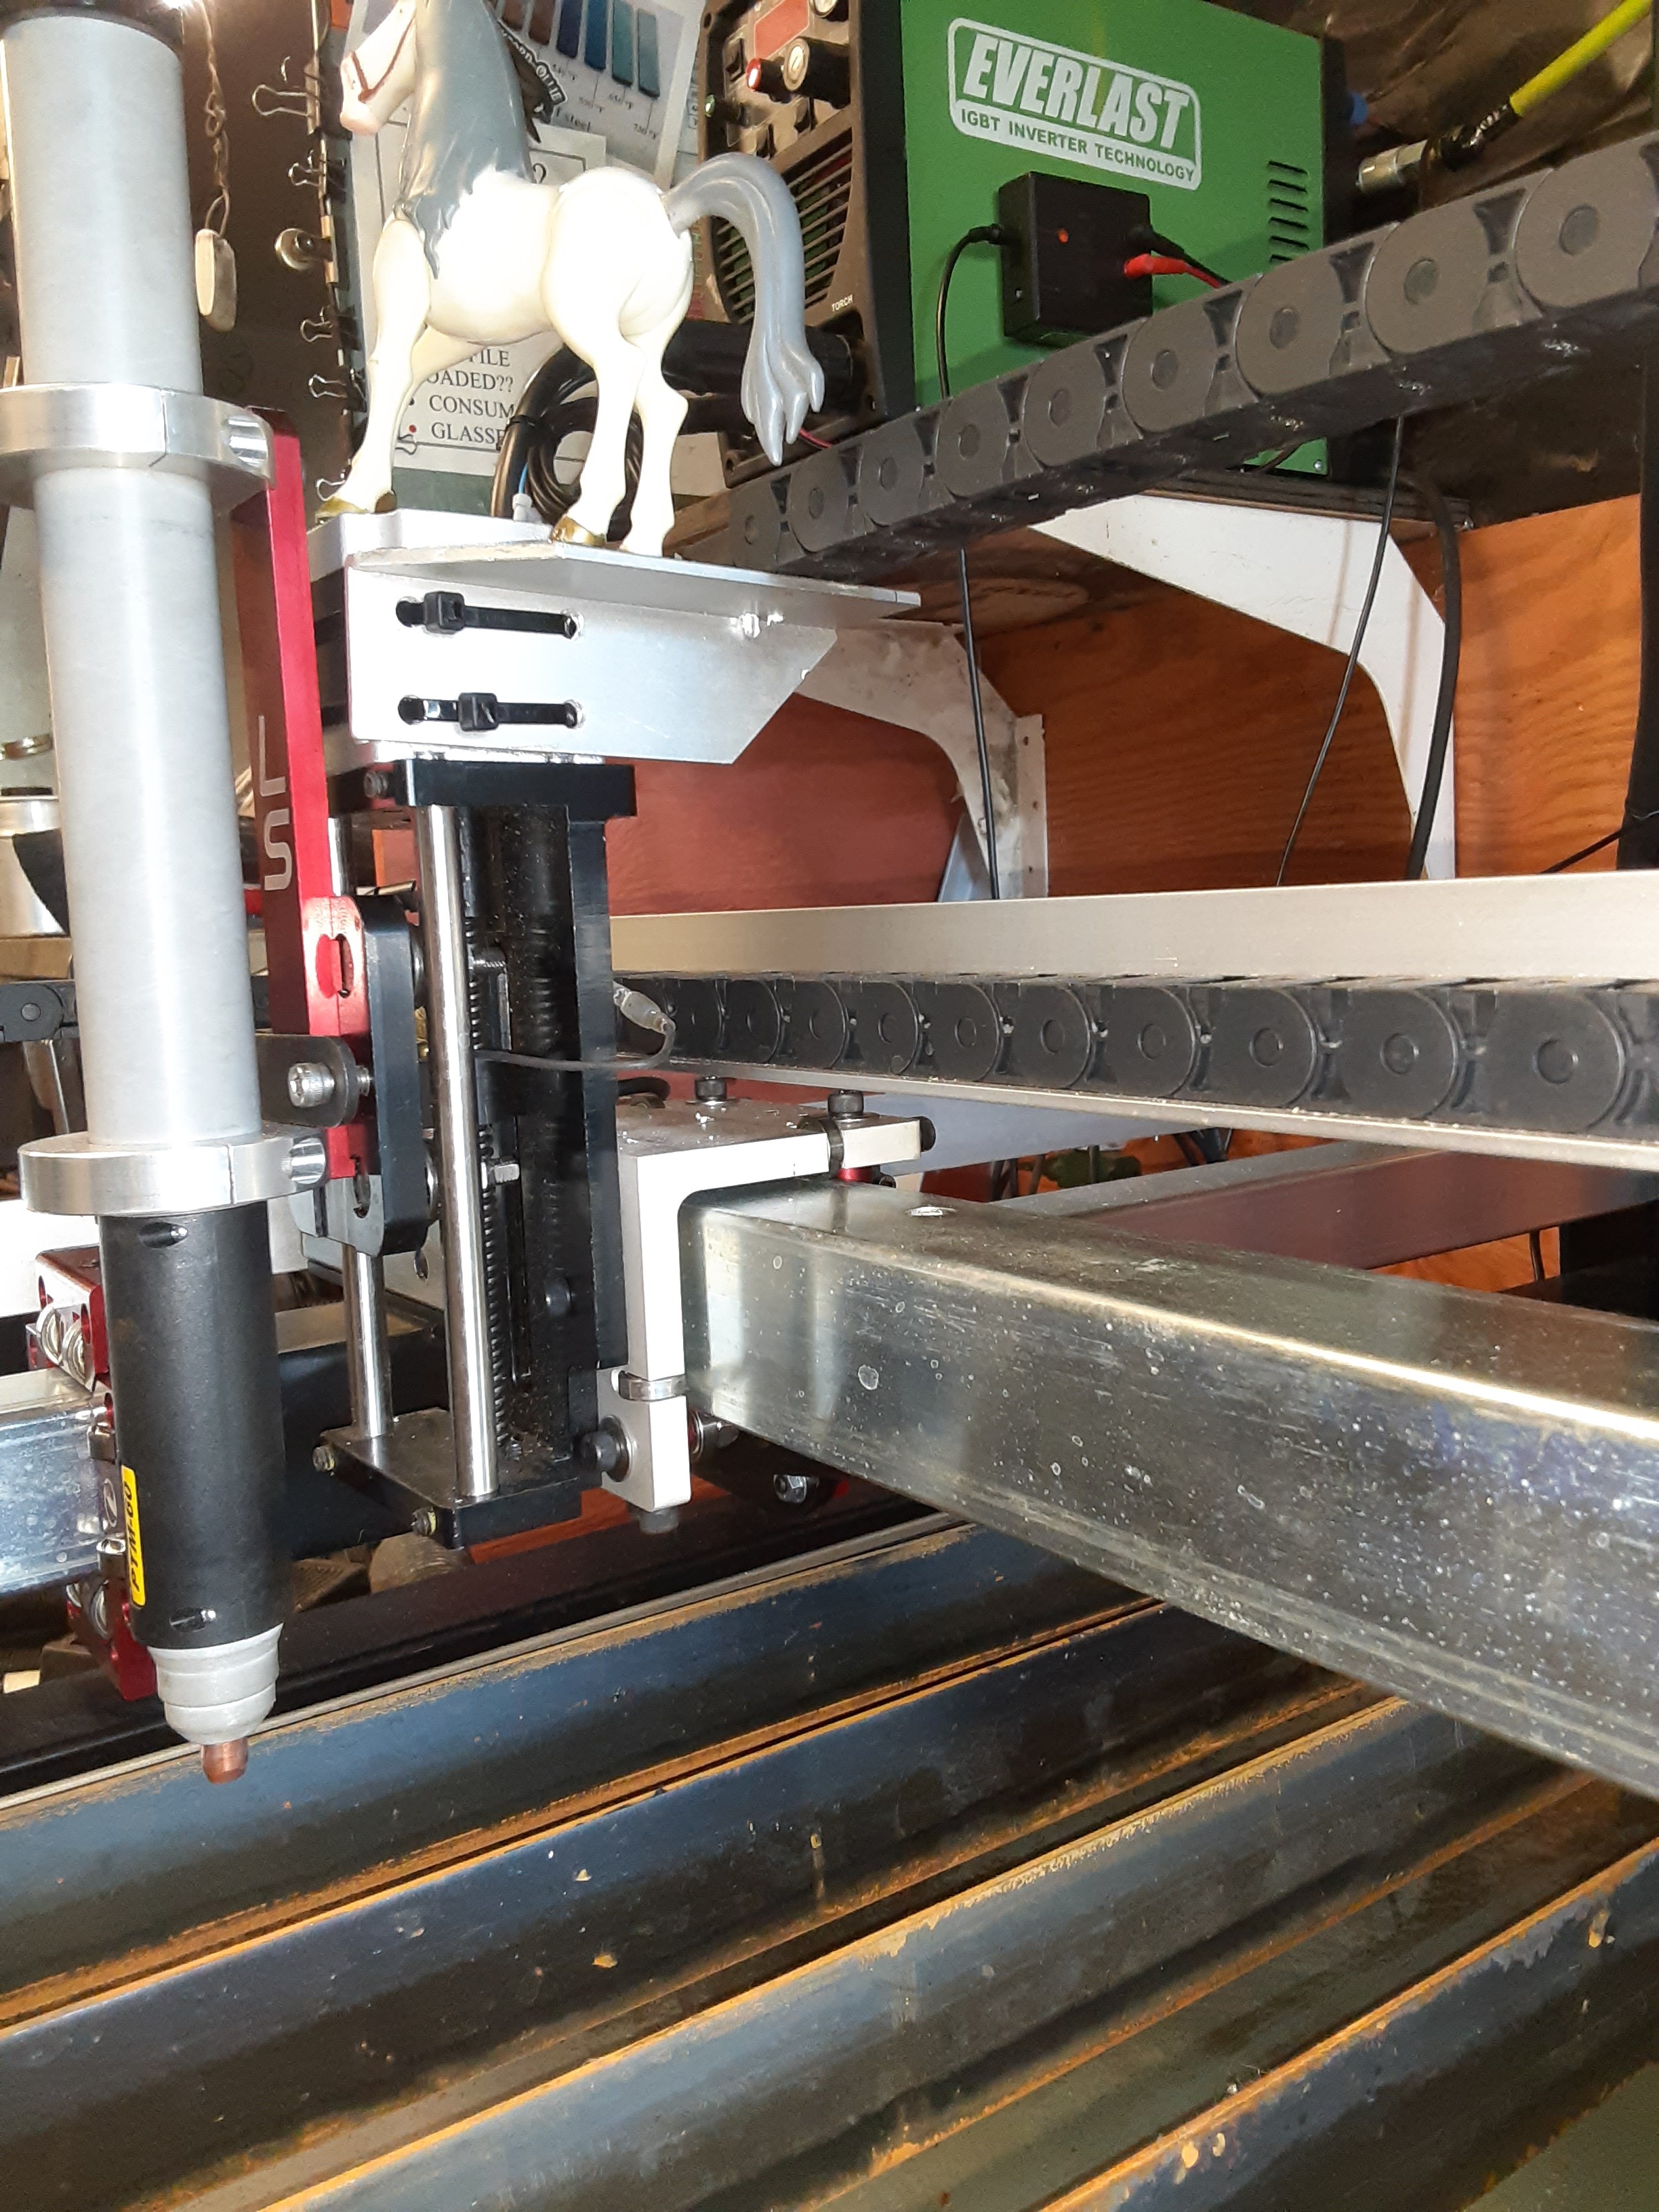
Well I have stolen every idea I could from my fellow forum members and installed drag chains on my table. Attached is a link to the video https://youtu.be/AfJ0tcANv8I
Same here!! Another “tip thief” myself making good use of all of the previous posts regarding drag chain installs!!
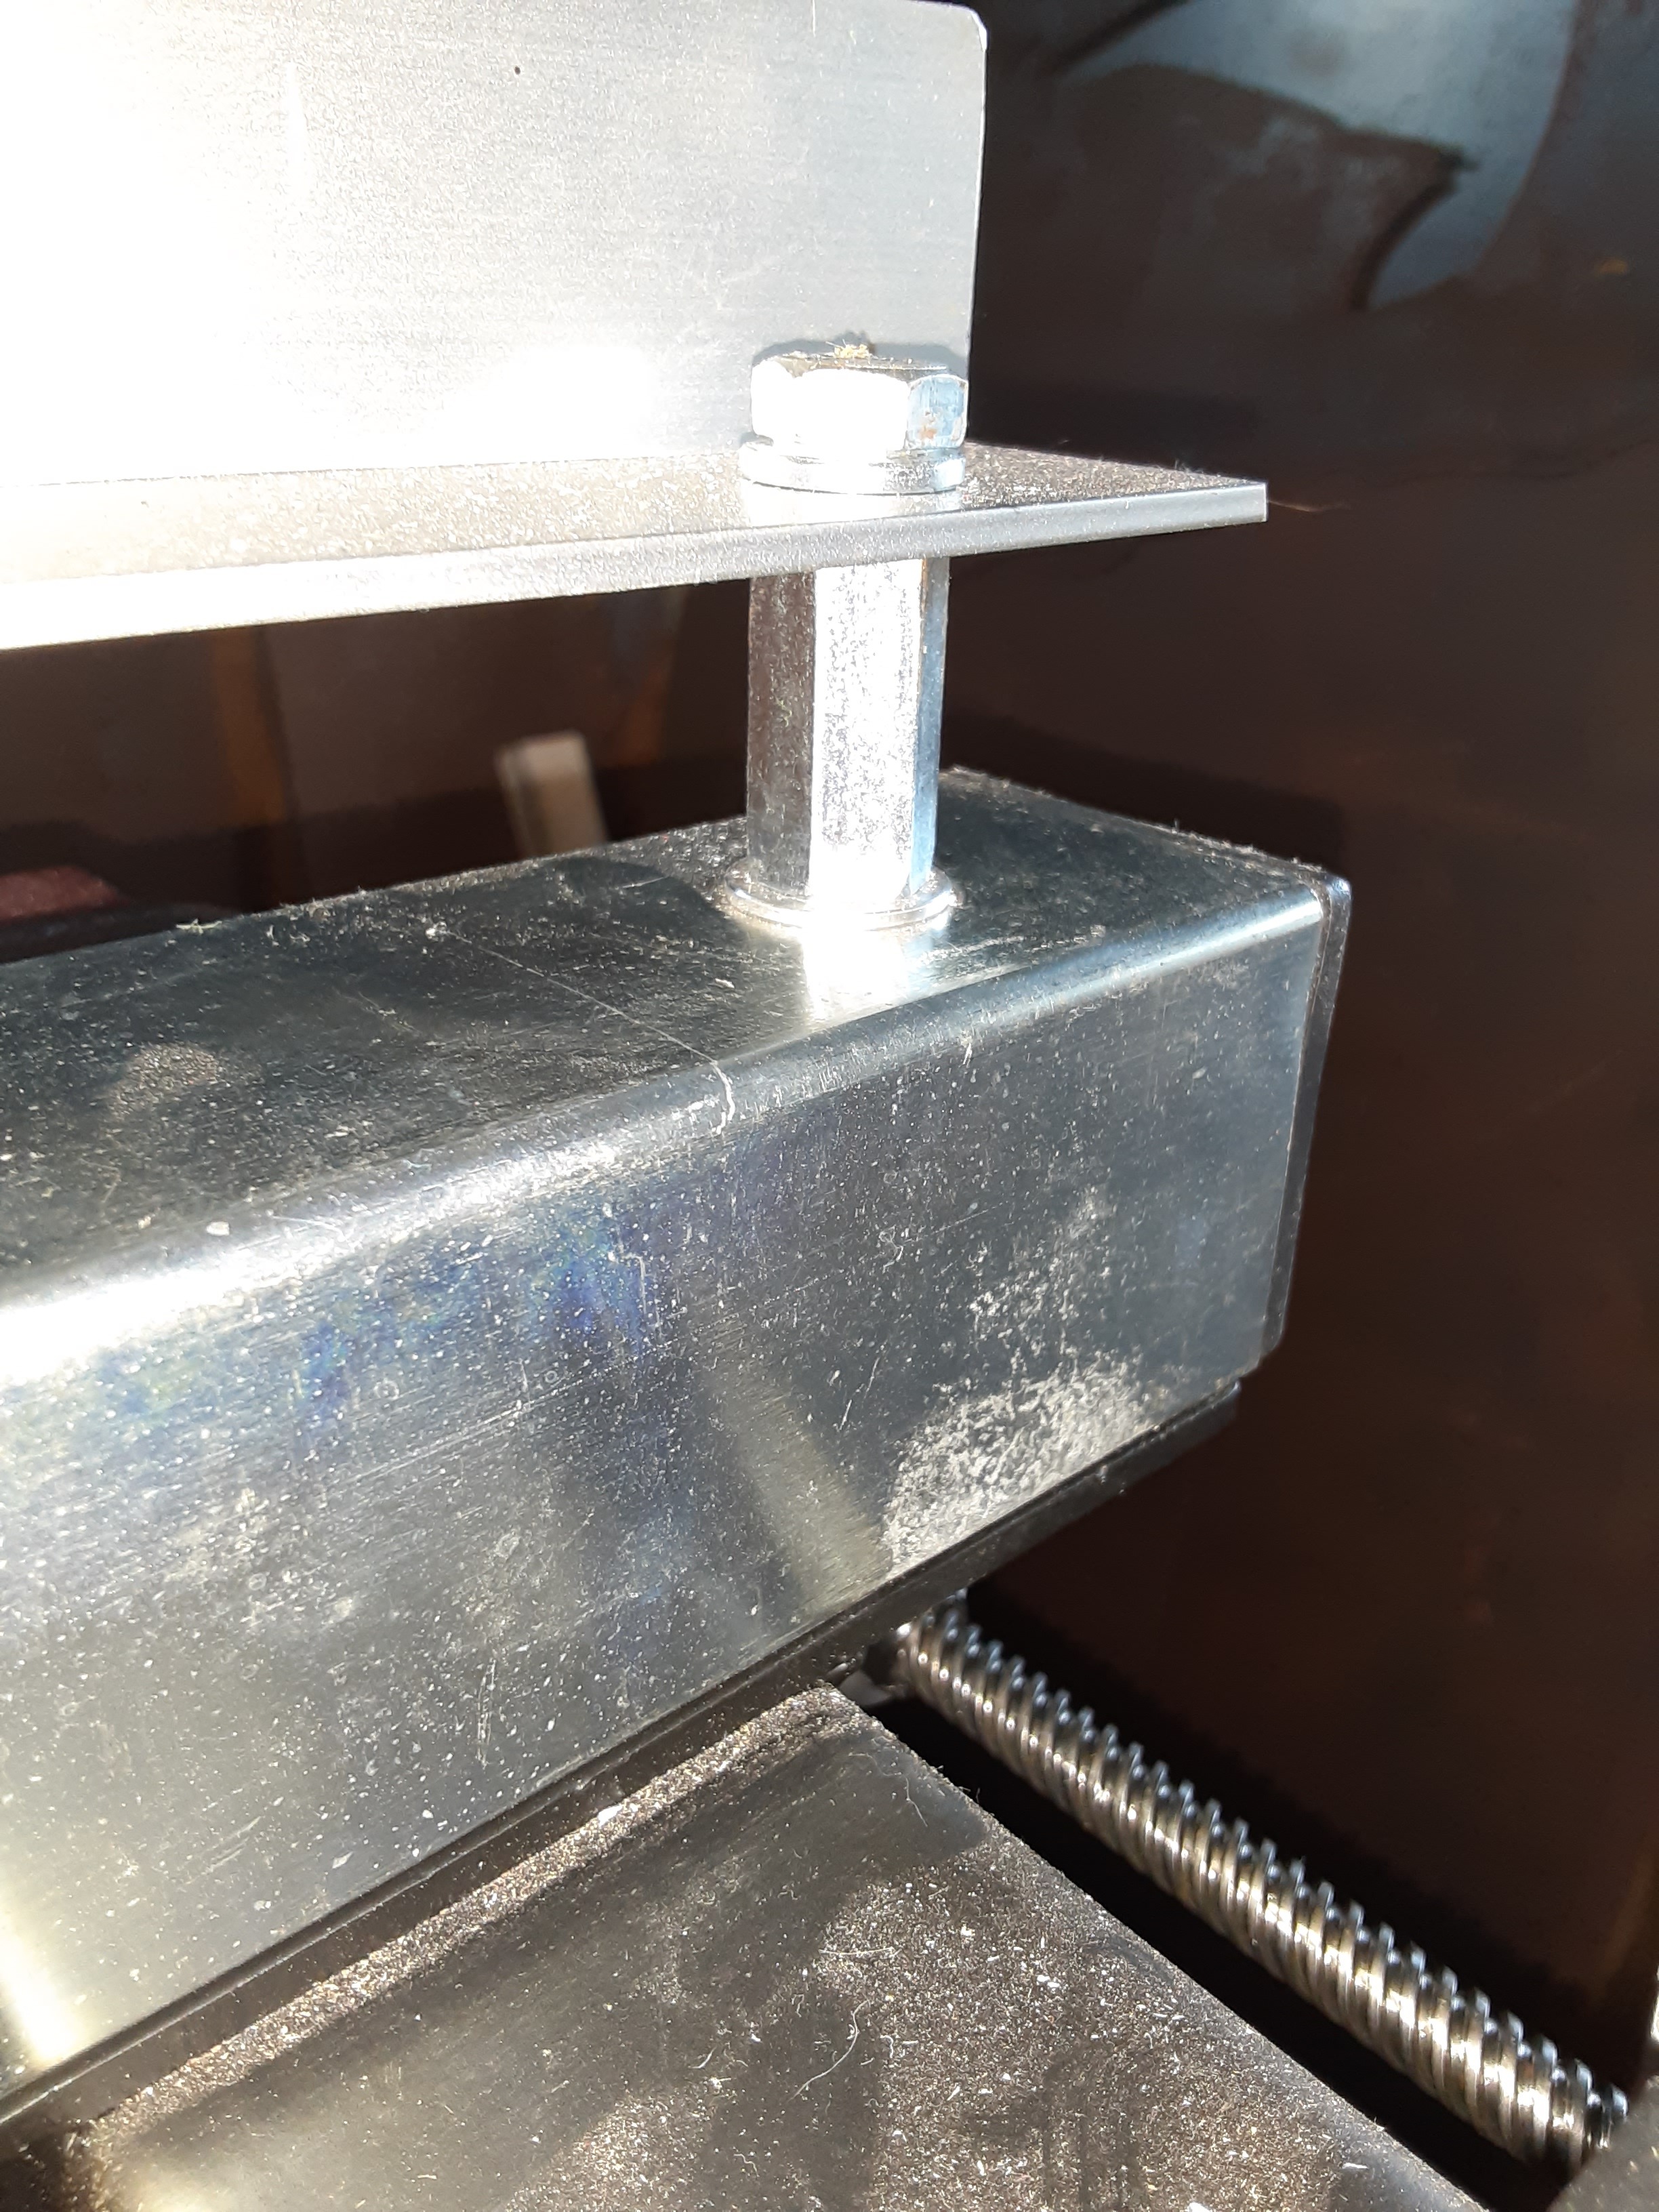
I did one thing differently that I thought others may find usefull… For the Xaxis chain standoffs above the rail I turned one bolt over on each end and installed a 3/8" coupler on the remainder of the bolt now facing upwards. Cut my rail, and bolted thru into the coupler… No machining or tapping of holes… Just an easier way for me…
I have two extra sets of 3D printed parts described in the above post. One printed in ABS and the other in ASA. They came out excellent. For the cost of shipping, one set each to the first two people to PM me.
they say dry it for several hours and keep it in the dryer till right before you print. i’m going to be trying to print some heavy equipment pivot joint bushings from nylon sometime soon…will take some settings being right i’m sure. hopefully it went well for you. i noticed a possible mod for these printed brackets might be the addition of a mounting location for limit switches if one were to diy them so i figured i’d comment on an old thread.