Well, I figured why not! I a hobbyist, so I took on a challenge and learned a lot on this first project. Lots of tutorial review and since the level of detail is so much, I learned the challenges of lead in and kerf width calculations. I still don’t fully understand what I could have done to make it cleaner… but if I am understanding kerf width and lead in correctly, this machine and my plasma cutter have limitations that I need to better understand.
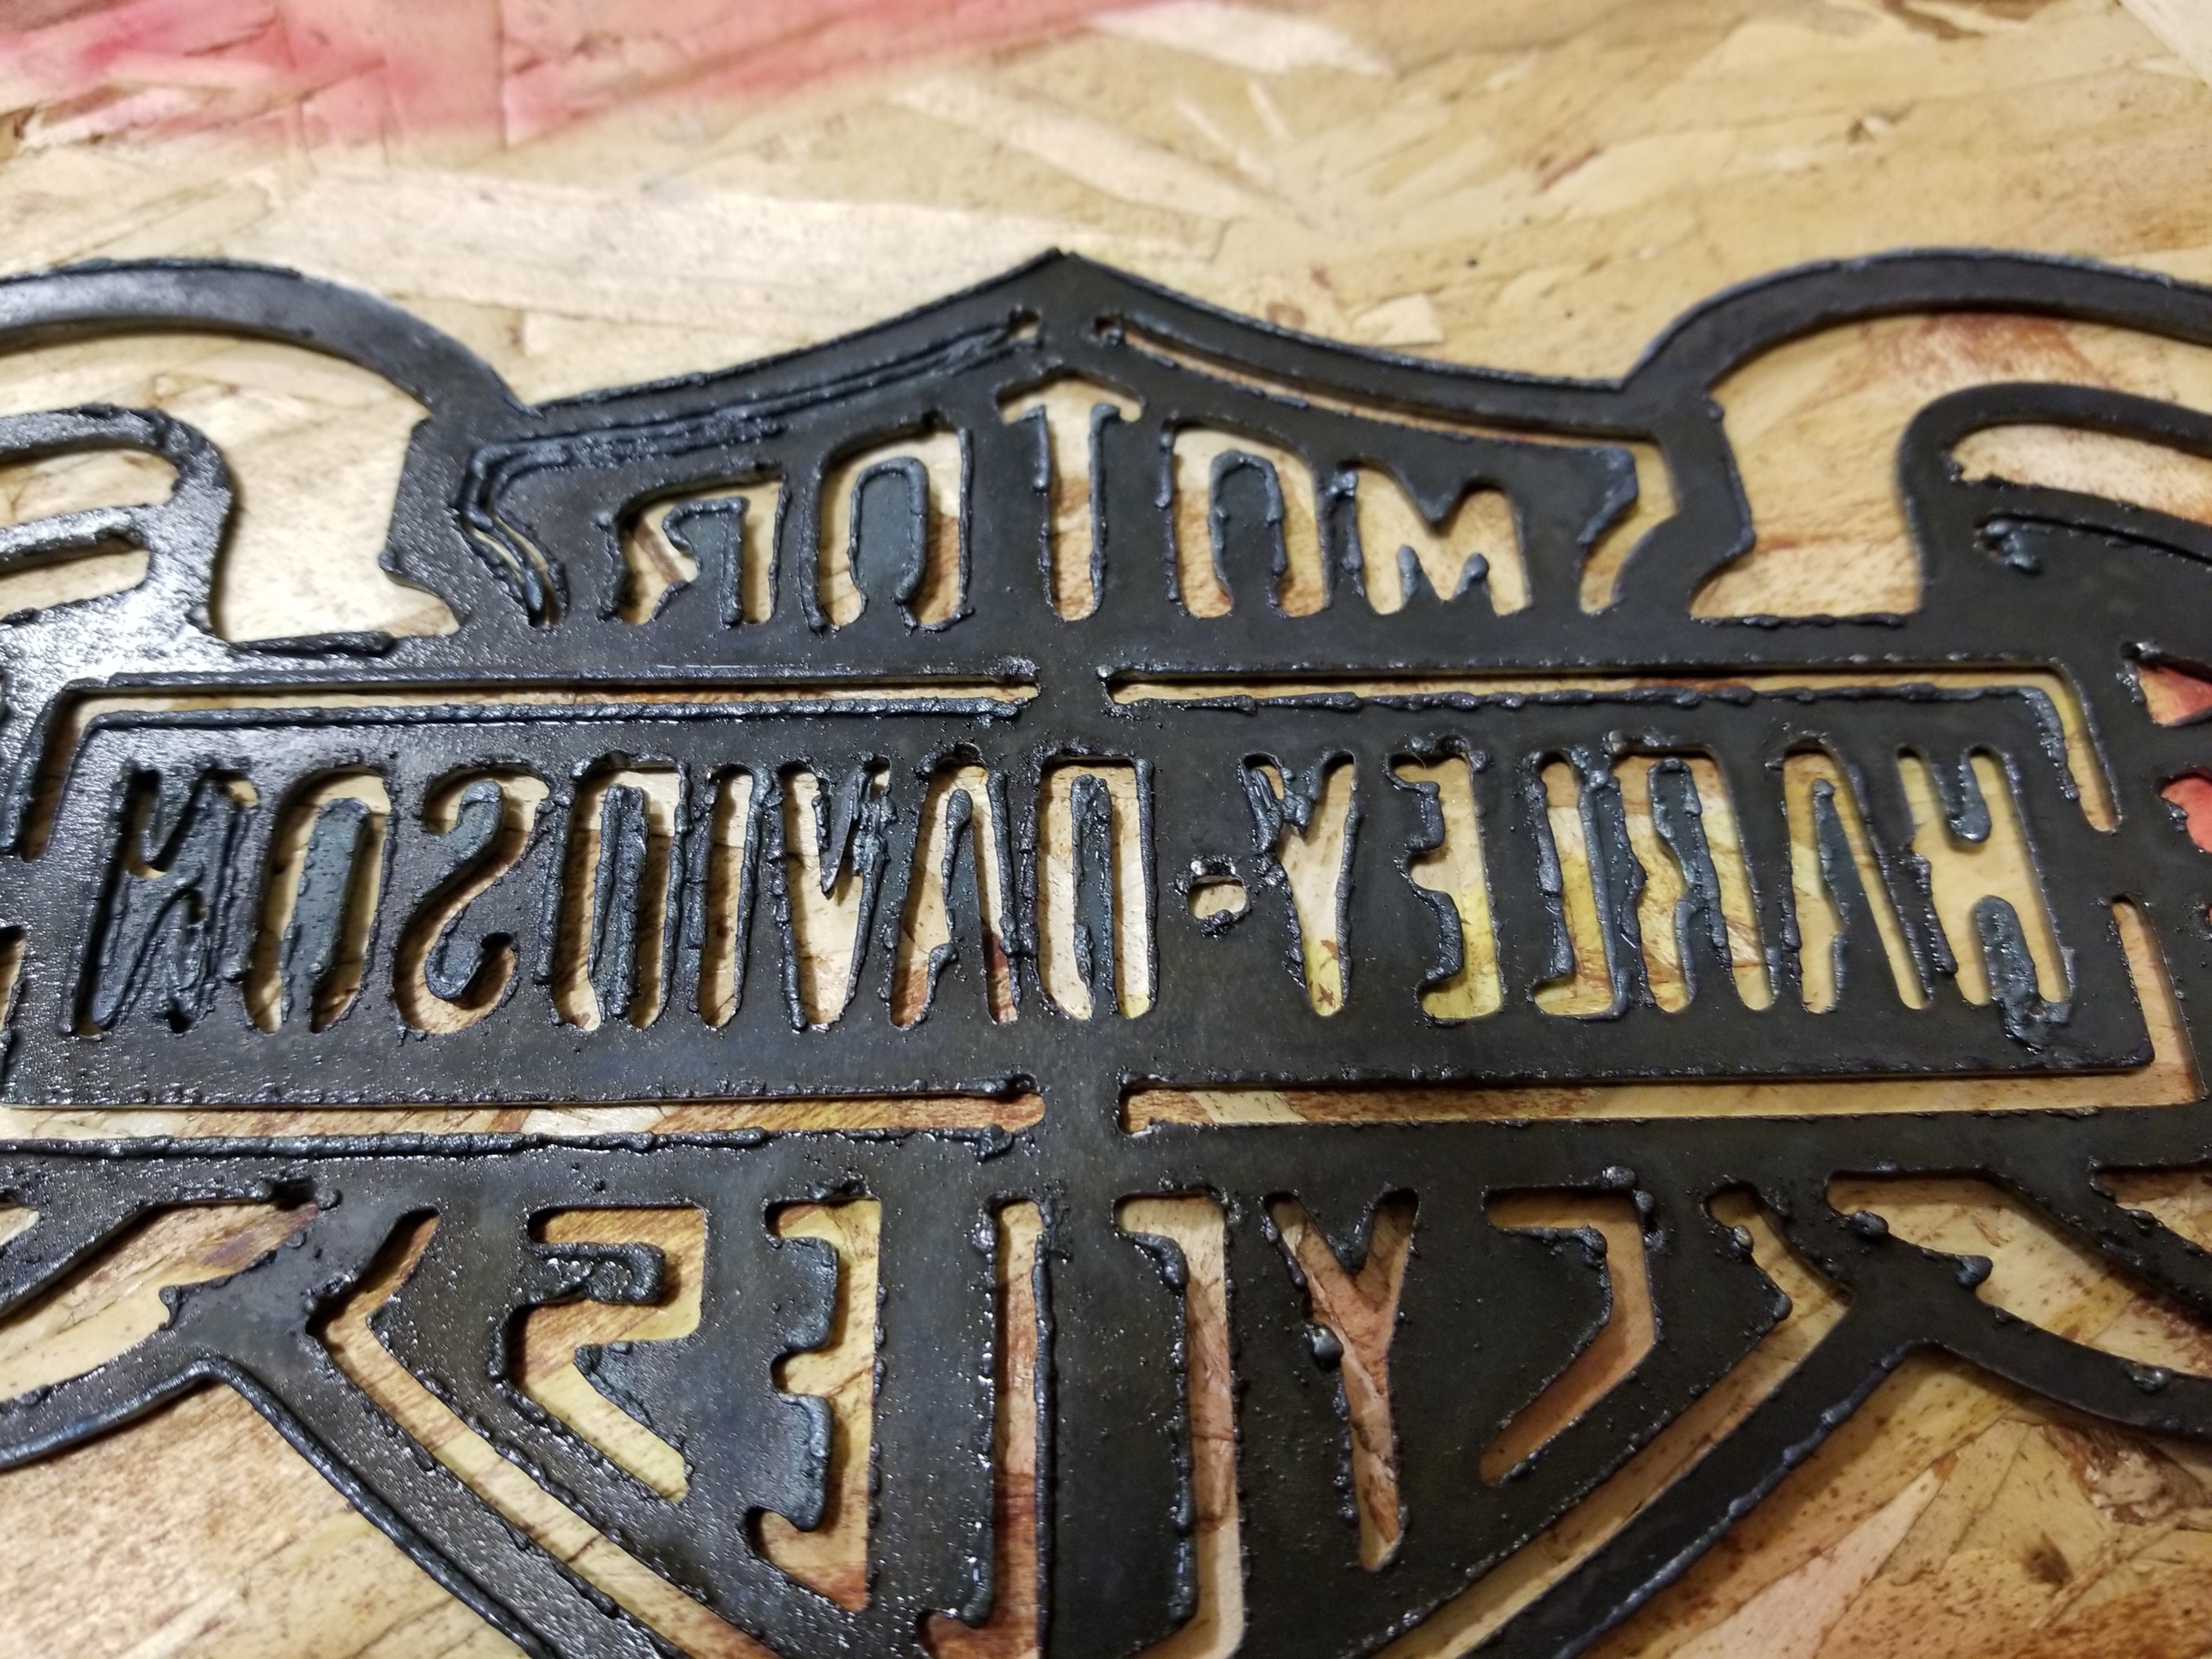
I lost several details that I only gained back by changing my lead in to .05 and my pierce clearance to .05. I started at 100in per min, but slowed it down in Mach3 to 80%. My material is .060 carbon. My goal was to cut this out of .125 but didn’t want to waste material until I know what I am doing. I had to change my pierce delay to 1 second because I am using an old cutmaster 38 and for some reason there is always a delay on the first cut where it misses some of the cut. 30A 65PSI.
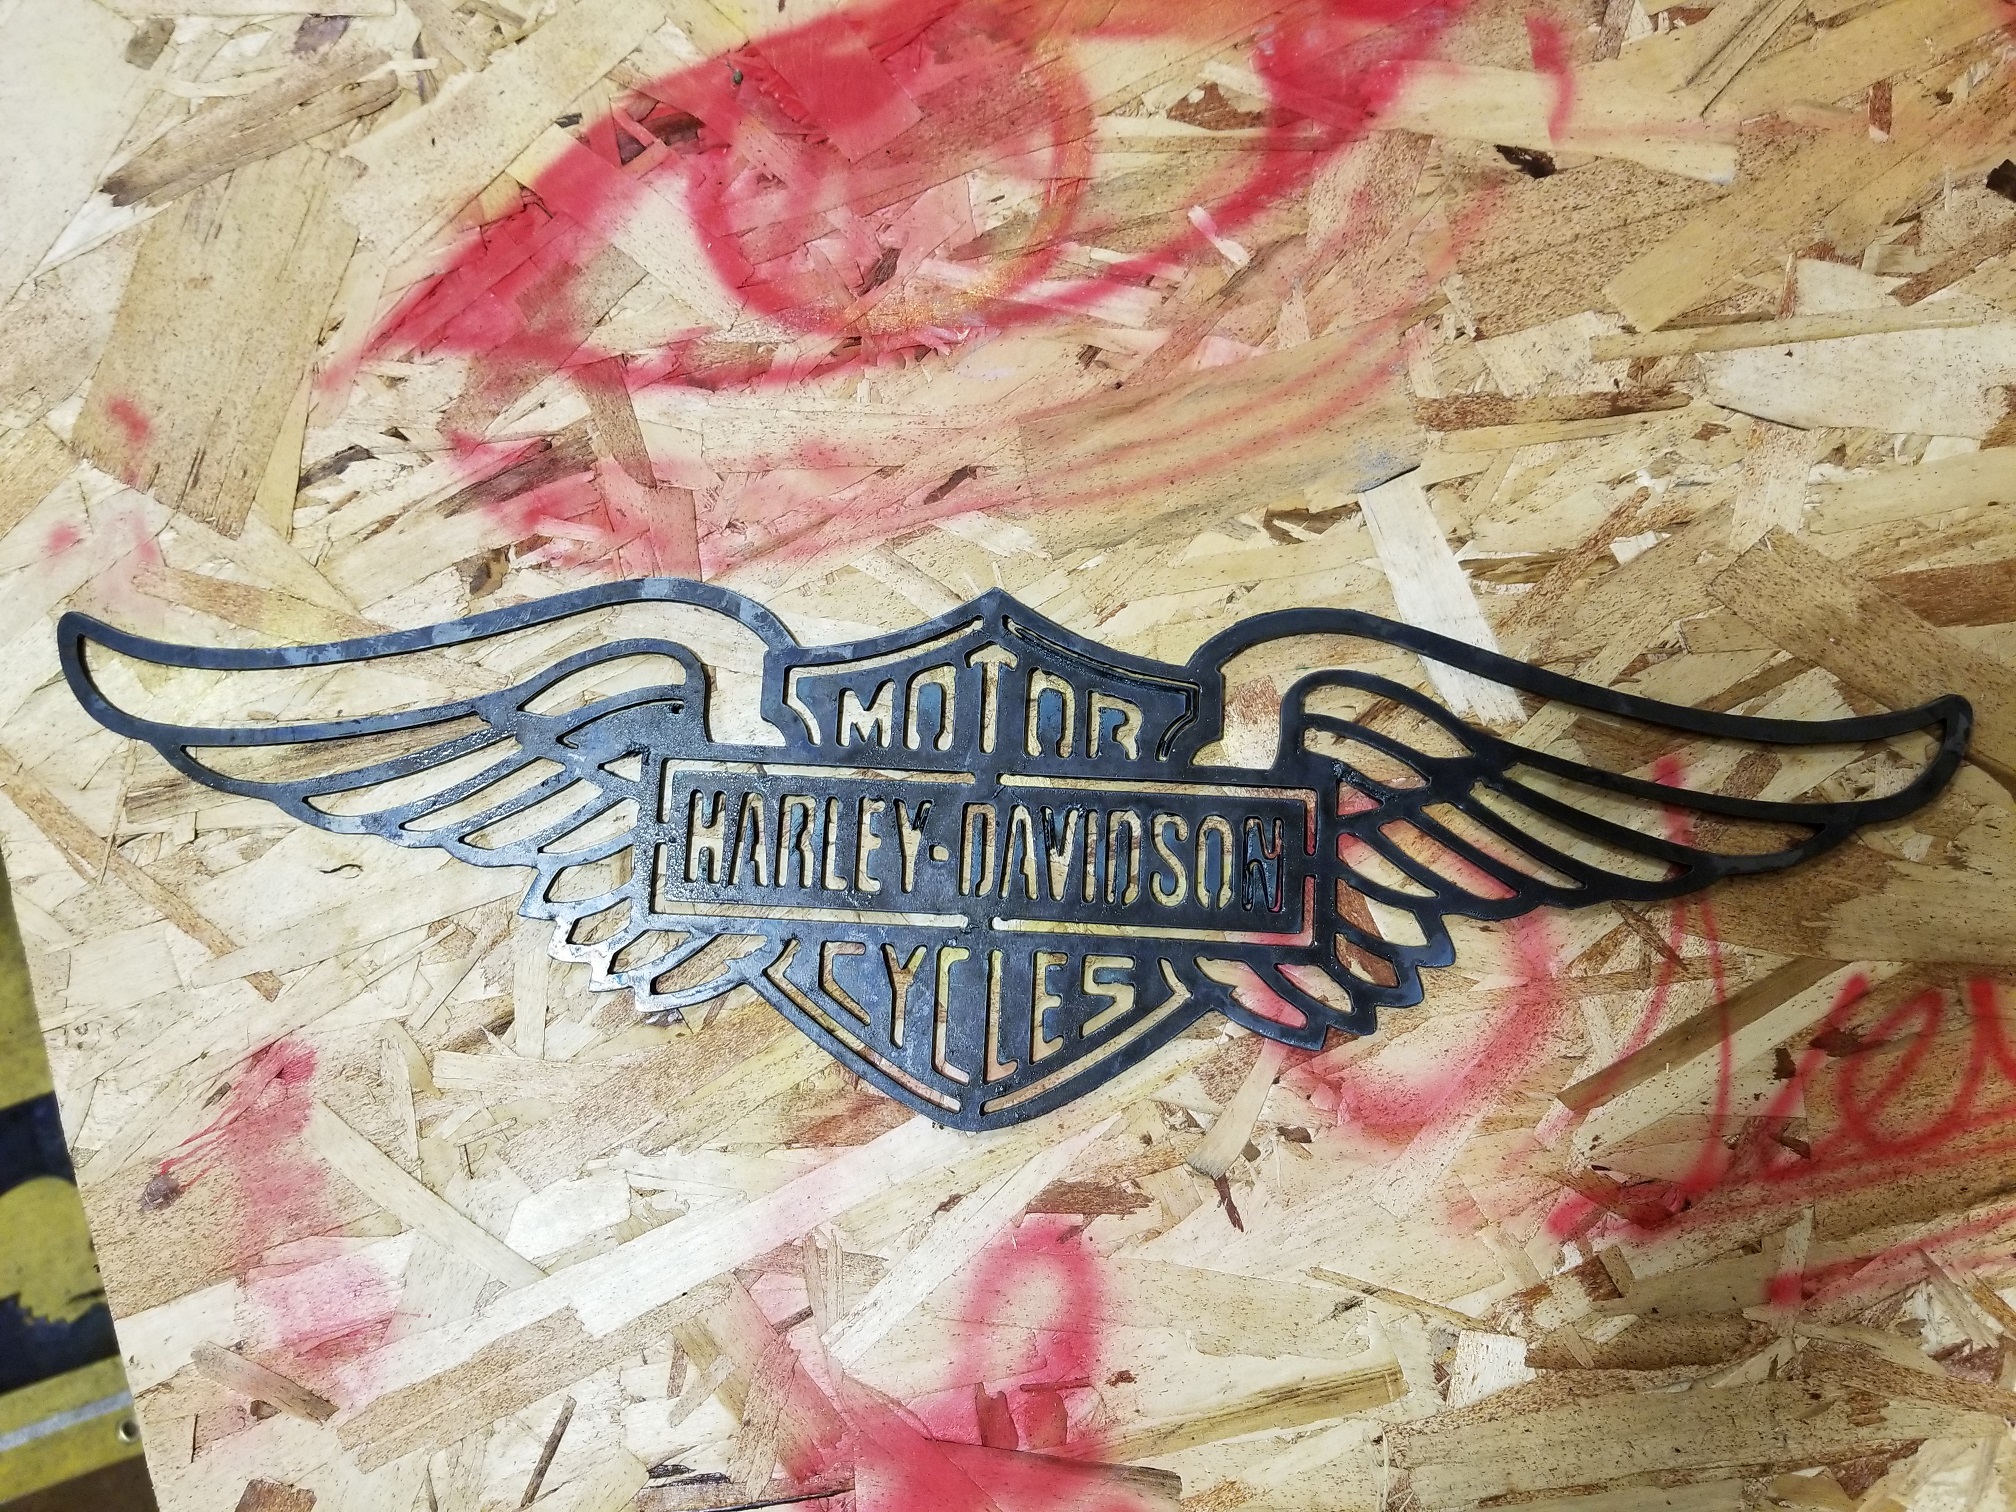
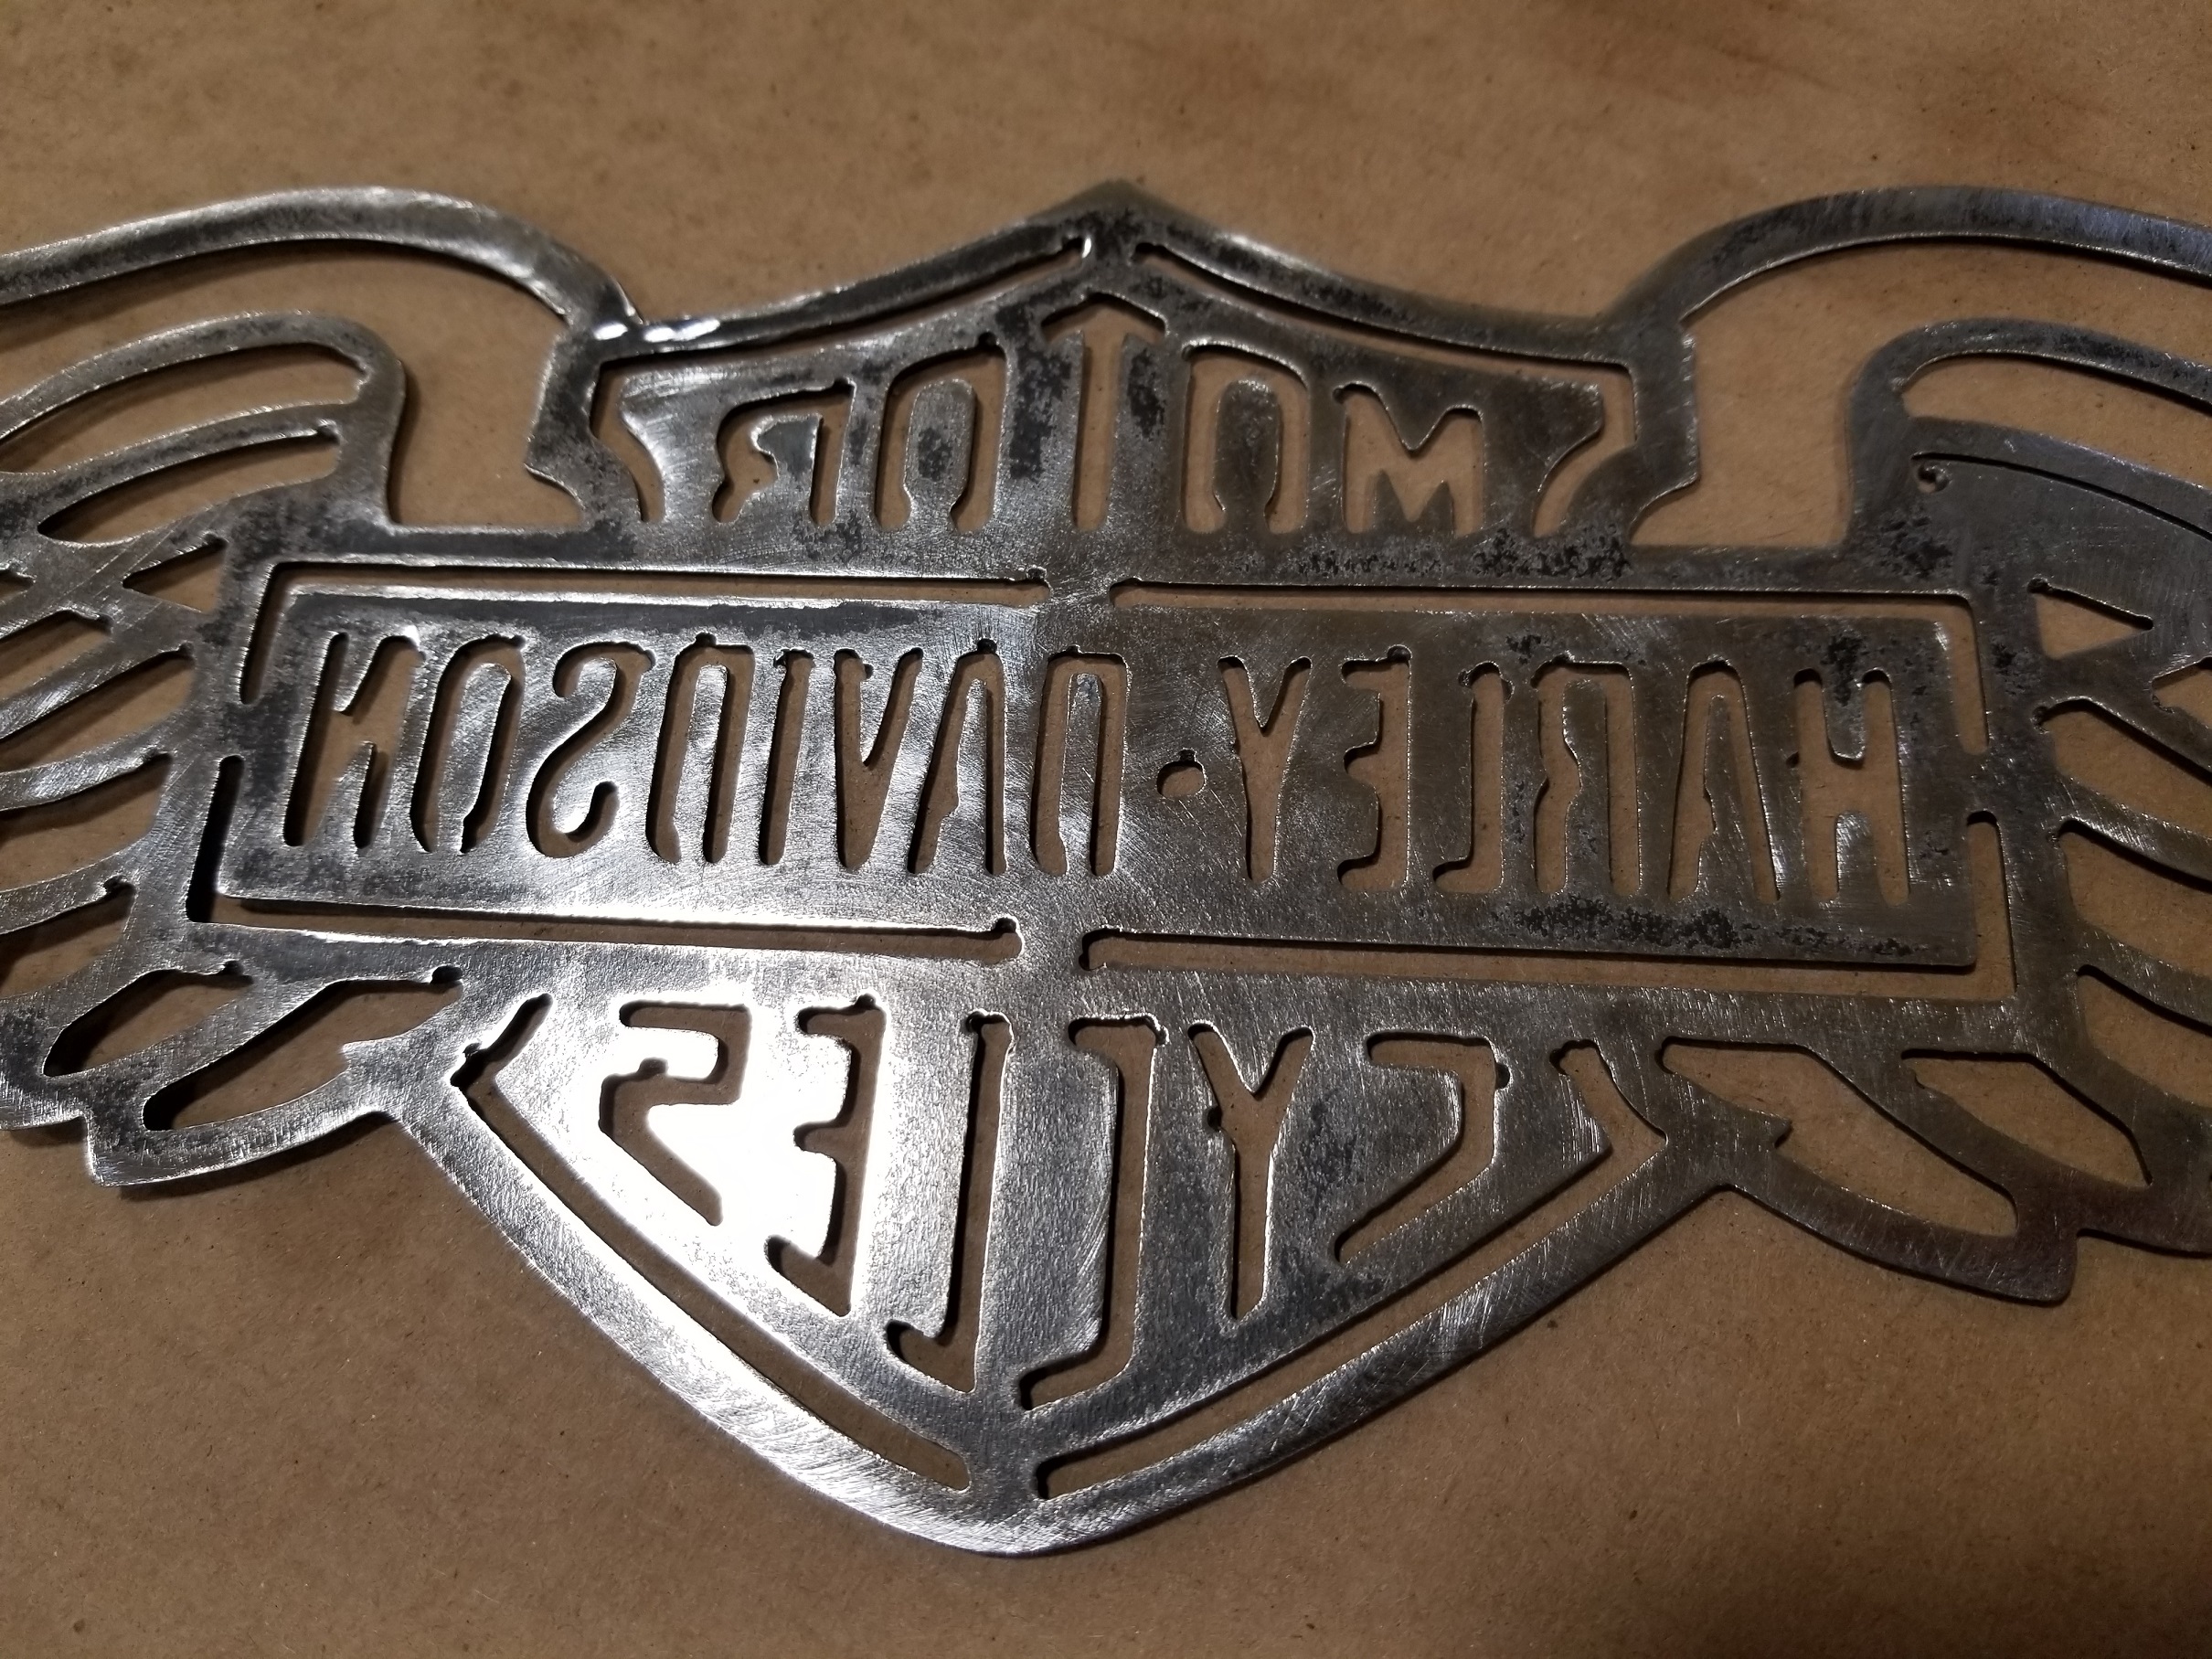
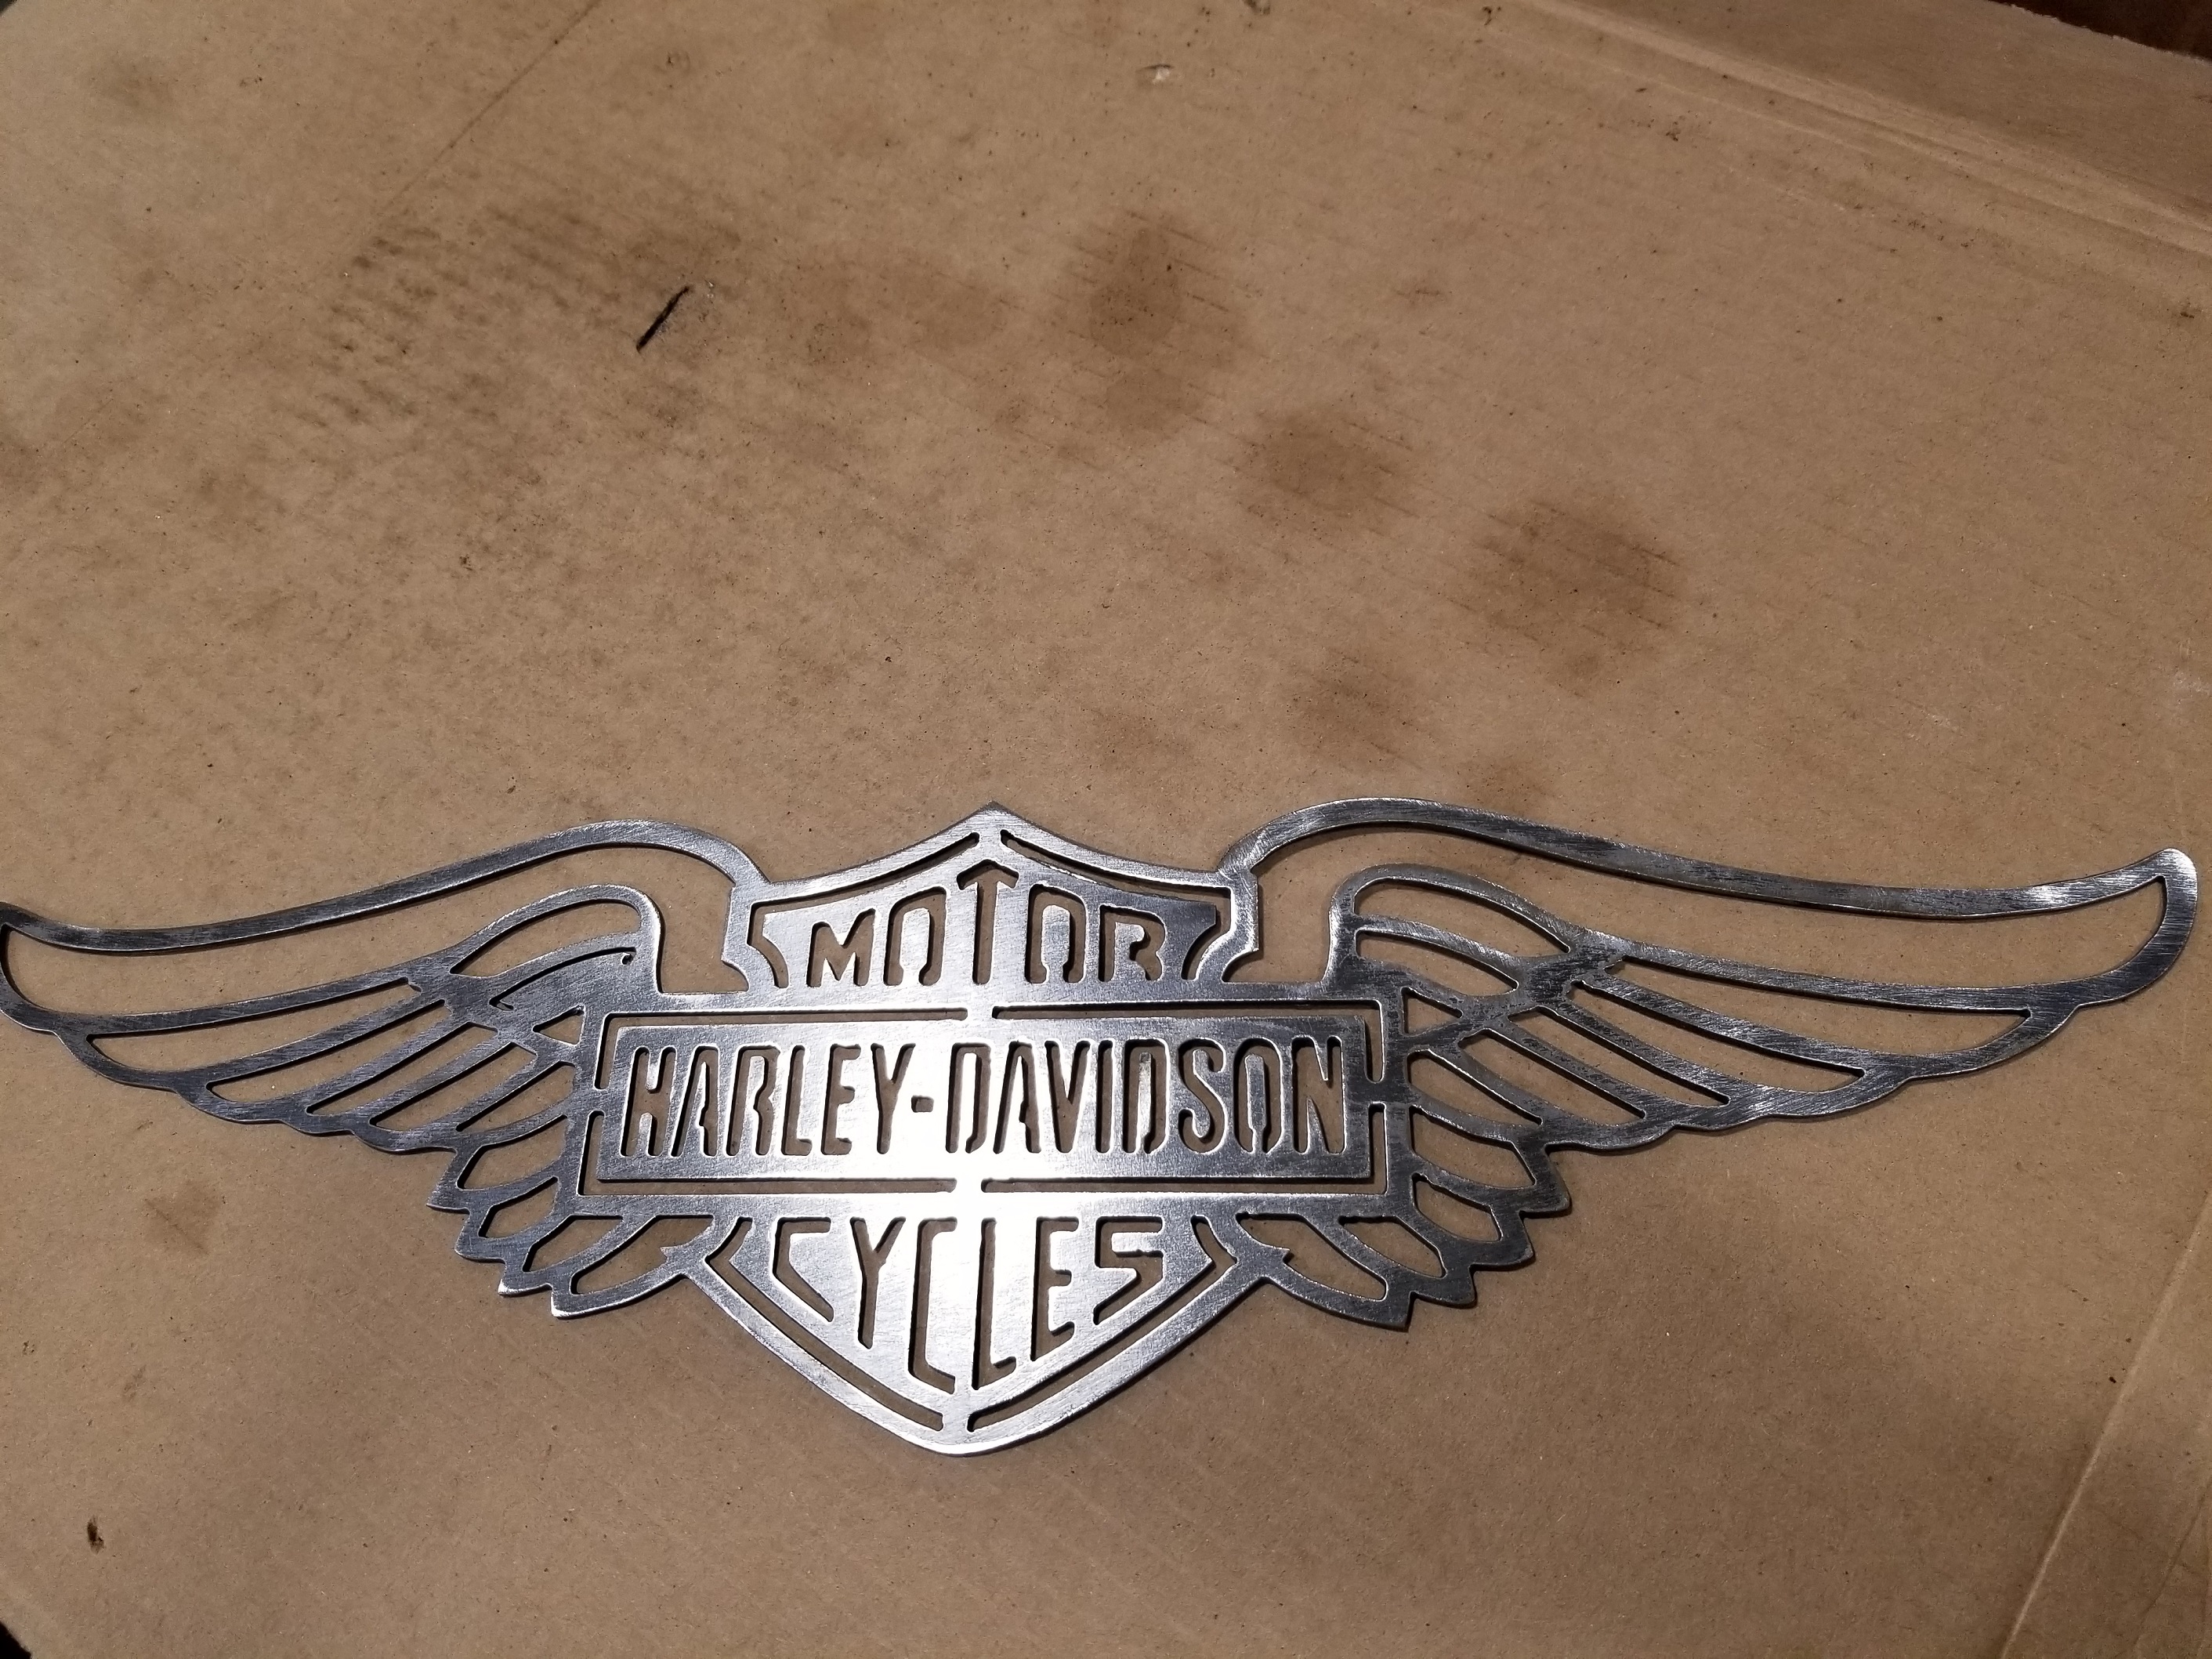
The front looks a lot better than the back. I have one section that didn’t cut and I don’t know why, I will clean it up with a manual cut.
I had to sand down the dross and use needle nose to remove some material that didn’t drop out and refused; probably due to the small detail and heat.
I followed these forums and learned that some RF was causing issues so I relocated my machine to a different wall opposite of my laptop. Between that and having to purchase the license for Mach3 to cut this much detail, everything started working smoother.
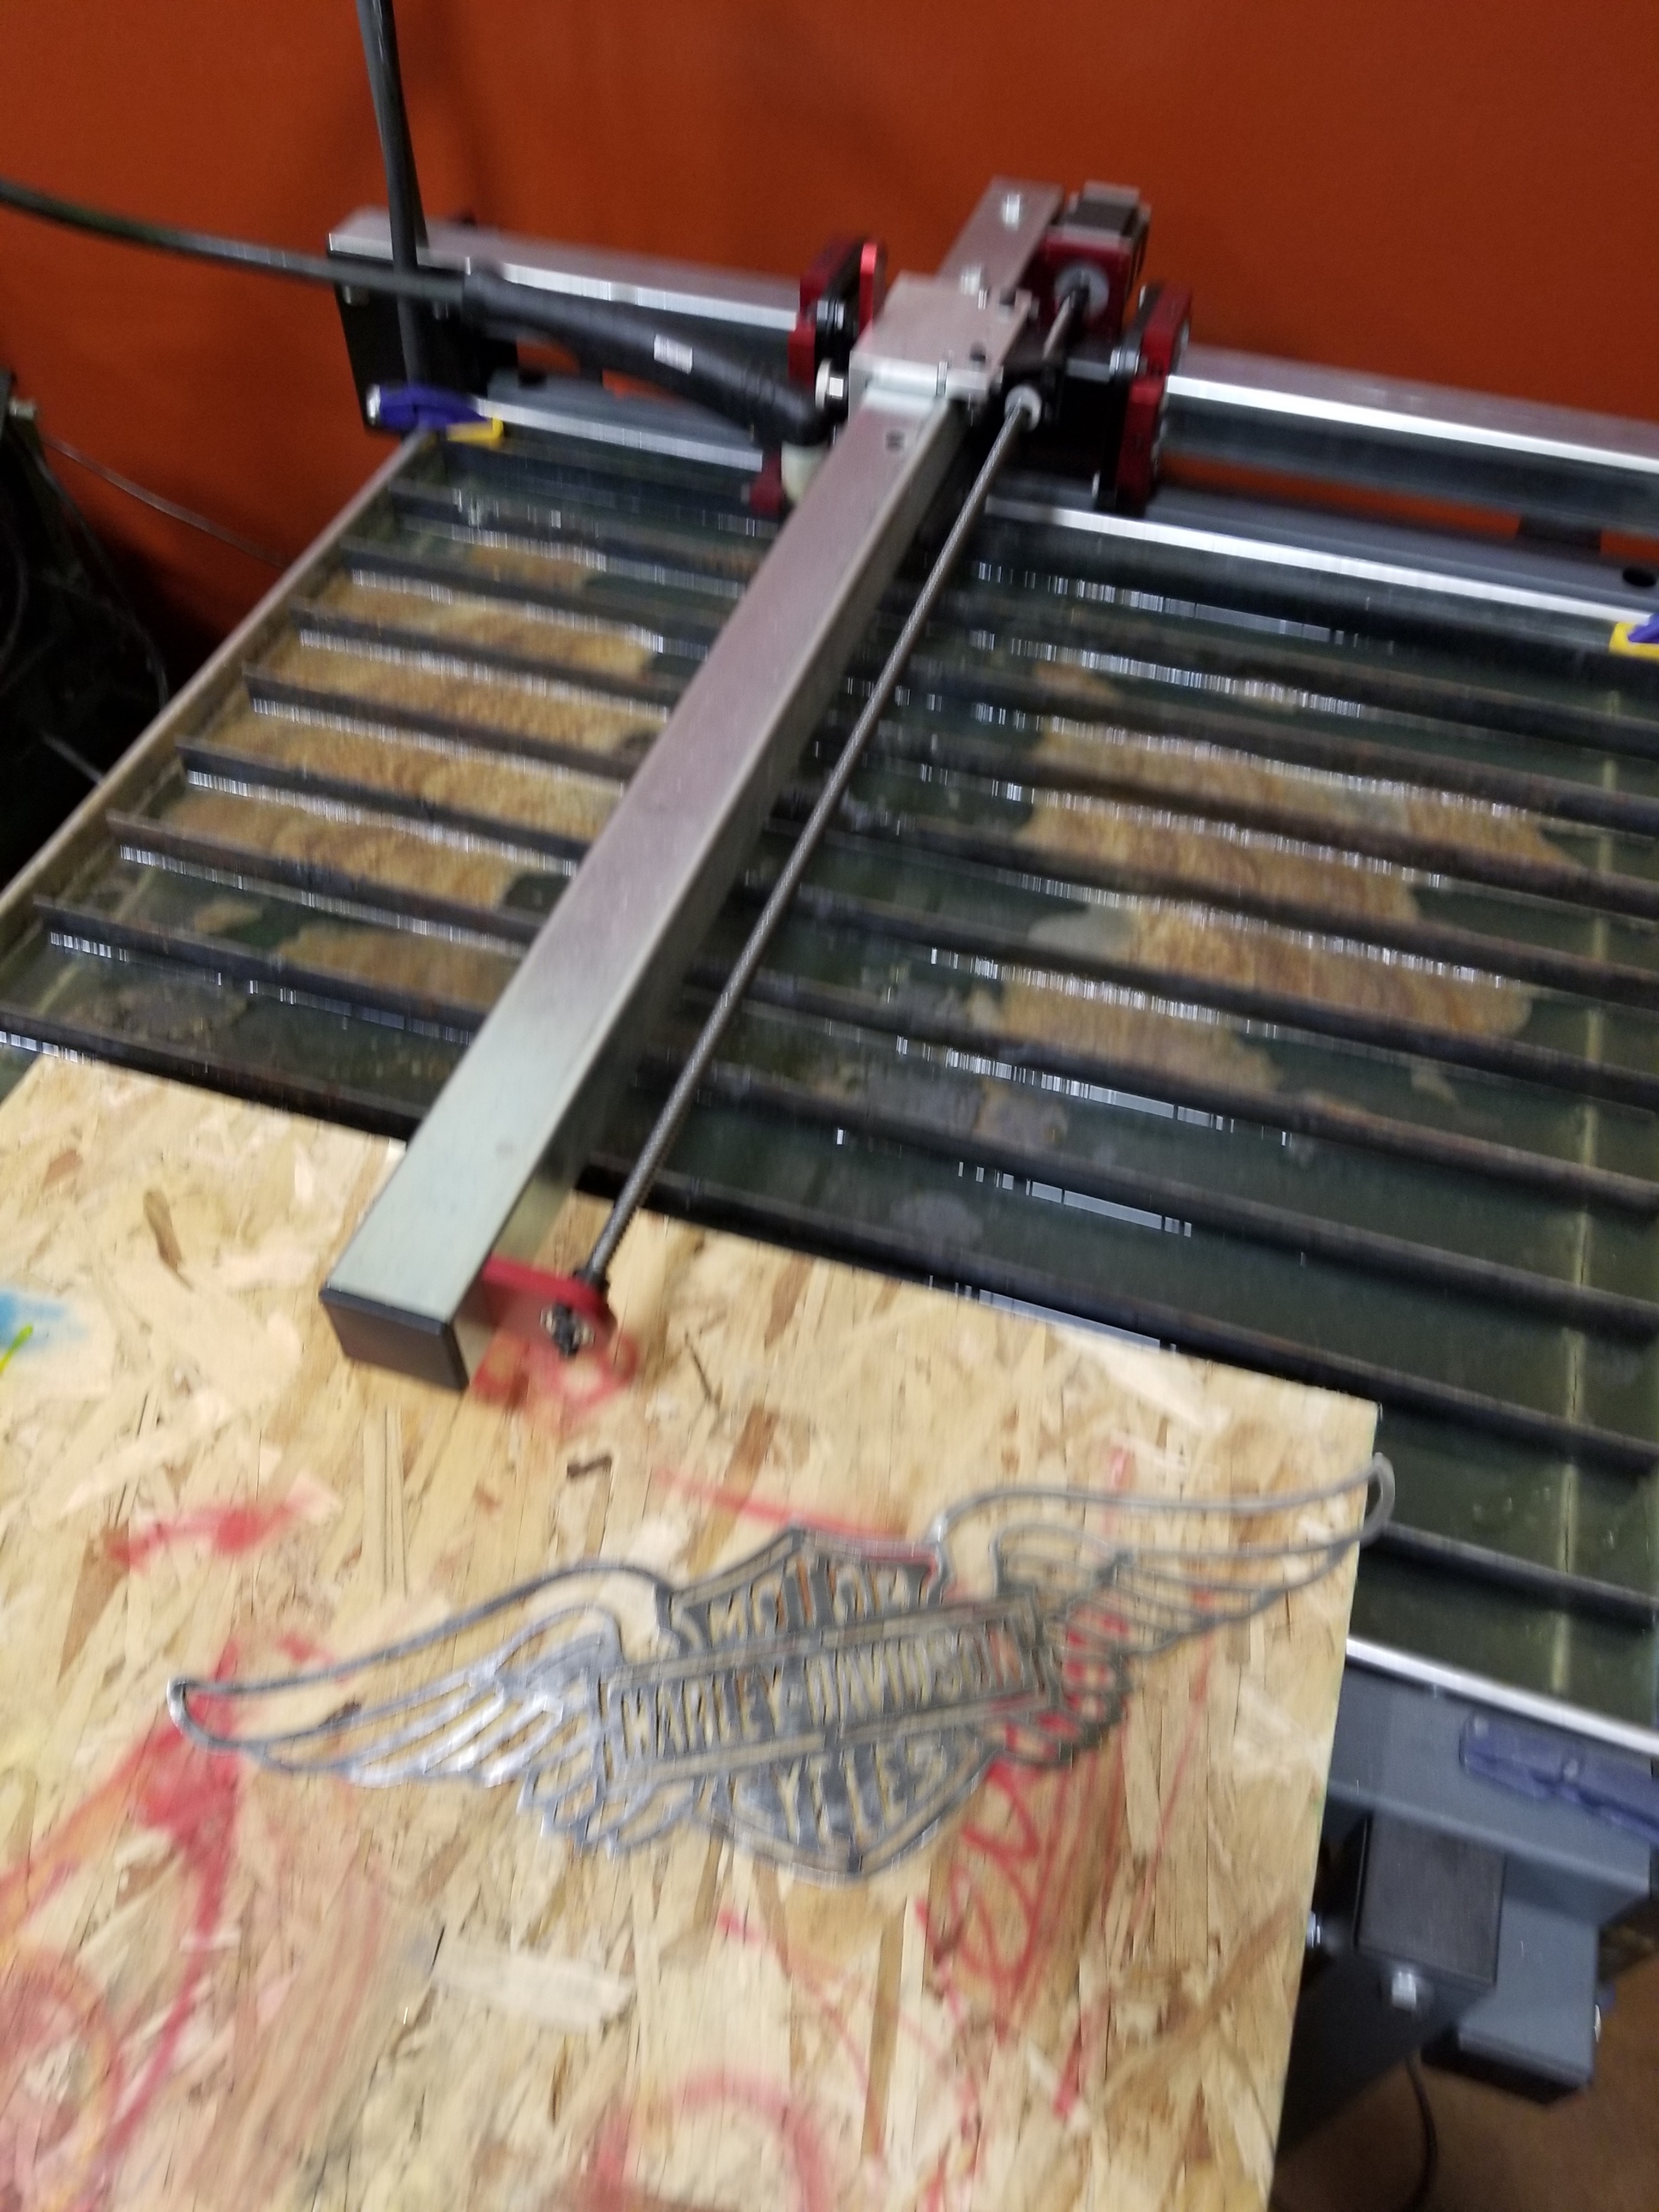
I had troubles holding down the part and clearing tipups even with having square tubing clamped down at each end of the part. had to use a rod and hold down the part as it warped while cutting the details… this made it extremely difficult to click a mouse and pause the operation when needed. I would like to see a pause or stop switch on the leg of the table so I can pause the operation while clearing issues then allow it to pick up where it left off.
I might have had a better result if I weren’t resizing a much larger .dxf to this table. It was created to cut much larger so dropping it to a 5.5x19" piece really created some challenges for me with heat and detail.
Any feedback on what I can do better would be greatly appreciated. I only cut projects for my use and for my wife’s glass fusing studio. I plan to create projects out of stainless and fuse glass into the intricate details so we can work together to create awesome projects!
First of all, congrats on your first part! Cutting sheet metal with a lot of intricate detail will always be more challenging than cutting out brackets from plate.
Based on your pictures and description, your speed seems way too slow. For .060” material, I would guess you need to be at least 200ipm, and probably closer to 250ipm at 30A. Dross and warpage will both improve with faster cut speed.
Most folks that cut sheet metal artwork stick to 14 gauge as the minimum viable thickness. Thinner than that has too much tendecy to warp.
2 Likes
You can also leave it at 0.5 sec if that works on subsequent cuts and just change the first pierce delay in the G-code to 1.0 so it waits on the first cut and then goes to .5 on the rest.
Thanks for the feedback. I will run the part again at 200. I am concerned about tip-ups at that speed with the level of detail and having to be fast to clear them. How do I modify the pierce delay in the G code after posting? I was getting really frustrated with learning the processes… but now that I have something remotely worth giving as a gift I feel inspired to knock it out of the park!
Also, my plan was to cut these in .125. Other than slowing down the speed, what else should I be thinking about?
If you need more time to handle tipups, click on Config–>Ports and Pins–> Spindle Setup and change the CW Delay Spind Down value from 1 to 3. That will give you 3 seconds before the torch starts to move to the next cut. If you want even more than 3 seconds, change it to whatever serves your needs.
1 Like
That’s Awesome! Thanks for the help!