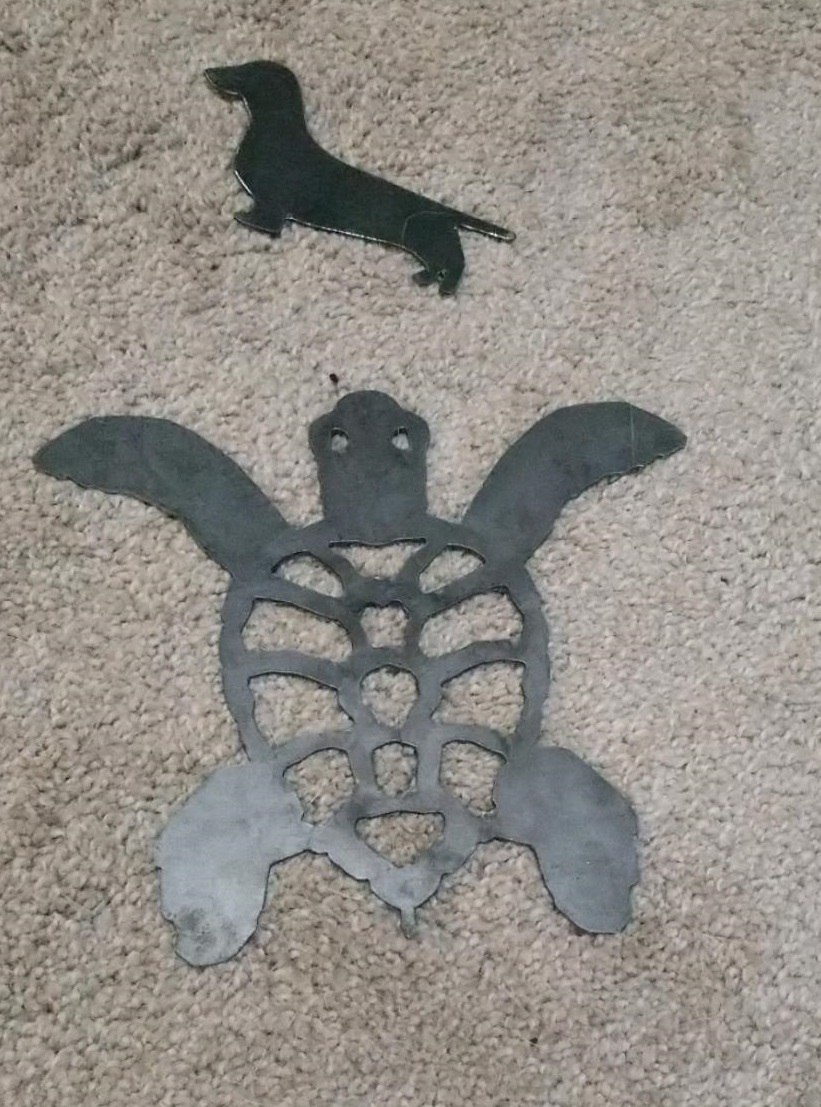
Here are a couple of things I cut just to try it out. Thermal Dynamics 60i
10 Likes
I’m glad it worked for you! I’m getting the 60i also. When you have time, do you mind commented or sharing any info you can on how you wired it up to the Langmuir System?
Yes, I would be glad to get some pics. I’ve definitely been short on time, but I will get to it this week.
1 Like
Wonder how much different the wires are between the 60i and my 82. 
I heard from Thermal Dynamics themselves that the 52, 62, 82 are all similar and use similar interface boards. They said that the i60 uses a different control module. I believe the 60i and the A60 have a similar pinout. If I read the manual correctly, the automation board is only for use with the A60, but they also have a pinout there for basic CNC Start/Stop and OK To Move signals. I certainly don’t mind trying to hack together my own interface, but I’d like to see what others have done first so I can learn what I can from them before I jump into it.
@Freetocut Thanks for snapping some pics when you can. I look forward to seeing what you went with.
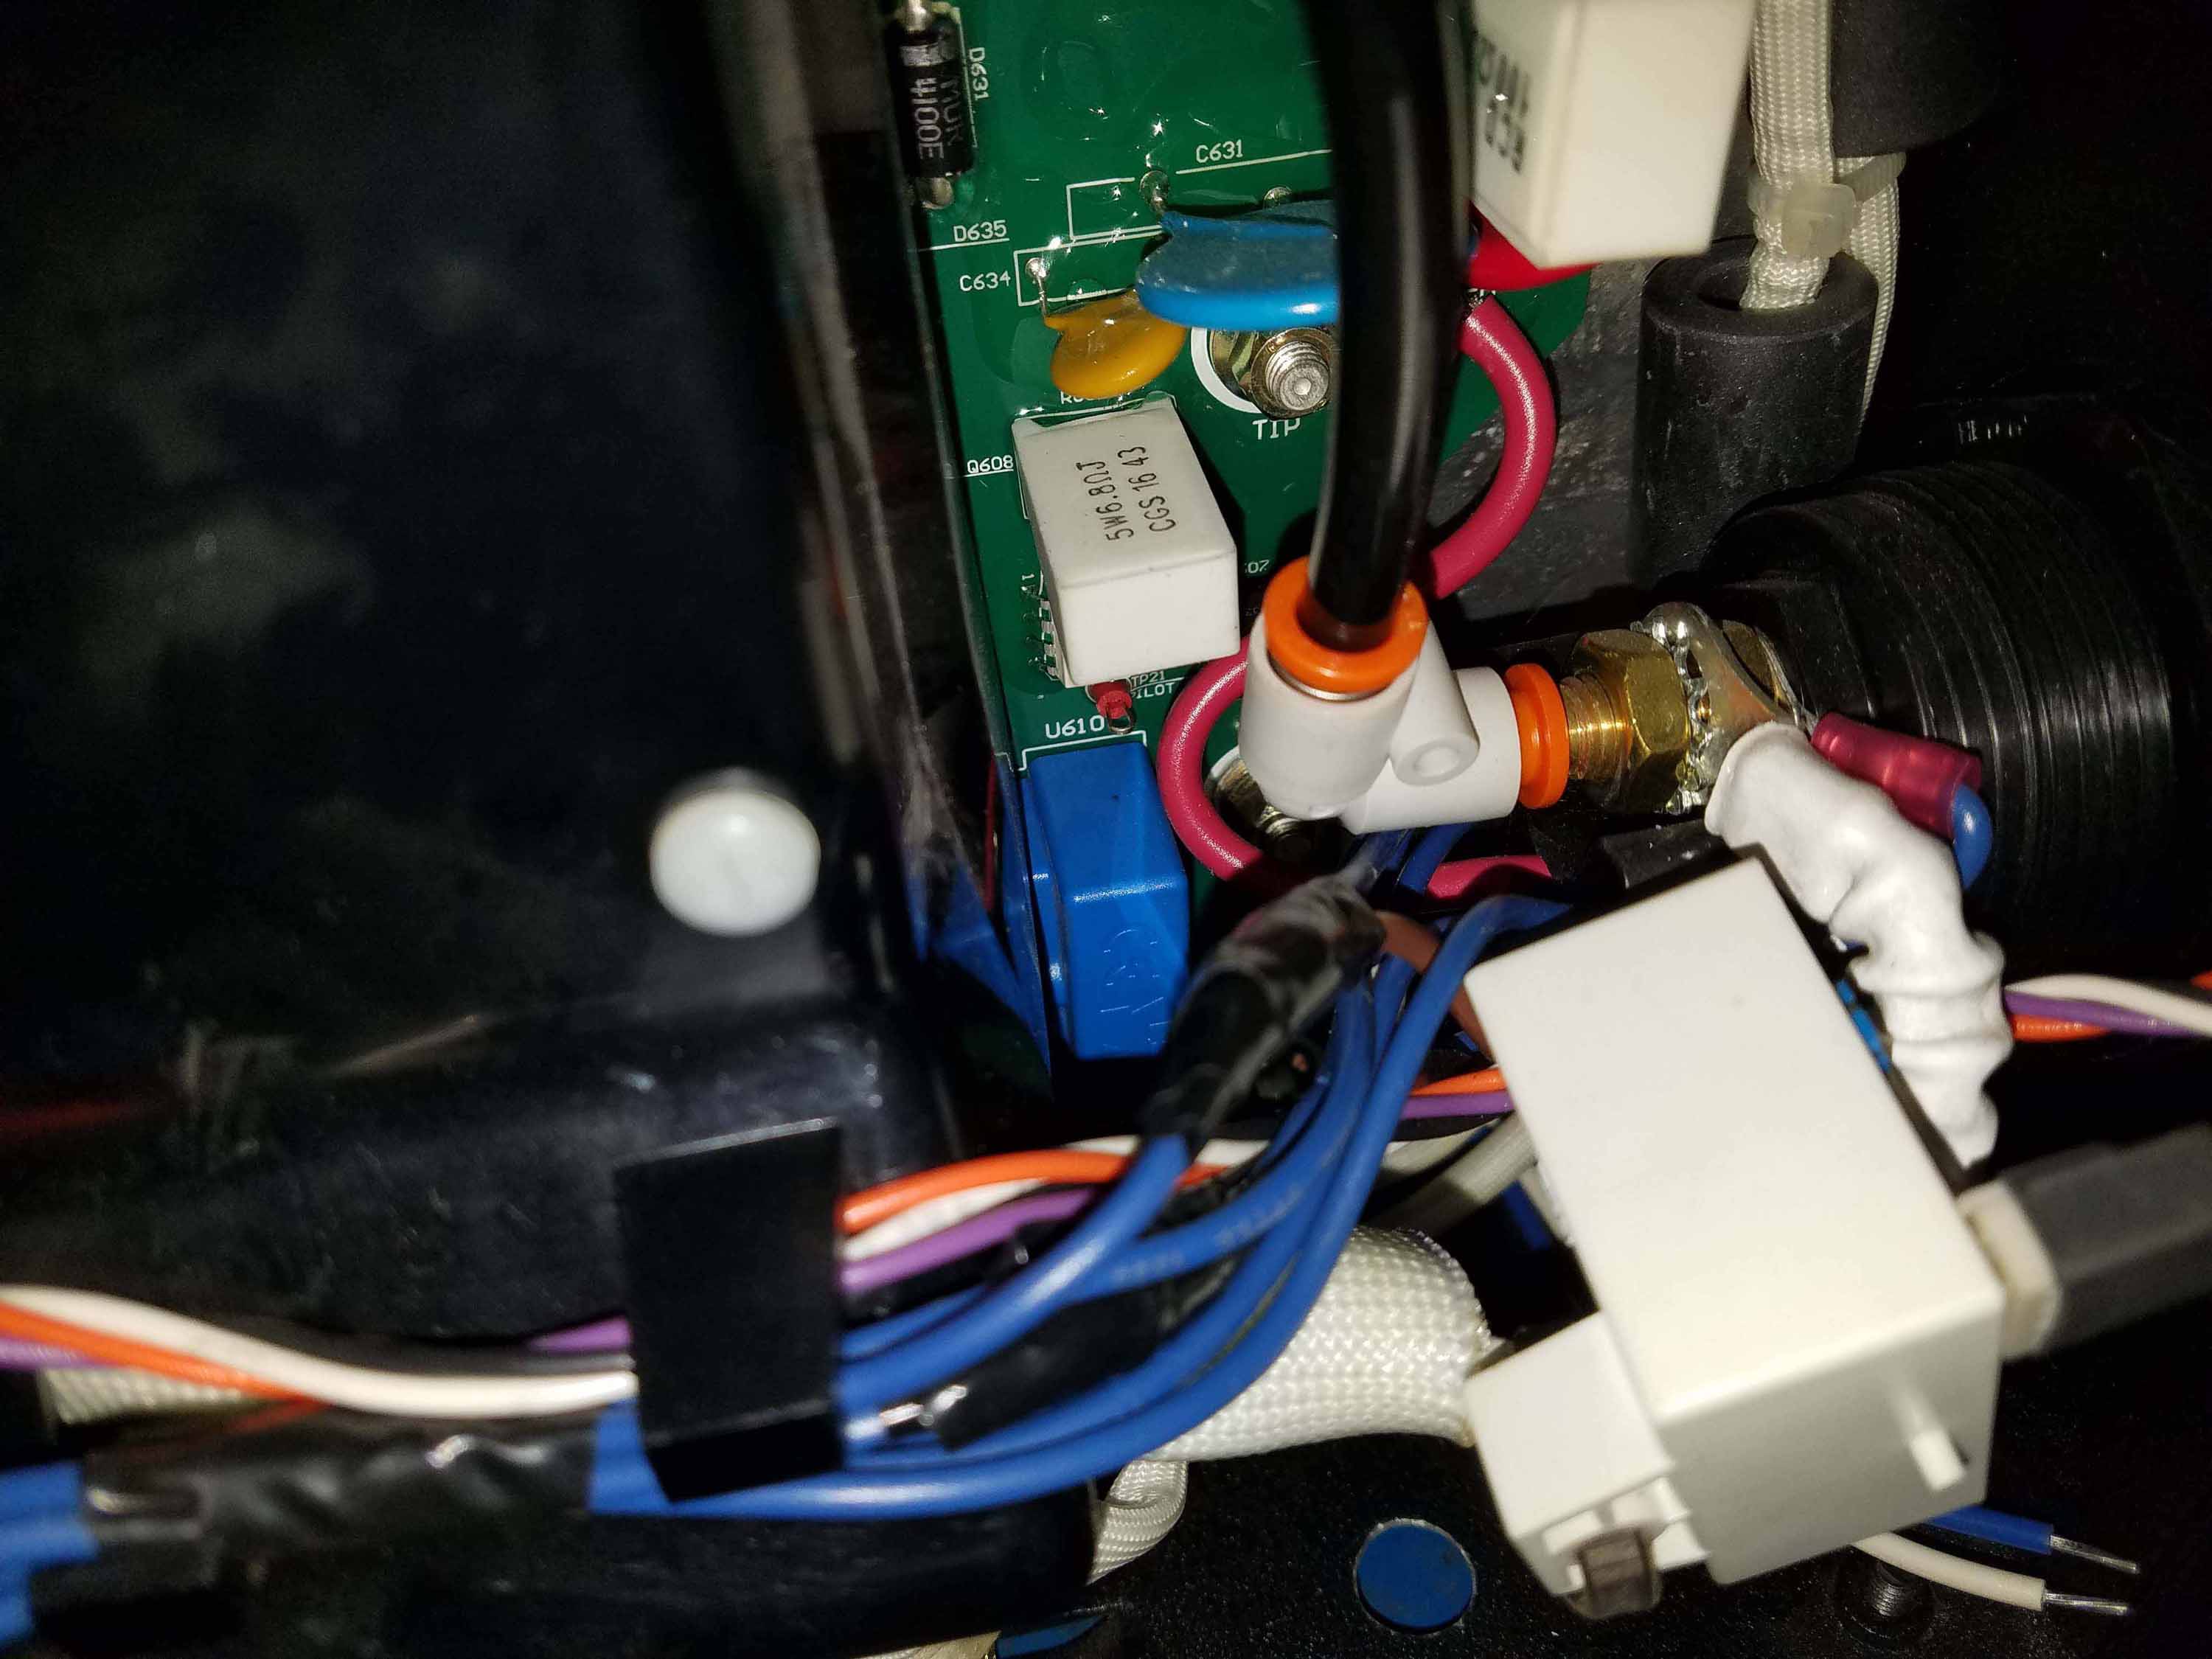
I ended up soldering the wires in because I wasn’t getting a consistent connection with the provided taps. The wire coating on the 60i is pretty hard to penetrate. I found a connector in the trash bins at work, it had a few inches of wire on it and that is why I had to connect in that tight space. You can find a manual here for your machine:
https://www.esabna.com/us/en/support/documentation/downloads.cfm?directoryIn=Manual%20plasma%20cutting%20systems&path=/Plasma%20Equipment/Manual%20plasma%20cutting%20systems
It will show you the pinouts and follow the directions from Langmuir to double check.

2 Likes
Thank you for sharing how you did it! I appreciate it. I am looking for the Molex connector to tap into the control board inside the unit instead. This way you shared is a good backup for me if I can’t go that route.
1 Like
I finally heard back from ESAB / TD (not impressed with being ignored by them for 2 weeks, but I did follow up with them again until they replied) and they say the CNC automation board pictured in the manual is Part# 9-8308.
I bought some wire and my own connector to make my own, but I don’t mind getting a premade interface with their factory connector on it to mount in the existing capped hole properly. I’m glad you shared your method for tapping the signals you needed because I’m certain others will be able to benefit from that info. I almost went that route, myself.
2 Likes
Did you ever wire up your plug? And if so do you know which pins on the cnc interface plug went to the two wires on the crossfire?
I have not. I need to rewire my garage for 240V first. It has been on the back burner for a while. I really need to get to it. I’ll come back here when I get to it.
So I wired mine up and it was pins three and four on the plug on the back of the A60 that need to be hooked to the control wire from the table.
did you use the basic cnc card or just tapped into the pins 3 and 4?
I used a plug that plugged into the cnc card.
Everything works great with it? Just curious. Lead time on the card and wire is 2 weeks from my local weld and supply store.
Yes, works perfectly. Would have been nice to find a plug that would have worked and not spent the money on the control cable. The 60A comes fitted with the card. You may be able to do a little searching and find the plug. I was in a hurry…
i used the plug and play card from thermal dynamics and bought the matching cable from ebay. has been working great for me for almost 9 months
Can you please take a picture of the area where the tip connection is at? Something went wrong around there on mine. I see a picture of that area but the airhose covers what I’m trying to see. Would you contact/send me the picture at 559 777 0805
Thank you in advance
search for the 62i connection in the forum…you will find pictures
I did and did not find anything